To 3D print an object, start with a digital model, prepare it in a compatible slicer and send the resulting job to your printer. This guide introduces model sources and beginner printing tips so you can work through that process one step at a time.
 This page covers a number of tips and tricks on how to print 3D models. We also recommend some sites where you can get ready to print 3D designs.
So, for those who wish to learn the craft, here is a 3d printing for beginners tutorial to help the novice get started with 3D printing.
3D Printing Basics
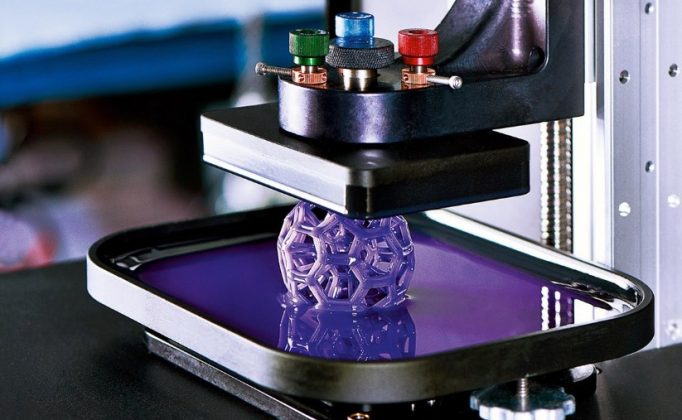 Before I go into details, I’ll give you an overview of the entire procedure. First, let’s identify the things that you need to get the job done. Here’s what you need:
- 3D printer
- 3D models
- Filaments
Step 1: Select a design
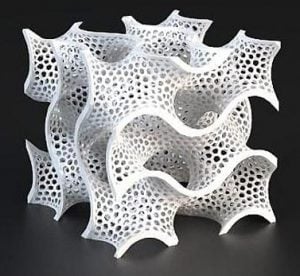 For the 3D model, you can design your own 3D object or use the existing models available online. It’s more fun if you do your own design.
Doing your own 3D model will be easy if you are already familiar with the 3D printing software for modeling. Otherwise, designing your own 3D model alone might take time as you have to get yourself familiar with the tool.
For this reason, I suggest that you use the readily available 3D models online, for the sole purpose of getting your first 3D printed object done.
You can look for free 3D models in the following sites:
Step 2: Choose Your Materials
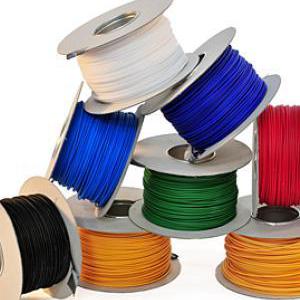 The first 3D printers only use plastic parts. But, the new models of the machine can now handle a growing variety of materials.
The most popular materials are plastic filaments like ABS and PLA, but there are more materials to choose from. If you want a tough and flexible material, plastics like ABS or nylon works great especially for functional parts like gears and integral hinges.
If you want to produce 3D objects that can handle the heat, the best material would be ceramics. Ceramics can withstand a temperature of 2,500 degrees Fahrenheit.
If you are looking for the real thing, there are already plastic filament embedded with wood shavings or chalk that produces a final product that resembles a wooden or concrete product.
Step 3: Find a 3D Printer
For the 3D printer, you can borrow your friend’s machine or purchase a low-cost machine. You do not need an expensive machine, an entry-level low-cost 3D printer will be a good start.
How to Use a 3D Printer?
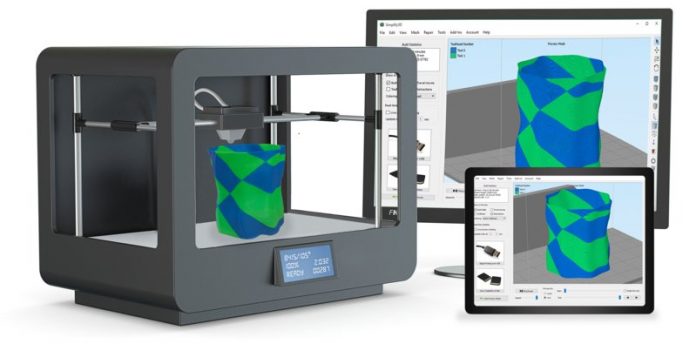 This is an overview on how to use your 3D printer for the first time.
- Visit a site and download a 3D printer model. For instance, you can visit Thingiverse and select a 3D object that you want to 3D print. You will get a zip folder. Extract it.
- Download a slicer. Install a slicer supported by your printer, such as Cura. It converts your model into printing instructions.
Select the profile for your exact printer and nozzle, then choose the loaded material. If your printer is missing, use its manufacturer’s setup instructions rather than a profile for a different machine.
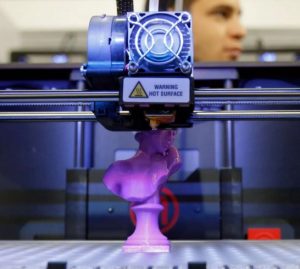 Set the parameters. Start with the recommended print-quality preset. The settings below depend on your printer, nozzle, material and build plate.
Basic
- Layer height: use the selected quality preset
- Print speed: use the printer and material profile
- Nozzle temperature: use the filament profile and supplier’s recommended range
- Bed temperature: follow the material and build-plate recommendations
- Filament diameter: match the filament and printer
- Flow: keep the profile default unless calibration calls for a change
- Nozzle size: match the installed nozzle
Advanced
- Travel speed: keep the printer-profile default
- Infill speed: keep the selected print-profile default
- Save your file. Slice the model and inspect the layer preview for missing details and unsupported sections. Export the file format your printer accepts; filament printers commonly use G-code.
- 3d print your design. Transfer the sliced file using your printer’s supported SD card, USB or network method. Follow its setup and calibration instructions, then start the print and check the first layer.
If you wish to learn more, you can find more 3D printer videos online.
How to Print a 3D Printer?
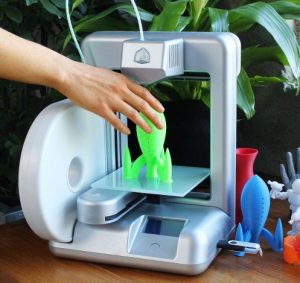 I understand that you have reached this part because you are interested in producing your own 3D printer. The good news is – that’s possible. However, do not expect a ready-to-use 3D printing machine because the process requires you to assemble the output.
Dr. Adrian Bowyer invented the first self-replicating 3D printer through the RepRap project. His first functional machine called the RepRap “Darwin” with 50% self-replicated parts was unveiled in 2008.
The 3D printed 3D printers are made using the FDM (Fused Deposition Modeling) printing technology with plastic materials. They are desktop 3D printers and has limited applications compared to industrial machines.
RepRap project is open source and you can find 3D models available online. In fact, the Prusa i3 is one of its improved versions.
Why is 3D printer iterations successful? This type of printers is low-cost. In addition, it’s easy to construct and modify. In fact, this is a must-have for hobbyists. It’s also popular in the education field.
Conclusion
We keep our tips and tricks simplified so it’s easy to understand. We hope that the aforementioned hacks will help you create your first 3D printed objects with ease.
Use the profiles and instructions for your exact printer, nozzle and material; the steps above are a general workflow, not a universal settings recipe. But, overall, this is how to 3d print something.
If you need to learn more about 3D printers and 3D printing, feel free to check our homepage.
References
www.popularmechanics.com/technology/gadgets/a19698/get-started-3d-printing
www.lifehacker.com/how-to-get-started-with-3d-printing-without-spending-a-1340345210
www.youtube.com/watch?v=FOxZcpyKmzM
www.allthat3d.com/3d-printing-pen
www.sculpteo.com/blog/2017/10/24/3d-print-3d-printer