Anycubic Standard Resin Review
Entry-level resin; compare equal quantities and include cleaning supplies.
Our verdict
I’d choose original Standard for detailed display models and decorative figures that stay on a shelf. I’d be cautious with thin parts and frequently handled miniatures because brittleness is the main tradeoff. Start with one bottle before committing to a bulk pack.

Best atDisplay busts, ornaments and sturdy figures that mostly stay on a shelf.
Less suited toDelicate gaming pieces handled frequently, repeatedly flexing parts and load-bearing uses without validation.
The Key Specs
| Formulation | Original Standard / Standard Colored UV ResinStandard+, V2 and 16K Standard are separate formulations; match the bottle to its instructions. |
|---|---|
| Printer compatibility | Compatible 405 nm LCD/DLP printersCheck the printer’s material restrictions and use a profile for the exact resin and printer. |
| Thin-part durability | Brittleness reported by ownersHandle delicate features carefully; these reports are not controlled drop tests. |
| Printing environment | 25–30°C (77–86°F), per the original manualStable warmth helps, but exposure still needs calibration. |
| Cleaning | At least 95% IPA or ethanol, per the original manualThis is solvent-cleaned resin; budget for washing and UV post-curing. |
Which Color And Bottle Should You Buy?
- One bottle of original Standard Gray
- Start here if you want the color used in the reported prints; confirm the formulation and expiry date.
- Another original Standard color
- Choose the color your model needs, then check its settings again; “HD Gray” alone does not identify the formulation.
- Bulk pack
- Consider more bottles after the material produces display prints you like; compare equal quantities of the same formulation.
Budget Beyond The Resin Bottle. Allow for alcohol, washing containers, a suitable UV curing setup, chemical-resistant gloves compatible with resin and solvent, splash eye protection, ventilation and storage for contaminated waste.
More Handling, Storage And Compatibility Details
| Calibration | 0.05 mm is a common starting layer height in Standard profiles. Check exposure with a small calibration print and record the color, temperature and settings. |
|---|---|
| Fit | Test a small joint after washing and curing before printing a whole multipart model; attractive detail does not guarantee dimensional fit. |
| Washing / curing | Avoid soaking longer than 30 minutes. Dry fully before UV curing; the original manual’s typical 3–5 minutes is surface guidance, not proof that every recess is cured. |
| Storage / older stock | Protect resin from sunlight, mix thoroughly before printing and check the bottle’s printed expiry date. Do not transfer newer formulations’ strength or shelf-life claims to older bottles. |
I’d consider original Anycubic Standard Resin for display models, decorative prints and miniatures you’ll handle carefully. Reported prints show that Standard Gray can reproduce fine features and smooth surfaces. The main concern is brittleness: getting a tiny sword to print successfully doesn’t mean it will survive being knocked off a table.
I’d consider it for a painted bust or a model that mostly stays on a shelf. For gaming pieces you pack away every week, or parts that need to bend or carry weight, I’d look for stronger evidence of toughness before buying.
You’ll also need alcohol to clean your prints, UV light to finish hardening them and a suitable workspace.
Which Anycubic Standard Resin Does This Review Cover?
This review covers the original Standard formulation, sold as Standard Resin or Standard Colored UV Resin. Match the product name and color to your bottle’s instructions; “Anycubic resin” alone isn’t enough.
Anycubic still lists Standard Resin in its US store, including Gray, White, Black, Light Beige, clear and translucent colors. Gray is the color used in the reported prints discussed below.
A current listing doesn’t prove that every bottle sold under that name has the same properties as an older one. The original manual and current technical sheet give different strength and flexibility figures, so don’t use today’s strength claims to judge an old bottle.
Three naming differences matter:
- Standard+ has its own manual and a revised formulation. Its claims don’t carry over to original Standard.
- Standard V2 is a separate reformulation that Anycubic promotes for improved toughness.
- HD Gray appears as a color option under both Standard and V2. “HD” alone doesn’t identify the formulation or prove better detail.
The newer 16K Standard Resin is separate, too. Check the full name in the selected option and on the bottle, especially when several resins share a shopping page. If you’re buying older stock, check its printed expiry date rather than borrowing another version’s shelf life.
How Much Detail Can You Expect From Standard Resin?
Standard Gray can make good-looking display prints. In a reported Photon Mono M5s test using Anycubic’s saved print settings, a small rook had an even surface and clean internal stairs and spiral details. Its battlements were clean, though the tester had seen sharper edges from other printers.
In the same test, Standard Gray miniatures kept more fine detail than High Speed Gray prints. However, Standard used layers half as thick: 0.05 mm against 0.1 mm. That helps explain the difference, so it wasn’t a fair test of the resins alone. Temperature, exact exposure and washing and curing conditions weren’t reported alongside those results.
That makes Standard worth considering for decorative figures. Several attractive examples still don’t tell you how reliably a bottle will reproduce the same tiny feature each time you print it.
Getting parts to fit is a separate question. Anycubic’s claims about precision and low shrinkage aren’t a measured guarantee that a peg will fit its hole. A model can look excellent while a joint is too tight.
Exposure—the time each layer receives UV light—can change the result. Too much exposure can fill small gaps and make features larger than intended.
If you’re printing a figure in pieces, test a small joint before committing to the whole model. Check it after washing and curing, and leave enough room for the parts to fit together. Don’t assume original Standard will hit the same dimensions on every printer or with every color.
Will Thin Standard Resin Parts Hold Up?
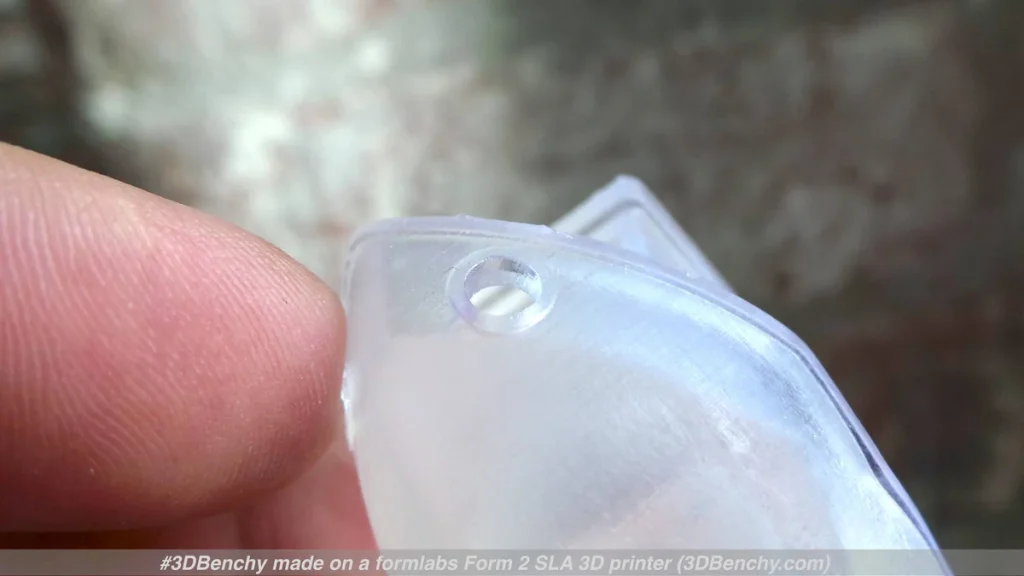
Brittleness is the main reason I’d be cautious about original Standard for tabletop play. An owner using Standard Gray on an Anycubic printer described as a “Mono 6K” reported successful miniature prints after calibration, but also found them brittle. An older Standard Gray owner report describes a similar tradeoff between pleasing results and brittleness.
These are individual experiences, not controlled drop tests or a failure rate. The reports justify treating thin parts carefully; they don’t establish that every Standard print breaks easily, that a particular batch is defective, or that every competing resin performs better.
A hard surface and a tough part aren’t the same thing. Hardness describes resistance to indentation. Toughness concerns how much energy a material can absorb before breaking. A rigid figure can feel solid in your hand while a narrow antenna snaps when it gets bent.
For shelf models, that limitation may be manageable. Pick figures with thicker weapons and fewer long, unsupported details, and handle them by the base or body. Those choices reduce the demands you place on the material; they don’t turn it into a tough resin.
For simple functional prints, I’d limit Standard to checking appearance or fit, with little force involved. A mock-up knob is a different job from a clip that flexes repeatedly. Don’t rely on original Standard for load-bearing or safety-critical parts without validation for the actual part and conditions.
Getting Standard Resin Working On Your Printer
Standard is intended for compatible 405 nm LCD/DLP resin printers, which use a screen or projector to harden liquid resin with UV light. Check that your printer accepts third-party materials and supports this resin type. A matching wavelength alone doesn’t override a printer’s material restrictions.
For original Standard, the manual recommends a printing environment of 25–30°C, or 77–86°F. Temperature affects the exposure needed to harden each layer, so settings that work in a warm room may need adjusting in a colder one. Warm, stable conditions don’t establish the correct exposure by themselves.
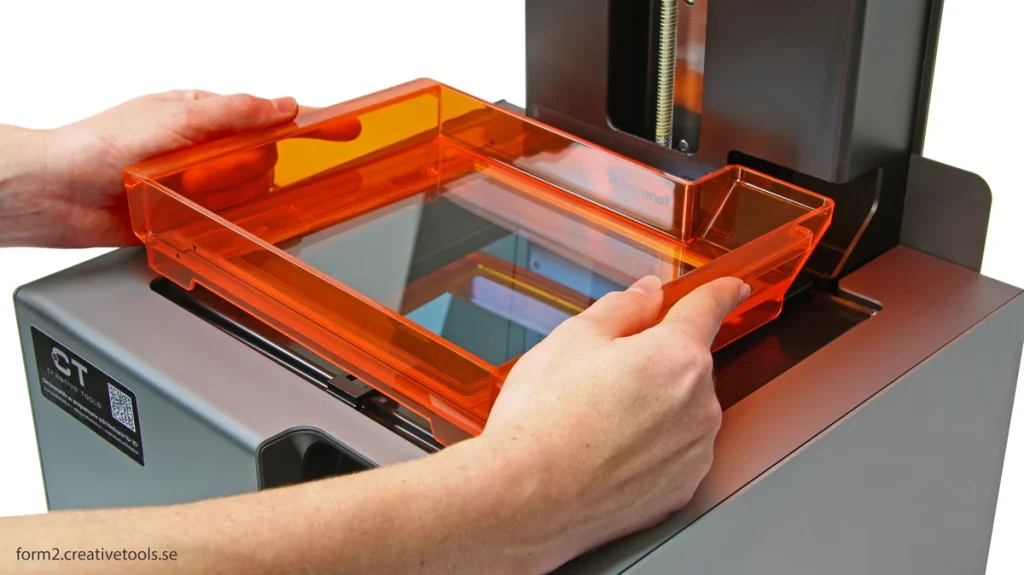
Before printing, mix the resin thoroughly. Inspect the vat—the tank holding the liquid resin—and its clear bottom film for damage or hardened debris. The printer’s moving build plate can press debris into the film, puncturing it and allowing resin to leak. Clear any hardened debris and replace damaged film before printing, following your printer’s instructions.
Keep the resin protected from sunlight so it doesn’t harden before you print. If you change color, check your settings again, even when the product name stays the same.
Start with a profile for your exact printer and Standard formulation. A profile is the saved group of settings that controls exposure and the printer’s movements.
Confirm its layer height, meaning how thick each printed layer is: 0.05 mm is a common starting point in Anycubic’s Standard settings, but a profile for a different layer height isn’t interchangeable.
Use a small exposure calibration print to check your settings before filling the build plate with models. On supported Anycubic printers, the Resin Exposure Range Finder, or RERF, compares several exposure times in one print. Use the version and instructions for your machine.
Look for both intact raised features and open holes and grooves, then try a small example of what you actually want to make.
Keep a note of the color, temperature and settings that worked. If a print fails, check its supports—the temporary structures that hold parts during printing—as well as the profile and vat. One failed model doesn’t identify bad resin.
Washing, Curing And Handling Standard Resin
Original Standard needs solvent cleaning; it isn’t water-washable resin. Anycubic’s manual recommends at least 95% isopropyl alcohol, usually called IPA, or ethanol.
It warns against soaking prints for more than 30 minutes because prolonged soaking can cause damage. That’s a limit, not a recommended wash time.
Remove any leftover liquid resin, let the print dry fully, then finish hardening it under UV light. The original manual gives 3–5 minutes as typical surface post-curing guidance, with longer treatment for complex shapes. Treat that as a starting reference for suitable equipment, not proof that every recess or hollow interior has cured.
If a surface stays tacky, check for remaining resin and whether your wash is cleaning effectively before simply adding more UV time. A sticky surface doesn’t tell you the cause on its own. Keep gloves on while you resolve it.
Budget space for washing containers, a suitable curing setup and waste storage. Use chemical-resistant gloves suitable for both resin and your solvent, splash eye protection and ventilation during printing, cleaning and curing.
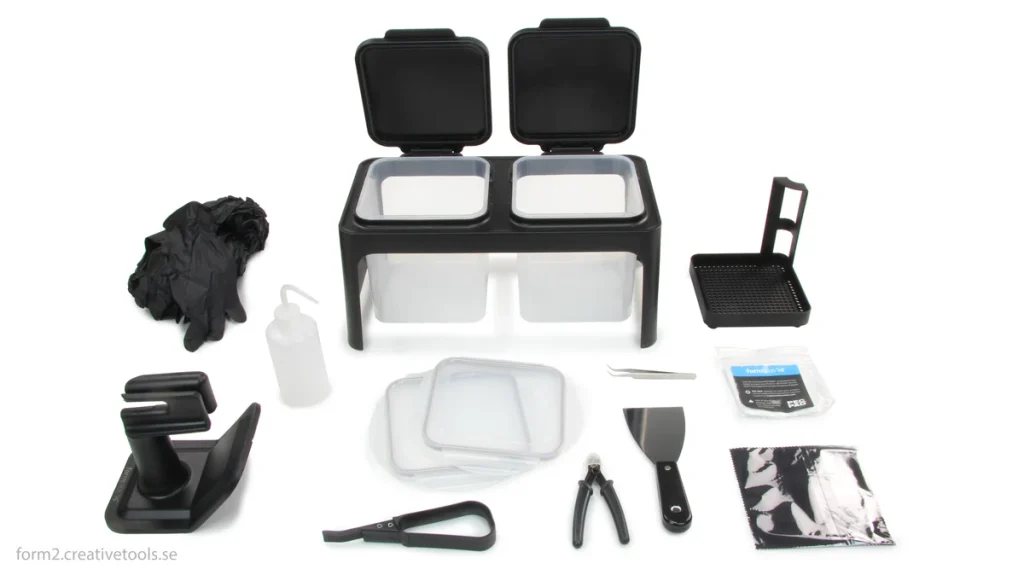
Keep wash containers closed when possible. IPA is flammable, so keep it away from ignition sources.
Don’t judge safety by smell. Standard’s safety data sheet identifies skin and eye irritation, possible allergic skin reactions and respiratory irritation. A faint odor doesn’t cancel those hazards. If you can’t provide a suitable workspace, this resin isn’t a good purchase yet.
Keep liquid resin and contaminated wash solvent out of drains. Ask your local household hazardous-waste service how it accepts them and contaminated supplies. Filtering or exposing dirty alcohol to UV doesn’t automatically make the remaining liquid safe to pour away.
Is Standard Resin Worth Choosing For Your Prints?
I’d choose original Standard when the goal is a detailed display piece, the bottle’s identity is clear and its cost makes sense for the amount you need. A bust, ornament or sturdy figure gives you a better reason to buy it than a collection of delicate miniatures that will travel in a case.
Standard sits in Anycubic’s entry-level range. That position doesn’t automatically make an old bottle a bargain. Compare equal quantities of the actual formulations you’re considering, and count the cleaning supplies you’ll need. Start with one bottle rather than a bulk pack while you find out whether the results suit your models.
Standard V2 is the closest alternative to consider if you want to stay within the same product family. Anycubic specifically positions it as a toughness upgrade, but that manufacturer claim isn’t a controlled demonstration that your smallest weapons will survive drops.
For frequent handling, also consider an ABS-like or tough resin with relevant bending or impact results. The category name alone isn’t enough to choose one.
If you already have original Standard producing display prints you like, there’s no reason to replace it just because a newer name appears. If broken thin parts are the problem you’re trying to solve, though, buying more Standard leaves that concern unresolved. Choose your next bottle around what the finished model needs to survive, as well as how it needs to look.


