Flashforge Creator 5 Pro Review
Costs more than the open-frame Creator 5.
Our verdict
I’d choose the Creator 5 Pro for frequent color changes and regular projects that need a heated enclosure. Its four heads can reduce wasted filament, but manual loading, nozzle preparation and cleanup demand patience. For mostly PLA or PETG color work, I’d spend less on the Creator 5.
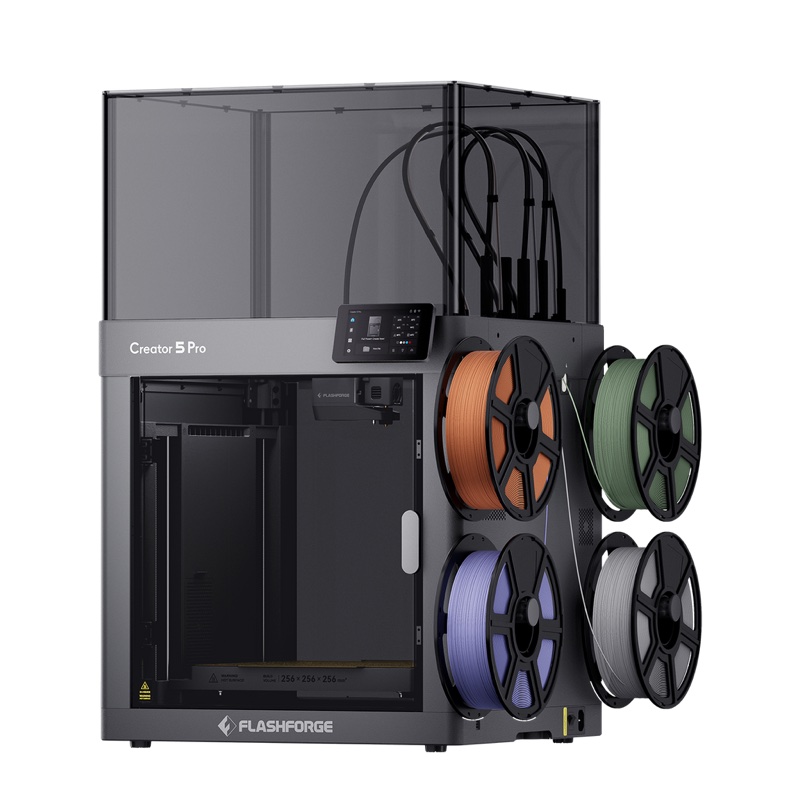
Best atComplex jobs with up to four colors or materials, especially when chamber heat is useful.
Less suited toEffortless spool changes, more than four loaded filaments, or larger single-piece models.
The Key Specs
| Four separate heads | Up to four loaded filamentsOnly one head prints at a time; a dedicated support material leaves three for the object. |
|---|---|
| Print area | 256 × 256 × 256 mmAll heads share the full area; allow room for supports and a prime tower. |
| Heated enclosure | Chamber heater rated up to 65°CMore useful for ABS projects; both materials in a mixed-material job must tolerate the same bed and chamber temperatures. |
| Filament waste | Less color-clearing waste, with startup waste and possible prime towersSavings depend on how often the model changes color and how carefully you tune priming. |
| Spool changes | Manual feeding and unloading at each headKeeping the same four spools installed reduces handling between jobs. |
| Bench space | About 71–72 cm installed height; about 18 kgUse a sturdy surface and leave extra clearance for the lid, spools and access. |
Which Version Should You Buy?
- Creator 5
- I’d choose the cheaper open-frame model for mostly PLA or PETG color work; it shares the four-head approach and print area.
- Creator 5 Pro
- Choose the Pro when you need the enclosure and chamber heater. Adding a cover to the base model does not provide the same heated-chamber setup.
Budget beyond the printer. Allow for filament, suitable filament-drying equipment and ventilation. For paid work, I’d keep a spare Creator 5 series nozzle assembly and a backup plan for downtime. Include prime-tower and support material in job costs.
More Specs And Ownership Details
| Nozzle / bed limits | Rated up to 320°C / 120°C; temperature limits do not guarantee every high-temperature filament will work. |
|---|---|
| Filtration | HEPA13 and activated-carbon filters; plan ventilation as well. |
| Nozzle choices | 0.4 mm is standard; 0.25, 0.6 and 0.8 mm assemblies are listed. Confirm support before mixing nozzle sizes in one print. |
| Setup / software | Tool alignment, bed leveling and flow calibration; Flashforge’s setup guide recommends Flash Studio Desktop. |
| Maintenance | Nozzle replacement requires tools and recalibration. Use parts explicitly marked for the Creator 5 series. |
I’d consider the Flashforge Creator 5 Pro if you regularly print models with lots of color changes and also want a heated enclosure for materials such as ABS. Its four separate print heads can make complicated jobs much less wasteful. The catch is everything around the printing: loading filament by hand, preparing four nozzles, adjusting waste settings and clearing scraps from inside the printer.
I’d recommend it to someone willing to learn those routines. For a first printer, it’s a more demanding choice than its automatic calibration might suggest. If you mainly want colorful PLA figures, the cheaper, open-frame Creator 5 deserves your attention first. The Pro’s extra cost buys chamber features, not extra colors or a bigger print area.
What The Creator 5 Pro Adds To Your Prints
The Creator 5 Pro prints with plastic filament, supplied on spools. Instead of repeatedly pushing different colors through one nozzle, it parks one print head and picks up another. Each head keeps its own filament ready. Only one prints at a time; four heads don’t mean four objects printing simultaneously.
You can have four filaments automatically available for a job. That might mean four colors, or three colors plus a material used for removable supports. Supports are temporary structures that hold up parts of a model while it prints. Assigning one head to them leaves three for the finished object. If your designs routinely need five or more loaded filaments, this printer won’t meet that need.
The space available for printing measures 256 × 256 × 256 mm, roughly a 10-inch cube. All four heads can use it. You still need room beside the object for any supports and the structure used to prepare the nozzles, so check the complete layout before deciding a model fits.
Both Creator 5 models share that size and four-head approach. The Pro adds an enclosure with a heater rated up to 65°C, extra cooling, sensors that detect the door and lid, and HEPA13 plus activated-carbon filters. Its nozzles are rated up to 320°C, and its print bed—the surface it prints on—up to 120°C.
Those temperatures matter when a filament needs more heat to print well. They aren’t a promise that every high-temperature plastic will work. Nor is adding a cover to the base Creator 5 equivalent to buying the Pro: Flashforge says the built-in chamber heater isn’t a straightforward later upgrade.
When The Creator 5 Pro’s Four Heads Save Time And Filament
Think about how often a model changes color, not just how many colors it has. A figure with differently colored eyes, clothing and skin on hundreds of layers repeatedly switches materials. A flat sign that changes color only near the top asks much less of the printer.
A single nozzle has to push out leftover plastic, called purging, before printing a new color. Separate nozzles avoid that color-clearing step at every switch, but still need a steady flow of plastic. That produces startup waste and can require a prime tower: a separate structure printed beside your model to get each nozzle flowing properly before it returns to the object. It consumes both filament and bed space.
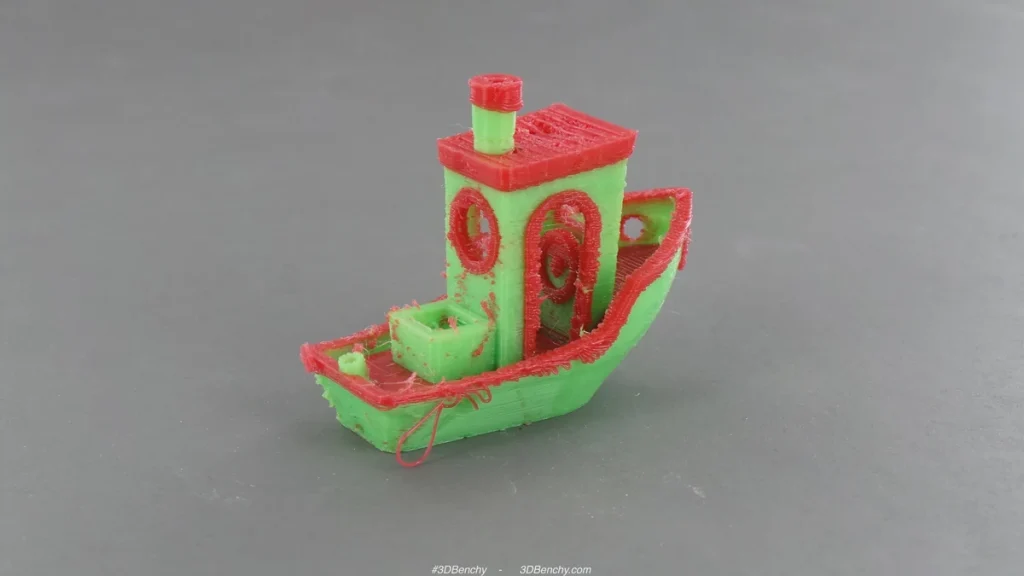
One reported four-color Benchy test involved more than 700 changes. The 16 g boat produced 36 g of waste at default settings; two rounds of adjustments reduced that to 15 g, then 8 g, without visible quality loss. The optimized print finished in 3 hours 41 minutes. The quoted single-nozzle comparison exceeded 18 hours, but that was a software estimate, not a completed comparison print.
A slicer is the program that turns a model into printing instructions and estimates time and filament use. Another reviewer used matching settings to prepare the same Highland cow planter for the Pro and a Bambu Lab P1S with AMS, its automatic filament feeder. The predictions were 12 hours 42 minutes and 62 g of tower material for the Pro, versus 19 hours 18 minutes and 128 g of total purge waste for the P1S. These were slicer predictions. A suggested 2 g Pro result without the tower was hypothetical.
The same reviewer’s three-color coasters needed only ten changes and took roughly equal printing time on both printers. Reported waste was about 1 g for the Pro’s tower versus 2 g of purging on the P1S. That comparison doesn’t establish equal startup waste, but it shows how little the Pro’s head-swapping system can gain when a print needs few color changes.
For your own models, compare the slicer’s estimates with the tower and supports included. Even a small object can need a tower that uses a lot of filament. Printing several copies together may let them share the same sequence of color changes, reducing waste per finished item.
Reduce tower waste gradually. One option is to put the plastic used to prepare a nozzle into the model’s internal filling instead. That requires enough suitable space inside the model on each layer where a change happens. A setting that works in a broad base may fail in a narrow top. Start with a successful print, reduce waste cautiously, and check for unwanted color mixing or missing plastic before committing to a long job.
How The Creator 5 Pro Handles Different Materials
PLA, a common choice for decorative prints, is the clearest starting point. Reported Pro tests reproduced fine details with little stringing—the thin threads sometimes left between separate features. That supports choosing it for colorful display models; it doesn’t establish how accurately every hole or joint will fit.
Results with PETG filament are encouraging, too. A separate hands-on Pro report described clean PETG printing with PLA supports. However, the report didn’t include strength measurements or repeated checks of whether prints came out the right size. If you want brackets or fitted cases, print a small section with the relevant holes and joints before making the whole part. A good-looking surface can’t tell you whether a screw fits or a joint will hold.
TPU, a flexible plastic, needs more attention. In one reported test, undried TPU printed poorly; drying it produced a usable result, with slower printing recommended. Budget for equipment suitable for drying your filament; don’t expect the heated print chamber to dry your spools.
There’s also a reported successful flexible TPU part printed with rigid PLA supports, although threads needed cleanup. That is a useful mixed-material result: one head prints the object and another prints its temporary supports. It doesn’t prove that a permanently joined rigid-and-flexible part will withstand pulling or repeated bending. For that, the exact filaments and the way the joint is designed both need checking.
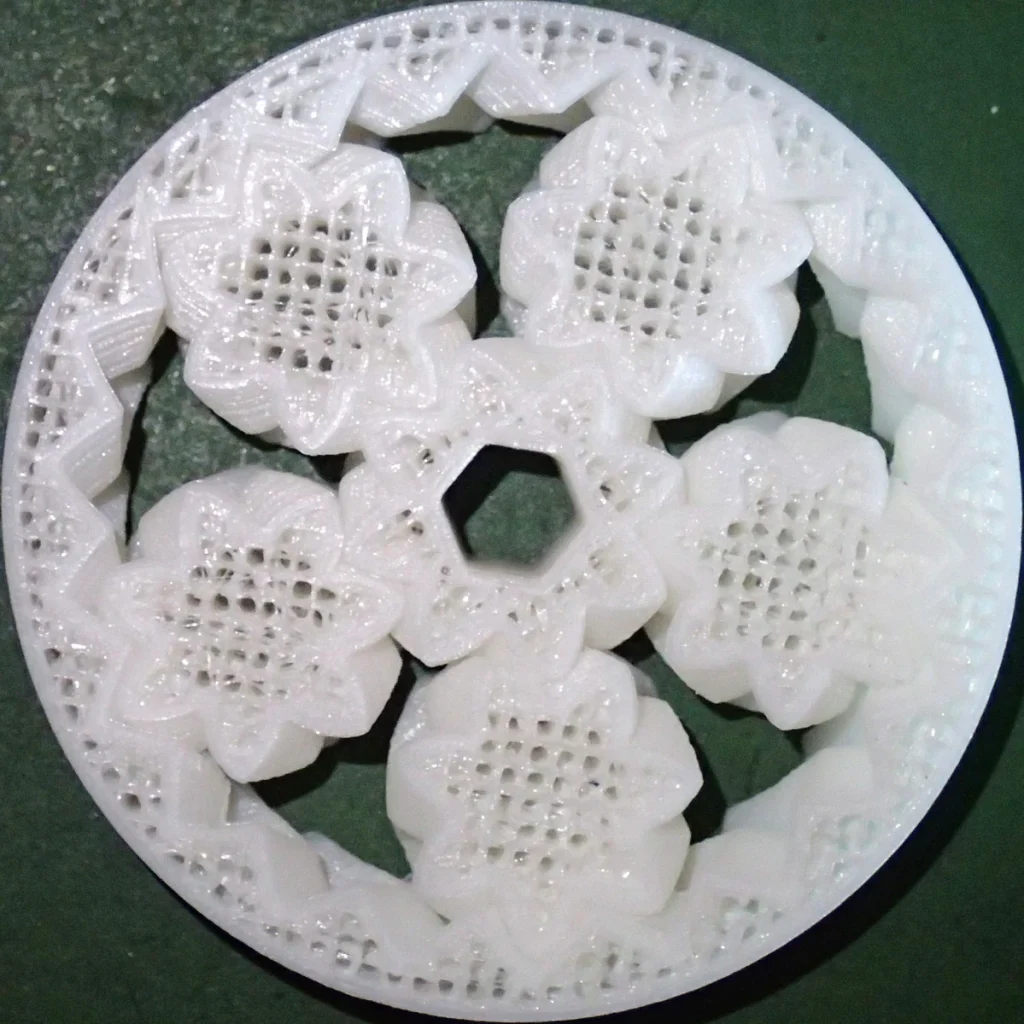
The Pro’s heated enclosure becomes more relevant with ABS. Chamber heat helps reduce the uneven cooling that can lift corners or split layers. One reported first-week test produced an ABS eagle and a moving gear spinner using about 110°C on the bed and a 65°C chamber setting. Those prints show that ABS can work well here. They don’t establish even heat throughout the chamber or how consistently parts match their intended dimensions. An attempted ABS print with PLA supports clogged early in the same testing.
Separate heads can use different nozzle temperatures, but both materials share one bed and chamber. Check that both can tolerate the same bed and chamber temperatures. Don’t choose a support filament simply because the printer can feed it.
Flashforge also lists reinforced filaments for engineering uses. If you need a part to carry a load, you’ll still need to test its strength with your chosen filament and settings. The material list alone isn’t a strength test.
The filters don’t make emissions disappear. HEPA filtration targets particles; activated carbon addresses some gases, with effectiveness depending on the filter and conditions. Plan ventilation around the printer, preferably collecting emissions close to where they leave the printer and venting them outdoors where appropriate. A closed door or reduced smell doesn’t establish safe exposure in an occupied room.
Setting Up And Using The Creator 5 Pro
Measure the space above your bench before ordering. Flashforge’s published installed dimensions differ slightly between documents, putting the printer around 71–72 cm tall, or roughly 28–29 inches, including holders and guide tubes. Allow additional room to remove the lid and reach inside. A shelf just above the printer may make filament changes harder.
You also need access around the spools, the front door and the connections. Allow space for the fully assembled printer, including its holders and tubes. Consider where a filament dryer would sit and whether you could change a spool without moving the printer. At about 18 kg, or 40 pounds, the printer is best kept in a permanent spot on a sturdy surface.
Initial setup includes removing shipping restraints, installing the print-head module and screen, attaching spool holders and assembling the cover. Then comes calibration: adjusting the printer so it puts the right amount of plastic in the right place.
Tool alignment adjusts where each nozzle prints so the four heads place their parts of the model correctly. Bed leveling helps the printer lay down the first layer, while flow calibration adjusts how much plastic comes out. A reported four-filament job spent 28 minutes preparing before printing. That’s one measured example, not a fixed delay for every job. Keep the recommended checks enabled while establishing reliable results, especially after changing nozzles or materials.
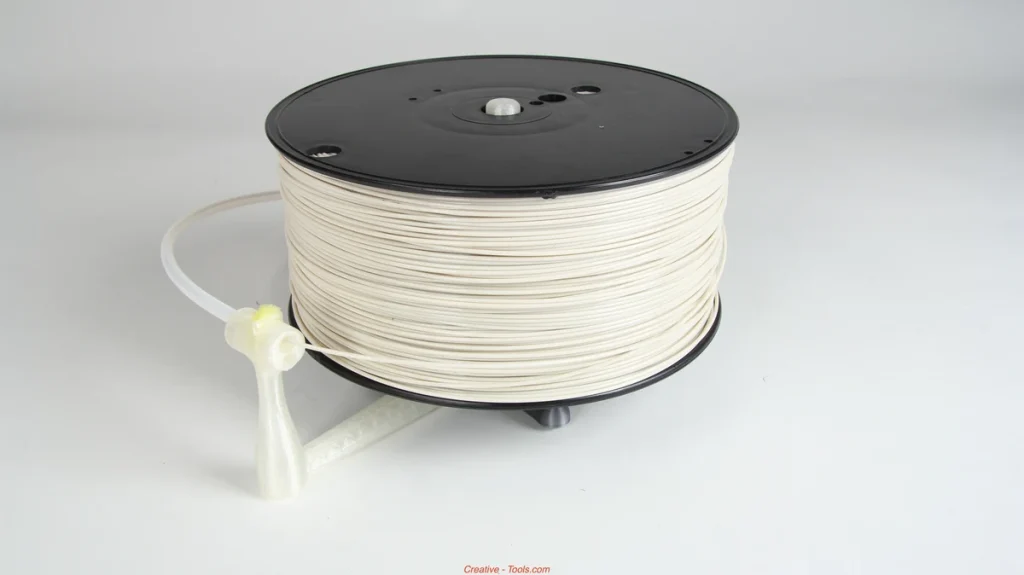
Loading is hands-on. You guide filament through its tube and operate a lever at the head to feed the last section. Unloading also involves the lever and pulling filament back yourself. You may need to lower the bed or remove the lid for access. Leaving the same four spools installed is much easier than changing the whole selection between jobs.
Flashforge’s setup guide recommends Flash Studio Desktop. The product listing also names Orca-Flashforge and OrcaSlicer, but a compatibility listing doesn’t guarantee that every version offers identical printer control. Start with the supplied Creator 5 Pro profile—the printer settings in the software—and check that the nozzle sizes and filament assigned to each head match your setup before sending a file. The mobile app requires an account and linking the printer to it; you’ll still need to learn how to prepare prints on the desktop.
The camera is best treated as a way to check progress, not judge tiny surface defects. Flashforge’s camera specifications conflict between documents, so resolution shouldn’t decide this purchase. A more useful concern is starting another print remotely. Recent hands-on reporting describes a finished-print message that can block the next remote job until someone acknowledges it at the printer. Check for that message when removing a finished print.
You’ll also need to clear scraps of purged plastic. Later hands-on reporting describes an update to the printer’s built-in software, or firmware, that moved purging from near the heater’s air intake to the rear-right corner. Keep vents clear and follow the instructions for your installed firmware; the reported change doesn’t remove the need to inspect inside.
Can You Get The Parts The Creator 5 Pro Needs?
Flashforge’s US store lists Creator 5 series nozzle assemblies, filament-feeding parts, cables, cutters, wiping pads and build plates, plus a Pro-specific HEPA filter. A listing still doesn’t guarantee that every part or size will ship promptly to your address.
The nozzle assembly page offers 0.25, 0.4, 0.6 and 0.8 mm sizes; 0.4 mm is standard. Smaller openings can help with finer features, while larger ones suit wider lines. Check which nozzle your filament requires, and make sure the slicer settings match the nozzle you install.
Being able to buy each nozzle size doesn’t mean the software can use different sizes together in one print. If you want one head to make fine details while another uses a much larger nozzle, ask Flashforge whether that combination is supported before buying parts.
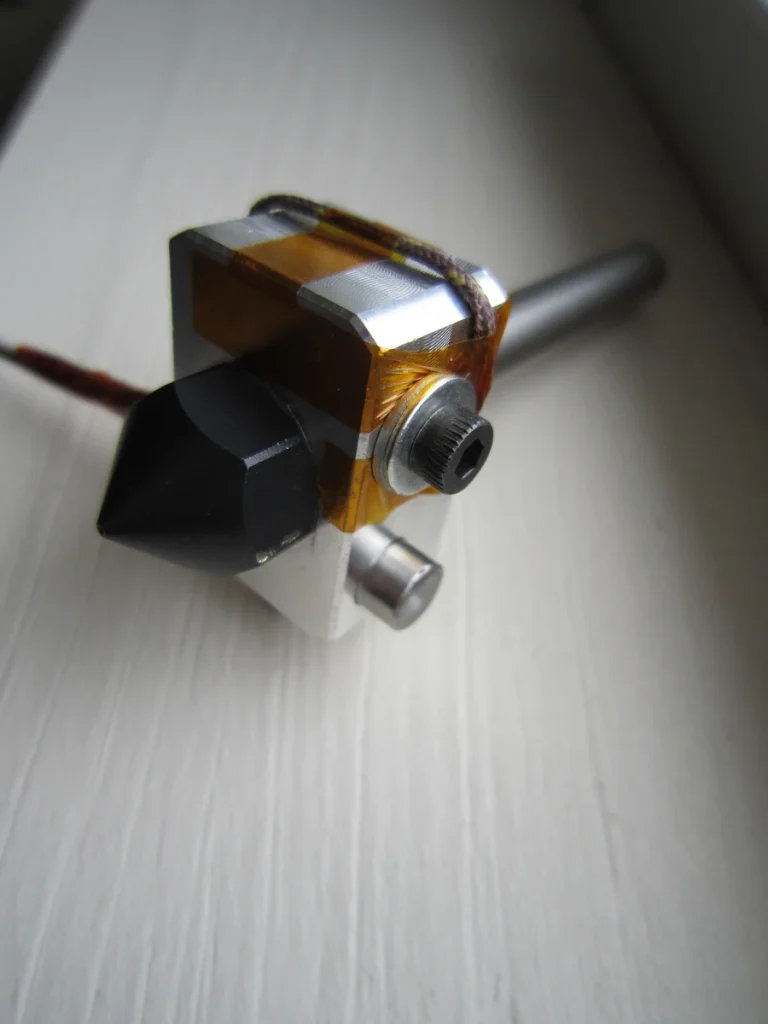
Nozzle replacement requires tools. A hands-on account describes removing two rear screws from the head to release the assembly. You may be able to do this at home, but follow the replacement procedure and recalibrate afterward. Order parts explicitly marked for the Creator 5 series; a similar Flashforge model name isn’t enough.
Warranty wording deserves attention if downtime matters. The main store policy states one year for the printer and three months for extruder parts—the parts that feed filament into the nozzle. A separate after-sales policy also excludes consumer filament printers after 400 hours of use. Ask the seller which terms apply to your Pro and keep the answer and invoice. Don’t assume the headline year means unlimited printing hours.
For paid work, I’d also want a spare nozzle assembly and a backup plan. There isn’t enough long-term evidence to promise how quickly repairs will be completed or how long the head-swapping mechanism will last. That uncertainty doesn’t prove poor reliability, but it matters if one stopped printer would delay a customer’s order.
Is The Creator 5 Pro Worth It For Your Projects?
Choose the Creator 5 Pro when you have a clear use for both its four heads and its enclosed, heated chamber. Frequent color changes, separate support materials and regular ABS projects make a stronger case than occasional two-color signs.
For mostly PLA or PETG color work, I’d lean toward the cheaper Creator 5. You retain the basic four-head approach and print size. The Pro becomes worth the extra money when you need its enclosure and chamber heating.
Skip the Pro if you need more than four automatically available filaments, larger single-piece models, effortless spool changes or assured repair turnaround. If most of your jobs use one material, a simpler enclosed printer may also leave you with less equipment to manage. When comparing costs and printing estimates, include any filament feeder or enclosure an alternative needs, and use the same model you want to print.
If you’re willing to learn, you can start with one material, get it printing cleanly, then add colors and material combinations. For someone expecting an appliance that handles every preparation step, the manual loading and cleanup will be frustrating.


