Polymaker Fiberon ASA-CF08 Review
More per kilogram than Polymaker’s ordinary ASA in small-spool purchases.
Our verdict
I’d choose a small spool of ASA-CF08 for visible outdoor covers or housings when the matte finish justifies the extra handling. It needs a wear-resistant nozzle, thorough drying and a gentle feed path. I’d keep ordinary ASA if it already delivers the finish and fit I need.
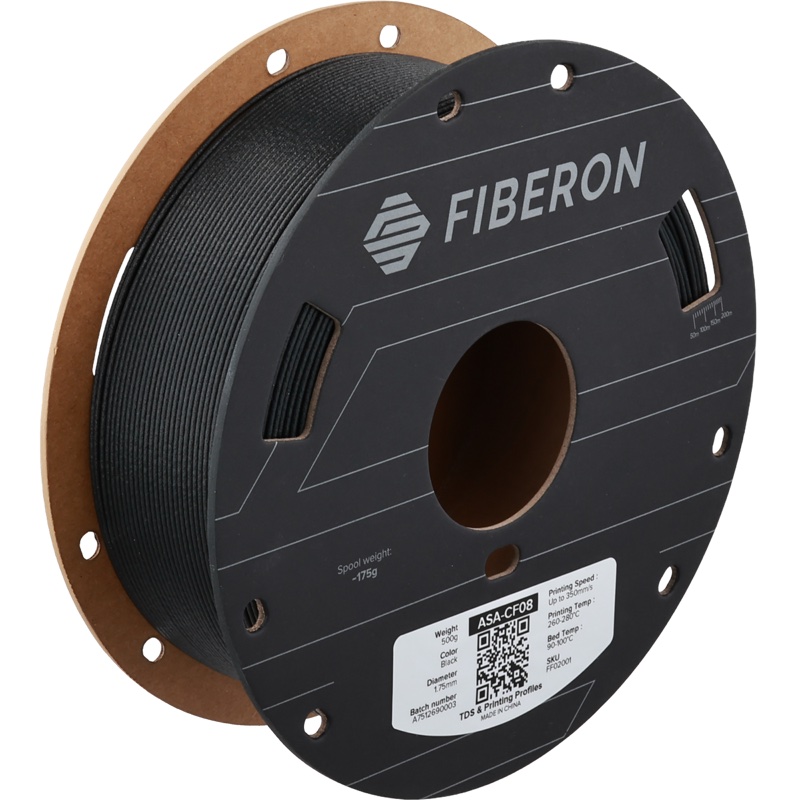
Best atVisible outdoor covers and housings where a matte surface is worth extra preparation.
Less suited toAutomatic feeding without confirmed compatibility, or parts chosen on an assumed improvement in toughness.
The Key Specs
| Material / finish | ASA with 8% carbon fiber by weightPolymaker describes a matte finish that makes layer lines less noticeable; check fit separately. |
|---|---|
| Nozzle | Wear-resistant, at least 0.4 mmUse hardened steel or another suitable wear-resistant nozzle; the fibers abrade ordinary brass. |
| Printer setup | 260–280°C nozzle; 90–100°C bedPlan on an enclosed, appropriately ventilated printer even with the reduced-warping claim. |
| Drying / storage | 90°C for six hours; below 20% RHCheck that your dryer can reach the specified temperature and keep the spool dry during printing. |
| Feeding | Bending diameter greater than 60 mmAvoid tight turns. Polymaker cautions about brittle, abrasive filament in AMS and other automatic systems. |
| Heat deflection | 103°C at 0.45 MPa; 97.3°C at 1.8 MPaThese ISO 75 figures are manufacturer specimen data, not continuous-use limits for a loaded part. |
Which Spool Should You Buy?
- 500 g spool
- I’d start here to check feeding, finish and fit on your own printer. Compare costs by net filament weight.
- 3 kg spool
- Choose it for repeat work only after the material feeds and prints reliably on your setup.
Budget For Handling And Storage. Allow for a wear-resistant nozzle, a dryer capable of the specified 90°C cycle, and a dry box for storage and feeding. An enclosure and suitable ventilation may add setup costs. Check that the spool and any adapters tolerate the drying temperature.
Also consider: Polymaker ASA. The closest useful alternative if ordinary ASA already gives you the finish, fit and performance you need; it generally costs less per kilogram.
More Material And Handling Details
| Cooling | Keep the part-cooling fan off and let the print cool naturally before removal. |
|---|---|
| Layer direction | Polymaker reports about 43.5 MPa tensile strength in X-Y and 25 MPa in Z; print orientation still matters. |
| Specimen conditions | Manufacturer strength specimens used 100% infill, a 270°C nozzle, a 90°C bed and no cooling fan. These figures do not establish a bracket’s load capacity. |
| Outdoor use | The available data does not establish years of outdoor service or long-term behavior under sustained loads. |
| Dryer compatibility | A dryer limited to 70°C cannot reproduce the specified cycle; a longer, cooler cycle is not an established substitute. |
I’d consider Polymaker Fiberon ASA-CF08 if you want outdoor parts with a matte finish and you’re prepared to handle a brittle filament. It combines ASA, a plastic sold for weather-resistant prints, with 8% carbon fiber by weight. Owner praise for its appearance makes a clearer case for trying it than claims that it’ll make every part stronger.
I’d start with a small spool for visible covers or housings. If ordinary ASA already gives you parts that fit, look good and hold up, there’s less reason to switch. The finish needs to be worth the extra preparation and care when feeding it.
Getting Your Printer Ready For ASA-CF08
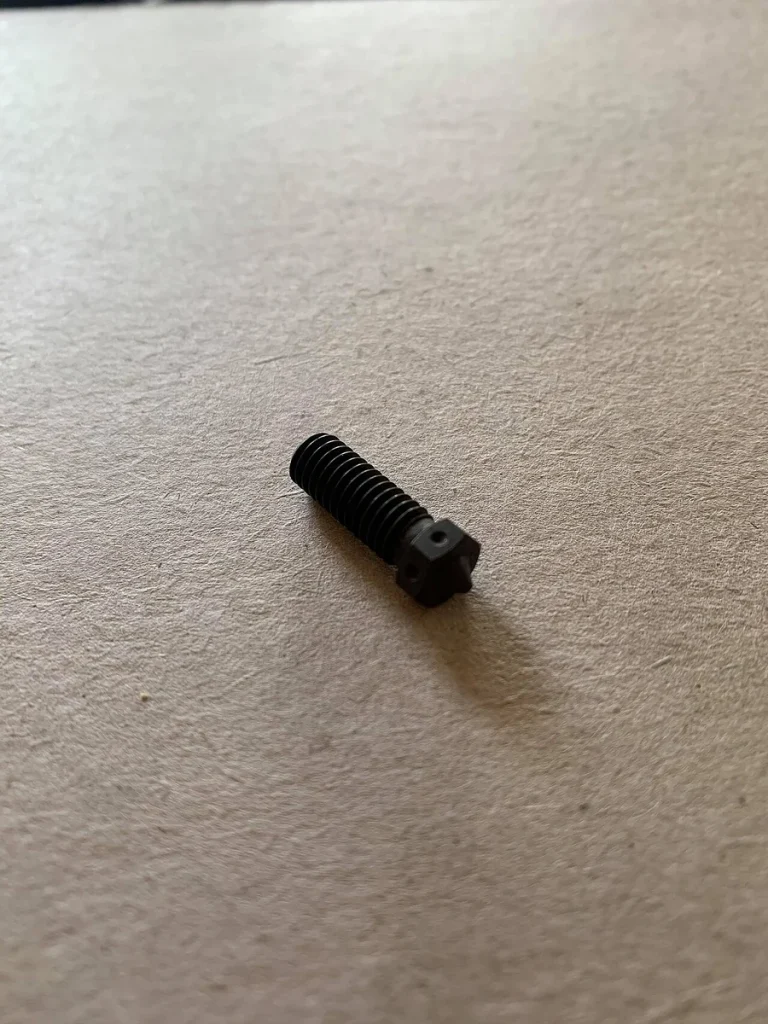
Check your equipment before ordering. Polymaker specifies a wear-resistant nozzle, such as hardened steel, with an opening of at least 0.4 mm. The carbon fibers are abrasive and can wear down an ordinary brass nozzle.
Its starting settings are 260–280°C at the nozzle and 90–100°C at the bed, the surface the printer builds on. Keep the part-cooling fan off and let prints cool naturally before removing them from the plate.
Plan on an enclosed printer. An enclosure keeps the air around the print warmer, reducing temperature differences that can make ASA warp, or curl away from the bed. Cooling too quickly can also create internal stresses that crack a print.
Polymaker’s shop calls an enclosure necessary, while its technical sheet recommends one. Despite its reduced-warping claims, Polymaker still warns of cracking in taller prints without an enclosure. I’d use an enclosed printer for consistent results.
Drying is another equipment check: the specified cycle is 90°C for six hours, followed by storage and printing below 20% relative humidity. A dryer that tops out at 70°C can’t reproduce that cycle. Even Polymaker’s standard PolyDryer has an outlet temperature of about 70°C at its highest setting. Don’t assume a longer, cooler cycle is an established substitute for this filament.
Check that the spool fits in your dryer and that it, any replacement reel and any adapters can tolerate the drying temperature. Don’t assume every spool can take the same heat as the filament. Ask Polymaker to confirm the spool’s limit if your drying arrangement differs from its instructions, especially after transferring filament onto another reel.
Your enclosure also needs suitable ventilation. Printing releases particles and gases; closing a printer door doesn’t mean you’re protected from them. Use a well-ventilated space away from where people spend prolonged periods, ideally with emissions captured and exhausted outdoors.
If you use filtration, HEPA handles particles; gases need an appropriate gas filter, such as activated carbon. Filtration supplements ventilation rather than guaranteeing clean air.
Polymaker advertises speeds up to 350 mm/s, but that’s not a proven setting for your printer and part. Look for your printer and nozzle in Polymaker’s preset service. Treat any suggested settings as a starting point to check on your own parts.
Before a long job, follow your print software’s instructions for flow-ratio calibration: adjusting how much plastic the printer deposits. Too little can leave gaps; too much can leave excess material and inaccurate dimensions. Then print a small section containing the holes or joints that matter and check the fit after it cools.
Feeding ASA-CF08 Without Breakage
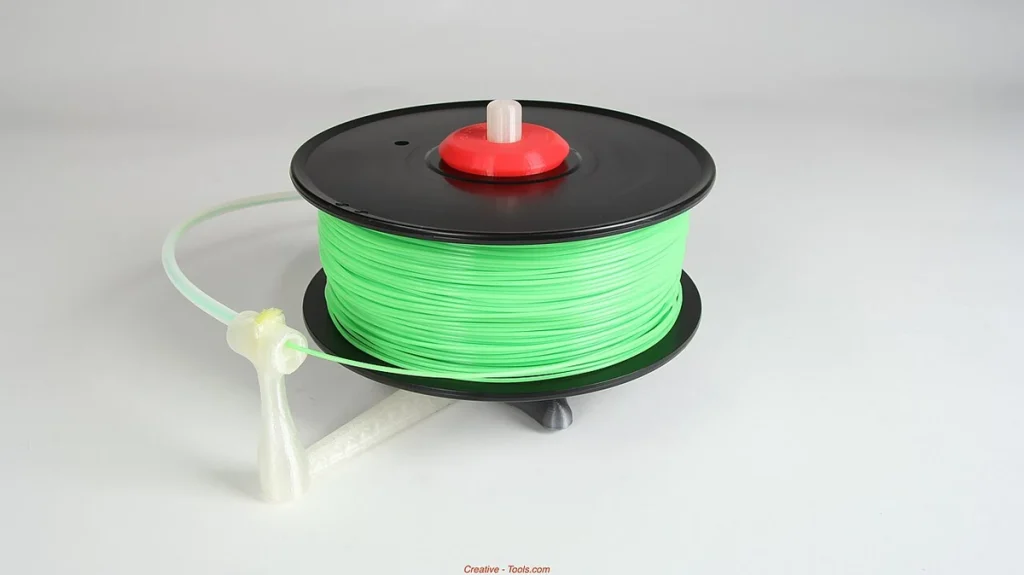
The feed path deserves as much attention as the nozzle. Polymaker warns that ASA-CF08 is brittle and says its bending diameter should exceed 60 mm. Picture the filament curving around a circle more than 6 cm across. Avoid tighter turns between the spool, guide tubes and printer, including turns that appear as the print head moves.
That requirement matters with automatic material systems, which load, pull back and rewind filament. Polymaker advises caution with Bambu’s AMS and other systems because ASA-CF08 is both brittle and abrasive. A spool fitting inside the box doesn’t mean the filament can pass through the whole route reliably.
One owner reported good AMS feeding but didn’t identify the AMS generation and also discussed an unverified store-brand equivalent. Another used a Polymaker spool on an external holder feeding the rear inlet of a Bambu P1S and said more thorough drying helped with breakage. That owner printed roughly 200 g without apparent debris in the extruder, the mechanism that pushes filament into the nozzle.
The same discussion includes a residue complaint after several spools. Its author later softened the complaint, attributed much of the debris to the plastic guide tubes and eventually described the additional maintenance as minimal. Those accounts don’t establish a defect rate or tell you to clean after a particular number of prints.
If you don’t need automatic material changes, I’d start by feeding the filament from a dry box directly to the printer, bypassing the automatic system. The box keeps the spool dry during printing; it doesn’t replace the drying cycle. Keep the humidity below 20% and use broad, gentle bends along the route.
This gives you a simpler route to inspect if something snaps, but drying doesn’t cancel the bend requirement or eliminate abrasion. Follow your equipment maker’s inspection and cleaning instructions. If reliable automated feeding is essential to your work, confirm support for your exact system and this filament before committing to it.
What ASA-CF08 Offers For Finished Parts
The finish is the most straightforward reason to try ASA-CF08. Polymaker describes a matte surface that makes layer lines less noticeable, and owners have praised the appearance. For a visible equipment cover, liking the surface can be enough to justify a trial.
One P1S owner reported a successful bracket using a 0.4 mm hardened nozzle, 275°C and 60 mm/s after a 30-minute preheat with the bed at 100°C. The reported chamber temperature stayed below 37°C. That’s useful evidence that a particular print worked, but the account doesn’t provide repeat tests, measured dimensions or a matched ordinary-ASA comparison. It isn’t a universal recipe.
Polymaker’s claim of reduced warping is promising for parts whose corners tend to lift during printing. It doesn’t prove that ASA-CF08 produces more accurate holes, stronger layer bonds or fewer failed prints than your existing ASA. A part can look tidy and still fit poorly. For a replacement housing, check screw locations and how the two halves meet before deciding the material solved your problem.
It also helps to separate three things people often call “strength.” Stiffness describes how much a part bends under force. Strength describes how much stress it withstands before failure. Impact resistance concerns sudden blows. A part that feels rigid in your hand hasn’t automatically passed the other two tests.
Polymaker reports tensile strength of about 43.5 MPa within the printed layers, labeled X-Y, and 25 MPa through the layer stack, labeled Z. MPa is a unit of stress. The lower Z result shows why the direction you print a part matters: pulling layers apart is a different demand from pulling along them. Carbon fiber doesn’t remove that difference.
The manufacturer’s specimens used 100% infill, meaning solid interiors, with a 270°C nozzle, 90°C bed and no cooling fan. A thin-walled housing with a partly hollow interior isn’t the same specimen. Those figures don’t tell you what weight your bracket can carry.
For clips that repeatedly flex or parts that take knocks, don’t choose ASA-CF08 simply because “carbon fiber” sounds tougher. Keep ordinary ASA if it already meets those needs, unless a comparison of your actual parts gives you a reason to change.
Using ASA-CF08 Around Heat And Outdoors
The headline heat figure needs its test load beside it. Polymaker’s technical sheet lists a heat-deflection temperature, or HDT, of 103°C at 0.45 MPa and 97.3°C at the higher stress of 1.8 MPa, under ISO 75. HDT measures when a specimen bends by a specified amount as it’s heated under load. It isn’t the temperature at which every printed part suddenly fails.
It also isn’t permission to use a loaded part continuously near 100°C. Your part’s shape, load and time in the heat matter. A cover sitting over an instrument and a narrow arm supporting that instrument ask different things of the material. The published figures don’t supply a continuous-use limit for either design.
ASA-CF08’s outdoor positioning makes it a plausible candidate for exposed covers and housings. But ordinary ASA is also sold for resistance to sunlight and weather, so carbon fiber isn’t a prerequisite for that job. The available product data doesn’t establish how many years ASA-CF08 will retain its color or strength outdoors, or that it will outlast ordinary ASA.
Sustained loads raise another unanswered question: creep, the slow change in shape while a part stays under force. A bracket looking straight just after installation doesn’t establish that it’ll stay straight through repeated hot days. The published data doesn’t establish its long-term behavior under sustained loads.
A trial may be reasonable if you can inspect the part easily and its failure wouldn’t cause harm. For a mount whose failure could injure someone or drop expensive equipment, these specifications and owner accounts aren’t enough to approve the design.
Is ASA-CF08 Worth Buying For Your Parts?
ASA-CF08 generally costs more per kilogram than Polymaker’s ordinary ASA in small-spool purchases. Check the net filament weight: its smaller spool contains 500 g, so comparing its sticker price with a 1 kg ASA spool understates the difference. A 3 kg option also exists, but I’d avoid buying that much before checking how the material feeds and prints on your machine.
Buy a small spool if you want the matte appearance, have an enclosed and appropriately ventilated printer, and can meet the drying and nozzle requirements. Visible outdoor housings are a sensible place to start, provided you check the fit and intended conditions. Judge the result against an ordinary-ASA version if you’re deciding whether to switch materials for repeated work.
Skip it for now if your setup can’t handle the preparation, if you need automatic feeding but can’t confirm support, or if your main reason is an assumed jump in toughness or layer bonding. Ordinary ASA remains the closest useful alternative when it already does the job.


