RatRig V-Core 4 Review
CoreXY costs less; Hybrid, IDEX and a complete enclosure add to the total.
Our verdict
I’d choose the V-Core 4 for large, one-piece parts and control over the hardware, provided I could make time for assembly, calibration and repairs. For a new build, I’d start with the 4.1 revision and choose the smallest size that comfortably fits my parts.
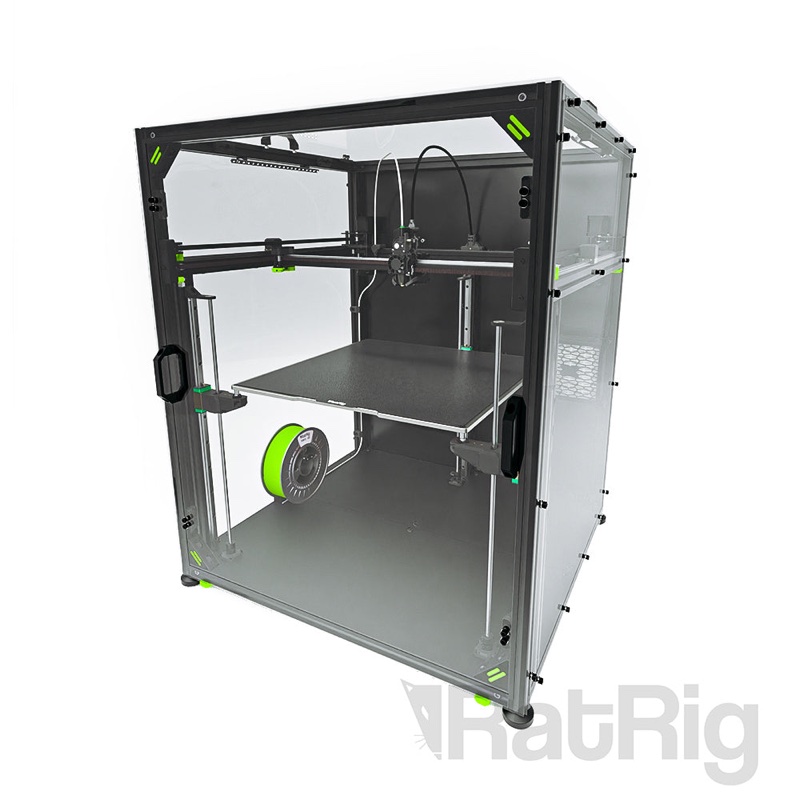
Best atLarge parts for builders who want to assemble, tune and maintain their own printer.
Less suited toA first printer for someone who mainly wants finished parts with little setup or troubleshooting.
The Key Specs
| Print area | 300, 400 or 500 mm cubeChoose room for the part, supports and adhesion borders. |
|---|---|
| Assembly | DIY kit; contents depend on the orderCheck electronics and printed parts before budgeting the build. |
| Two-head option | IDEX supports two materials, copy and mirror modesCopy and mirror modes reduce the space available to each head. |
| Warm-up | Bed and frame need time to settleReaching the bed sensor’s target does not mean the whole print surface is ready. |
| Revision | 4.1 adds a steel crossbeam and revised metal toolheadCheck the revision; original 500 Hybrid results do not establish 4.1 performance. |
Which Version Should You Buy?
- CoreXY
- Choose one head and the simplest configuration if you do not need the upgrades.
- Hybrid
- Consider it when higher acceleration would help your jobs; movement demonstrations alone do not establish time saved.
- IDEX
- Choose it for two-material parts or copy/mirror printing, after checking the usable area for each head.
- Original 4.0 or used build
- Factor in condition, software history and needed upgrades; check whether an early power inlet required replacement.
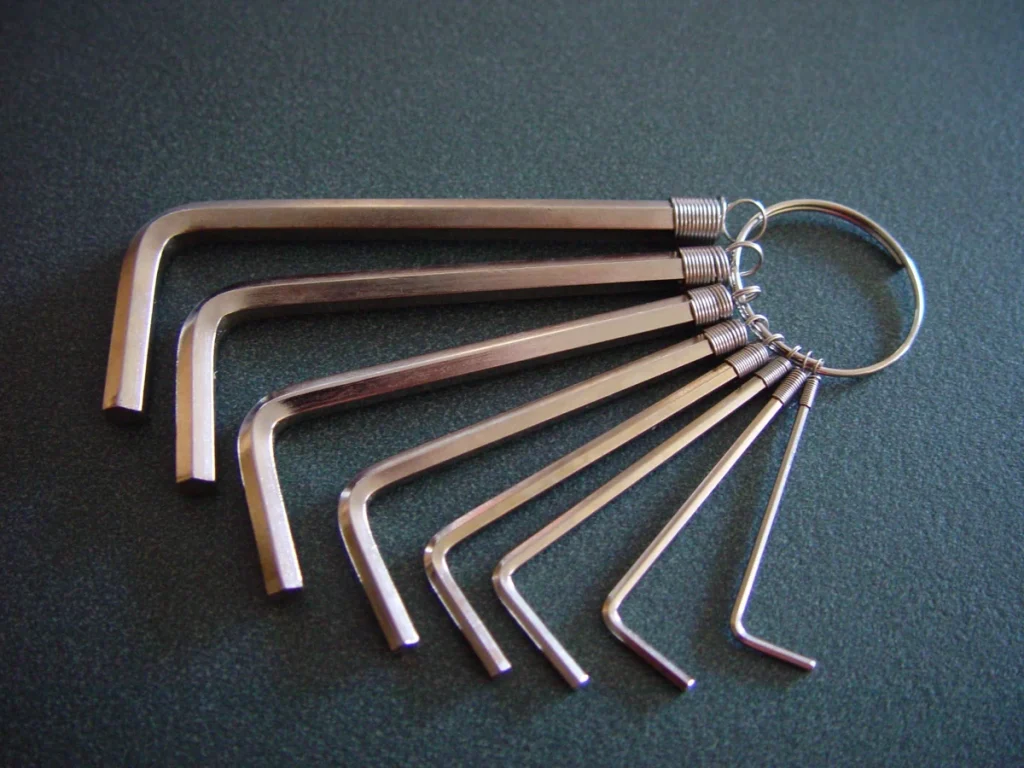
Budget beyond the printer. Allow for any missing electronics and printed parts, enclosure panels, hex keys and other assembly tools, shipping, and any paid assembly or electrical help. Check the itemized kit list; the starting package does not cover everything.
Also consider: Creality K2 Plus. Consider it if your parts fit within 350 × 350 × 350 mm and you want much less assembly. It lacks independent dual heads and the 500’s larger one-piece capacity.
More Specs And Ownership Details
| Workspace | The 4.1 500 body is approximately 823 × 783 × 985 mm; leave additional access for spools, panels and repairs. |
|---|---|
| Enclosure | Panels are excluded from the current 4.1 package; buy and fit them separately. |
| Setup software | RatOS guides setup in a browser; hardware selection and calibration remain your responsibility. |
| Filament monitoring | Check whether a sensor is included, then install and configure it for your hardware. |
| Repairs | Match replacement parts to your actual hotend, wiring and revision. |
I’d consider the Rat Rig V-Core 4 if you need large, one-piece prints and want to build and maintain the printer that makes them. You’ll need to assemble it, allow time for it to warm up before printing, and troubleshoot problems before you can expect dependable results. I wouldn’t choose it as a first printer for someone who mainly wants finished parts.
Check the revision: Rat Rig now sells the V-Core 4.1. Early reported testing used a supplied original 500 Hybrid with one print head, preassembled apart from bed installation. It doesn’t establish how every size, revision or two-head configuration performs.
Which V-Core 4 Configuration Makes Sense For You?
The V-Core 4 family comes in three advertised print sizes: 300 × 300 × 300, 400 × 400 × 400 and 500 × 500 × 500 mm. Those numbers describe space for a print; the printer itself takes up more room. The largest gives you roughly 19.7 inches in each direction.
Think about a part you actually want to print. Include any temporary supports needed beneath overhanging sections, plus any extra plastic around the base that helps it stick. A model that only just fits the advertised dimensions may leave no room for those additions.
| Configuration | What you’re buying it for |
|---|---|
| CoreXY | One print head, with belts moving it across the bed. The simplest configuration if you don’t need the upgrades. |
| Hybrid | Additional motors and belts help move the crossbeam that carries the print head forward and backward. It still has one print head; the aim is to speed up and slow down faster without spoiling the print. |
| IDEX | Two independently moving print heads let you use two materials in one print, or print two copies at once, including mirror-image pairs. |
In IDEX copy and mirror modes, the heads share the bed, so each has less space available. Before choosing IDEX, compare your model’s dimensions, including supports, with the per-head area in Rat Rig’s 4.1 chart for your size and mode.
These modes are supported features, but the single-head test doesn’t show how consistently two heads can print together or whether their materials line up correctly.
The 4.1 adds a steel crossbeam, a revised metal print-head assembly and different print-head electronics. Rat Rig offers upgrades for original 4.0 printers in all three sizes and configurations; printed parts aren’t included in those upgrade kits.
Rat Rig has also announced a final production run for the 300 and 400 sizes. Confirm the model and revision your seller can supply before planning around either.
What Does Building The V-Core 4 Involve?
Expect to assemble the frame, install rails and belts, build the print head, connect electronics and calibrate the finished printer. The frame’s corners need to form right angles, and the moving parts need to slide freely. Software can’t fix parts that get stuck as they move.
Kit contents depend on the order. In the current 4.1 configurator, the starting package contains structural and mechanical components; electronics are an additional selection. Enclosure panels are excluded. For an original V-Core 4 kit, check its own itemized parts list rather than assuming it matches today’s package.
Before buying, check whether your order includes the controller, power supply, bed heater, wiring and computer that runs RatOS, the printer’s control software. You also need the hotend that melts the plastic filament, the extruder that feeds it, and the probe that measures the bed’s height. Confirm which printed plastic parts are included, too.
If you buy components separately, you’ll need to check that they work together. Rat Rig publishes files for making enclosure panels, but you’ll still need to buy and fit those panels.
A documented customer build of a 400 mm IDEX took about 34 hours through initial setup, plus another day of tuning. That’s one builder’s experience, not a promised build time. They found the mechanical instructions manageable but encountered confusing electronics documentation tied to different kit batches. A separate 500 Hybrid build account also described awkward belt routing and limited tool access.
Have metric hex keys, suitable wrenches, cutters and pliers ready. Original-kit builds can also involve crimping connectors onto wires and using a soldering iron to install metal inserts that hold screws in printed plastic parts. The 4.1’s advertised premade wiring is a revision-specific improvement.
Electrical work should follow the guide for the actual supplied components; arrange qualified help if that work is beyond your skills.
RatOS guides you through setup in a web browser, but you still need to select the right hardware and calibrate the printer.
Plan the workspace before assembly. The current 4.1 500 is approximately 32.4 inches wide, 30.8 inches deep and 38.8 inches tall. Allow additional access for spools, panels and repairs, and measure the route through your doorways. A printer that fits the bench can still be awkward to service there.
Can The V-Core 4 Use Its Full Print Area Well?
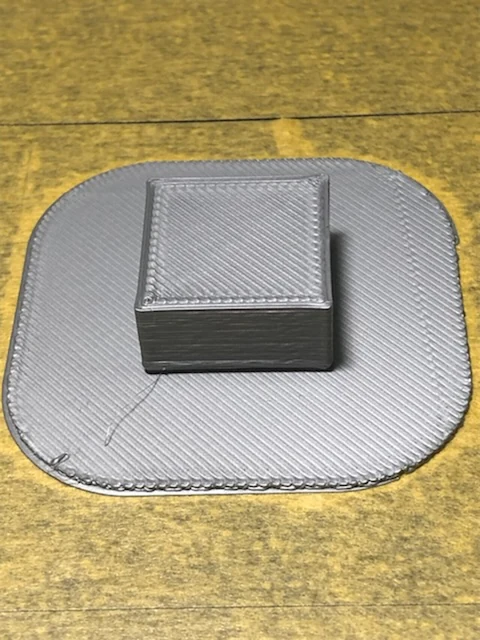
To make use of the large bed, you need the first layer of plastic to stick evenly across the area your part occupies. That depends on the nozzle staying the right distance above the surface. A small successful print near the center doesn’t show that a broad panel will work equally well.
In the reported original 500 Hybrid test, the 8 mm aluminum bed’s sensor reached 120°C in about 8½ minutes. After more than 26 minutes, the thermal camera read only 107°C at the surface, with over 10°C between center and edges. The reviewer cautioned that absolute camera readings could be off by 5–10°C; room temperature wasn’t specified for this test. The useful finding is that reaching the sensor’s target temperature doesn’t mean the whole surface is ready.
The frame and crossbeam also change shape as they warm up, which can change the nozzle’s distance from the bed. Waiting for those changes to settle is called heat soaking. The time needed depends on the printer size, bed temperature, enclosure and room conditions.
That machine’s first full 500 × 500 mm layer failed as the nozzle moved too close to the bed across the width. After investigating crossbeam twist and mostly correcting its sag, the reviewer achieved an almost perfect full-bed layer. Later in the same test, consistent first layers were still a struggle, so that success didn’t establish a lasting fix.
The 4.1 uses a steel crossbeam to address a problem with the original design: its aluminum beam and steel rail expand differently as they warm up. Rat Rig also pairs it with newer calibration routines. These changes don’t establish that every new build will produce perfect first layers.
Current RatOS offers adaptive heat soaking, using the Beacon probe to assess whether changes in shape as the printer warms up have settled. Its maximum first-layer duration setting must cover the time your longest first layer takes; otherwise, continuing changes in shape can spoil that layer.
RatOS’s first-layer guidance also stresses a clean nozzle and bed. For contact-based calibration, the nozzle touches the bed to measure its height, so debris can interfere with the reading.
In a separate enclosed trial with the garage at 15–17°C, the air inside the original 500’s enclosure reached about 40°C after 47 minutes with the bed set to 110°C, then nearly 47°C during printing. The reviewer reported a good printer part in CR3D ABS FibRC20, a glass-filled ABS. The temperature measurement location and part dimensions weren’t specified.
ABS and ASA plastics can shrink and lift off the bed as they cool. That successful job doesn’t establish that the enclosure will stay warm enough for your largest part.
What Does Hybrid Change About Printing Speed?
Hybrid is intended to improve how quickly the moving crossbeam can speed up and slow down. That’s useful because a print head repeatedly changes direction; it doesn’t spend the whole job moving at its maximum speed.
Faster acceleration can cause vibration that leaves marks on prints. Software called input shaping reduces those marks, but can also smooth away detail. Its calibration recommends an acceleration setting that limits that loss of detail.
In the reported original 500 test, connecting Hybrid’s extra motors and belts roughly doubled that recommendation to 6,000 mm/s² compared with disconnecting them. This supports considering Hybrid, but doesn’t establish settings for other sizes or IDEX.
Travel speed describes movement when the nozzle isn’t depositing plastic. At 1,000 mm/s, the test increased acceleration in 2,000 mm/s² steps until the motors could no longer keep the head in its intended position. Regular CoreXY repeatedly failed at 16,000 mm/s²; Hybrid mostly failed at 34,000, but sometimes in the low 20,000s.
Those unexplained failures at lower acceleration make the peak unsuitable as a normal setting. This was a movement stress test, not evidence of print quality at those speeds.
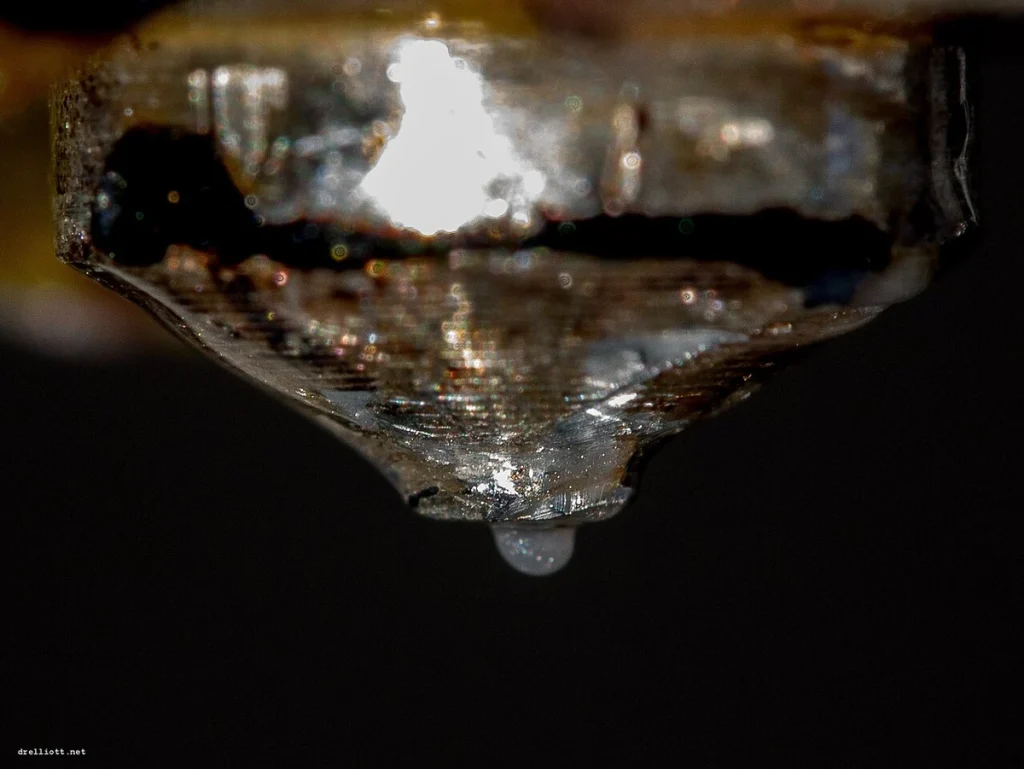
The hotend also has to melt enough plastic to keep up. The reviewer tested this by weighing plastic pushed through a 0.4 mm nozzle. A weight about 5% below the reference sample marked insufficient flow.
Sunlu PLA+ reached about 30 mm³/s at 220–230°C, while Rat Rig Punkfill PETG reached about 40 mm³/s at 250°C. These are volumes of plastic per second, not completed-print speeds. All reported flow results followed hotend replacement and feed-tube repairs; they don’t describe an unmodified kit or universal limits for those materials.
A wider line or thicker layer needs more plastic for every millimeter traveled. Once you reach the hotend’s limit, faster motors won’t help. Cooling and overhanging sections can require slower printing as well.
Compare complete jobs with the same material and quality requirements, including warm-up and failed starts. The repaired printer completed the 21-hour print described below, but there’s no equivalent CoreXY job time to show how much time Hybrid saved. I wouldn’t pay for Hybrid solely because a movement demonstration looks fast.
What Might Need Attention After V-Core 4 Setup?
With the V-Core 4, you can replace individual parts, but you’ll also need to work out which part is causing a problem. The reported 500 Hybrid test shows why that matters.
An early 500 mm Eiffel Tower printed badly despite drying filament and adjusting settings. Replacing the Rapido 2 hotend was followed by a good tower. The reviewer relayed Rat Rig’s explanation of a possible faulty batch; that doesn’t establish a fault across all V-Core 4 hotends.
A subsequent Hulk print failed after more than a day because its filament guide tube folded and restricted feeding. After changing the tube connection and adding a spool guide, the reviewer completed a good 500 mm Hulk in 21 hours, using 800 mm/s travel at 30,000 mm/s². The filament was still hard to pull through the roughly 3.5 m tube. Leave room to change spools and inspect the feed route.
Rat Rig sells the Orbiter 2 Smart Sensor, which detects when filament runs out or tangles, and current RatOS supports setting up filament sensors. Check whether your package includes a sensor; it needs to be installed and set up correctly to help protect your prints.
Rat Rig lists replacement parts separately, including belts, the pulleys that guide them, build surfaces, bed plates and print-head components. Its current Rapido 2.0 Plus UHF hotend listing also specifies a replaceable heater and temperature sensor. Match replacements to your actual hotend and wiring; an older printer may have a different version from the one in the current catalog.
Software upkeep can require more than pressing an update button. Moving from RatOS 2.1.0-RC3 to RC4 requires a fresh installation, and the documentation warns against blindly restoring old custom settings. That matters for a used V-Core 4 with an unknown configuration history.
The 500 test covered about 110 printing hours alongside troubleshooting—too little to establish long-term reliability. The 400 IDEX builder later reported months of dependable operation after belt adjustment; neither account establishes defect rates across the range.
For US buyers, Rat Rig’s published warranty is one year and covers qualifying defective parts. It excludes assembly and overall machine performance. Support may help diagnose a problem, but the warranty doesn’t promise to finish your build or guarantee a production schedule.
Is The V-Core 4 Worth It For Your Prints?
I’d put the V-Core 4 on your shortlist if your parts need its larger sizes, you want control over the hardware, and you can spend time building and maintaining it. Choose the smallest version that comfortably fits those parts. Add Hybrid if faster movement will help with your prints, or IDEX if you need its two-head printing modes.
For a new purchase, I’d start with the current 4.1 rather than seek out an original 4.0 by default. Its changes address how parts change shape as the printer warms up and how the print head is assembled.
An older printer can still make sense, but factor in its condition, hardware and software changes, and any upgrades you actually need. Before buying an early kit or used early-build printer, ask Rat Rig whether its batch needs a replacement power inlet—the socket for the power cord—and confirm any required replacement was completed.
Compare the full cost, including mechanical parts, electronics, printed parts, panels, tools, shipping and any paid assembly or electrical help. The starting kit price doesn’t cover everything. Skipping hardware you won’t use costs less, and your assembly time has value even if you enjoy it.
If your parts fit within 350 × 350 × 350 mm and you want much less assembly, the preassembled Creality K2 Plus is a useful alternative to consider. It can’t print parts as large as the 500 can in one piece and doesn’t have independent dual heads, but having the structure assembled at the factory saves you much of the building work.


