Anycubic Photon P1 Review
Step up from basic resin printers · Dual kit costs a little more
Our verdict
I’d choose the standard P1 for regular miniature and display-model printing when its heated tank and guided plate adjustment would help. I’d add the dual kit for separate small parts in different resins, accepting its unheated tanks. If your current heated printer already handles those jobs well, I’d keep it.
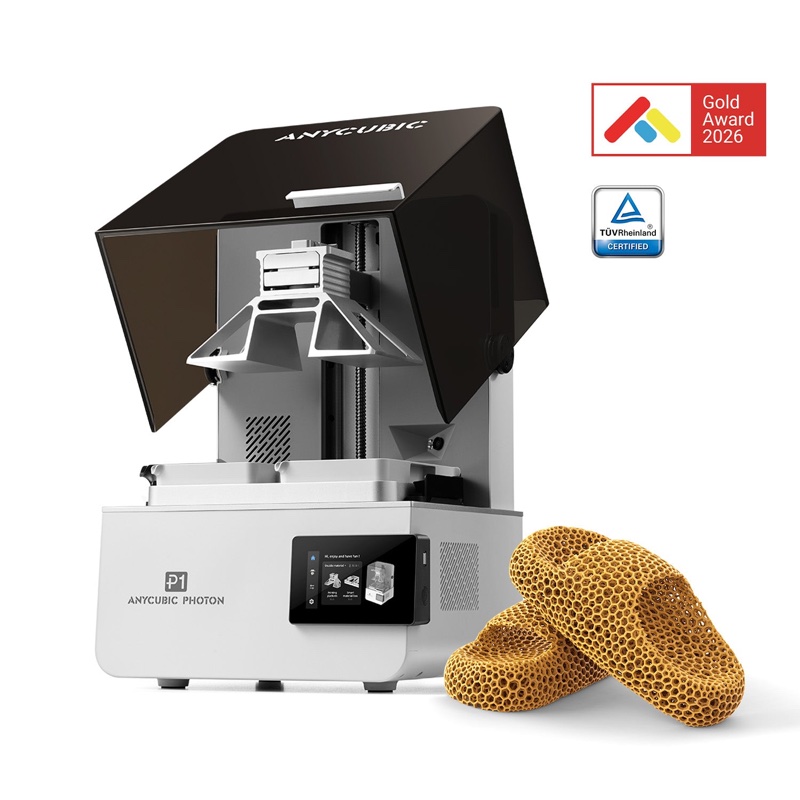
Best atRegular single-resin hobby printing with tank heating, plus optional separate-part dual-resin jobs.
Less suited toSingle-piece multicolor prints, heated dual-vat printing, or upgrading only for the 14K screen.
The Key Specs
| Build space | 223 × 126 × 230 mmFit angled models and supports in the slicer; the 126 mm depth can limit wide poses. |
|---|---|
| Tank heating | Standard tank onlyThe smaller dual tanks lose this benefit; use them in conditions suitable for your resin. |
| Dual-material option | Two tanks and matching platesPrint separate objects in different resins in one job; assemble matching parts afterward. |
| Plate adjustment | Manual screws with four-corner pressure guidanceThe printer guides leveling, but you still make the adjustments. |
| Screen | 10.1-inch 14K; 16.8 × 24.8 µm pixelsPixel size does not establish finished-part accuracy; resin, orientation and curing also matter. |
| Listed print speed | 25–35 mm/h with standard resin at 0.05 mm layersA conditional height rate; model height and settings determine the wait. |
Which Version Should You Buy?
- Standard P1
- Choose this for mostly single-resin jobs that benefit from the heated tank and full build area.
- P1 with Dual-Material Kit
- Costs a little more. Choose it for separate small jobs in different resins when tank heating is unnecessary.
- P1 with Wash & Cure 3 Plus
- Choose it if you need washing and curing equipment. Check model fit and package contents; do not assume the dual kit is included.
Budget beyond the printer. Allow for resin, washing and curing equipment, cleaning supplies, ventilation and protective equipment appropriate to your resin. Replacement release film and screens are additional ownership costs; check availability before buying.
Also consider: Anycubic Photon P1 Max. Costs more, with 285.5 × 214 × 300 mm of build space for larger models or fewer pieces to assemble. Check that those models also fit your washing equipment.
More Specs And Ownership Details
| Dual-vat software | Photon Workshop provides separate settings for each side. Check the final preview before printing. |
|---|---|
| File transfer | USB, Wi-Fi and Anycubic app options; verify your chosen software’s transfer method if files must stay off cloud services. |
| Workspace | Leave room to lift out and drain a wet build plate, then move it into washing equipment. |
| Resin replenishment | The P1 lacks automatic resin refilling. |
I’d consider the Anycubic Photon P1 if you print miniatures or display models regularly and want a heated resin tank, guidance as you adjust the build plate, and the option to print two different resins at once. Its most interesting upgrade is also easy to misunderstand: the dual-vat kit makes separate parts in separate tanks. It doesn’t automatically put two colors into one continuous piece.
At the listed $499 US sale price, I’d consider the P1 a sensible step up from a basic resin printer. Anycubic’s US store listed the printer with its dual-material kit for $519 before tax. The kit costs only a little more in that bundle, but there’s a catch: the smaller dual vats don’t have the heating available in the standard tank.
If you’re already getting good results from a similarly sized heated printer, there’s less reason to switch. The 14K screen alone wouldn’t persuade me to upgrade.
What The P1’s Dual-Vat Kit Actually Does
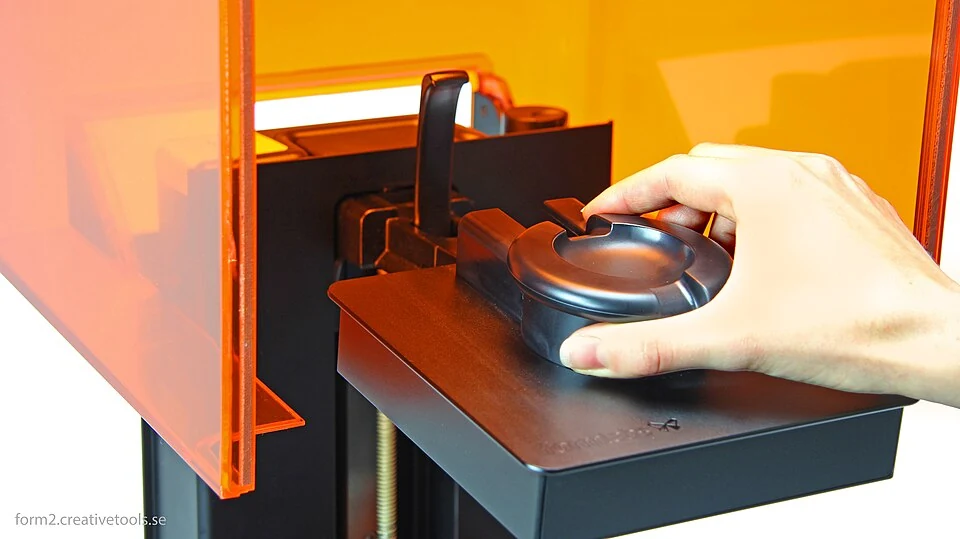
The standard P1 uses one resin tank and one build plate—the metal platform your print attaches to. The optional kit replaces them with two smaller tanks and matching plates. You can put a different resin or color on each side and print separate objects during the same job.
You could print a gray miniature on one side and a clear display accessory on the other, or two separate parts that need different resins. If those parts belong together, you’ll still assemble them afterward. The printer can’t move an object between the tanks to change materials as it prints.
A reported hands-on test demonstrated the arrangement with separate yellow and green character models at a 0.05mm layer height. Both printed successfully. That is the kind of two-color job the kit supports. It shouldn’t be confused with printing a single figure that already has differently colored eyes, clothes, and skin.
Each object has less room in the dual setup. With the standard plate, a model can use the full printing area. With the dual kit, each part has to fit on its own side.
Supports—the temporary structures that hold up parts of a model while it prints—also take up space. Include them when checking whether your model fits.
The bigger limitation is temperature. Anycubic says the dual tanks don’t have heating. If you’re buying a P1 for its heated tank, you’ll lose that benefit when you switch to the dual kit.
I’d add the kit if you regularly have two small jobs that need different resins. If you mostly print large figures in one gray resin and paint them afterward, you’ll probably spend more time with the standard tank.
Model Size And Detail On The Photon P1
The P1’s standard build space is 223 × 126 × 230mm: roughly 8.8 inches wide, 5 inches deep, and 9.1 inches tall. That’s useful room for groups of miniatures and larger display pieces. For wide bases, spread wings, or a figure holding a long weapon, pay particular attention to the 126mm of space from front to back.
Check the fit in a slicer, the software that turns a model into layer-by-layer instructions for the printer. Load a few models you want to make, turn them to the angle you expect to print, and add supports. Then check whether they fit inside the available printing space. A model’s upright dimensions don’t tell you how much room it will need once it’s angled and supported.
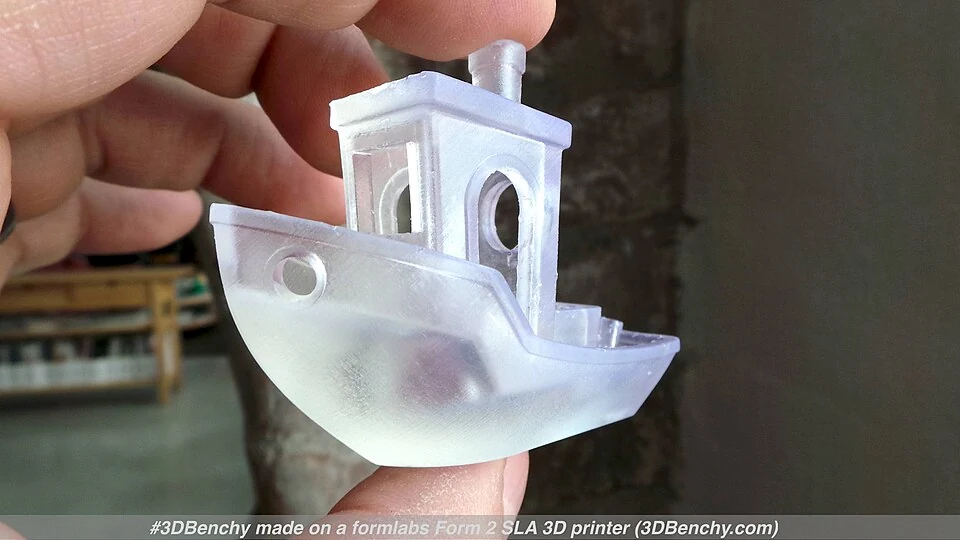
Reported tests suggest the P1 is a good fit for detailed hobby work. One evaluation used standard and ABS-like Anycubic resins across approximately 20 models, including figures and small engineering parts, and reported no print failures. That’s a limited test run, not a measure of long-term reliability.
Very thin connections on one model also deteriorated during washing and needed thickening. Washing removes leftover liquid resin from the printed model; curing then uses more light to finish hardening it. Successful printing doesn’t guarantee a delicate part will survive cleanup.
For tiny fingers, swords, or narrow ankles, resin choice and the thickness of those features still matter, even when the printer reproduces the shape correctly.
The P1 uses light to harden resin in layers. Its 10.1-inch screen has a 14K resolution, with pixel dimensions of 16.8 × 24.8 microns. Those figures describe the screen’s light pattern, not how closely a finished part will match the dimensions in your design.
The resin, the model’s position, the time each layer receives light, and the final curing also affect the result.
For miniature painting, I’d put more weight on clean faces, fabric texture, and surfaces that don’t need much repair than on the screen label. For parts that must fit together, print a small sample of the connection before committing to the whole project. The P1’s specifications alone can’t tell you whether your particular joint will fit.
Setting Up And Printing With The P1
The P1 arrives assembled and factory-calibrated, but you may still need to level the build plate. Leveling aligns the plate with the screen beneath the resin tank so the gap is even across the printing area. That helps the first layers form evenly and stick to the plate.
You turn the leveling screws yourself; the printer shows pressure readings at the four corners to guide your adjustments. Follow the setup prompts. This assistance doesn’t replace suitable resin settings or supports for your models.
The standard heated tank is one of the better reasons to choose this printer if your printing room gets cold. Resin that’s too cold can need more time under the light to harden properly. The heater helps keep it within its recommended working temperature so cold resin is less likely to undermine your print settings.
In one reported evaluation, the standard heated setup produced successful prints in a workshop at around 5–10°C. That’s one test result, not a recommended operating range or a promise that every resin will work in any cold room.
Use the temperature recommended for your resin rather than turning the heat up simply because the printer allows it. One reported evaluation found that thick resin warmed more slowly at the top of the tank than at the bottom. Allow time for it to warm through.
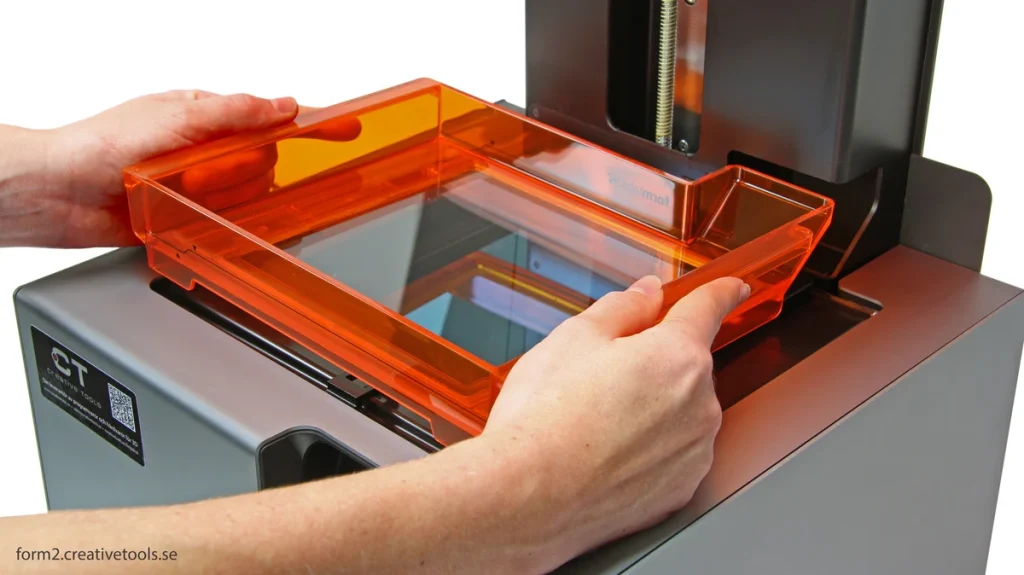
Each newly hardened layer has to separate from the release film, the clear bottom of the resin tank. This pulls on the model and its supports. Anycubic’s Wave Release system is intended to reduce that force, but I wouldn’t assume the advertised improvement will apply to every job.
Anycubic lists a printing speed of 25–35mm per hour with standard resin at a 0.05mm layer height. That describes how quickly the print grows in height under those conditions. It won’t tell you exactly when your model will finish: the object’s height, settings, and preparation still determine how long you’ll wait.
Don’t compare that figure directly with a rival’s maximum speed using special fast resin and thicker layers. For a useful comparison, prepare the same model at the same layer height in each printer’s software. If you’re printing overnight, a modest time difference may matter less than it would when you’re trying to finish another batch before leaving work.
Choosing Software For The Photon P1
Photon Workshop is Anycubic’s own slicer. It’s the clearest starting point for dual-vat printing on the P1 because it offers separate settings for the two sides.
Before starting a dual-vat job, look at the slicer’s final preview and make sure each model is entirely on the intended side. In one reported test, the software used the center of the whole plate, so the reviewer had to move each model to the center of its own half. That finding applies to the tested version; it doesn’t establish that the problem persists in the current software.
If you prefer the CHITUBOX slicer, its current documentation lists support for the Photon P1 and its .pp1 print files. That doesn’t establish support for every dual-vat function. If you want to use the kit, confirm that CHITUBOX supports the dual-vat settings you need before switching from Photon Workshop.
You can carry a print file to the printer on a USB drive. Wi-Fi and the Anycubic app also offer remote options, but that doesn’t mean every slicer can send files directly over your local network. If you need to keep project files off a cloud service, check whether your chosen software can transfer them without uploading them to an online service.
I wouldn’t choose the P1 mainly for its automatic speed adjustments. Anycubic’s Dynamic Release 3.0 varies how far and how fast the plate lifts as each layer separates. Light-Off Compensation 3.0 adjusts the pause before the next layer receives light, allowing resin to flow back into place. These features are intended to shorten printing time while allowing each layer to form and separate properly.
One studio test reported inconsistent surfaces with automatic adjustments enabled, but didn’t isolate which setting caused the problem. That gives me reason to be cautious about the promised benefit; it doesn’t establish a recurring fault or show how every P1 behaves with current firmware.
What Owning The P1 Adds To Your Budget
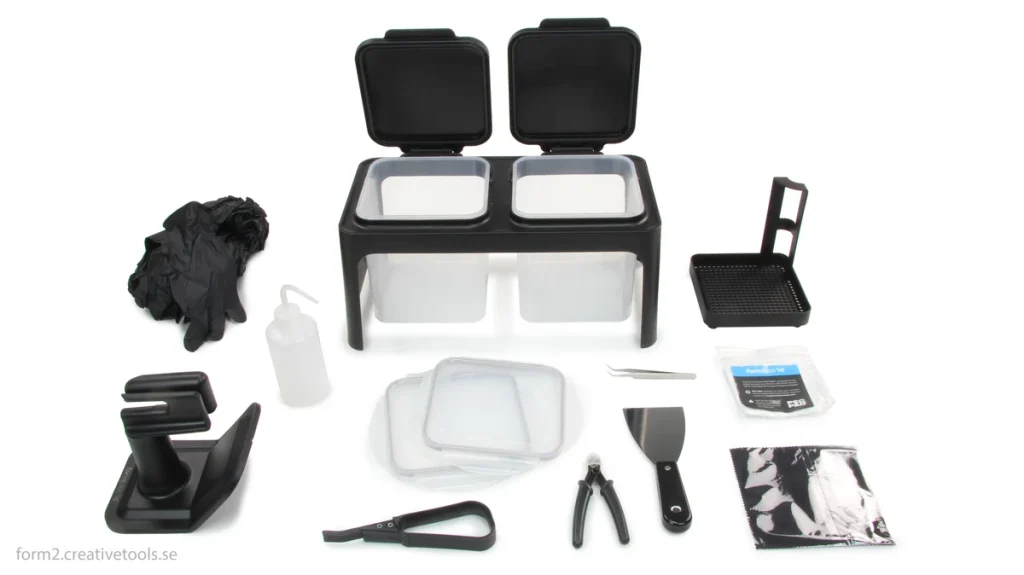
The advertised printer price is only part of the cost if this is your first resin printer. You also need a way to wash and cure prints, suitable protective equipment, cleaning supplies, and a workspace where you can handle resin safely.
These were the listed options on Anycubic’s US P1 page, before tax:
| Package | Listed Price | What It Adds |
|---|---|---|
| Photon P1 | $499 | Standard printer |
| P1 With Dual-Material Kit | $519 | Two-tank printing hardware |
| P1 With Wash & Cure 3 Plus | $638 | Washing and curing machine |
These are separate package selections. Don’t assume choosing the washing bundle also includes the dual kit. Check the contents of the exact combination you order, especially if you already own some of the equipment.
For the workspace, allow room to lift out a wet build plate, drain it, and move it into your washing container. The printer’s hinged lid is convenient, but the whole job needs more space than the printer’s footprint. A large model also needs to fit your cleaning and curing equipment, not just the printer.
The lid and an optional air purifier shouldn’t be treated as a complete answer to resin exposure. Plan for ventilation and suitable protective equipment during washing and curing as well as printing. Follow your resin’s safety data sheet when choosing gloves and eye protection. Keep uncured resin and contaminated cleaning liquid out of household drains and use an appropriate local waste service.
You’ll eventually need replacement parts, too. Before buying, check that replacement release film and screens are available for the P1. Damaged film can interrupt printing and let resin escape. When replacing parts, follow the instructions for the specific part you’re fitting.
For ordinary hobby use, I’d prioritize the washing setup and safe handling supplies before extra build plates or a camera. Those are things you’ll use with every batch, including batches printed with the basic tank.
Should You Buy The Photon P1?
I’d put the P1 on your shortlist if you already enjoy resin printing and its heated tank, help with plate adjustment, or optional dual kit would improve your usual printing. Those are better reasons to spend the listed $499 than broad claims about industrial precision.
If you already own a Photon Mono M7 Pro, I’d be slower to upgrade. It has the same stated build volume and pixel dimensions, plus a heated resin system. Replacing it with a P1 won’t give you more room for models, and those shared specifications don’t establish a jump in visible detail.
For a new purchase, the M7 Pro was listed at $459 in the same US store. It also offers automatic resin refilling, which the P1 lacks. That makes it a useful, slightly cheaper alternative if topping up resin matters more to you than the P1’s dual-vat option. I’d choose based on which feature I’d use more often.
If your models won’t fit the standard P1, consider the larger Photon P1 Max. Its stated build space is 285.5 × 214 × 300mm, and the US store listed it at $849. That extra room may let you print a large model in fewer pieces and reduce the assembly afterward.
The standard P1’s test results and dual-kit capabilities don’t establish what the Max can do, though. Check whether your models fit both the larger printer and your washing equipment.
For a first resin printer, the P1 can make sense if you know you’ll print regularly and have budgeted for the whole setup. If you’re still finding out whether you enjoy the process, I wouldn’t spend the extra money just to collect features. The washing, curing, and cleanup remain part of the hobby whichever printer you buy.
My choice would be the standard P1 for regular single-resin printing where the heated tank and setup assistance are useful. I’d add the kit for separate small parts that need different resins, as long as the workspace is warm enough for those resins without tank heating. If your current heated printer already handles those jobs well, keep using it until there’s a specific limitation the P1 would solve.


