Anycubic Photon P1 Max Review
Costs more than the standard Photon P1.
Our verdict
I’d choose the P1 Max for large supported display models or regular miniature batches that use its extra plate area. The heavy plate and larger output demand enough workspace and washing capacity. For functional parts, I’d test the finished dimensions with the intended resin and settings before committing to a full batch.
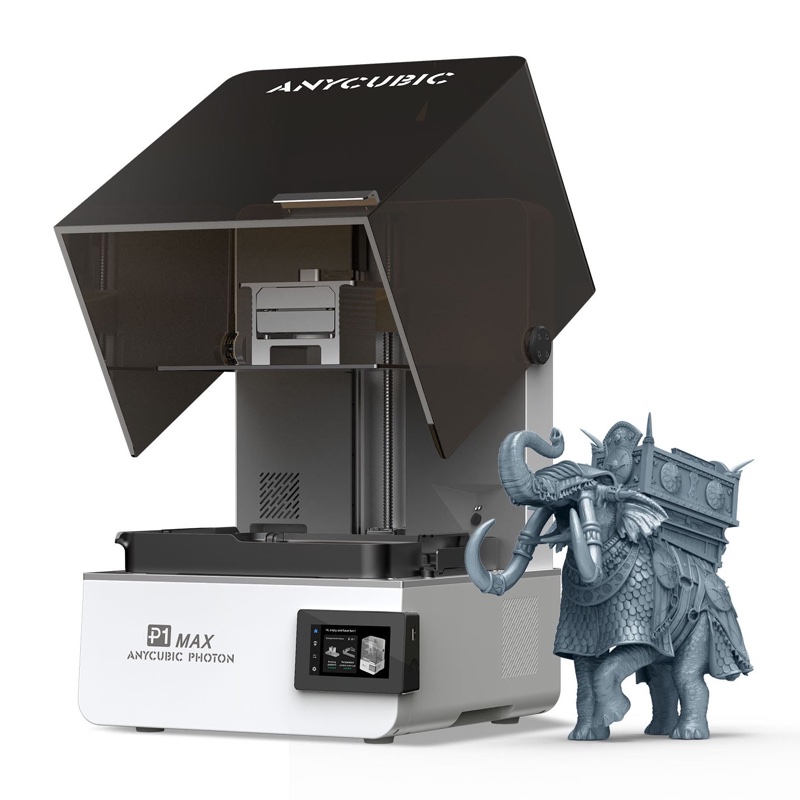
Best atLarge supported display models and regular miniature batches that use the extra plate area.
Less suited toOccasional small prints, cramped workspaces and functional parts that need proven dimensional accuracy.
The Key Specs
| Build space | 285.5 × 214 × 300 mmAllow room for supports; a full-size helmet is not guaranteed to fit. |
|---|---|
| Plate area | A little more than twice the standard P1Useful when several supported figures or a broad model base would otherwise need separate jobs. |
| Pixel size | 24.8 × 24.8 µmExposure settings and resin still affect finished detail. |
| Resin heating | Temperature-controlled vatLet preheating finish before exposure calibration or a print. |
| Plate handling | 3.8 kg steel plate before resin or modelsProvide a nearby tray and room to lift and clean it. |
| Washing fit | Wash & Cure 3 Max: 305 × 165 × 300 mm cleaning spaceIts 165 mm depth is smaller than the printer’s 214 mm build depth; check each model’s fit. |
Which Version Should You Buy?
- Printer only
- Choose it if you already have washing and curing equipment large enough for your intended models.
- With Wash & Cure 3 Plus or 3 Max
- Consider a bundle if you need post-processing equipment. Check washing and curing dimensions separately before choosing.
Budget beyond the printer. Allow for resin, cleaning liquid, gloves, eye protection, wipes, filters, waste containers, ventilation and suitably sized washing and curing equipment. Replacement NFEP vat film, separate Wave Release screen protection and an LCD screen also belong in the budget; choose P1 Max-specific parts.
Also consider: Anycubic Photon P1. Costs less and takes up less room. A better fit for occasional miniatures when its 223 × 126 × 230 mm build space is enough.
More Specs And Ownership Details
| Printer size / weight | 430 × 414 × 625 mm closed; 23.1 kg. Leave extra room for the hinged lid, plate removal and ventilation. |
|---|---|
| Vat capacity | Up to 1.9 L; no automatic refill unit. Resin left in the vat is not all consumed by a job. |
| Setup | Factory calibrated with leveling checks and assisted adjustment; follow prompts and calibrate exposure for your resin. |
| Software / transfer | Start with Photon Workshop and a P1 Max profile. USB loads files directly; Wi-Fi and app functions add transfer and monitoring. Cloud functions require an account. |
| Dimensional checks | Test and measure functional parts after washing and curing, especially when printing directly on the plate. |
Research-based review
I’d consider the Anycubic Photon P1 Max if you already print with resin and regularly run out of room. Its broad build area can accommodate larger display models or more small pieces at once, and reported prints show promising decorative detail. The main drawback comes after printing: you have to handle a heavy, resin-covered plate and find somewhere to wash and cure everything it carries.
I’d choose it for large models that need supports to hold them during printing, or frequent batches of miniatures, if you have room to handle and clean them. For occasional small prints, the cheaper Photon P1 is easier to justify. For functional parts that must fit together accurately, you’ll need to check the finished dimensions rather than judge accuracy by how detailed a print looks.
Anycubic lists the Max for US buyers, with shipping arranged in batches. Check when your order is expected to ship if you need it for a particular project.
Which Prints Make The P1 Max’s Size Worthwhile?
The P1 Max’s printing space measures 285.5 × 214 × 300 mm, or roughly 11.2 × 8.4 × 11.8 inches. That’s the maximum space available for the model and everything holding it up. The advertised 18.3 liters describes this space, not how much liquid resin the printer holds.
Compared with the standard P1’s 223 × 126 × 230 mm, the biggest practical change is the deeper plate. Those dimensions give the Max a little more than twice the plate area. That can be more useful than extra height when you want several figures side by side or a statue with a broad base.
Before buying, open your actual models in a slicer, the program that prepares them for printing. Select the P1 Max profile, which contains settings for this printer. Size each model as you intend to print it, then add supports—the thin structures that hold it during printing and are removed afterward. Check that there’s room for both the model and its supports.
Tilting a model can help it fit, but may also make the job taller. Raising it above the plate on supports takes up space, too. A model that barely fits upright may no longer fit once it’s prepared for printing.
Don’t shrink a wearable prop just to fit the printer unless the smaller version will still fit you. There’s no blanket promise that a full-size helmet will fit; helmets vary too much in shape and size.
Large decorative prints are more than a theoretical possibility. One reported test produced a mask scaled to 280 mm tall using InsLogic Orange Sunrise resin, with a finished weight close to a kilogram. The account doesn’t give enough print settings for you to repeat the test under the same conditions. It does, however, document a completed large piece; fitting a model into a slicer preview alone doesn’t show that it will print successfully.
For miniature batches, count how many figures fit on each printer with their supports included. If the Max turns several regular jobs into one, its size has a purpose. If you usually print two or three figures, the unused space won’t improve them.
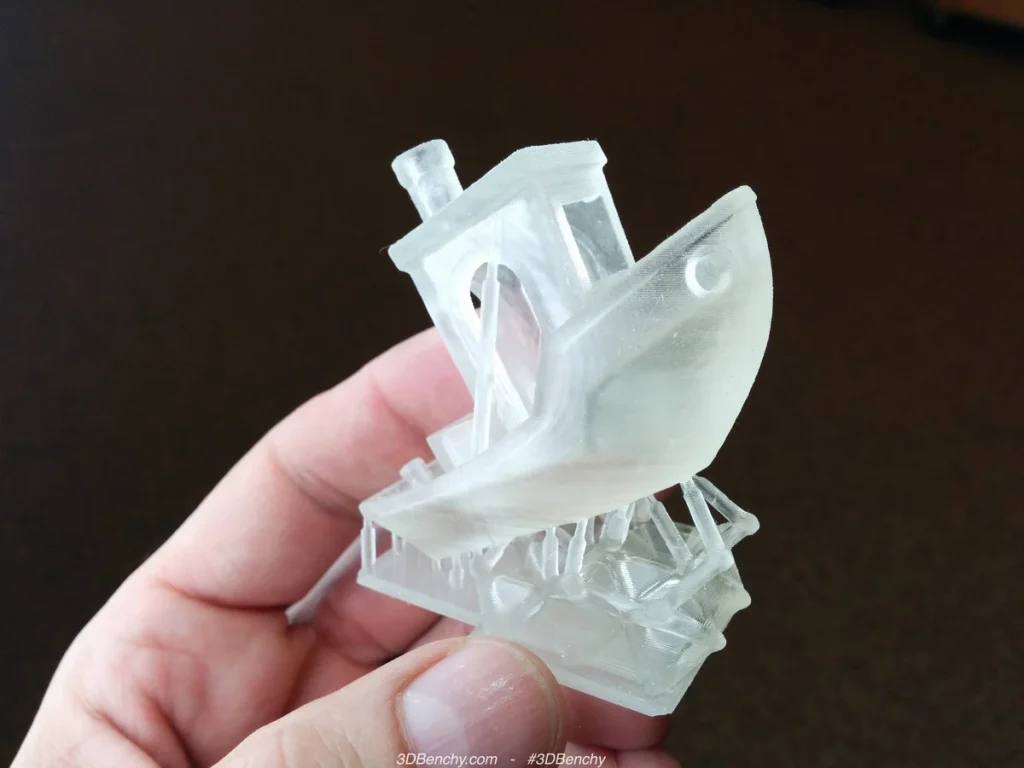
If a large prop still won’t fit in one piece, you’ll need to print it in sections and join them. Compare how many sections each printer would need: avoiding one awkward seam may matter more than the difference in printing space.
What Print Quality Can You Expect From The Max?
The P1 Max looks most convincing as a printer for models you’ll display or paint. Reported testing describes detailed miniatures at 0.03 mm layers, while another reported test describes clear fabric folds, scales, and feathers on larger pieces. Those are encouraging results for someone who wants both small figures and substantial display models.
The screen’s 12K label doesn’t tell that story on its own. The Max uses square pixels measuring 24.8 × 24.8 microns, about 0.025 mm in each direction. Pixels are the tiny areas the LCD screen controls as light hardens each layer of resin. Smaller pixels let the screen define finer shapes, but the light exposure settings and the resin also affect how much detail appears in the finished print.
The standard P1’s 14K screen has rectangular 16.8 × 24.8-micron pixels. It offers a finer grid in one direction; the other dimension matches the Max. That’s why neither “14K is better” nor “the detail is identical” is a sound conclusion from the labels alone.
One reported test found that prints stuck consistently to the plate and showed no obvious difference in finish between the center and edges over several weeks. That’s encouraging if you want to fill the plate, but the account doesn’t include measurements comparing parts printed in those positions. Anycubic also advertises even lighting across the printing area. Neither claim establishes how closely finished holes, edges, or surfaces that fit against other parts match their intended dimensions.
Parts Printed Directly On The Plate
The first layers deserve particular attention because reports disagree about their thickness. A raft is the disposable base printed underneath the supports.
One reported test describes overly thick rafts, while another describes thinner-than-desired rafts when discussing 0.03 mm layers. The accounts don’t compare thickness measurements using the same resin, settings, plate adjustment, and firmware—the printer’s built-in software. They therefore don’t establish a consistent error or its cause.
When a figure sits on supports above a raft, an imperfect raft doesn’t necessarily mean the figure is distorted. When you print a part directly against the plate, those first layers belong to the part itself. Their thickness may determine whether it fits with other parts.
For parts printed directly on the plate, the Max’s manual recommends turning on Z-axis Bottom Compensation, a setting intended to reduce height errors. You’ll need to test whether it helps with your parts.
Before filling the plate with functional parts, print a small test piece with the holes, joints, or flat surfaces you need. Measure it after washing and curing—the final UV treatment that hardens the cleaned print.
What Does The Max Need Before And During A Print?
The Max arrives factory calibrated and can check whether its build plate needs adjustment. Its assisted leveling process guides you through any necessary adjustment. This takes some guesswork out of setup, but follow the printer’s prompts even though it’s advertised as “leveling-free.” Don’t ignore a warning or assume a failed first print can’t be related to the plate’s adjustment.
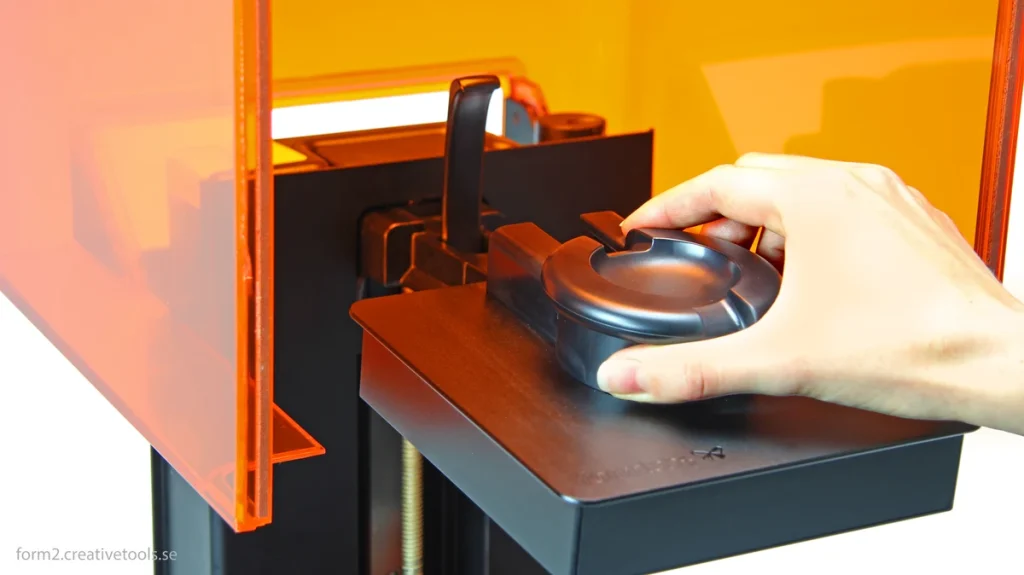
You also need to check how long each layer of your resin needs under the light. This is called exposure calibration. Start with the resin profile—the suggested print settings for your material—then run the supplied resin exposure test before a large job. A small test costs much less than discovering a poor setting halfway through a statue.
Follow the resin maker’s recommended printing temperature. When resin is too cold, it can need longer light exposure to harden each layer, so your usual settings may leave a print incomplete or cause it to detach. The heated vat—the tank holding the liquid resin—helps bring it to the recommended temperature and keep it there. Let preheating finish before starting, including before an exposure test.
Anycubic lists compatibility with its resin range, and Siraya Tech publishes P1 Max profiles for its own materials. That gives you options beyond Anycubic resin, although a supplied profile still needs checking with your chosen material and settings.
For a slicer, Photon Workshop is the straightforward starting point. Anycubic also lists CHITUBOX, Lychee, and Tango; CHITUBOX’s documentation explicitly supports the Max’s .pp1m print-file format. Use a version that includes the P1 Max profile. A standard P1 profile isn’t interchangeable, and older software versions may not support the Max.
USB provides a direct way to load files. Wi-Fi and the Anycubic app add file transfer and monitoring, with cloud functions requiring an account. The camera can help you check progress, but it can’t confirm the dimensions or condition of every part.
Photon Workshop has also been reported to connect to the printer over the same local network. If you want to send jobs without using a cloud service, check whether your installed software allows that before relying on it.
For speed, Anycubic specifies 15–25 mm per hour with standard resin at 0.05 mm layers. That is a manufacturer rating, not a promise for your file. Reported jobs at 0.03 mm layers took roughly 20 hours despite estimates of 30 hours. Finishing sooner than a software estimate doesn’t show that the Max is faster than another printer.
The Max’s stronger argument is making more pieces per job. The finished pieces still need to be removed, cleaned, trimmed of supports, and cured. Include that time when deciding how much work it can finish for you.
Can Your Workspace Handle The Max’s Prints?
The closed printer measures 430 × 414 × 625 mm, about 16.9 × 16.3 × 24.6 inches, and weighs 23.1 kg, roughly 51 pounds. Give it a stable bench with room around it. Allow more than the printer’s closed dimensions: you also need to open the hinged lid and lift out the plate without reaching around a shelf.
One hands-on account suggests allowing about 85 cm in height and 65 cm in depth—roughly 33.5 and 25.6 inches. Start with that much space, then check that you can open the lid and lift the plate comfortably. Leave additional room for any ventilation ducting.
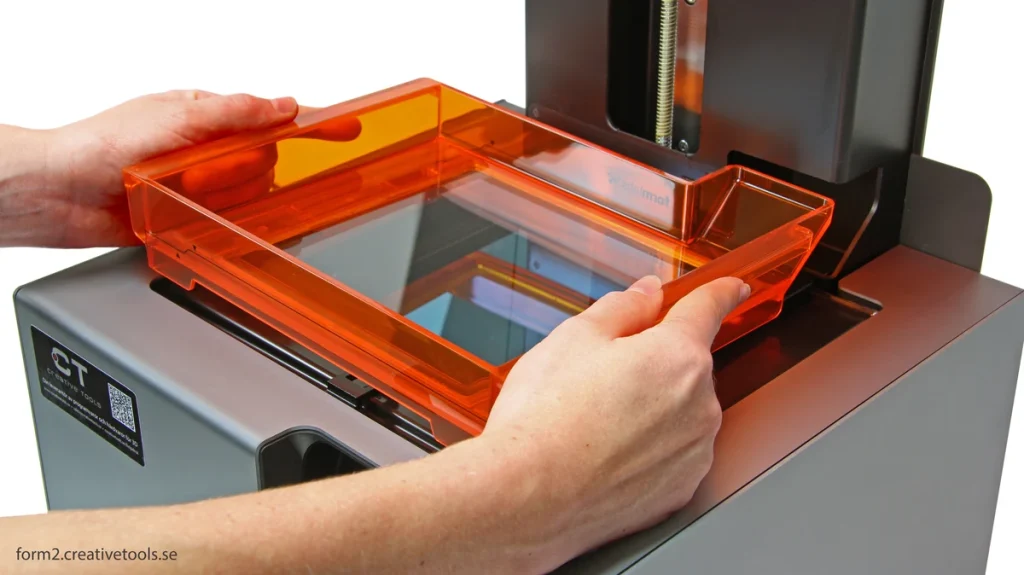
The plate is heavy before you add a model. Anycubic lists the steel plate’s weight as 3.8 kg, about 8.4 pounds. You’ll lift that weight with gloved hands, along with the print and the resin clinging to it. Set up a nearby tray large enough to contain drips and support the plate while you work.
The plate can rest at an angle on a support to let resin drain, but reports disagree about how helpful this is. One account found it useful; another noted resin running toward the handle and models dipping back toward the vat as the plate tilted inward. Before resting the plate in that position, check that your print has enough room underneath it to stay clear of the vat. Expect to clean up some resin yourself.
Washing capacity can be the deciding limit. Anycubic’s Wash & Cure 3 Max specifies a maximum cleaning space of 305 × 165 × 300 mm. The washer has 165 mm of cleaning space from front to back, compared with the printer’s 214 mm of printing space in that direction.
A print that fills the Max’s plate therefore isn’t automatically compatible with that washer, despite the shared “Max” name. Some pieces can be turned to fit; others need different equipment or must be printed in smaller sections. Check curing space separately, including room for the piece to rotate without touching anything.
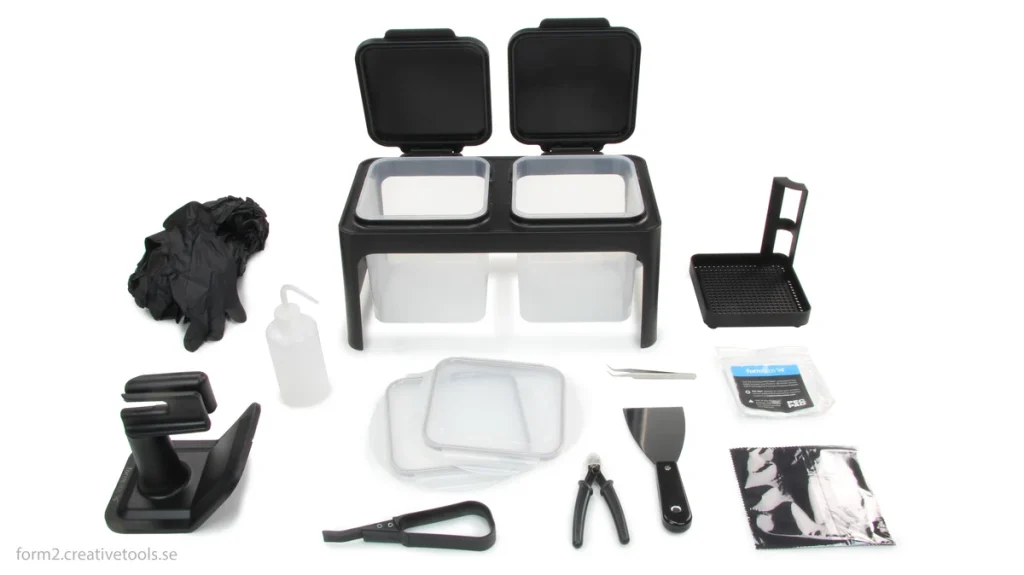
Ventilation needs to cover printing, washing, and curing. Plan a separate, ventilated work area with an exhaust system that draws air from close to the equipment. A connection for an AirPure air cleaner or a reduction in odor doesn’t establish that the air is safe. Protect your eyes from splashes and choose gloves rated for the resin and cleaning solvent.
Keep wash containers closed when practical. Collect resin-contaminated liquid and cleaning waste for disposal under local requirements; don’t pour it down a drain. Water-washable resin changes the cleaning liquid, not the need to contain the waste. If your only available space is a shared desk without suitable ventilation and cleanup room, the P1 Max is a poor fit.
What Does Printing Bigger Add To The Cost?
The Max costs more than the standard P1 in comparable printer-only configurations. Whether that extra expense pays off depends on the work you avoid: fewer separate jobs, fewer joined sections, or less waiting for your next batch. Buying unused capacity gives you none of those benefits.
Separate the resin you need to fill the vat from the resin a job uses. The Max’s vat holds up to 1.9 liters, but resin sitting in the vat hasn’t all been consumed. The model, its supports, failed material, and resin lost during handling account for the material you use. You need more resin on hand to fill a larger vat, but that doesn’t mean each small model uses more.
For a planned job, use the slicer’s estimate with the supports included, then budget for resin lost during cleaning and failed prints. Make sure there’s enough resin in the vat for the job without exceeding its fill limit. The Max doesn’t support an automatic refill unit, so don’t assume it will draw more material from a bottle during a long job.
Replacement parts also belong in the budget. Anycubic lists replacement LCD screens and two different films for the Max. NFEP release film forms the transparent bottom of the vat; Wave Release film is a separate protective layer over the screen.
Select parts explicitly labeled for the P1 Max rather than buying by screen diagonal or assuming standard P1 consumables fit. These listings give you a place to order replacements, but don’t guarantee that every Max part is ready to ship.
Check the warranty before buying, especially for the screen. Anycubic’s US policy lists 12 months for other main resin-printer components and excludes consumable film.
The section covering the screen supplied with the printer names the P1 but omits the P1 Max. Ask for the Max’s LCD coverage in writing before relying on it. Separately purchased LCDs have their own shorter coverage and damage exclusions.
Finally, add cleaning liquid, gloves, wipes, filters, waste containers, and any larger washing or curing equipment you need. These can change the purchase decision more than a small printer discount. Short test periods don’t tell you how long the films typically last, what annual repairs cost, or how reliably the printer can keep producing parts. The available results therefore don’t support a fixed cost per print.
When Does The P1 Max Make Sense For You?
I’d put the P1 Max on your shortlist if you already understand resin printing and regularly make large decorative models. Its extra room may let you print your models in fewer sections, leaving fewer pieces to join. The reported detail is encouraging enough that choosing this size doesn’t mean abandoning miniature projects.
It also makes sense for regular batches that fill the extra area, provided your cleaning equipment can keep up. Fewer printing sessions help much less if the finished pieces then sit waiting for a small washer.
For occasional miniatures or a first resin printer, I’d lean toward the standard P1 if its build space is enough. It costs less and takes up less room. You’ll still need ventilation and careful cleanup, but you won’t be buying the Max’s capacity before knowing whether you need it.
The smaller P1 also has an optional dual-color/dual-material assembly that isn’t listed for the Max. It uses separate vats and build plates to make separate pieces with two resins at once; it doesn’t combine two materials within a single model. Choose that option only if you have a regular reason to use both materials in the same session.
For functional parts that must fit accurately, choose the Max only if you can test the finished dimensions with your resin and settings, particularly when printing directly on the plate. If you need evidence before buying that it can consistently print within your required measurements, the available tests don’t provide it.


