UltiMaker S7 Review
Premium professional printer · Compare the complete package with the S8
Our verdict
I’d choose the S7 for complex prototypes with dissolvable supports, especially for a team already using UltiMaker. Its complete package needs to offer good value against the newer S8; simple single-material prints give me fewer reasons to pay its premium.
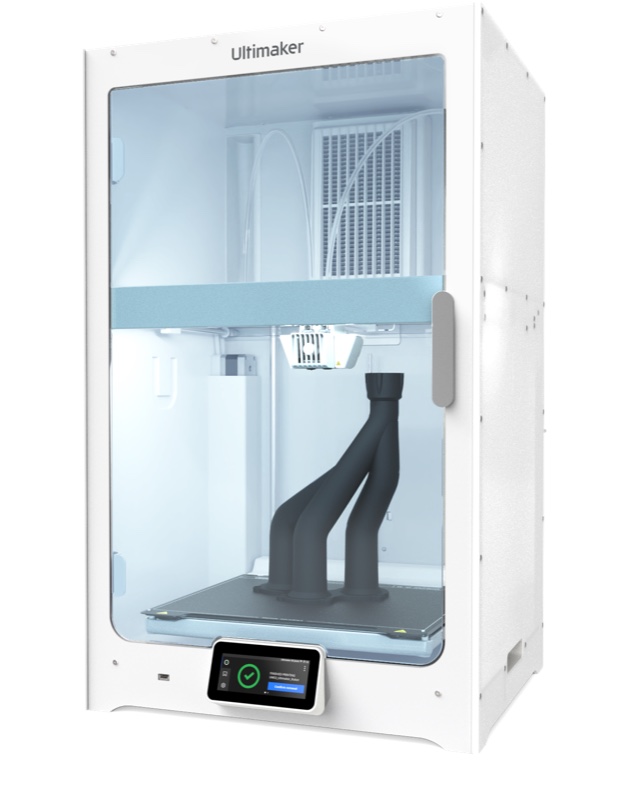
Best atComplex prototypes and working parts that benefit from supported material combinations and dissolvable supports.
Less suited toBudget single-material printing, or plastics that need a hotter nozzle or a separately heated chamber.
The Key Specs
| Print area | 330 × 240 × 300 mmLeave room for supports and adhesion borders when checking your model in Cura. |
|---|---|
| Dissolvable supports | Two nozzles; PVA uses the BB coreUseful for hard-to-reach supports, but check the part material’s compatibility with PVA and allow time for soaking and drying. |
| Filament | 2.85 mm1.75 mm spools are not substitutes; other brands need suitable S7 profiles and the right print core. |
| Build plate | Flexible steel plate with automatic levelingKeep it clean and wait for the printer’s cool-down prompt before bending it to release a part. |
| Chamber | Enclosed, without a separate heaterRequired nozzle temperature alone does not establish whether a plastic is supported. |
| Material Station | Optional six-spool storage and automatic loadingStill only two materials per print; the station keeps humidity low but does not actively dry damp filament. |
Which Version Should You Buy?
- Standalone S7
- Choose it if rear-spool loading suits your workload and you do not need the added Material Station.
- S7 with Material Station
- Choose this more expensive setup for six-spool storage, automatic loading and switching to a matching backup spool; allow extra bench height and budget separately for drying.
Budget beyond the printer. Allow for 2.85 mm filament, discarded supports, failed attempts, filters, replacement cores and service. Fiber-filled materials need a compatible wear-resistant CC core. Add a dryer where the material requires it, and check software subscription and renewal terms. The PVA Removal Station is an optional convenience for support removal.
Also consider: UltiMaker S8. I’d evaluate the newer S8 first if an equivalent package costs only a little more. Request a matched sample of your own part before assuming a turnaround advantage.
More Specs And Ownership Details
| Supplied essentials | Two AA cores, one BB core, Tough PLA and PVA filament. |
|---|---|
| Print-core roles | AA for standard plastics and Breakaway; BB for PVA; compatible wear-resistant CC cores for fiber-filled materials. |
| PVA compatibility | UltiMaker lists PLA, PETG and nylon-based materials; PVA is not a reliable support for its ABS, CPE+, PC or PP. |
| Space on the bench | About 19.5 × 23 × 31.5 inches including the spool holder; leave at least four inches behind it plus door and spool access. With Material Station, height is nearly 47 inches. |
| Software and job transfer | Free Cura preparation software; local-network or USB job transfer. Digital Factory adds cloud monitoring and shared job management; confirm the team plan and renewal terms in the quote. |
| Routine upkeep | Monthly printer cleaning; belt, axle and print-core checks or cleaning every three months. The manual’s schedule assumes 1,500 printing hours a year; heavier use needs more frequent maintenance. Replace the Air Manager filter after 1,500 printing hours. |
| Purchase condition | Confirm whether the offer is for new remaining stock or a refurbished printer, with written warranty and repair arrangements. |
I’d consider the UltiMaker S7 if your team regularly needs complex prototypes or working parts made from a range of supported plastics. It can print temporary supports that hold up parts during printing and dissolve in water afterward, which helps when supports are hard to reach and remove.
Its removable print plate, automatic leveling and optional material handling can also simplify the work. Those conveniences may justify its high purchase cost, but you’ll still need to prepare materials and check finished parts.
For a new purchase, I’d compare it with the newer S8 before committing. The S7 needs to cost less as a complete package or fit especially well with the equipment and software your team already uses. If you mostly print simple models in one plastic, you’ll have fewer reasons to pay for what makes the S7 different.
What The S7 Needs Before Your First Print
The S7’s print space measures 330 × 240 × 300 mm, or about 13 × 9.4 × 11.8 inches. Check that your model fits in Cura, the software that prepares it for printing. Supports and the extra material printed around a part to help it stick to the plate also need room.
The printer itself is roughly 19.5 inches wide, 23 inches deep and 31.5 inches tall, including the spool holder. Leave at least four inches behind it for airflow, plus access to the rear spools and front door. Plan for two people to lift it onto a sturdy bench.
The optional Material Station stores and loads filament, the material fed into the printer. Adding it brings the combined height to nearly 47 inches and the loaded weight to as much as 126 pounds.
Setup includes fitting the flexible steel plate, installing the Air Manager filter, connecting accessories and following the touchscreen prompts. The standard package includes two types of filament: Tough PLA for the part and PVA for dissolvable supports.
You also get two AA print cores and one BB core. These contain the nozzle and heating components; the letters identify which materials each core can print. Together, the supplied filament and cores give you the essentials to print a plastic part with dissolvable supports.
Automatic leveling measures the plate’s height at several points and adjusts the first layers to compensate for differences, helping the print stick to the plate. You still need to keep its surface clean. After printing, wait until the display says the plate is cool enough to remove, then gently bend it to release the part.
One early test unit needed lubrication and a rod adjustment before printing. That isn’t evidence of a recurring defect.
The built-in Air Manager filters particles, but it doesn’t make every material safe in every office. Have your workplace assess ventilation for the materials you’ll use; particle filtration alone doesn’t address all gases released during printing.
My Take On S7 Print Quality
I would put correct material profiles and dependable bed adhesion ahead of the S7’s advertised convenience. The launch-period results give me a reason to check those carefully: in one test, Tough PLA models came loose from the plate. The testers were using profiles—saved printing settings—for the older S5 because S7 profiles weren’t available yet.
A retry succeeded after switching to S7 profiles and cleaning the plate. Because both changed, the improvement can’t be credited to either alone. Stray filament strands remained.
In the same test, prints made with PA-HT CF15 carbon-fiber nylon initially had stray strands and layers that separated. After drying the filament, the testers reported detailed prints without particular defects.
The report mentions tolerances down to 0.2 mm but doesn’t explain how the parts were measured. You can’t treat that figure as a promise that your parts will match your design’s measurements, fit together consistently or have the strength you need.
Before ordering, ask for a sample of your actual design, including the holes, clips or sliding surfaces that matter. A housing that looks good may still have screw holes that need adjustment. Agree on acceptable measurements in advance, then check the sample against the components it needs to fit.
If you’re making a fixture that holds something during assembly, check it under the load and temperature it will face. A successful print doesn’t establish that the material and design suit that job. UltiMaker’s material data sheets can help you choose a plastic, but you still need to check the finished part.
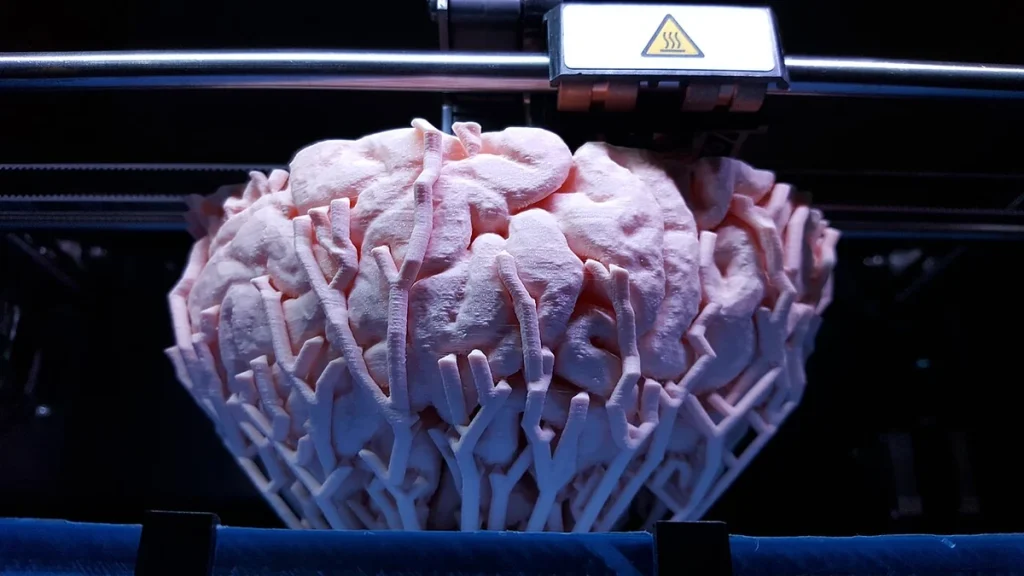
For presentation models, inspect the sample before sanding or finishing. Decide whether visible layers, stray strands and marks left by supports are acceptable, or whether cleaning them up would take too much time. That’s more useful than judging a photograph of an unrelated model.
Which Materials And Supports The S7 Can Handle
The S7 uses 2.85 mm filament. Check that diameter when ordering: a spool of 1.75 mm filament isn’t a substitute. You can use other brands of filament, but you need suitable S7 print settings and the right print core for that material.
AA cores handle standard printing plastics and UltiMaker Breakaway support material. BB cores handle PVA, the support plastic that dissolves in water.
Materials containing carbon or glass fibers can wear down a nozzle, so budget for a compatible wear-resistant CC core. The supplied AA cores aren’t suitable for those materials.
UltiMaker lists a nozzle operating range of 180–280°C, while the S7 manual specifies a heated plate up to 125°C. Its enclosure retains heat but has no separate heater for the enclosed space. A plastic’s required printing temperature alone doesn’t tell you whether the S7 supports it.
Two nozzles let you print the part in one material and temporary supports in another. PVA helps where solid supports would be hard to pull out, such as beneath overhanging sections or inside hollow parts.
UltiMaker lists PVA for use with PLA, PETG and nylon-based materials. It says PVA isn’t a reliable support for its ABS, CPE+, PC or PP plastics. Check that PVA works with the plastic you intend to use.
Dissolving supports means soaking the part in water, waiting, then rinsing and drying it. Water must be able to reach the supports and drain out of the part. The optional PVA Removal Station stirs the water to help removal; it isn’t required to use PVA.
The Metal Expansion Kit now officially supports the S7. It uses metal-filled filament and dedicated cores to make an unfinished part. A specialist service then removes the binder holding the metal particles together and heats them into a solid part. That outside processing adds cost and delay.
Metal samples shown in the early review weren’t an S7 metal-printing test. Confirm the US kit contents and processing service before buying for this purpose; regional packages have differed.
How Much Work The S7 Leaves To You
Cura is free desktop software that turns your model into printing instructions. Select the S7, installed cores and exact materials, then choose the matching profile. Manufacturer profiles give you a starting point; you’ll still need to decide how to position your model and where it needs supports.
You can send jobs over a local network or use a USB drive. Digital Factory adds cloud printing, monitoring and shared job management. The standard S7’s internal camera lets you check progress remotely, but someone still needs to inspect and remove the finished part.
Digital Factory’s current Free Pro plan lists one user, one printer and two projects. Studio adds collaboration, more printers and more ways to control what each user can do; Business adds broader controls for organizations.
Don’t assume an old promise of included software covers every current team feature. Ask the seller to include the plan, subscription length and renewal terms in the quote.
Paid subscriptions normally run annually unless specified otherwise. When a subscription expires, resources beyond the free plan’s user, printer or project limits can be restricted.
The base S7 holds two spools on its rear holder. The optional Material Station stores six, loads materials automatically and can switch to a matching spool when one runs out.
Six loaded spools don’t mean six materials in one print: the S7 is still limited to two materials per print. For other brands of filament, check that the spools fit and that their print profiles support the Material Station.
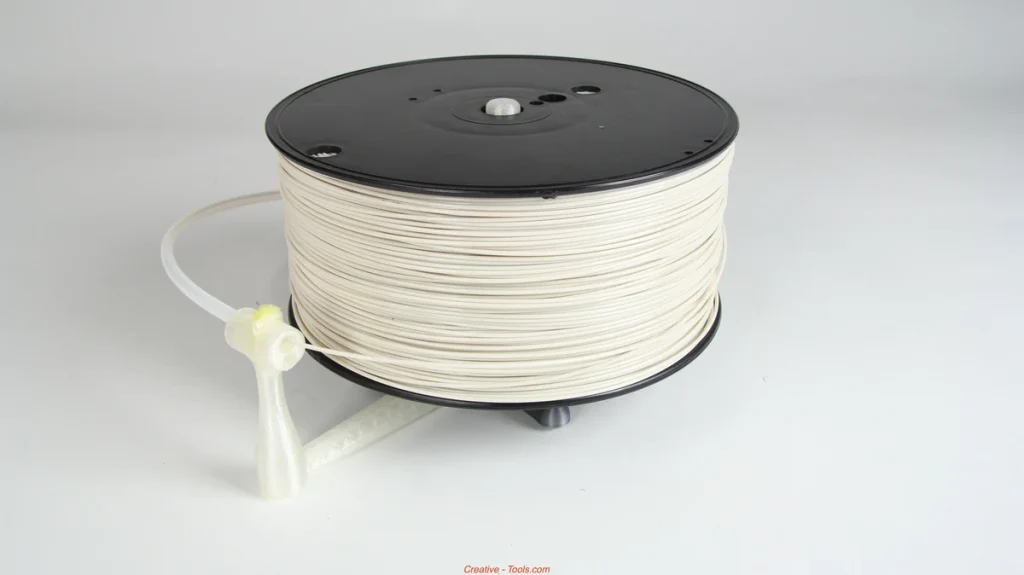
The station keeps humidity low while powered with its door closed. It doesn’t actively dry damp filament. If your chosen material needs drying before printing, budget for a suitable dryer and follow the filament maker’s instructions.
Assign someone to take care of the printer even if several people submit jobs. The manual calls for monthly printer cleaning, with belt and axle checks and print-core cleaning every three months. Lubrication intervals depend on the component; the axles don’t need oil during the first year, then need it monthly.
That schedule assumes 1,500 printing hours a year; heavier use calls for more frequent maintenance. Replace the Air Manager filter after 1,500 printing hours. Follow the manual’s instructions for each task.
Have the seller demonstrate the versions of Cura and firmware—the printer’s internal software—that you’ll use together. Firmware can affect how the printer handles jobs, and early software complaints don’t tell you how a current setup will behave. Automation and a camera don’t establish how often the printer will need attention over years of use.
Does The S7 Justify Its Cost And Printing Time?
UltiMaker still has an S7 product page, but its US store lists the printer as out of stock. Confirm whether an S7 offer covers a new printer from remaining inventory or a refurbished printer, along with its warranty and available service.
The S8 is the closest alternative when turnaround matters. In one reported comparison, a part took just over two hours on the S7 and 34 minutes on the S8.
The report doesn’t give enough detail about settings to show how comparable the prints were. It also doesn’t establish total time including preparation and support removal. You can’t assume the same time savings for every job.
S7 profiles have also changed since launch, including speed-related updates in Cura 5.5. Don’t compare a current S8 demonstration with an old S7 estimate. Request a comparison using your part, with the same material, layer thickness, support requirements and acceptable finish on both printers.
For a useful turnaround estimate, separate three things: preparing and drying the material; printing the part; and cooling, removing supports and checking the result. Some preparation can happen while another job runs. Support removal can continue after the printer is free, but your part still isn’t ready. That distinction matters if you need it for a meeting or assembly shift.
Compare equivalent packages. Include any CC cores, Material Station, dryer, support-removal equipment and software plan you need. Then allow for filament, discarded supports, failed attempts, filters, replacement cores and service.
UltiMaker offers an S7/S8 maintenance kit, so routine replacement parts remain part of the supported product range.
UltiMakerCare currently includes the S7 in its eligible models, but coverage has conditions and incident limits. A support response target isn’t a guaranteed repair time. Ask who performs repairs, whether you must ship the printer and what happens while it’s unavailable.
I wouldn’t assume the S7 pays for itself through labor savings. Use a typical job to check how much work your team still needs to do. If an equivalent S8 package costs only a little more, I’d evaluate that newer printer first.
Should You Choose The S7?
Choose the S7 if your parts need its supported material combinations, your team values the UltiMaker software and printing process, and the complete package is good value compared with the S8. It’s particularly worth considering when you already have suitable materials, profiles and people familiar with the system.
Pass if you mainly want inexpensive single-material prints, expect damp nylon to work without preparation, or need a material that requires a hotter nozzle or a separately heated space around the print. If meeting deadlines matters most, ask to see the S8 first.
Before committing, use that sample print and the written software and service terms to decide whether the S7 meets your team’s needs.


