Anycubic Photon Mono 4 Ultra Review
Costs more than the regular Mono 4; a wash-and-cure bundle adds to the budget.
Our verdict
I’d choose the Ultra for frequent, detailed miniature printing if shorter printer runs matter and a suitable resin workspace is already arranged. Its faster advertised printing and monitoring still leave manual leveling and cleanup. For occasional use on a tight budget, I’d choose the regular Mono 4; confirm wireless support before paying extra for it.
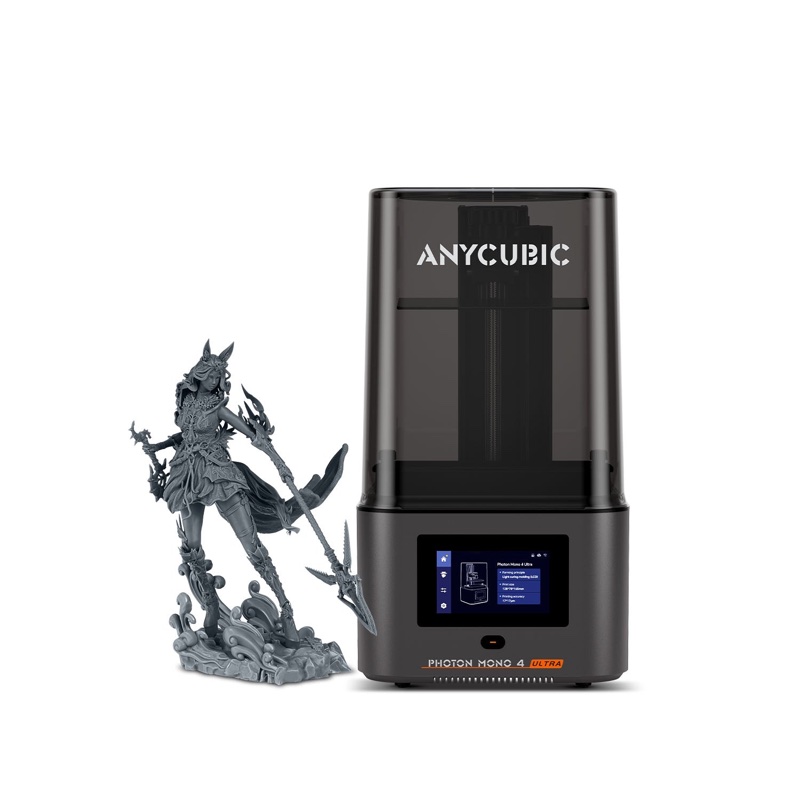
Best atFrequent small figures and detailed objects, with time set aside for calibration and finishing.
Less suited toLarge props, occasional printing on a tight budget, or buyers relying on confirmed cloud-free wireless transfer.
The Key Specs
| Print area | 153.4 × 87 × 165 mmThe narrow 87 mm side limits broad terrain and props; allow room for supports. |
|---|---|
| Screen / pixels | 7-inch 10K LCD; 17 × 17 µm pixelsSuited to fine detail, but pixel size is not a guarantee of finished dimensional accuracy. |
| Leveling | Four-point manual adjustmentFollow the leveling procedure and check exposure settings before filling the plate. |
| Advertised speed | Up to 120 mm/h with High Speed Resin 2.0 at 0.1 mm layersStandard resin is rated up to 80 mm/h at that layer height; finer miniature settings take longer. |
| File transfer | USB; Wi-Fi advertisedApp and local-network documentation is inconsistent. Confirm your intended workflow before buying. |
| Resin heating | No built-in heatingKeep your workspace within the resin’s recommended temperature range. |
Which Version Should You Buy?
- Printer only
- Choose it if washing, curing and a suitable resin workspace are already arranged.
- With Wash & Cure 3
- Choose it for more convenient washing and curing; check the resin selection and budget for handling supplies.
Budget beyond the printer. Allow for resin, recommended washing liquid, suitable gloves, eye protection, cleaning supplies and ventilation. A wash-and-cure machine is an additional convenience. Budget for replacement ACF release film matched to the exact Ultra model, and ongoing wash-liquid maintenance.
Also consider: Anycubic Photon Mono 4. Costs less and shares the Ultra’s build volume and pixel size. A better budget fit for occasional printing, with lower advertised speed and a smaller touchscreen.
More Specs And Ownership Details
| Optics | COB light source and Fresnel lens, designed to spread light evenly across the screen. |
|---|---|
| Release film | ACF on the Ultra; check the exact model when ordering replacement sheets. |
| Slicer setup | Photon Workshop is supplied free for Windows and macOS. Select the exact Mono 4 Ultra profile when using another supported slicer. |
| Workspace | Lift-off cover needs overhead clearance and somewhere to set it down; leave room for washing, curing and handling wet prints. |
| Automation limits | No supported automatic refill unit or temperature-controlled vat; monitoring warnings still need inspection. |
I’d consider the Anycubic Photon Mono 4 Ultra if you want detailed miniatures, print often enough to appreciate shorter waits, and have somewhere suitable to handle resin. Reported prints show fine detail and smooth surfaces. But the Ultra still needs manual leveling, careful file preparation and messy cleanup. Its smart features don’t turn it into a printer you can simply fill and forget.
At the US prices advertised on September 5, 2026—$279 for the Ultra and $169 for the regular Mono 4—I’d choose the regular model if you’re watching your budget. Both offer the same printing space and 17-micron pixels, the tiny elements of the screen used to form each layer. The Ultra’s extra $110 buys different lighting, faster advertised printing, a larger touchscreen and monitoring features. It doesn’t give you more room for your models.
The Ultra is worth considering for frequent small prints. Paying extra mainly for wireless convenience is harder to justify while Anycubic’s app and local-network documentation remains inconsistent.
What You Can Print On The Photon Mono 4 Ultra
The build volume is 153.4 × 87 × 165mm, or about 6 × 3.4 × 6.5 inches. That’s the maximum space available for a print, including anything needed to hold it up. Think tabletop figures, small decorative objects and parts of larger models. The narrow side gives you just 87mm of room, which limits broad terrain pieces and large props.
Check your model in a slicer—the software used to prepare print files—before buying. A figure’s height doesn’t tell you whether its outstretched arms, weapon or base will fit. Tilting it can change both its height and the space it needs on the build plate, the surface the print sticks to. Supports are temporary stems that hold parts in place while they form. They also need room, including where they attach to the plate.
For example, a 75mm circular base placed flat would leave only 12mm of room in total along the plate’s narrow side, before adding supports or spacing. That’s based on the dimensions, not a tested layout. If your prop is too big to print in one piece, you’ll need to print it in smaller parts and put them together.
You can print several objects together. The screen lets light form a whole layer at once, so several similarly tall objects can share a print job without each needing a separate run. Their supports still have to fit, and a taller object adds layers to the whole job. How many miniatures fit depends on their size and supports.
The 7-inch LCD screen has 9024 × 5120 pixels, marketed as 10K. Each pixel measures 17 × 17 microns, or 0.017mm on each side. Those small pixels help the printer form fine shapes, but they aren’t a promise that every finished dimension will be accurate to 0.017mm. Resin, the time each layer receives light, supports and the final curing step under ultraviolet light all affect the result. For parts that must fit together, print a small fitting test first.
How Much Detail And Speed Can You Expect From The Mono 4 Ultra?
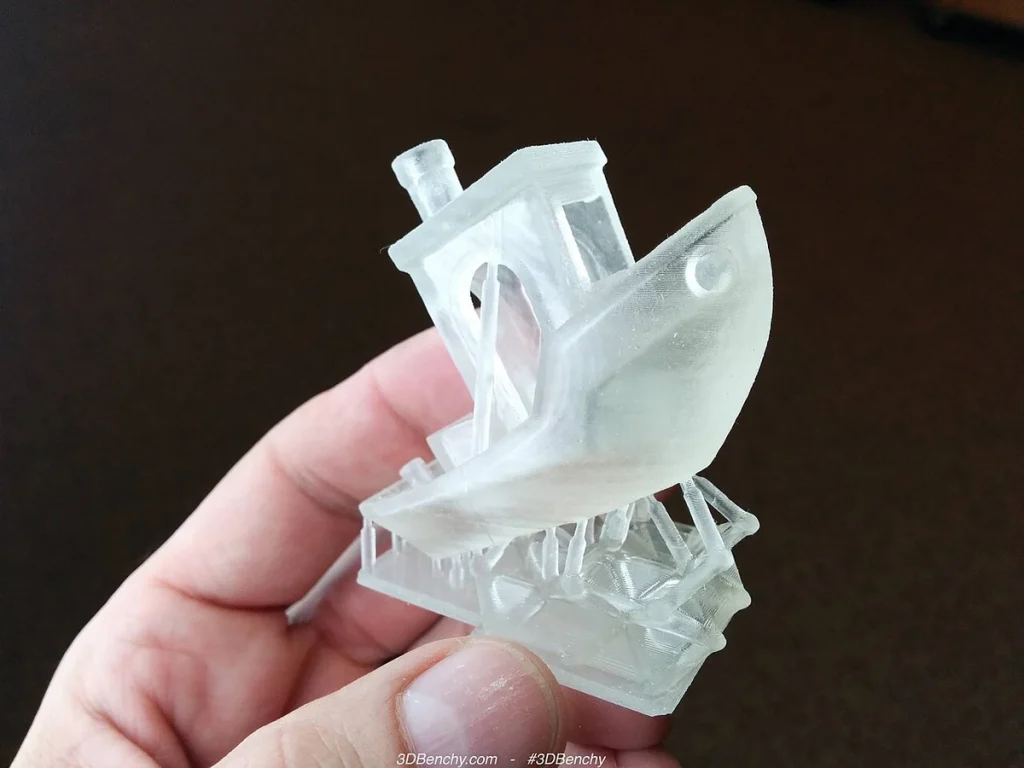
The strongest results are small figures. One reported test used purple Anycubic Texture Resin and gray Bio resin at 0.05mm layers, with default settings in the Lychee slicer and supplied supports left unchanged. The reviewer described detailed figures on bases from 25mm to 75mm, preferring the Texture Resin’s appearance. That shows how much detail you might see, but doesn’t measure how closely the prints match the model’s dimensions.
Another test, using Anycubic High Speed Resin, produced a full plate of figurine parts in 32 minutes after about an hour spent positioning them and adding supports. The report doesn’t give the batch’s exact height or layer setting, so you shouldn’t expect every batch of miniatures to finish that quickly. A separate relief print—a raised design—used 0.08mm layers and reportedly had layer lines that were difficult to see even under magnification.
These results support buying the Ultra for small, detailed objects. They don’t establish that its prints look better than the regular Mono 4’s under matching conditions. The Ultra’s COB light source and Fresnel lens are designed to spread light evenly across the screen; the upgrade alone doesn’t tell you how much difference you’ll see after painting a figure.
Anycubic’s maximum of 120mm per hour requires High Speed Resin 2.0 and 0.1mm layers. With standard resin, its stated maximum is 80mm per hour at that same layer height. Neither figure is a promise for finer miniature settings. At 0.05mm, the printer needs twice as many layers to reach the same height, though total time also depends on how long each layer receives light and the movement between layers.
The time estimate for your prepared file is more useful than the speed on the box. Add time to remove the print, wash off uncured resin, dry it, remove supports and finish curing it under ultraviolet light. Some marks left by supports may need attention afterward. If preparation limits how much you can print, a quicker print won’t necessarily mean more finished models.
What It Takes To Get The Mono 4 Ultra Printing
You level the Ultra’s plate manually at four points. You loosen the bolts holding the plate, follow the leveling procedure with the supplied paper, then tighten the bolts to keep the plate aligned. The screen guides you through setup, but the printer doesn’t make those adjustments for you. Put the printer on a stable, level surface before pouring resin.
Next comes exposure calibration: finding how long the light should shine for each layer of your chosen resin. The first layers have separate settings because they need to hold the print firmly to the plate. Start with a resin profile—a saved set of settings—for this exact printer, then check a small calibration print before filling the plate with figures. A setting that works for one resin or layer height may not suit another.
Also inspect the supports. If the software adds them automatically, check that overhanging pieces have something beneath them and that the parts of the model that form first can attach securely. A downloaded model with supports already added still needs settings that suit your printer and resin.
Reports differ on how well prints stick to the plate. One reviewer reported no failed prints; the 0.05mm Lychee test described some prints failing to stick, without clearly documenting a successful retest. The tests used different materials and settings, and neither gives a clear count of attempts. Take setup seriously, but these reports can’t tell you how often prints will fail.
Anycubic advertises checks for debris, resin level and failed prints, plus tracking of release-film use. That film forms the bottom of the vat, the tray holding the resin. You’ll still need to check warnings yourself. One test unit repeatedly warned of residue after the reviewer had cleaned and inspected it; a suggested recalibration didn’t stop the warnings. That single unit doesn’t prove a widespread fault. It does show why a warning system isn’t a guarantee. Inspect the vat and plate when warned, and contact support if warnings persist.
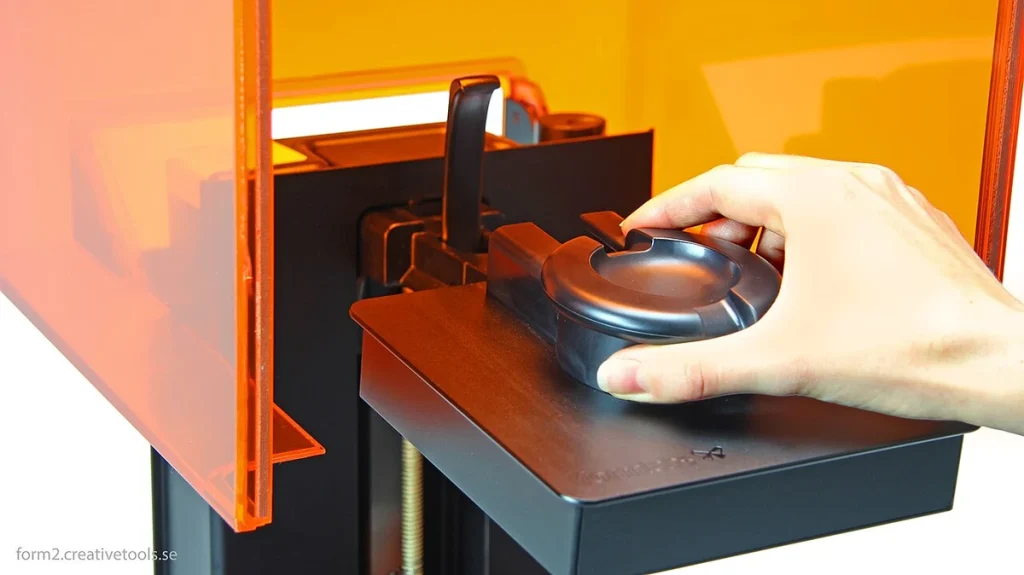
Cleanup also needs space. The cover lifts off, so leave room above the printer and somewhere to set it down. One reviewer found the dark cover difficult to see through. When taking out the build plate, keep it over the vat while excess resin drains, then move it to a protected work surface. A reviewer wanted a plate that was easier to grip and drain.
Wear eye protection and gloves suitable for both the resin and cleaning liquid, following the handling instructions in the manufacturers’ safety data sheets. Plan ventilation for printing, washing and curing. The optional carbon purifier may reduce odor, but lack of smell doesn’t mean the air is safe to breathe. Keep contaminated wash liquid—including water used with water-washable resin—out of drains, and follow your local household hazardous-waste service’s disposal instructions.
Which Software And Connections Can You Use With The Mono 4 Ultra?
A slicer turns a 3D model into the layers and instructions the printer needs. It’s where you arrange objects, add supports and choose the resin settings. Anycubic supplies Photon Workshop free for Windows and macOS. Its download page lists version 3.6.3 with an update adding exposure-time calibration for the Mono 4 Ultra. Anycubic also has documentation for the newer Workshop 4.0, so don’t assume the copy on the supplied USB drive is current.
A January 2025 test of Workshop 3.5 reported that the window for choosing a file closed immediately on both platforms. Dragging models into the program’s window worked. That’s a fault reported in that version, not proof that today’s release has the same problem.
You can also use other slicers. CHITUBOX’s supported-printer list includes the Mono 4 Ultra and its .pm4u file format. Select the profile for this exact Ultra model; similarly named Photon models don’t necessarily accept the same file. Anycubic lists Lychee compatibility too, but its FAQ gives file-saving restrictions without saying which software versions or exact settings they apply to. Before relying on Lychee, ask Anycubic or Lychee support to confirm how to save a print-ready file for this printer in your version.
Being able to prepare a file doesn’t mean the software can send it wirelessly:
- USB: Copy the sliced file to a USB drive and select it at the printer. This is the clearest route if you want to avoid an online account.
- Wi-Fi and cloud: Anycubic lists Wi-Fi transfer, and its manual shows app printing linked to an account. However, the US specification table says the app isn’t supported. A 2025 review unit couldn’t complete cloud registration.
- Local-network transfer: This means sending a job within your own network without going through an online cloud service. An older regional listing says this LAN mode is coming later. General Workshop documentation shows controls for local-network transfer. But it doesn’t confirm that this works on the Mono 4 Ultra with its installed firmware—the software that runs the printer.
Don’t pay extra assuming your preferred slicer can send files directly over Wi-Fi. If app control or cloud-free network printing is essential, ask Anycubic to confirm that it works with the current printer firmware and software before buying. USB is a useful backup only if you’re happy to use it.
What The Mono 4 Ultra Costs To Own
On September 5, 2026, Anycubic’s dedicated US store advertised the Ultra at $279 before tax and said it would ship within 24 hours. The Ultra with Wash & Cure 3 was $348 with no resin selected. These are sale prices; check the selected bundle and final total when ordering.
The printer includes the plate, vat, USB drive, leveling paper and basic tools. You’ll also need to budget for resin, the recommended washing liquid, suitable gloves, eye protection, cleaning supplies and ventilation. A wash-and-cure machine makes those steps more convenient; you still have to handle the wet prints and maintain the washing liquid.
The vat’s release film wears with use. The Ultra uses a type called ACF, while the regular Mono 4 uses FEP. Anycubic lists replacement ACF sheets for the Ultra, but select the exact model and pack size before comparing prices. Its accessory listings also include FEP options, so don’t assume every film shown beside the printer is the same as its original film. Inspect it for damage rather than relying only on the usage reminder.
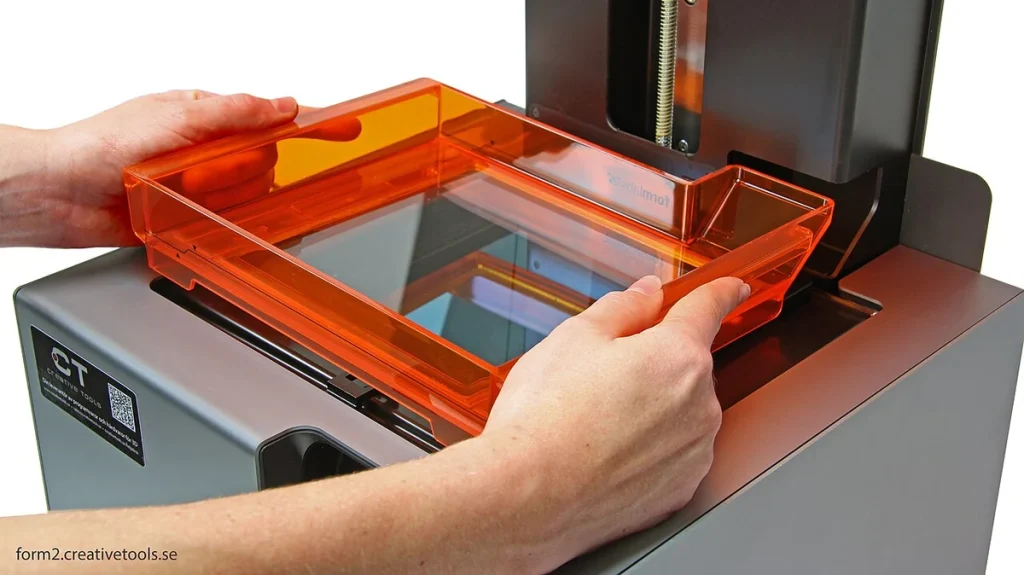
There’s no built-in resin heating, and the specifications say it doesn’t support the temperature-controlled vat or automatic refill unit. If your workspace gets cold, you’ll need a suitable way to keep the temperature within your resin’s recommended range. An optional air purifier doesn’t solve that problem.
Warranty coverage also varies by part. The US policy lists six months for the Mono 4 Ultra’s original LCD screen and 12 months for other main components, with exclusions. Replacement film has no warranty.
At $169, the regular Mono 4 saves $110. It has USB transfer, a smaller 2.8-inch touchscreen and lower advertised speed, but has the same printing space and pixel size. For a beginner, I’d put that saving toward the workspace and cleanup supplies before spending it on the Ultra’s convenience features.
Should You Buy The Photon Mono 4 Ultra?
Buy the Ultra if small figures are your main interest, you expect to print frequently, and shorter printer runs would help you finish more work. Its reported detail is encouraging, and the larger touchscreen and monitoring features offer practical reasons to consider it. You’ll get more from it if you’re willing to learn exposure settings and inspect supports.
For occasional printing on a tight budget, I’d choose the regular Mono 4 at the current price gap. The shared pixel size doesn’t prove identical output. But without a comparison using the same resin and settings, I wouldn’t pay $110 more just for sharper-looking miniatures. The Ultra becomes easier to recommend if that gap shrinks or you already have your washing, curing and ventilation arranged.
Skip this size of printer if most of your models would be difficult to split into pieces that fit. And postpone resin printing if your only available spot is a shared desk without suitable ventilation and a way to handle resin and spills safely. Even with a compact printer, you need room for the rest of the job.
Wireless operation is still uncertain. If USB works for you, that uncertainty doesn’t have to rule out the Ultra. If reliable app control or cloud-free network transfer is the reason you’re upgrading, confirm that it works first. Allow time for setup and cleanup as well as printing.


