Creality SparkX i7 Review
Nano Combo generally costs less than Lite Color Combo.
Our verdict
I’d choose the SparkX i7 for everyday PLA and PETG toys, organizers and practical parts. Automatic calibration and accessible replacement parts make it appealing, but I’d buy a color bundle only for planned multicolor projects: each change adds time and discarded filament.
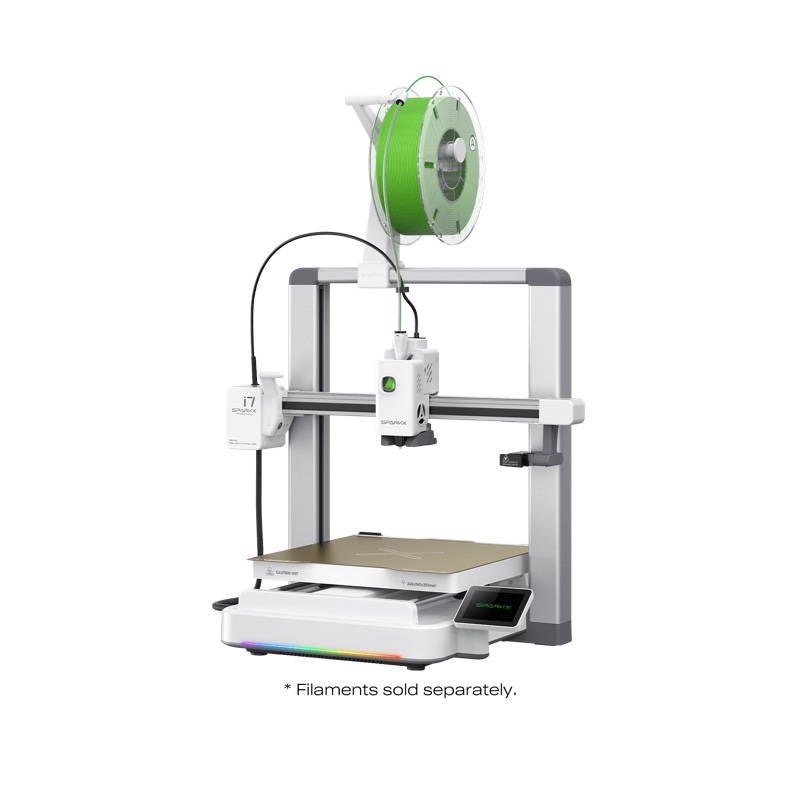
Best atEveryday PLA and PETG projects with fewer manual setup adjustments.
Less suited toABS or ASA parts, taller one-piece models, and frequent color changes where filament waste matters.
The Key Specs
| Print area | 260 × 260 × 255 mmFits many organizers and toys; allow extra plate space for supports and a multicolor tower. |
|---|---|
| Material fit | Start with PLA or PETGThe open frame makes ABS and ASA a poor fit, despite the high nozzle temperature. |
| Color printing | Up to four colors with CFS Lite or NanoOne nozzle clears the previous color at each change; check flushing, tower and time estimates. |
| Setup | Automatic bed and vibration calibrationRemove shipping restraints and connect the feeder before running calibration. |
| Working space | About 876 × 743 × 468 mm for the recommended Color Combo arrangementThe moving bed, feeder and tubes need more room than the printer body alone. |
Which Version Should You Buy?
- Basic i7
- Choose it for single-color projects using the external spool holder and manual spool replacement.
- AutoFill Combo · CFS Mini
- Choose it for longer single-color jobs or finishing matching partly used spools; its two-spool feeder provides automatic refill, not decorative color changes.
- Color Combo · CFS Lite
- Choose it for up to four automatic colors. Check the package description because feeder assembly can vary.
- Nano Combo · CFS Nano
- Choose it for four colors with less space and generally less cost than Lite. Spools remain open, and its specification omits tangle detection.
Budget beyond the printer. Allow for filament, including flushing and towers on color jobs, dry storage, replacement hotends, plates, tubes and cutters. CFS Lite cannot dry damp filament; separate drying equipment may be needed.
Also consider: Bambu Lab A1 Combo. A useful choice if you already know Bambu Studio and AMS Lite. Its 256 mm cube printing area is effectively similar, and it also uses one nozzle for four-color printing.
More Specs And Ownership Details
| Nozzle / bed limits | Up to 300°C / 100°C; these limits do not provide a warm, enclosed printing environment. |
|---|---|
| Printing routes | Creality Print prepares files for local-network or USB printing. Creality Cloud mobile printing requires an account and printer pairing. |
| Flexible filament | Follow the dedicated TPU guide: 95A or harder externally; 64D or above for Lite and Mini. These are different hardness scales. Nano does not list TPU. |
| Feeder expansion | Lite and Nano units cannot be linked for more colors. The original full-size CFS is not a supported substitute. |
| Hotend replacement | The quick-release assembly simplifies replacement. Unload filament and let it cool; match the nozzle size in the printer and slicer settings. |
| Routine care | Clean the plate, inspect tubes and cutters, and follow the guides for lubrication and belt adjustment. Keep filament dry and choose a ventilated workspace. |
I’d consider the Creality SparkX i7 if you want to print toys, gifts, organizers and occasional practical parts without having to make constant manual adjustments. I’d choose it for PLA and PETG, two types of plastic filament fed from spools into the printer. A color bundle is worth considering if you already have projects in mind that would benefit from several colors. Its automatic adjustments and accessible replacement parts are more useful reasons to buy it than the AI branding.
The biggest compromise is what happens between colors. The i7 feeds every color through one nozzle, so each change takes time and pushes out plastic that won’t become part of your finished model. A small, colorful figure can use surprisingly large amounts of filament.
For single-color work, you can avoid much of that complication. For frequent multicolor printing, the i7 is a reasonable choice only if you’re willing to check material estimates and adjust settings. Easy setup doesn’t make every print a one-button job.
Which SparkX i7 Bundle Should You Buy?
The bundles change how filament reaches the printer. The printing area stays the same; paying for a feeder doesn’t make single-color prints more detailed.
- The basic i7 uses an external spool holder. Choose it for single-color organizers, models and parts when you’re happy to replace an empty spool yourself.
- The AutoFill Combo adds CFS Mini, a two-spool feeder that can continue with another spool when the first runs out. It doesn’t automatically alternate colors to decorate a model. Choose it for longer single-color jobs or to finish partly used spools of the same material type, such as PLA with PLA.
- The Color Combo adds CFS Lite for automatic printing with up to four colors. This is the configuration behind most of the reported tests discussed below.
- The Nano Combo adds the newer CFS Nano, another four-color option with open spool storage. It takes up less room and generally costs less than the Lite Color Combo. Its specification doesn’t include filament-tangle detection.
The US store lists all four configurations, although availability varies. Check the exact package description: some Color Combos pair the standalone printer with a separate Lite unit, so assembly can differ from early, largely assembled review samples.
Existing i7 owners can add a compatible feeder, including the Nano conversion kit. You can’t link multiple Lite or Nano units to print with more colors.
The original full-size CFS isn’t a supported substitute, and Mini and Lite can’t work together on one job. Choose a setup that supports the number of colors you need now.
Getting The i7 Ready For Everyday Printing
The i7 handles several setup adjustments automatically through calibration. It adjusts for unevenness in the print bed—the surface where it builds the print—and for vibration, and checks the filament cutter’s position.
Before running calibration, follow your package’s guide to remove the shipping restraints and connect any included feeder and tubes. Repeat calibration after moving the printer or replacing parts when the maintenance guide calls for it.
You can use filament from other brands. With CFS Lite, insert the filament into the feeder’s inlet, then enter the material and color on the touchscreen if the spool lacks an RFID identification tag the printer recognizes. Compatible tagged spools can supply that information automatically. You still need to match the colors in your print file to the spools actually loaded.
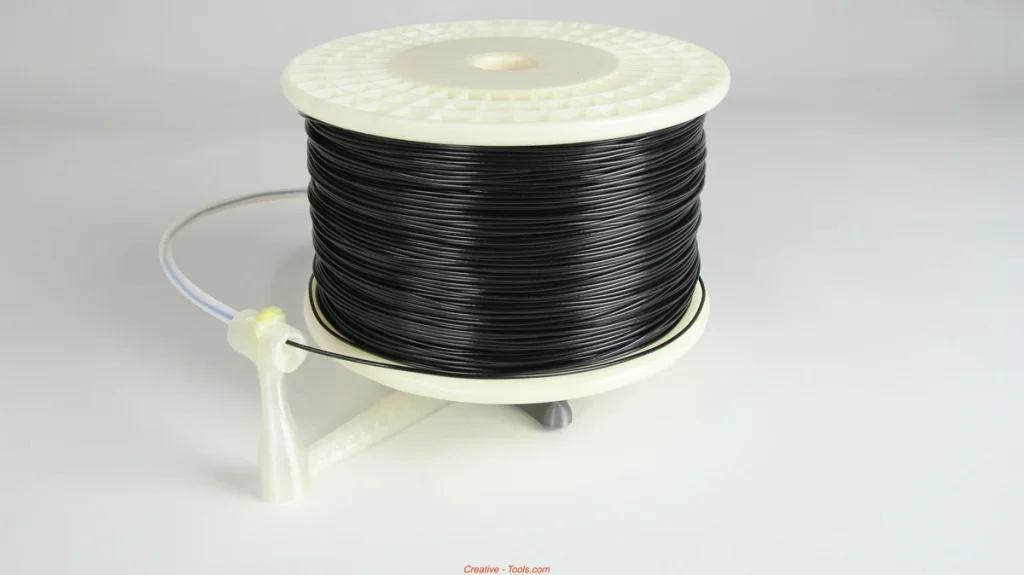
Use Creality Print on your computer to prepare your own model files. It’s a slicer: software that turns a model into instructions for printing each layer. Select the i7 and the nozzle fitted to it, choose your material, position the model, assign colors if needed, and inspect the preview before sending the job to the printer.
You can print over your local network or export a prepared file to a USB drive and select it on the touchscreen. USB is a useful option if you don’t want to depend on cloud printing.
The mobile route uses Creality Cloud and requires an account and pairing through the printer’s on-screen QR code. Its guided workflow still asks you to confirm the printer, plate and filament choices.
You’ll need to remove the finished print from the plate before starting another job. One reported test also required confirmation on the printer’s touchscreen before another job sent from the app would proceed. The test didn’t state the version of its firmware—the software that runs the printer. Remote control is convenient, but you’ll still need to go to the printer between jobs.
Check for updates to the printer’s firmware and Creality Print before your first large project. Recent i7 updates address Wi-Fi behavior and matching print-file colors to Nano spool slots, so early app problems don’t establish how today’s software behaves.
What The i7’s Print Results Show
Reported tests suggest the i7 can make attractive everyday prints, with some cleanup and occasional adjustment. They don’t establish how closely every print will match its intended dimensions or guarantee that every downloaded model will fit together.
In one independent test, the first layer of plastic on the bed was generally even, though close inspection showed a few spots with slightly too little plastic. Small text was readable too.
Unsupported slopes printed cleanly to about the test’s 60-degree mark, but sagged noticeably near 80 degrees. Plastic printed across a gap also sagged with the default settings. The full settings and material details weren’t supplied, so those angles aren’t guaranteed limits for other materials and models.
For a figure, that means upright details are easier to print than an arm sticking out into empty space. The arm may need supports: temporary structures printed underneath it to hold it up, then removed afterward. Automatic calibration can’t replace those supports.
A PLA bee kit produced clean outlines and usable connections, though its design still required glue. That distinction matters: a model that needs assembly isn’t necessarily evidence of poor printer accuracy. For a bracket or lid that must fit an existing object, print a small section containing the connection first, before committing to the whole part.
PETG results are encouraging too. In a reported test on a pre-shipping sample, a dragon with movable joints printed successfully using older third-party PETG spools in CFS Lite. With layers 0.2 mm thick and a reported average speed of 120 mm/s, it took eight hours and 28 minutes. That’s an example of an actual job; the advertised maximum movement speed won’t tell you how long your print will take.
A separate week of printing included a detailed castle that finished in about 15 hours with minor stringing—thin strands of plastic to remove. Its settings weren’t fully specified, so it provides evidence of completing a long decorative print, not a speed comparison.
There were weaker results on a pre-release unit, including clogs with one pink filament and rough multicolor surfaces. Those observations justify starting with a small test on your chosen filament. They don’t prove that current printers share the same faults.
What Changing Colors Costs On The i7
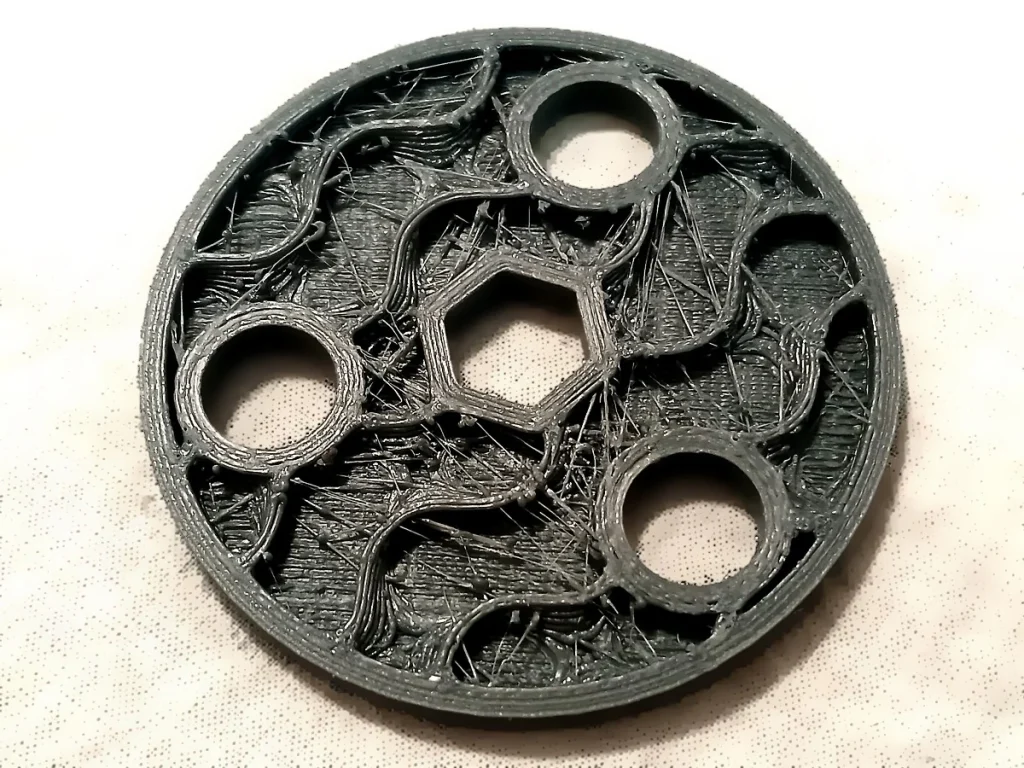
Automatic color changing saves you from stopping the printer to swap spools by hand. It doesn’t avoid the need to clear the previous color from the nozzle. This clearing process is called purging or flushing. The printer ejects the mixed plastic, and it can also print a separate tower beside the model to get the plastic flowing steadily before continuing the model.
The i7 pulls filament back before cutting it to leave less material to flush, but color changes still produce waste. The amount depends on how often colors change and how much flushing each transition needs. A model with color changes throughout its height can be much more demanding than a sign with contrasting lettering only at the top. Counting the colors alone won’t tell you how expensive a print will be.
One reported four-color castle test on a pre-shipping sample shows how much waste a print can produce. With default settings, the model used 31.59 g, its tower used 49.38 g, and ejected purge material totaled 488.85 g. That is roughly 570 g altogether for a model weighing about 32 g.
The printing time wasn’t supplied for that example, so it doesn’t show how much time the color changes added. It shows what happened on one demanding job with those defaults, not normal consumption for every i7 print.
Another pre-release assessment reported too little purging, leaving darker color in lighter areas. That doesn’t contradict the high waste in the castle test: the files, filament colors and software settings can all affect how much flushing a print needs. Lowering purge amounts is only worthwhile if the next color still comes out clean.
Before a long color print, check the slicer’s separate estimates for the model, flushing and tower, along with its estimated duration. If the totals already look unreasonable, change the project before spending the filament. A plainer version, separately printed colored pieces, or painted details may suit you better.
If you adjust how much plastic the printer flushes, try a small sample with the same color changes first. Inspect the light sections for traces of the darker color. Keep the settings that produce an acceptable finish rather than pursuing the smallest possible waste number. Save that working project so you don’t have to work out the settings again next time.
The slicer can also use some of the plastic cleared from the nozzle to print an extra object whose color doesn’t matter. These are called purge objects. However, those extra objects need room on the plate, and they aren’t free: they still take plastic and printing time. Don’t add unwanted objects merely to make the waste total look better.
CFS Lite also requires some attention to the spools. Its rollers don’t wind the filament back onto the spools, so loose filament can build up during color changes. When loading, check that the spools turn freely and the filament can pass through the tubes without catching.
To use Lite’s Automatic Refill, load a backup spool with matching filament and check that its brand, type, color and name settings match the spool it will replace. Enable the function so the printer can switch when that spool runs out. Reserving a slot for the backup leaves fewer slots for different colors.
What Fits On The i7, And Which Plastics To Use
The printing space is 260 × 260 × 255 mm, or approximately 10.2 inches square and 10 inches tall. That suits many desk organizers, toys, small housings and display models. If your prop exceeds that space, you’ll need to print smaller sections and put them together.
A multicolor tower and any supports also need room. Check the layout in the slicer’s preview instead of assuming that an object almost as wide as the plate will fit with everything else required.
PLA is the straightforward starting material for decorative work. PETG is another supported choice for practical projects.
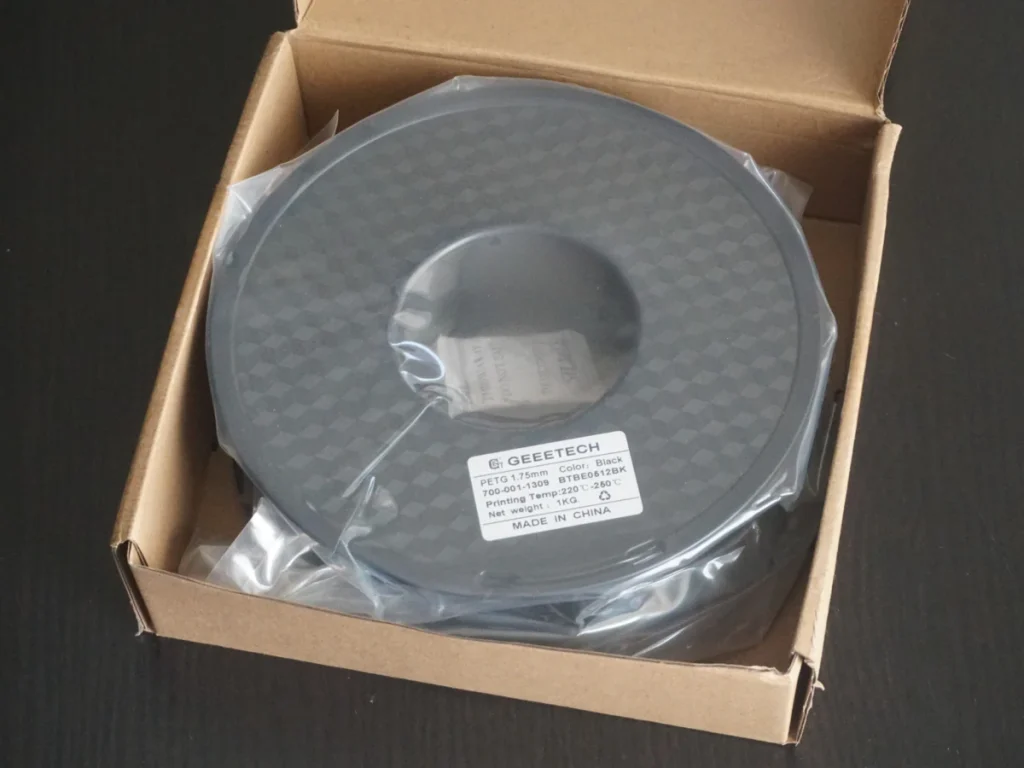
The nozzle reaches 300°C and the bed reaches 100°C, but the open frame makes the i7 a poor choice for ABS, ASA and other materials needing a more stable, warm printing environment. Creality advises against those uses because of warping and cracking risks. A hardened nozzle doesn’t solve that limitation.
For rubbery parts made from flexible TPU, choose the filament and feeder together. Soft filament can tangle in the gears that push it forward, interrupting feeding. Creality warns that 95A or softer TPU can get stuck in Lite’s filament path. Its external-spool TPU setup bypasses the feeder, using a short tube at the print head.
Creality’s dedicated TPU guide recommends 95A or harder for the external spool holder; Lite and Mini require 64D or above. The A and D ratings use different hardness scales, so don’t compare the numbers directly; check the filament label. The general FAQ allows softer 90A TPU externally, but I’d follow the more conservative TPU guide. Nano’s listed materials don’t include TPU.
For plastics containing additives such as carbon fiber, check that both the feeder and nozzle are suitable. A wear-resistant nozzle isn’t enough: some third-party reinforced filaments are too brittle or rough to pass through Lite reliably.
Making Room For The i7 And Maintaining It
The i7 moves its bed forward and backward while printing. Its quoted body depth therefore understates the room it needs. Creality’s recommended Color Combo arrangement allows about 876 mm across, 743 mm front to back and 468 mm high—roughly 34.5 × 29.3 × 18.4 inches. Leave access for loading, removing prints and collecting the waste ejected at the side.
Position the Lite and route its tubes as instructed. Moving it farther away to clear your desk can make it harder for filament to move through the tubes. Nano is worth considering when the Lite arrangement won’t fit comfortably, although the spools still need space.
You’ll still hear the printer working. A reported test found its movement clearly audible, with noise changing according to the model and speed. I wouldn’t put it beside your work chair if that would distract you.
CFS Lite has no heater to dry filament. Filament can absorb moisture from the air, leading to rough surfaces or extra stringing during printing. Keep it dry in storage, and follow its drying instructions when needed; Lite can’t dry damp filament for you.
The printer itself also needs ventilation: filament printing releases particles and gases, and an open printer doesn’t contain them. Choose a well-ventilated location away from where you spend long periods sitting.
The quick-release hotend—the assembly containing the nozzle—makes replacement easier: you can replace the assembly instead of unscrewing the nozzle. Unload the filament and let the assembly cool before following the replacement guide. If you change nozzle size, set the matching diameter under Settings → Print Settings → Nozzle, and select that size in Creality Print.
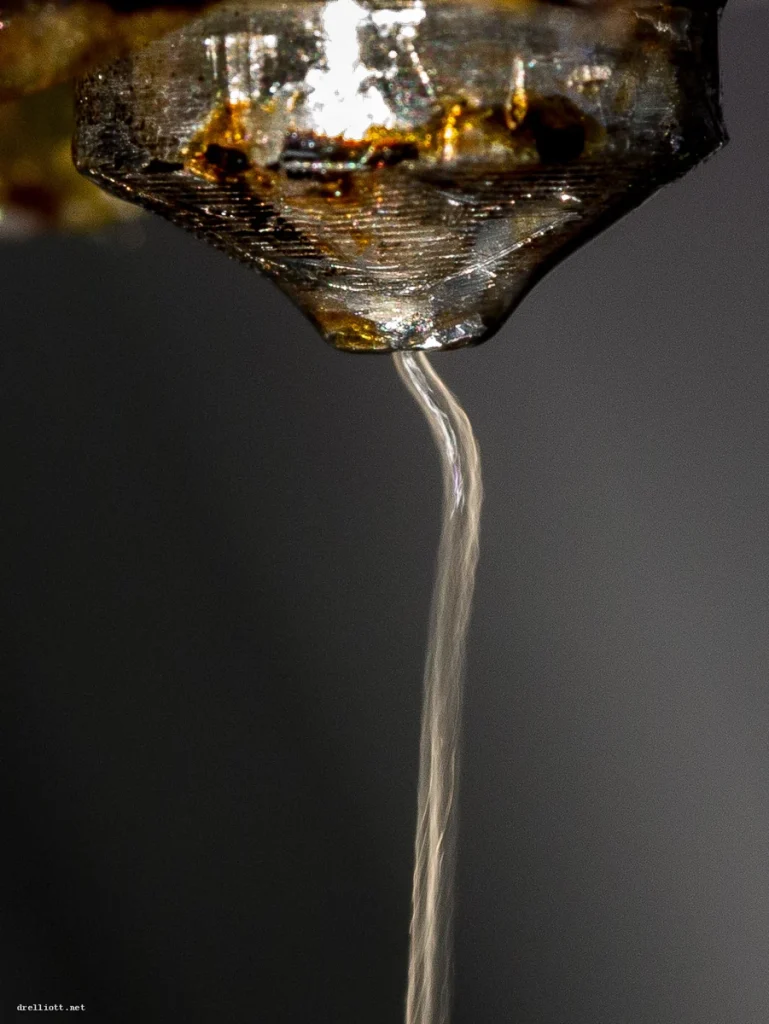
Creality lists i7 hotends, filament-feeding components, plates and maintenance parts, with guides for replacement. Expect routine plate cleaning, inspection of tubes and cutters, and lubrication or belt adjustment when instructed. Easy nozzle access doesn’t make the whole printer maintenance-free.
US main-component warranty coverage is generally 12 months. Wear parts have shorter coverage, and listed consumables have none. Warranty service may involve replacement parts and repair instructions rather than a local repair counter, so your seller’s support matters.
The camera lets you check progress, while automatic failure detection tries to recognize a failed print for you. In one reported test where a failure was deliberately caused, the detection didn’t respond reliably. It can provide an extra check, but you still need to check prints yourself. Short testing periods also cannot establish years of reliability.
When The SparkX i7 Makes Sense For You
I’d recommend the i7 if most of your plans involve PLA or PETG, the printing area is sufficient, and you’re comfortable learning a few slicer settings. Choose the basic printer for mostly single-color work, or AutoFill to keep printing when a spool runs out.
For color, consider Nano if space is tight, or Lite if you prefer the setup used in most of the reported tests. A working Lite doesn’t need replacing just because Nano exists; neither accessory removes single-nozzle waste.
The Bambu Lab A1 Combo with AMS Lite is the closest useful alternative. Its printing space is 256 mm in each direction, effectively the same size for most projects. It also offers four-color printing through one nozzle.
If you already use Bambu Studio, Bambu’s slicer, and have settings and an AMS Lite setup that work for you, that familiarity is a good reason to choose the A1. The i7’s slightly different dimensions don’t offer a compelling size upgrade for an A1 owner.
Skip the i7 if you mainly want ABS or ASA parts, need taller one-piece models, or expect frequent color changes without much wasted plastic. Another open, single-nozzle printer won’t necessarily resolve those needs either. Look for a printer that can handle the material or size you need, or a different color-changing system if waste is your main concern.
Along with the bundle you choose, budget for filament, dry storage and consumable parts. Those ongoing costs matter more than a feature you rarely use.


