Voron 2.4 Review
Kit-dependent budget; a cheaper box is not necessarily a cheaper complete build.
Our verdict
I’d choose the Voron 2.4 for an enclosed workshop printer I can build, repair and modify. ABS and ASA functional parts make a strong case for it, but assembly, wiring and tuning are substantial commitments. I would avoid an unbuilt kit for an immediate production deadline.
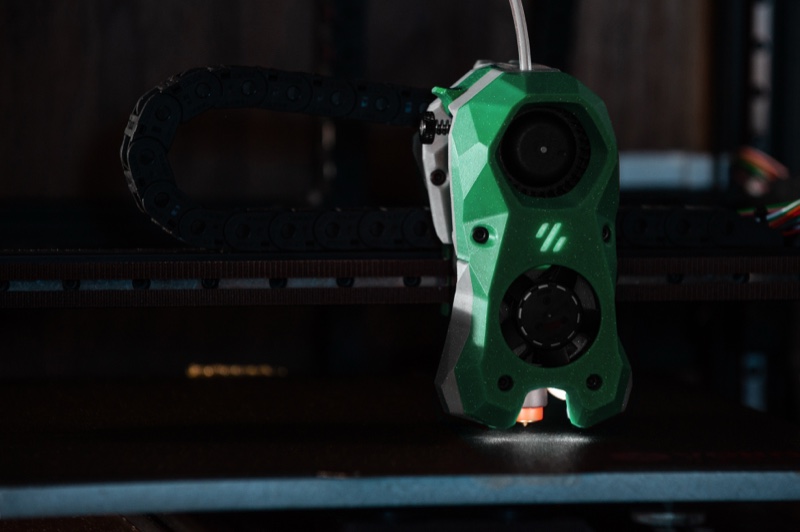
Best atBuilding and maintaining a configurable enclosed printer for functional parts.
Less suited toGetting dependable prints quickly without mechanical assembly, electrical work or software setup.
The Key Specs
| What you buy | Open-source design; third-party kitsElectronics, printheads and included parts vary by supplier and kit revision. |
|---|---|
| Size choices | 250, 300 or 350 mm configurationsConfirm usable height for the actual printhead and cable routing; the size label is not a usable-volume guarantee. |
| Motion system | CoreXY with a stationary bedFour motors raise and align the gantry; quad gantry leveling does not tilt the bed. |
| Material fit | Enclosed ABS and ASA printingThe bed warms the chamber. Allow warm-up time and plan ventilation; PLA needs cooler conditions. |
| Build commitment | Assembly, wiring, Klipper setup and tuningPlan several evenings or weekends, with time for delays and calibration after the first print. |
| Print performance | Depends on tuning and hotend configurationSet realistic material flow limits and check critical fits with small samples before committing to a whole part. |
Which Version Should You Buy?
- 250 mm configuration
- I’d start here if it comfortably fits your parts; choose the smallest standard size that meets your needs.
- 300 or 350 mm configuration
- Choose more room only for parts that need it, and allow space for servicing as well as the frame. Verify usable height before ordering.
- LDO kit or another supplier’s kit
- Compare the exact packing list, printed-parts requirements, wiring package and board-specific instructions. LDO kit revisions are separate from Voron project releases.
Budget beyond the printer. Allow for a matching ABS or ASA printed-parts set, any omitted host computer or electronics, assembly tools, setup filament, shipping, taxes and ventilation. Keep spare nozzles and wear items if downtime matters. Cameras and automatic filament systems add hardware and setup costs.
Also consider: Prusa CORE One+. I’d choose the assembled version if your parts fit its 250 × 220 × 270 mm volume and you want to avoid building and wiring a printer.
More Specs And Ownership Details
| Structural printed parts | Use the specified ABS or ASA parts; PLA and PETG are not recommended substitutes inside the heated enclosure. |
|---|---|
| First layers | Gantry leveling and bed mesh still need a clean surface, correct nozzle distance and consistent warm-up. |
| Daily controls | A configured Mainsail interface supports browser-based file uploads, print controls and temperature monitoring. |
| Filament handling | Runout protection needs a sensor and configured pause/resume behavior. Automatic color changes need additional hardware and setup. |
| Maintenance and help | Check belts, fasteners, printed parts and pulleys; follow the supplied rail maker’s lubrication guidance. Use the kit seller for supplied-component issues and the community for build questions. |
I’d consider building the Voron 2.4 if you want to understand, repair and change your printer, and you’re willing to work for dependable results. I’d consider it for an enclosed workshop printer, especially for functional parts. I wouldn’t choose it simply because you’ve heard Vorons are fast.
The main drawback is the work between opening the box and having a printer you trust. Assembly includes electrical work, software setup and calibration. Even a well-equipped LDO kit leaves important work to you, and a “300 mm” label doesn’t guarantee 300 mm of usable height.
You can end up with a capable printer built around your needs. Whether that’s a good deal depends on how much you enjoy building and troubleshooting.
What You’re Getting With A Voron 2.4
Voron supplies an open-source design: the plans, parts files and documentation are available for you to use and modify. It doesn’t manufacture the kit you buy. Companies such as LDO package components for that design, so two printers wearing the same Voron badge can have different electronics, printheads and conveniences.
The current project release is 2.4r2. LDO’s Rev. D and newer Rev. D+ paperwork describe its kit components; they aren’t new Voron project releases. Match the parts list and instructions to the actual kit batch, especially when buying older inventory.
The 2.4 uses CoreXY motion: two coordinated belts move the printhead sideways and front to back. The bed—the surface you print on—stays stationary. A surrounding structure called the gantry carries the printhead upward as the object grows.
Four separate motors lift and adjust that gantry. When you see “quad gantry leveling,” that means aligning the gantry with the bed, not tilting the bed itself.
Voron offers 250, 300 and 350 mm size configurations. Treat those as a starting point for choosing capacity.
A reported LDO Rev. D test confirmed 300 × 300 mm across the bed but only 270 mm of height. Voron’s older reference configuration sets a 300 mm build’s vertical travel limit to 260 mm. These describe different setups, not interchangeable measurements.
If your part needs nearly the full height, ask how much width, depth and height you can actually use with the supplied printhead and cable routing. Raising a software limit doesn’t create more room. Allow space for supports and any extra plastic printed around the base to help it stick.
LDO currently lists external dimensions of 500 × 500 × 600 mm for its 300 mm kit. That’s a planning figure, not a shelf opening to copy exactly. Allow extra room for the spool, filament tube, cables, opening the doors and reaching the rear. You’ll also need enough space to move the printer for servicing.
Getting From A Voron Kit To Your First Good Print
Think in terms of several evenings or weekends, with room for delays. A 2022 build account for a 300 mm LDO 2.4r2 estimated 20–40 hours to reach the first print, depending on experience and configuration. Making the kit’s plastic parts in ABS filament separately took more than 200 hours on a Prusa MK3 printer. That printing time is separate from assembly, and reaching a first print doesn’t guarantee it will be ready to use.
A later Rev. D build took about 50 hours for construction and programming, with another week spent tuning. Don’t treat either account as a deadline for your build.
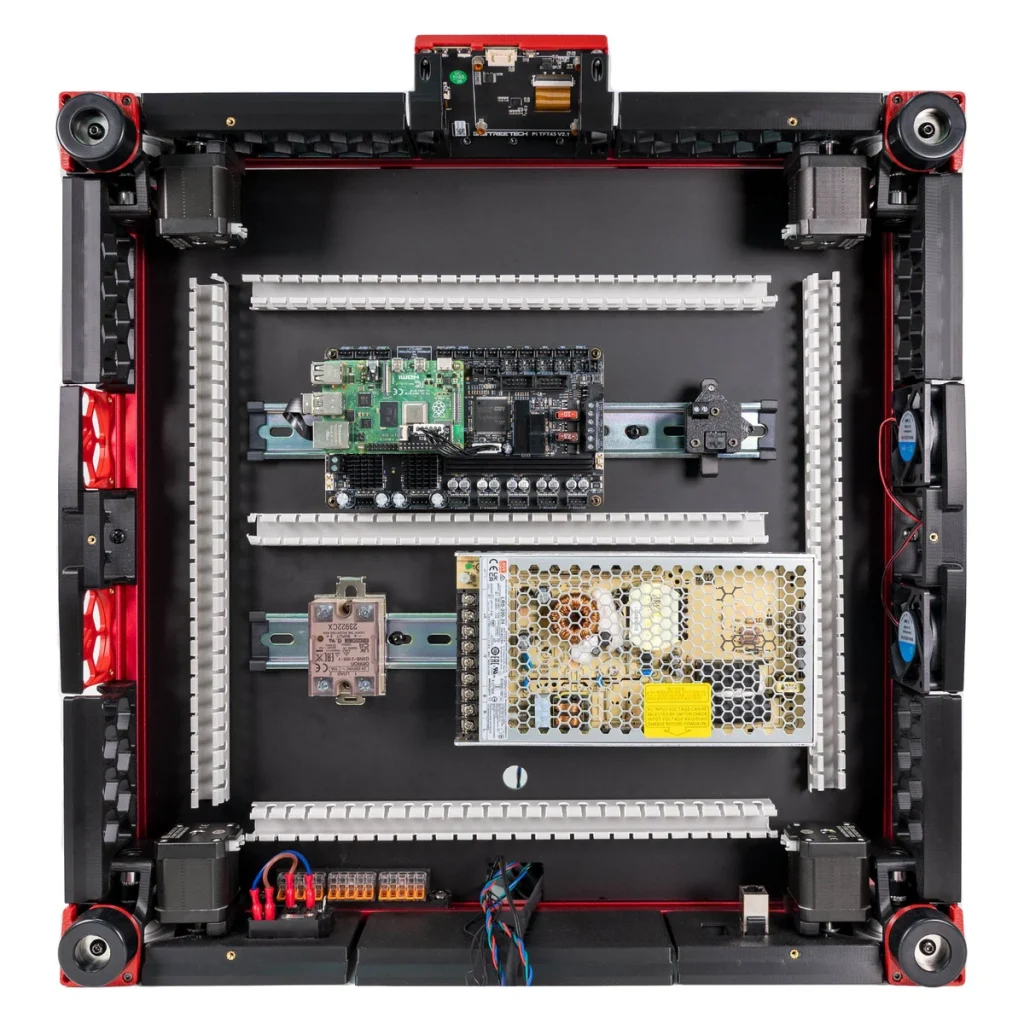
A kit can include some printed brackets while still omitting most of the plastic parts that hold the printer together. LDO’s Rev. D printed-parts guide distinguishes supplied pieces, required prints and optional changes. Follow that list before starting a long printing run. A generic set may miss mounts for your controller, screen or cable chains.
Use the recommended heat-resistant plastics, ABS or ASA, for the structural parts. Voron designs them around those materials’ behavior, including shrinkage. PLA and PETG, two common printing plastics, aren’t recommended substitutes for the working parts inside the heated enclosure.
If your existing printer can’t make suitable parts, order them from a supplier or use Voron’s Print It Forward service. Confirm exactly which pieces the set includes.
The mechanical work rewards patience. You’ll assemble and square the frame, fit the rails, build the gantry, route belts and mount the bed. A frame that looks straight can still need adjustment. The official guidance calls for checking diagonals and keeping belt tension balanced; software tuning won’t make poor assembly disappear.
Have metric hex keys, screwdrivers, cutters and a soldering iron available, plus calipers for measuring parts and a multimeter for electrical checks. The soldering iron also helps install the threaded metal inserts used in printed parts.
Check whether your kit’s wiring requires tools for crimping connectors onto wires. Cables with connectors already fitted save work, but they still need correct routing and connections.
The electrical stage is a real decision point. The AC bed heater and power supply involve household mains voltage. Grounding and heater protection need to be correct.
If you can’t carry out and check that work safely, arrange qualified help before buying, or choose an assembled printer. Don’t make learning mains wiring an improvised part of the build.
Then comes Klipper, the software that controls the printer, plus its host computer and browser interface. Expect to use configuration files, identify connected boards and follow startup checks before tuning extrusion and motion. LDO’s wiring instructions include a separate software section for this reason.
Read the project manual alongside the kit’s supplements before assembly. Some wiring goes in during mechanical construction. Getting that sequence right can save you from taking finished sections apart again.
Voron 2.4 Print Quality And Speed After Tuning
The 2.4 can print well, but expect to spend time getting it there. The reported LDO 300 mm Rev. D build paired a Stealthburner printhead with a Revo hotend, which melts the plastic, and high-flow brass nozzles.
Its initial test cube had first-layer and surface problems; belt and extrusion adjustments improved subsequent cubes. Tests of 12 copies each of square, hexagonal and tube shapes produced a combined mean dimensional difference of about 0.097 mm and standard deviation of 0.036 mm. The first number describes the average difference from the intended dimensions; the second describes variation in the results.
Separate circular features with diameters of 20, 65 and 100 mm averaged about 0.208 mm error. A combined test model also retained consistent bridges—plastic printed across unsupported gaps—through 50 mm after tuning.
Those results are encouraging for parts that need to fit together, but complete material and nozzle settings aren’t available for each test. The averages don’t guarantee that a particular bearing will fit a hole or that every copy will come out the same.
For parts that must fit together, I’d make a small sample of the connection first: the hole, clip or sliding joint that matters. Use your intended material and print orientation, then measure it and try the fit. That checks the fit you need before you spend time printing the whole part.
The circular result also deserves attention if you make sleeves or bearing holders. It isn’t proof that every 2.4 prints poor circles, and the available settings don’t isolate the cause well enough to make that claim.
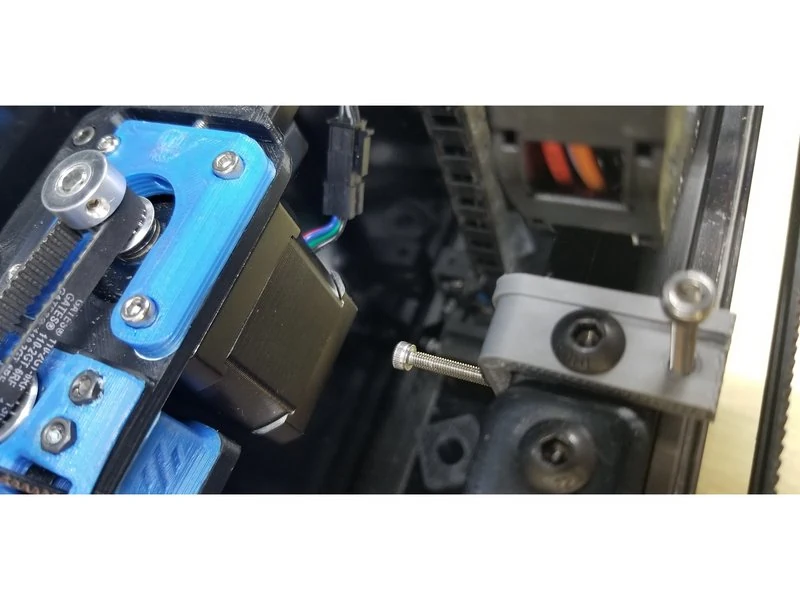
Two Klipper features help explain what tuning can achieve. Pressure advance adjusts extrusion as the printhead changes speed, helping control bulging at corners. Input shaping compensates for vibration that would otherwise leave repeated ripples beside sharp details.
Both need tuning for your setup. Pushing acceleration too far can still soften details, even with input shaping enabled.
Speed also depends on how much plastic the hotend can melt each second. This is called volumetric flow. A larger nozzle or thicker layer asks for more plastic at the same movement speed. The slicer—the program that turns your model into printer instructions—needs a realistic flow limit for the nozzle, material and temperature you’re using.
That’s why an older standard-flow Revo build can’t establish the speed ceiling for a newer high-flow configuration. It’s also why a maximum travel speed says little about when your finished part will be ready. Short moves, outer-wall settings and cooling pauses all affect the total.
A reported ABS airbox lid took 2½ hours and had clean surfaces. That’s a useful completed job, but its missing per-print settings prevent a fair race against another printer. Treat it as evidence that useful parts are achievable, not a timetable for yours.
Unsupported spans need their own settings. Plastic stretched across a gap must cool before it droops, and small layers need time to set before the nozzle returns. For your first practical jobs, favor intact bridges and parts that fit over the highest speed number the machine will accept.
Printing The Materials Your Voron Needs To Handle
ABS and ASA make the strongest case for building an enclosed 2.4. These plastics benefit from a warm, stable environment that reduces uneven cooling and warping. The normal enclosure retains heat from the bed; it doesn’t turn the printer into a machine with an independently heated industrial chamber.
Give the bed and enclosure time to warm consistently before printing demanding parts. Large, flat objects can still lift at the edges, so the material profile, build surface and part shape matter. An enclosure helps; it doesn’t guarantee that every large ABS housing will succeed on the first attempt.
PLA needs a different approach. Keep the chamber cool and provide enough part cooling rather than sealing in heat as you would for ABS. An older LDO build used its Stealthburner setup without the enclosure panels for PLA. Opening the enclosure or removing panels changes both the printing conditions and the space the printer needs.
Check the complete hotend configuration when buying for more demanding filament. E3D offers different Revo heating and nozzle packages, including versions intended for abrasive, fiber-filled materials. A brass high-flow nozzle can melt plastic quickly, but abrasive fillers can still wear it down. Match the hotend, temperature sensor, nozzle, build surface and filament preparation requirements to the material maker’s instructions.
Don’t choose a standard 2.4 for PEEK or PEI on the strength of a hotend temperature rating. Voron explicitly excludes those industrial materials from the normal design’s capabilities. Adding a chamber heater isn’t a supported shortcut.
Plan ventilation as part of the installation. Heated filament can release particles and gases; a closed box or a charcoal filter alone doesn’t establish safe exposure. Use a suitable ventilated location and emissions controls that address both.
Some kits supply parts for a Nevermore activated-carbon filter, which recirculates air inside the enclosure. That filter alone doesn’t establish that the air is safe to breathe.
Keeping A Voron 2.4 Running Day To Day
Once configured, a 2.4 doesn’t require you to type commands for every print. Mainsail can provide browser controls for uploading prepared print files, starting jobs, watching temperatures and running saved routines. Camera monitoring is available when you add and configure compatible hardware. The convenience is real, but someone has to set it up.
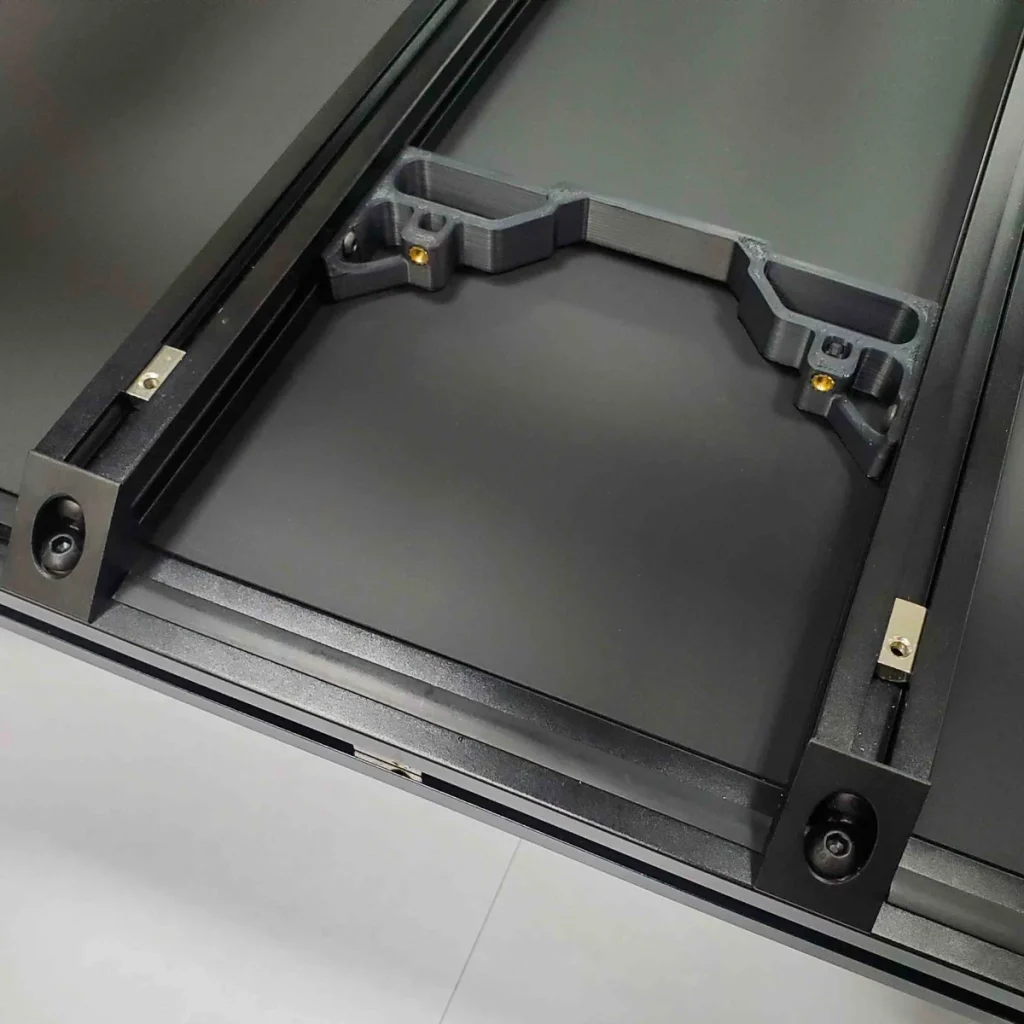
First layers deserve particular care. Gantry leveling aligns the motion system; a bed mesh maps smaller variations across the print surface. Neither replaces a clean print surface and a correct nozzle-to-bed distance.
Heat also changes the frame and gantry dimensions, which can affect that distance. Let the printer warm up the same way each time before deciding that the nozzle height needs adjusting.
A modified 300 mm LDO ownership log recorded a broken heater wire at 390 print hours and first-layer troubleshooting later on. That printer used a Rapido hotend and an LGX Lite extruder, which feeds filament into the hotend. Its owner later changed the bed-sensing probes and wiring.
That’s evidence of one owner’s repair workload, not a recurring defect established across the 2.4 design. It also shows why an owner’s successful modifications aren’t necessarily your required shopping list.
Filament changes and protection against running out of filament depend on the build. To pause a job when the spool runs out, the printer needs a physical sensor and configured pause-and-resume behavior; check that both are present.
A dual-drive extruder means two gears grip one filament; it doesn’t mean the printer can automatically switch between two materials. Automatic color changes require additional hardware and setup.
For maintenance, check belt tension, loose fasteners, cracked printed parts and debris near pulleys. Follow the rail maker’s lubrication instructions for the rails you actually received. Keep spare nozzles and other likely wear items available if a shipping delay would stop important work. Accessible parts and published designs make repair possible, but diagnosis remains your responsibility.
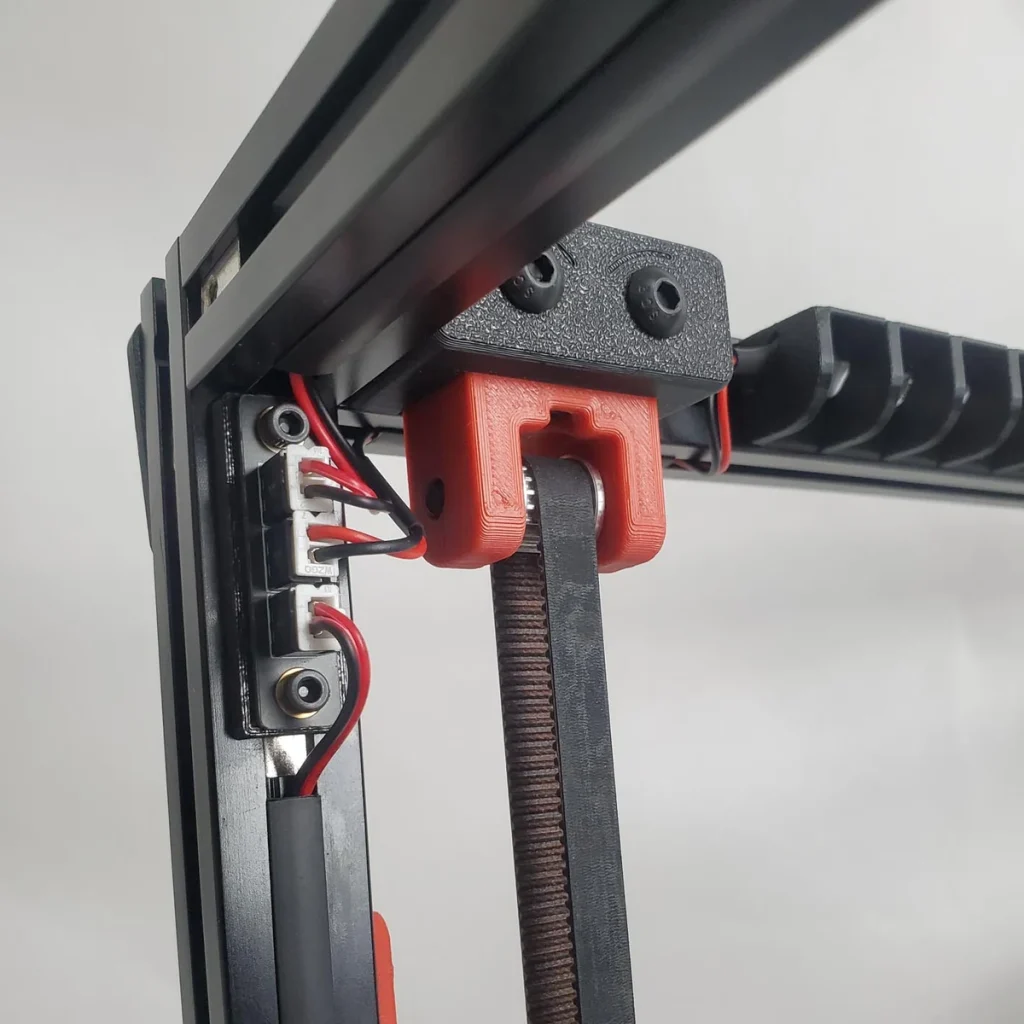
Don’t assume it will be quiet beside your desk. Fans and motion settings vary between builds; that ownership log included fan replacements to reduce noise. There isn’t a single noise figure that fairly describes every 2.4.
Keep a backup of your working configuration before software or hardware changes. For help, use the kit seller for supplied-component problems and the Voron community for build and configuration questions. Community help is valuable, but you can’t schedule it like a service contract. If downtime costs you money, a proven backup printer matters more than another upgrade.
What Goes Into The Voron 2.4’s Total Build Cost
Compare complete shopping lists before comparing kit prices. The useful total includes the printer, required printed parts, missing electronics, tools you don’t own, shipping and taxes. Include filament for setup and somewhere suitable to run the machine. Your own time belongs beside that total even if building is how you enjoy spending it.
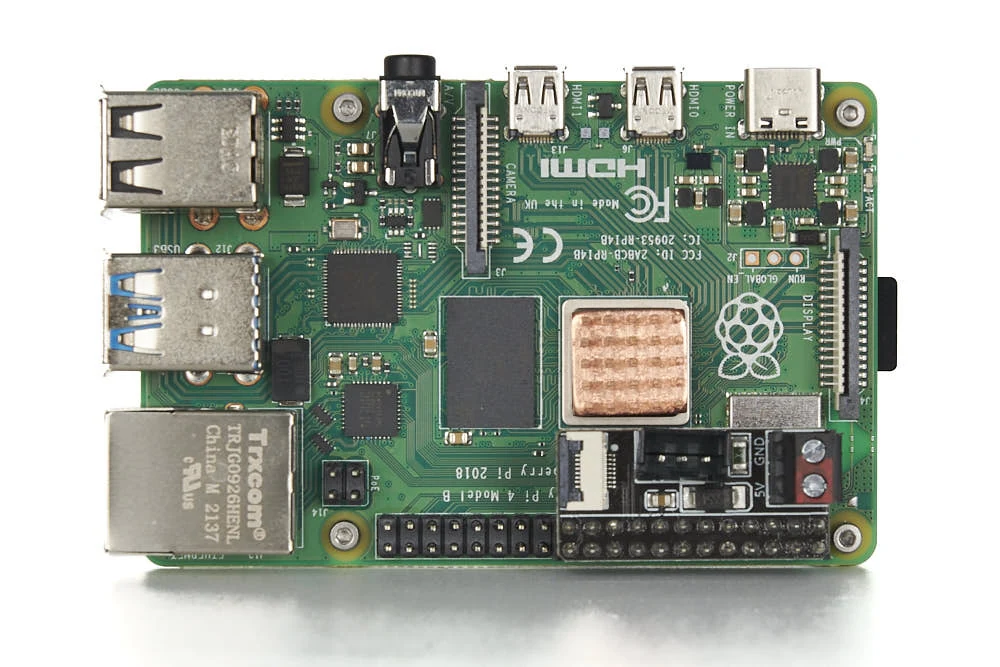
LDO’s documentation gives a concrete example of why this matters. Its Rev. D+ parts list includes the Revo high-flow hotend, Leviathan main controller board and Nitehawk-SB printhead electronics. But it marks the Raspberry Pi—the small computer used to host Klipper—as optional depending on the reseller.
LDO’s direct-store listing includes a Pi. Check the listing for the kit you’re actually buying so you can budget for a separate host computer if needed.
Check the printed parts separately. The presence of “LDO printed parts” in a packing list doesn’t mean the whole structural set is supplied. If you order a complete printed set, make sure it matches your kit’s printhead and electronics. If you print it yourself, count the filament and machine time, including replacements for unsuccessful pieces.
I’d pay attention to the wiring package and documentation before cosmetic extras. A kit with clearly identified cables and instructions for its exact boards can save work you’d otherwise have to do yourself. That doesn’t prove its finished prints will beat a cheaper kit, but it is something you can evaluate before purchase.
Keep optional upgrades out of the minimum build budget. A camera, automatic filament system or different bed-leveling probe may suit you later. Buying them all at once adds more combinations to troubleshoot before you know the basic printer works.
There isn’t one honest total for every 2.4, and building one isn’t automatically a way to save money. Choose a specific kit, add its omissions, then compare that total with an assembled printer that handles your parts. A cheaper-looking box is no bargain if finishing it exceeds your budget.
Should You Build A Voron 2.4?
Build one if controlling the hardware and software is part of what you want, you have a suitable workspace, and you can accept a gradual path to dependable printing. The stationary bed and choice of sizes are useful reasons to consider the design. So is being able to replace components without waiting for one company to redesign the whole printer.
I’d start with the smallest standard size that comfortably fits your intended parts. Confirm usable height before ordering, and favor a documented configuration you can finish and maintain. A larger frame is only helpful when you need the space; it also makes the machine harder to accommodate and tune.
If you mainly want finished parts, consider the assembled Prusa CORE One+ (Gen 2). Its specified 250 × 220 × 270 mm volume is smaller across the bed than a 300 mm Voron. You give up some room for wide parts, but you receive a built machine. I’d choose that route if your parts fit and you don’t want to assemble and wire a printer.
I wouldn’t make an unbuilt 2.4 responsible for an immediate production deadline. Finish it, check that it reliably makes the parts you need and establish a routine before depending on it.
The Voron’s appeal is having a capable machine you understand well enough to take care of. If that sounds satisfying, the work can be worthwhile. If it sounds like another job, buy the assembled printer.


