Polymaker PolyLite PLA Review
Generally less per kilogram than PolyMax PLA.
Our verdict
I’d choose standard PolyLite PLA for indoor display models, organizers and shape-checking prototypes. Its stiffness makes sense for objects that mainly need to hold their shape, but I would avoid it for parts exposed to repeated knocks or heat. Start with one roll before stocking up.
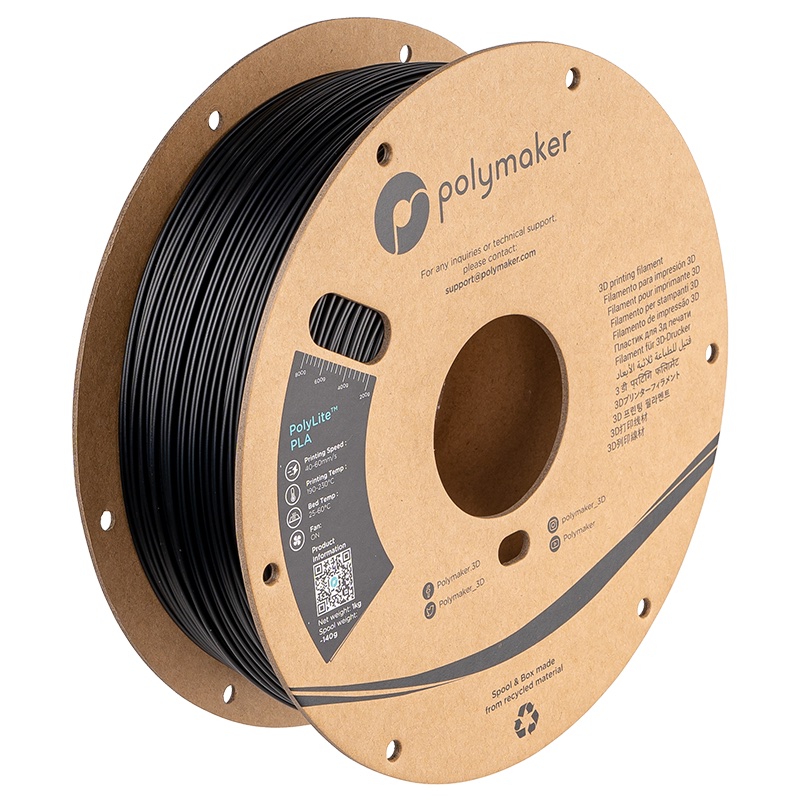
Best atIndoor models, desk organizers and prototypes that mainly need to look right and hold their shape.
Less suited toParts that must survive repeated impacts, hot-car temperatures or sustained demanding loads.
The Key Specs
| Material | Standard PLAPLA Pro, LW-PLA, silk and carbon-fiber grades are different materials; their results do not transfer. |
|---|---|
| Printing temperatures | 190–230°C nozzle; 25–60°C bedUse these manufacturer ranges to check your printer’s PLA profile; keep cooling on. |
| Starting speed | 40–60mm/sA conservative starting range from the US listing, not a guarantee of high-speed performance. |
| Impact behavior | Stiffness does not mean toughnessDo not count on a warning bend before a part breaks. |
| Heat deflection | About 58–60°C under specified test loadsThis is a laboratory measurement, not a safe continuous-use temperature; avoid hot-car parts. |
| Moisture handling | 55°C for six hours if dampUse a suitable filament dryer, then store sealed with desiccant. |
Which Spool Should You Buy?
- 1kg spool
- My first choice for trying the material before buying several colors; match the filament diameter and spool dimensions to your printer.
- Larger rolls
- Choose these only after checking your holder or feeder; the 1kg spool fit advice does not cover larger rolls.
- 2.85mm filament
- Only for a printer that requires this diameter; Polymaker says this size is being discontinued.
Budget For Storage And Feeding. Allow for sealed storage and desiccant, plus a filament dryer if moisture becomes a problem. Depending on your automatic feeder and the actual cardboard spool, you may also need spool adapters; follow the feeder maker’s instructions.
More Handling And Compatibility Details
| Filament diameter | 1.75mm or 2.85mm; the sizes are not interchangeable. |
|---|---|
| 1kg spool dimensions | Roughly 200mm diameter × 65.6mm wide, with a 55mm center hole. |
| Enclosure | Not required. |
| Surface finish | Expect some sheen; deliberately matte and silky materials are separate choices. |
| Panchroma naming | Panchroma Basic PLA uses a newer formula; do not assume identical behavior to an older PolyLite sample. |
I’d consider Polymaker PolyLite PLA for models, desk organizers and prototypes that help you check a shape or fit. Reported small prints show good detail and smooth surfaces without much adjustment. Its main drawback is durability: a rigid part can hold its shape well yet snap when you drop it. Heat is another reason to choose something else.
I’d buy standard PolyLite PLA for indoor objects that won’t take much punishment. I wouldn’t pay extra expecting an especially tough material, and I’d compare it with the newer Panchroma Basic PLA before stocking up. Polymaker’s changing product names make that distinction important.
What You’re Getting With Standard PolyLite PLA
Polymaker is the brand; PolyLite PLA is the filament—the plastic strand your printer melts to build an object. “Lite” doesn’t mean lightweight or foaming. PLA Pro, LW-PLA, silk and carbon-fiber versions are different materials, so their results don’t describe the standard PLA reviewed here.
Standard PolyLite PLA still has a US product listing, although Polymaker directs buyers to Amazon during a warehouse transition. The listing includes 1.75mm and 2.85mm filament, but explicitly says 2.85mm is being discontinued. Match the diameter to your printer; the two sizes aren’t interchangeable.
For a first purchase, the 1kg spool makes more sense than the larger rolls. Polymaker lists its 1kg cardboard spool at roughly 200mm across, 65.6mm wide, with a 55mm center hole. Compare those dimensions with your holder or automatic filament feeder.
Polymaker says its current hardened spool edges work in Bambu’s AMS, an automatic filament-changing system. Bambu’s AMS and AMS 2 Pro guides still recommend cardboard-spool adapters to reduce slipping and cardboard debris.
Follow the instructions for your exact feeder model and check the actual spool, especially older stock. Larger rolls aren’t covered by that 1kg fit advice.
Also check the full name if a seller suggests Panchroma. Panchroma Basic PLA uses a newer formula. Don’t assume it will behave like an old PolyLite sample.
How PolyLite PLA Prints Everyday Objects
PolyLite PLA makes sense if you want good-looking prints using ordinary PLA settings. A 2020 comparison used dried purple PolyLite PLA at a 215°C nozzle temperature. It reproduced fine points and handled bridges—plastic stretched across an unsupported gap—well.
There was some stringing: fine hairs left between separate features. There was also more warping—parts lifting away from the bed—than with the PolyMax PLA tested alongside it.
The detail is encouraging for decorative objects, but these results leave room for cleanup and adjustment. Don’t plan a complicated model around the assumption that every underside will come out smooth. Unsupported features still depend on the shape, cooling and settings you use.
A separate 2020 sample report used True Orange on a Prusa MK3S. Both generic PLA and Prusament profiles—saved sets of filament printing settings—worked without adjustment.
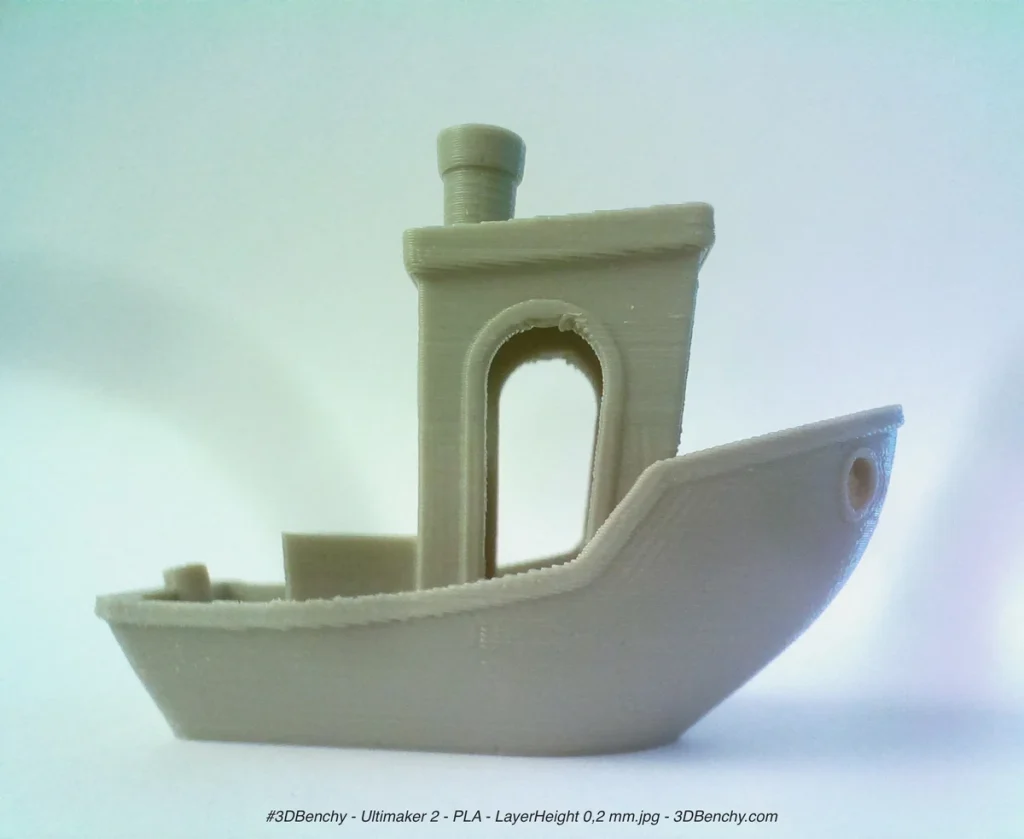
The writer reported about eight to ten successful small prints, including coins, a whistle and a color swatch, with smooth, slightly shiny surfaces and no jams. That’s a useful example if you want to print small objects on a similar machine.
It doesn’t establish reliability across a whole spool, multiple production batches or a large model that fills the bed. Nor was it a high-speed test. A successful coin doesn’t show how well a long, flat enclosure will print.
Expect some sheen from standard PolyLite PLA. If you want a deliberately matte or silky appearance, choose a filament made for that finish. Changing the surface effect can also change the material’s behavior; the brand name alone won’t tell you how it prints or breaks.
Getting PolyLite PLA Printing Well
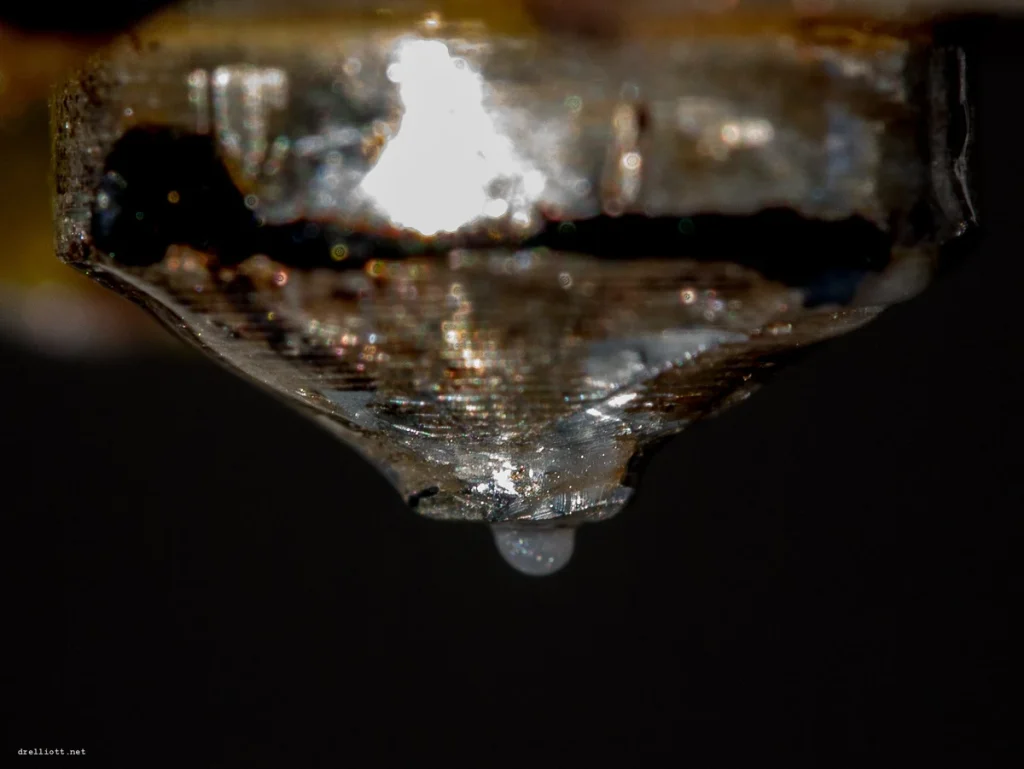
Start with a PolyLite PLA profile for your printer in the slicer, the software that turns your model into printing instructions. If there isn’t one, use the printer’s generic PLA profile and check it against Polymaker’s guidance: 190–230°C at the nozzle, 25–60°C at the bed, with cooling on. An enclosure isn’t required.
For an initial print, 210–215°C at the nozzle and 50–60°C at a heated bed are reasonable starting points within those ranges, provided your build plate allows them. They’re starting settings, not a promise of the best result. The 215°C setting in the historical comparison doesn’t make it ideal for every printer.
Be conservative with speed. The US listing recommends 40–60mm/s, while the manufacturer’s wiki lists 50–200mm/s. I’d start at 40–60mm/s unless you have a suitable printer-specific profile. Neither range establishes how fast your printer can melt this filament while keeping the layers well joined.
Check that the spool turns freely, clean the build plate as its maker recommends, and watch whether the first layer sticks evenly. If the printer leaves gaps instead of a steady line of plastic, check the feeding path and nozzle before treating it as a bad spool.
The print fan helps fresh plastic solidify before it sags, keeping small details in shape. Too much cooling can weaken the bond between layers; they need enough heat to fuse together.
If layers separate after you increase the fan, try a slightly higher nozzle temperature within the recommended range to help restore that bond. Adjust one setting at a time. A cleaner-looking surface isn’t enough if the part pulls apart easily.
For filament that has absorbed moisture, Polymaker’s current instructions specify 55°C for six hours. Use a filament dryer that can hold that setting, then store the roll sealed with desiccant, the moisture-absorbing packet. Older product literature lists a hotter drying procedure; use the current guidance for this product.
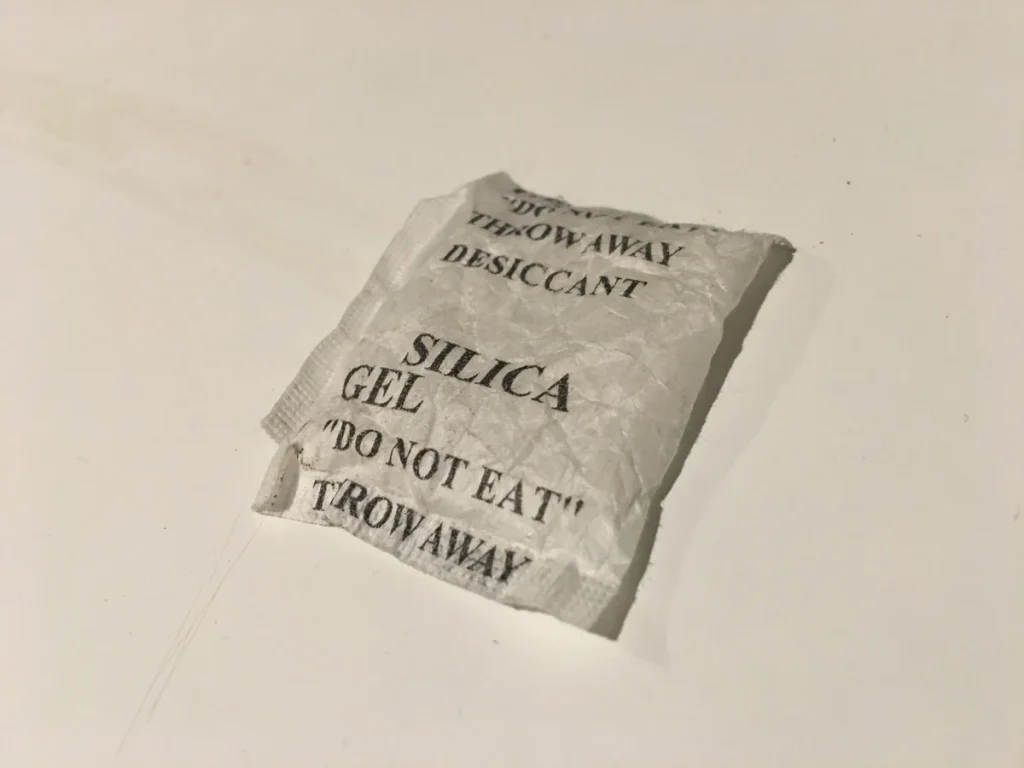
The orange sample reportedly still printed well after three weeks left uncovered. With no humidity measurements or controlled comparison, that’s no reason to skip dry storage.
What PolyLite PLA Strength Means For Your Parts
“Strong” can describe several different things. Stiffness means a part resists bending. Tensile strength describes how much pulling stress it withstands before failing. Impact resistance describes how well it handles a sudden knock.
PolyLite PLA’s appeal is stiffness and pulling strength; those properties don’t make it forgiving when dropped.
In the 2020 comparison, flat-printed PolyLite specimens reached 57MPa (megapascals, a unit of stress) in a pulling test but fractured abruptly. Specimens testing the bonds between layers reached 43MPa. The same test series found that PolyMax absorbed substantially more impact energy. These results describe those specimens, not a guaranteed strength for your print.
An earlier report described some yielding before fracture, meaning the material bent permanently before it broke. The reports don’t agree on that behavior, and their conditions weren’t matched. Don’t count on a warning bend before a part fails.
Print orientation matters because a force can pull along the printed layers or try to separate them. For a part that carries a load, think about which way that force acts before choosing how to place it on the bed. A convenient printing position may leave the layer joints doing the hardest work.
Don’t turn a test hook’s breaking load into a weight allowance for a shelf bracket. The shape, wall thickness and amount of plastic inside differ.
A brief pulling test also doesn’t establish whether a part will slowly deform under a load left on it for months. I wouldn’t use these results to justify a part whose failure could hurt someone.
Heat is a separate limit. Polymaker’s data puts heat deflection at roughly 58–60°C under specified test loads. That’s a laboratory measure of bending under heat, not a safe continuous-use temperature.
The reported comparison also found failure at 65°C in a gradually heated, weighted-bar test; that isn’t an operating rating either.
Keep PolyLite PLA away from hot-car applications and parts near heat sources. A tougher PLA doesn’t automatically solve that problem. For a hot or permanently outdoor part, choose a material with documented properties suited to those conditions, then assess the finished design.
Is PolyLite PLA Worth Buying For Your Prints?
Buy PolyLite PLA if you want small display models, indoor organizers or prototypes that mainly need to look right and hold their shape. Its reported finish makes it a reasonable first filament, as long as you match the diameter and spool to your printer. Start with one roll before committing to several colors.
It generally costs less per kilogram than PolyMax PLA. For a decorative print, I wouldn’t spend more on PolyMax just to chase a better surface.
PolyMax is more useful when your prints need to survive knocks, even if they bend more under a load. The PolyLite-versus-PolyMax tests don’t establish how either compares with PLA Pro.
Panchroma Basic PLA is the closest current alternative to compare for ordinary prints. Polymaker positions its new formula for faster printing and reports better impact resistance with slightly less stiffness than PolyLite. Those are manufacturer claims, so I wouldn’t assume better results on your machine. They do give you a reason to compare the two instead of paying a premium to track down older PolyLite stock.
If you already get clean PolyLite prints and your objects stay indoors without much stress, there’s little reason to change materials just because the range has expanded.
If parts keep breaking when knocked or bending in heat, choose for that missing property. Buying another color of the same standard PLA won’t address the problem.


