HeyGears Reflex RS Review
More than a budget Mars 5 Ultra setup; washing, curing and heating add to the total.
Our verdict
I’d choose the original Reflex RS for detailed figures and repeat prototype jobs where reusable resin profiles matter more than the cheapest setup. Its convenience is in preparation: washing, curing and material changes still take work, and heating costs extra.
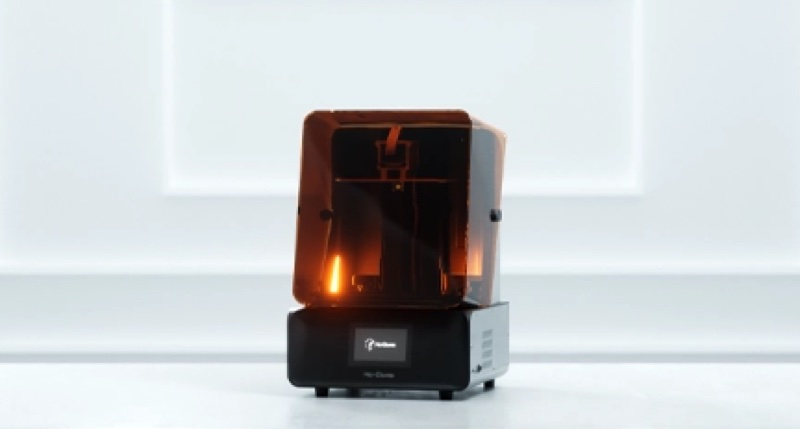
Best atDetailed figures, display-piece sections and small prototype batches using established resin settings.
Less suited toOccasional small prints on a tight budget, or unfamiliar resins if you do not want to develop settings.
The Key Specs
| Build space | 222 × 122 × 228 mmFits groups of miniatures or larger sections; check the model with supports before printing. |
|---|---|
| XY pixel size | 29.7 µmPixel size describes the light grid, not the dimensional accuracy of a cured part. |
| Resin settings | HeyGears profiles or Open Material ModeUse matching profiles for less setup; third-party resin needs suitable settings, not just a 405 nm label. |
| Resin heating | Optional heated tankHeating works without the separate pulsing module; budget for it if your resin stays too cold. |
| Refilling | Gravity-fed bottle connectionReduces manual top-ups, but bottle detection does not identify the resin or measure what remains. |
| Washing | Remove prints from the platformThe RS platform does not fit UltraCraft Wash; check that the parts fit its smaller cleaning space. |
Which Version Should You Buy?
- Printer only
- Choose it if your existing washing and curing equipment fits your parts and meets your resin’s requirements.
- RS Combo
- Adds UltraCraft Wash and UltraCraft Cure. Choose it for the matching post-processing workflow.
- RS with heated tank
- Choose the Heated & Pulsing Release Resin Tank when you need resin warming; heating alone does not require the release module.
- RS Combo with Pulsing Release Module
- Adds the module and heated tank to the Combo. Consider it for demanding large solid sections after checking resin and wall-thickness compatibility.
Budget beyond the printer. Allow for resin used in supports and failed parts, cleaning liquid, suitable gloves and eye protection, ventilation, and replacement tank films. Material changes need a filter, funnel and cleanup; separate resin tanks cost more and need storage. Add washing and curing equipment if you do not already have a suitable setup.
Also consider: Elegoo Mars 5 Ultra. A cheaper choice for occasional miniatures with a Mercury Plus V3.0 wash-and-cure setup, but its roughly 153 × 78 × 165 mm build space is much smaller.
More Specs And Ownership Details
| Workspace | 380 × 360 × 584 mm closed; 20 kg. Leave room for the hinged cover, tank removal and wet-part handling. |
|---|---|
| Offline preparation | Blueprint Studio’s Non-Login mode supports offline slicing and USB transfer; connected management features remain separate. |
| Wash / cure fit | UltraCraft Wash: 198 × 123 × 150 mm. UltraCraft Cure: 198 × 124 × 220 mm, with 405/365 nm UV and heating. |
| Pulsing-release limits | HeyGears excludes PAWW10 and PAWW20 and does not recommend the module for walls 3 mm thick or thinner. |
| Screen / model choice | This review covers the original RS. An Amber Screen upgrade is available; RS Turbo uses that screen. Compare the included screen and accessories, without assuming the Turbo name guarantees shorter jobs. |
I’d consider the HeyGears Reflex RS for detailed miniatures, display pieces or prototypes with parts that need to fit together. It helps reduce the time you spend adjusting settings. Reported tests show good results with HeyGears’ saved settings for specific resins, known as resin profiles. Its main appeal is easier print preparation; that doesn’t mean every print will finish faster.
You still have to handle liquid resin, clean the printed parts and harden them further with light, a step called curing. Open Material Mode now allows third-party resin and adjustable settings, but using HeyGears resin with its matching profile remains the easiest route.
What You Get With The Reflex RS
This review covers the original Reflex RS. HeyGears still lists it in its US storefront alongside the newer RS Turbo. Check the configuration carefully: a standard RS, an RS bundled with an Amber Screen upgrade, and an RS Turbo aren’t identical purchases.
The current RS specification lists a build space of 222 × 122 × 228 mm, roughly 8.7 × 4.8 × 9 inches. Older descriptions sometimes say 230 mm tall; plan around 228 mm. That’s enough for groups of miniatures or sizeable sections of a display piece.
Tilting a model and adding supports—the temporary structures that hold it during printing—use some of that space. Check that the model fits with its supports in the print-preparation software before planning to print it in one piece.
The printer measures 380 × 360 × 584 mm with its cover closed and weighs 20 kg, about 44 pounds. Allow room to open the hinged cover, remove the resin tank and work beside the printer. A narrow shelf that just fits the printer won’t give you enough room to handle resin and printed parts.
The basic package includes the tank, build platform—the plate your prints attach to—and removal tools. The RS Combo adds UltraCraft Wash and UltraCraft Cure; the pulsing-release combo also includes the release module and heated tank. Setup includes securing the removable parts and following the leveling prompts.
Heating isn’t standard. The optional Heated & Pulsing Release Resin Tank can heat resin without the separate Pulsing Release Module.
The film at the bottom of the tank must peel away from each newly hardened layer before the next one can form. The module pulses air through the special tank to help that separation. Heating and pulsing release serve different purposes, so you don’t need to buy both just to warm the resin.
Reflex RS Print Detail And Part Fit
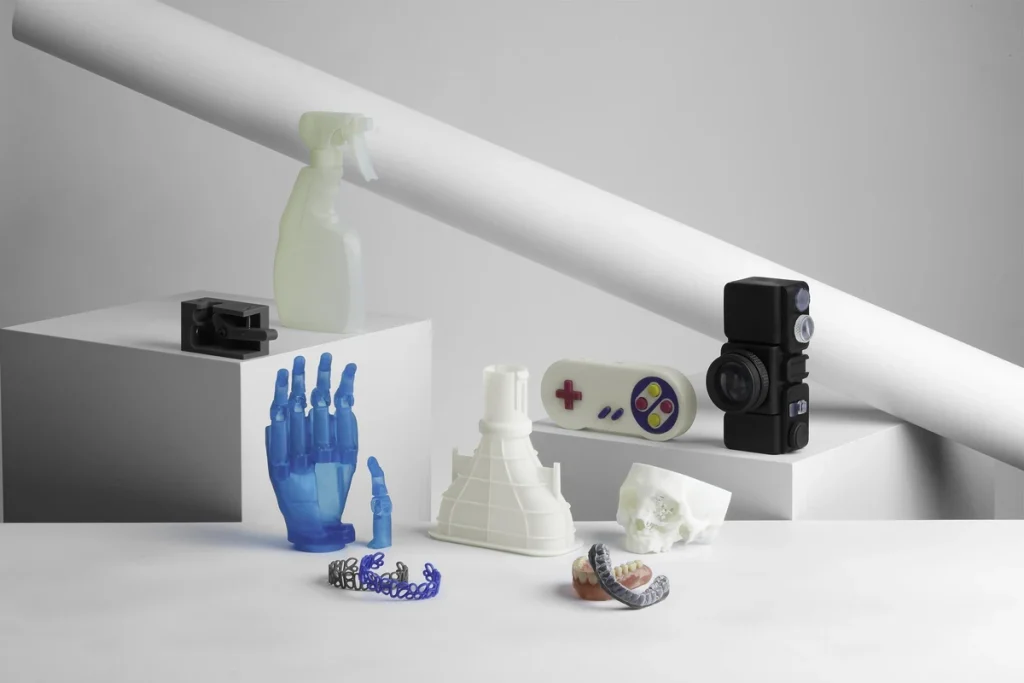
The RS can bring out fine detail in miniatures. In one reported test, a HeroForge figure printed in PAP10 detail resin at 50-micron layers took 3 hours 17 minutes, with sharply defined features. A micron is one thousandth of a millimeter, so this setting builds the model in layers 0.05 mm thick.
That time excludes washing, drying and curing. The test doesn’t specify whether the release module was active. A faster comparison print used different resin, so the comparison can’t tell you which printer would be faster under the same conditions. The RS result is an example of a successful job, not a promise of how quickly your figures will finish.
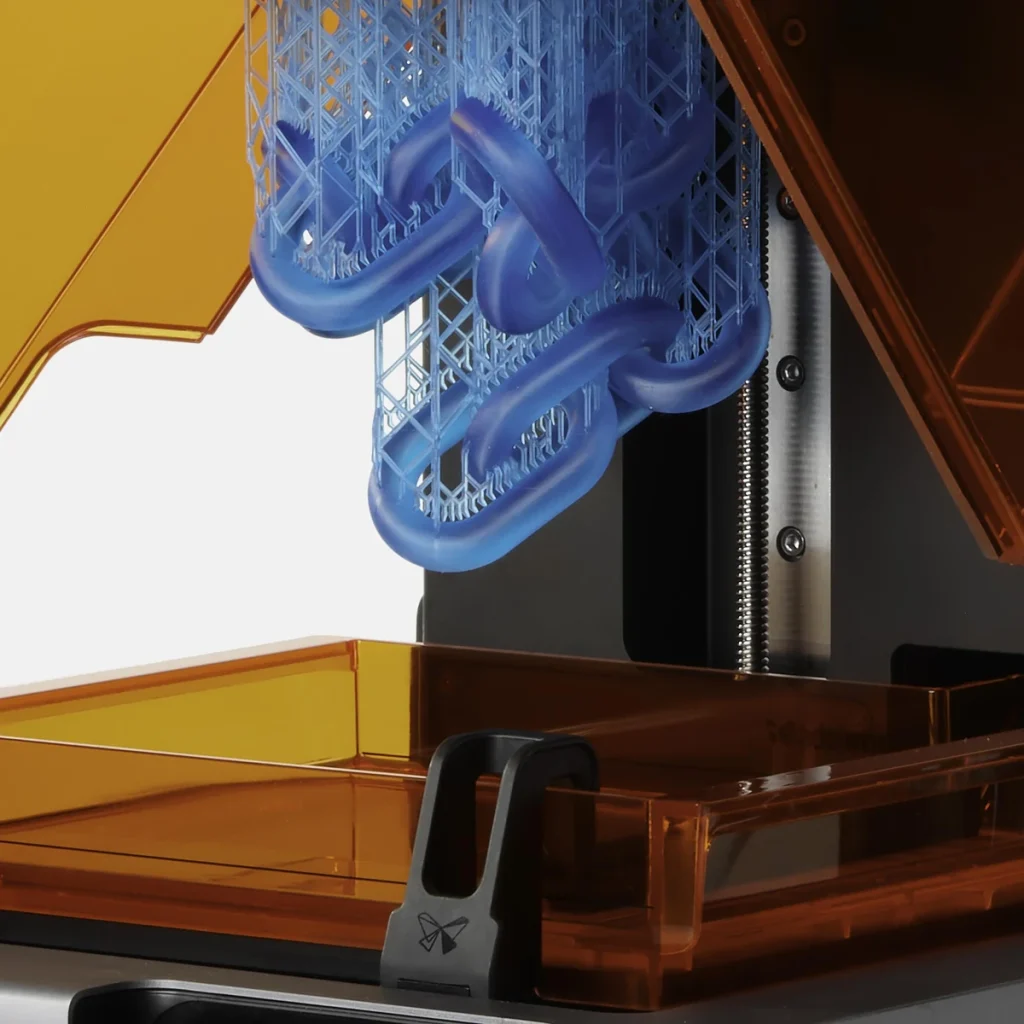
If your printed parts need to fit together, their dimensions matter more than how sharp they look. In a reported test using PAWR10 wear-resistant resin, the default profile and 50-micron layers, a part was measured after curing. Its intended 100 mm dimensions came out at 99.99 mm in both horizontal directions (X and Y) and 99.97 mm vertically (Z); a 135 mm diagonal measured 134.85 mm. Those are encouraging results for prototypes with parts that need to fit together.
One part can’t tell you how much a batch will vary. If you’re making a housing around an existing component, print and cure the joint or mounting section first. Check it against the real component before printing the whole batch. Repeat that check when you change material or settings.
The RS uses an LCD screen beneath the tank to control where light reaches the resin, forming the shape of each layer. Each pixel in that image grid measures 29.7 microns across; layer height is the thickness of each printed layer. Neither measurement tells you how closely a finished part will match its intended dimensions.
HeyGears’ Z-axis positioning claim describes how precisely the printer moves vertically, but resin, light exposure, support placement and curing also affect the result. Parts need to be both the right size and consistent from print to print if you want to swap one for another. Those are separate qualities: accuracy and repeatability.
Removing supports can leave marks on the printed surface. Position the model so supports touch less visible areas, and check delicate fingers, weapons and decorative edges before removing the supports. Reported RS testing found supports generally manageable, with tougher PAWR10 requiring more effort. Printing a thin feature successfully doesn’t mean it will survive rough handling.
For painted figures, I’d focus on the model’s angle and a suitable resin before trying the thinnest layers. For prototypes, I’d focus on measured fit after curing.
How Much Work The RS Software Saves You
HeyGears’ Blueprint Studio software helps prepare your model and “slices” it into layer-by-layer instructions for the printer. It’s available for Windows and both Apple Silicon and Intel Macs.
To prepare a print, you choose the printer, resin and installed accessories, import the model, set its angle, add supports, then slice and send the job. Automatic model-repair and support tools can save repetitive work, but you’ll still need to check the preview.
Make sure supports hold up sections that stick out and reach small details that need them. Also check that their placement won’t spoil the surfaces you care about most.
Early tests praised the preparation tools, while a February 2025 test criticized project navigation and separate job transfers. Both can be true: automatic supports can save work even when sending a file takes extra clicks. Those reports don’t identify software versions consistently, so they don’t settle how the current interface will feel to you.
The original RS now supports Open Material Mode, which lets you adjust settings and use third-party resin. HeyGears documents controls for exposure time, light intensity and dimensional compensation. Older claims that you can’t adjust exposure or use third-party resin are out of date.
Exposure time is how long the resin receives light. Dimensional compensation adjusts the dimensions sent to the printer to help account for size changes during printing.
You can still choose HeyGears’ Fine-Tuned Resin Profiles for less setup. Open Material Mode is more useful when you want to work out settings for a particular material yourself. A bottle marked “405 nm” specifies a curing wavelength that matches the RS light source. That label alone doesn’t tell you which settings will work, whether supports will hold or whether the finished part will have the properties you need.
A reported walkthrough from around August 2026 places Open Material Mode’s controls in the Slice tab’s Printing Process Editor. It also describes an awkward step: changing a saved profile requires saving a new copy rather than overwriting it. The walkthrough doesn’t give an exact software version, so check whether your installed version works the same way.
The resin profile holds printing settings; the editable project lets you return to the arranged models and supports. Keep that project when you want to revise a job, give revised versions clear names, then slice and send the job again.
An internet outage doesn’t automatically stop preparation. HeyGears’ documented Non-Login mode allows offline slicing without an account, followed by USB transfer to the printer. Networked features such as remote job management and the parts library remain separate benefits of signing in. USB printing shouldn’t be confused with having every connected printer, wash and cure function available offline.
Refilling, Cleaning And Curing RS Prints
The RS refills through a gravity-fed bottle connection. Installing the bottle opens a mechanical valve, letting resin flow into the tank. It saves manual top-ups, but it doesn’t provide the original Reflex’s measurement of resin remaining in the bottle.
Bottle detection tells you a bottle is present, not which resin it contains or how much is left. Check the bottle label against the resin you’ve selected in Blueprint Studio. An installed bottle isn’t confirmation that you have enough resin for a long job.
When you change materials, you have to remove the resin already in the tank; the RS doesn’t automatically pump it back into the bottle. Recover usable resin carefully with a suitable filter and funnel, then clean the tank as directed before adding another material. Keeping a separate tank for each resin can reduce this work, but costs more and takes more storage space.
The flat build platform also needs time to drain. Keep it over the tank while resin runs off, and protect the work surface when removing prints. HeyGears provides RS drainage guides and lists a drip-collection accessory, but you’ll still be handling wet parts.
The matching UltraCraft Wash has a 198 × 123 × 150 mm cleaning space. Independent testing confirms that the RS platform doesn’t fit: you remove the parts before washing. A model that fits the printer may also be too large for the washer, depending on its shape and orientation.
The washer’s containers and drain valves also need cleaning. Automatic washing doesn’t remove that maintenance work.
After washing, dry the parts fully and follow the resin’s curing instructions. UltraCraft Cure combines ultraviolet (UV) light at two wavelengths, 405 and 365 nm, with heating and settings for specific materials. Large parts need to fit inside its 198 × 124 × 220 mm chamber.
If you already have a UV curing turntable, compare its wavelengths and heating capability with the process your resin requires. Fitting the part on the turntable isn’t enough to establish that it can cure that material as directed.
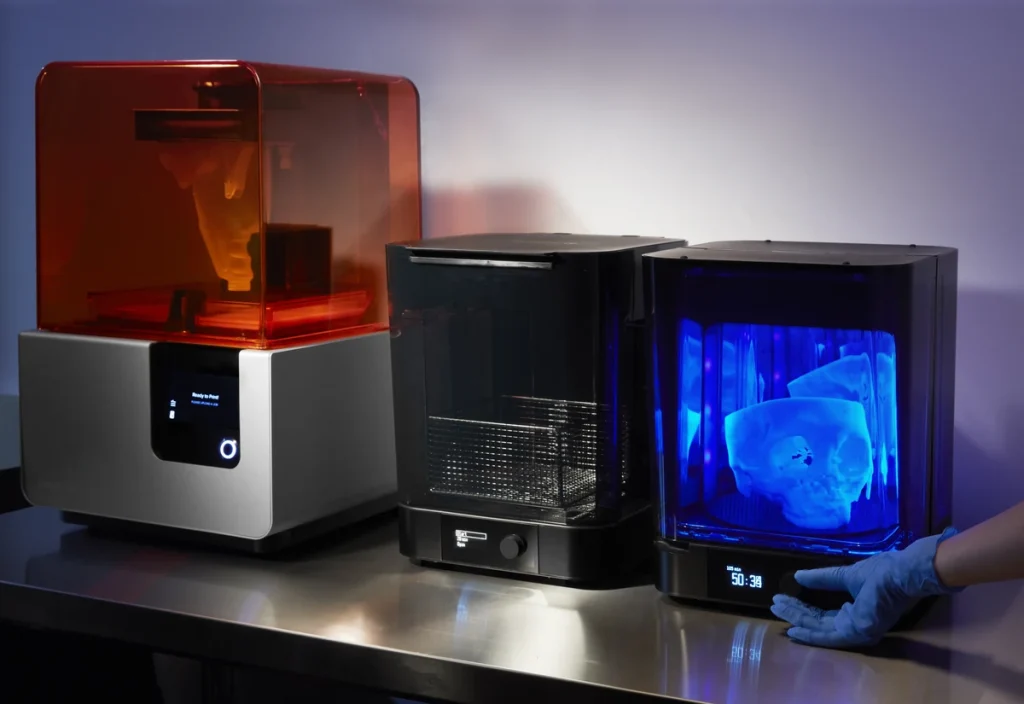
You need ventilation during printing, cleaning and curing, plus eye protection and gloves suitable for the resin and cleaning solvent. Keep wash containers closed when practical. The RS cover and automated refill don’t make uncured resin safe to touch.
Water-washable resin still leaves contaminated wash water: don’t pour it down the drain. Follow the material safety sheet and local waste-disposal requirements.
My Take On RS Reliability
I’m encouraged by the RS’s extended printing results, but I would not commit a production schedule on the strength of a single month. One extended RS test reports over 300 printing hours and more than 5 kg of resin in nearly a month, without failures or replacement parts. Its examples include figures and functional parts in PAP10, PAWW10 and PAWR10. It doesn’t disclose the total number of jobs or a per-job record of release-module use, and a month can’t establish years of service life.
For small batches, I’d start with a short run of the part you actually want to make. Check every copy before accepting orders or scheduling a larger batch. A good result with a figure won’t tell you whether a wide, flat enclosure will print as intended.
HeyGears lists RS tanks, replacement films and compatible screens, with installation guidance. The tank film wears as printed layers pull away from it. Check availability for the exact component you need; a catalog listing isn’t a guarantee of immediate shipment. Keep a spare film available if a missed printing day would matter.
The US policy lists a one-year printer warranty, but the original RS LCD screen has a separate 90-day warranty. Films and other consumables have different coverage terms.
Support is available through Blueprint and email, and the company lists a US office. Those give you ways to ask for help, but don’t establish how quickly you’ll get a response or how smoothly a repair will go.
Allow time for maintenance and failed jobs. A manufacturer’s estimated film life won’t tell you exactly when yours will need replacing.
What Owning The Reflex RS Costs
Compare complete working setups, starting with what you already own. An RS needs resin, washing and curing arrangements, protective equipment, cleaning supplies and a suitable workspace. A printer-only offer leaves several of those needs outside the box.
For occasional miniatures, an Elegoo Mars 5 Ultra with a Mercury Plus V3.0 wash-and-cure setup is a cheaper option. The Mars accepts a broad range of resins and uses Chitubox print-preparation software, but its roughly 153 × 78 × 165 mm build space is substantially smaller.
It’s a useful alternative for a few figures, less so if you want to print larger sections or more models at once. Its lower cost doesn’t tell you how its prints will compare with your chosen RS material and settings.
If your existing washing and curing equipment fits your parts and meets your resin’s requirements, you may not need to replace it. The HeyGears stations offer connected presets for washing and curing, but that convenience alone may not justify buying both.
For repeated batches, consumables deserve as much attention as the printer. Count resin used in supports and failed parts alongside the resin in the finished model. Allow for cleaning liquid, gloves and replacement tank films. Use the film type specified for your standard or pulsing tank; the release accessory changes what you need to maintain.
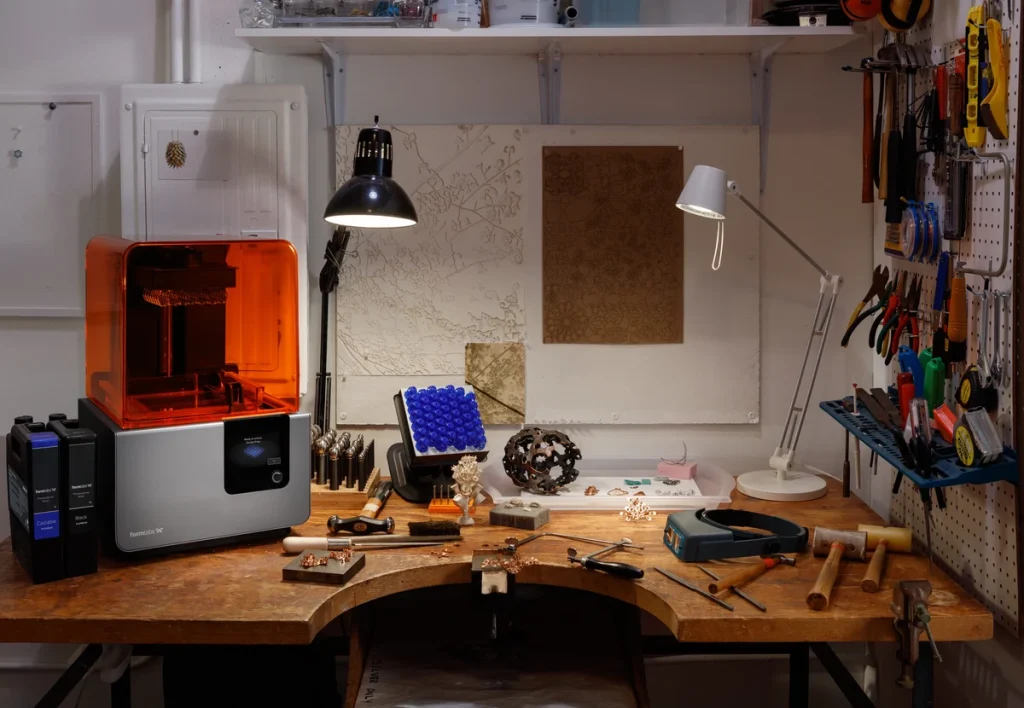
Open Material Mode broadens your resin choices, but compare what it costs to make an acceptable finished part. The time and resin spent working out settings can use up the savings from a cheaper bottle. Don’t assume every HeyGears resin costs the same amount more or offers the same properties. Compare materials suitable for the same job.
For heating, HeyGears recommends keeping RS resin at 20–25°C (68–77°F) during printing. Cold resin flows less readily and can cure poorly, leaving layers weak or separated. Compare your resin’s temperature instructions with your workspace conditions: if the resin stays too cold, the heated tank is worth budgeting for. That range is general RS guidance, not a guarantee for every third-party resin.
Pulsing release addresses the pull on a print as each layer leaves the tank film. Large, solid layer areas can create enough force to distort a part or pull it from its supports. HeyGears reports reduced support needs in its large PAS10 model tests; this makes similarly demanding parts a reason to consider the module, not proof that it will solve every failure.
Check compatibility first. HeyGears excludes PAWW10 and PAWW20 from pulsing-release use and doesn’t recommend the module for models with walls 3 mm thick or thinner. Heating without the module remains a separate option.
I’d want a comparison using my intended resin and part before paying for pulsing release. The reported independent results don’t isolate its benefit, and a software estimate of shorter prints or less support material doesn’t establish payback. Actual printing time, cleanup, failed parts and your time all matter.
A professional system such as Formlabs Form 4 is worth considering if you need materials or service that the RS doesn’t offer. Its package contents and support terms differ, so compare what you’d get with each complete setup.
Who The Reflex RS Makes Sense For
I recommend the original Reflex RS most strongly for someone printing detailed figures, display-piece sections or small prototype batches who wants to reuse successful settings. Choose it when the time you expect to save preparing repeat jobs matters more than having the cheapest setup. You’ll still need to handle resin and clean the parts after every print.
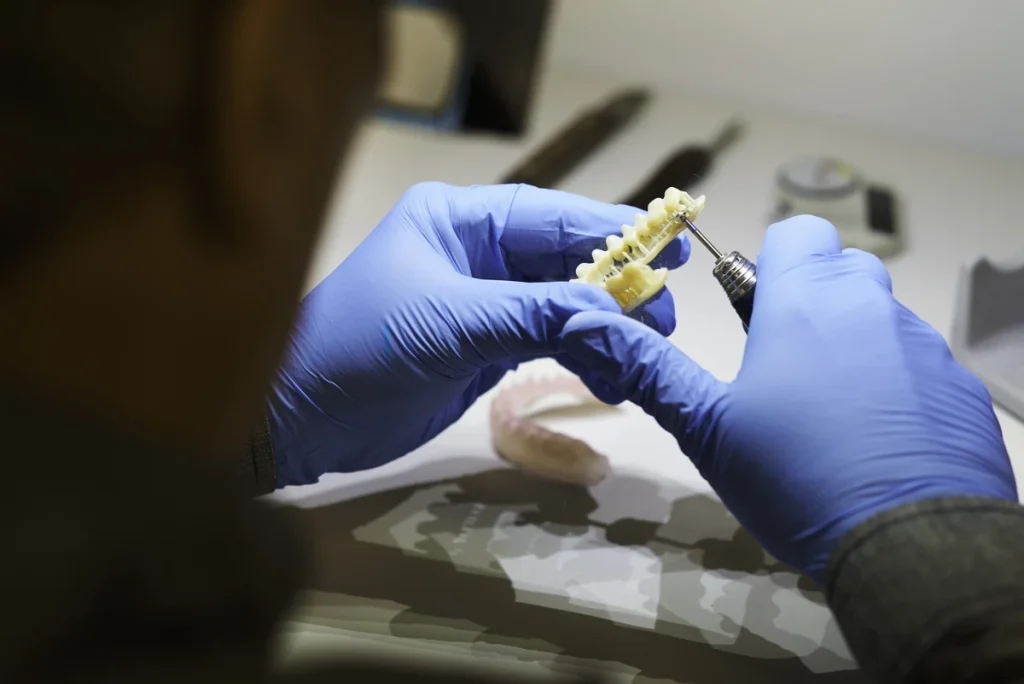
Skip the RS if your budget only covers the printer, you don’t have space to handle resin safely, or you need a resin without established RS settings and don’t want to work them out yourself. For occasional small figures, the cheaper Mars setup is easier to justify.
For parts that must fit precisely, check a cured sample of your intended part before buying.
The closest HeyGears alternative is the RS Turbo, which uses a different screen called the Amber Screen. Both printers have the same listed build space and pixel size. HeyGears describes the Amber Screen as offering better light control and resistance to UV degradation.
The original RS also has an Amber Screen upgrade option, so compare equivalent setups, including which screen each has. Those screen-life claims don’t apply to a standard RS screen, and the Turbo name alone doesn’t prove you’ll finish jobs faster.


