Polymaker PolyLite PETG Review
Basic, lower-cost positioning below premium PolyMax PETG; compare remaining stock by equal filament weight.
Our verdict
I’d choose original PolyLite PETG for organizers, covers and lightly stressed clips when I already have a working profile and can identify a matching spool. It offers more heat tolerance than ordinary PLA, but needs drying and some string cleanup. For a fresh start, I’d look at the replacement Polymaker PETG first.
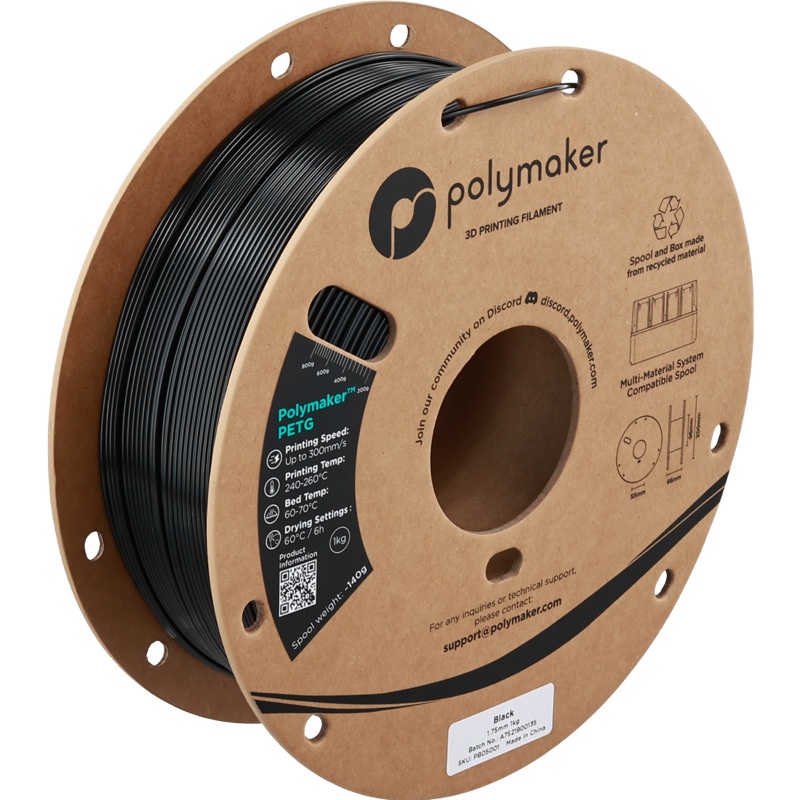
Best atPractical covers, organizers and lightly stressed clips that need more heat tolerance than ordinary PLA.
Less suited toFine decorative detail, repeated hard impacts and users who want to skip drying and string cleanup.
The Key Specs
| Formula | Original PolyLite PETGThe replacement Polymaker PETG is a different formulation; check the selected formula before ordering. |
|---|---|
| Starting temperatures | 230–260°C nozzle; 70–80°C bedUse these original-formula starting ranges only on a printer that supports them. |
| Cooling | Fan off to 20%More cooling may help overhangs, but can weaken bonding between layers. |
| Volumetric speed | 15mm³/s or less recommendedLimit flow in the slicer; the printer’s advertised movement speed is not a usable filament limit. |
| Drying | 65°C for six hoursUse a dryer rated for that temperature and spool, then store sealed with desiccant. |
| Heat deflection | 75°C at 1.8MPa; 78°C at 0.45MPaManufacturer test values under specified loads, not continuous-use temperature guarantees. |
Which Formula And Spool Should You Buy?
- Original PolyLite PETG
- Choose a clearly identified original-formula spool if you want to repeat a known profile; confirm diameter, weight and packaging together.
- Diameter and feeder fit
- PolyLite came in 1.75mm and 2.85mm. Match your printer, and check the actual spool dimensions and rims for an automatic feeder.
- Translucent colors
- Choose the separately listed PolyLite Translucent PETG for a translucent color, without assuming an opaque spool’s results apply.
Budget For Drying And Storage. Allow for a filament dryer rated for 65°C and your spool, sealed storage and desiccant. Add glue stick if your build-plate maker calls for a separating layer; Prusa recommends one for PETG on its smooth PEI sheet.
More Material And Handling Details
| Enclosure | Not required by the original-formula guidance, which uses a 0.4mm nozzle. |
|---|---|
| Impact limits | Polymaker describes original PolyLite PETG as stiff, with no especially high impact resistance. |
| Layer direction | Test a small clip in its intended print orientation before making a batch; strength across layers differs from strength along them. |
| Profile choice | Use a matching original PolyLite profile where available; check cooling and volumetric speed if starting from Generic PETG. |
I’d consider Polymaker PolyLite PETG for organizers, covers and lightly stressed clips that need more heat tolerance than ordinary PLA. PLA is a common, easy-to-print plastic; PolyLite PETG takes more work to balance clean surfaces with well-bonded layers. Expect some string cleanup, and make room in your workflow for drying.
There’s also a buying catch: Polymaker is discontinuing PolyLite PETG and replacing it with a different formulation called Polymaker PETG. If you’re starting fresh, I’d look at that successor first. The original still makes sense when you can identify the spool and have a reason to choose it.
Check Which Polymaker PETG You’re Buying
This review covers the original PolyLite PETG, a plastic filament supplied on a spool. It isn’t PolyMax PETG or the newer high-speed Polymaker PETG. Polymaker confirms the replacement relationship and describes the successor as faster-printing with better layer bonding. Those are manufacturer claims about the new formula, not results you should assign to the old one.
The US store’s former PolyLite PETG link now redirects to Polymaker PETG, where the selector includes “Old Formula” and “New Formula.” Check the selected option, diameter, weight and packaging description together. A familiar link alone doesn’t identify the filament.
PolyLite came in both 1.75mm and 2.85mm diameters. For reference, Polymaker’s older catalog identifies PB01003 as regular grey, 1.75mm, 1kg. Treat that as a historical identifier, not proof of what a seller will send today.
PolyLite Translucent PETG also has a separate listing; don’t assume results from an opaque spool describe every translucent color.
For an automatic feeder, check the actual spool’s dimensions and rim style against the feeder’s requirements. Matching filament diameter doesn’t guarantee that the spool will fit or turn freely.
What PolyLite PETG Can Offer Your Parts
The useful step beyond PLA is heat tolerance and some ability to bend. That can suit a cover you handle often or a thin clip that needs to open slightly. It doesn’t mean a thick PETG bracket will feel soft, or that every PETG part will withstand a harder knock than PLA.
Polymaker itself describes original PolyLite PETG as stiff and says its impact resistance isn’t especially high. That matters if you’re choosing it because “PETG is tougher” sounds like a universal upgrade. Flexibility, resistance to breaking when pulled, and resistance to a sudden hit are different properties.
The manufacturer’s data sheet lists heat-deflection temperatures of 75°C at 1.8MPa and 78°C at 0.45MPa. These describe bending under specified test loads, not temperatures at which your finished part is guaranteed to work indefinitely. Don’t use them as a rating for a loaded bracket in a hot car.
Layer direction matters, too. Polymaker’s test pieces were weaker when pulled across the stacked layers than along them. They were printed with solid interiors and no cooling fan.
A hollow part printed with strong cooling won’t necessarily match those results. For a clip, try a small sample in the intended orientation before printing a batch, especially if it must bend repeatedly.
How Much Cleanup PolyLite PETG May Need
You may need to clean up strings around gaps and small details even when the rest of the print looks good. In a reported hands-on test, teal PolyLite PETG produced a generally good-looking calibration print with some stringing at 240°C, 40mm/s and a 0.2mm layer height. The report doesn’t provide enough machine and cooling detail to turn that result into a universal recipe.
Stringing means fine strands are left behind as the nozzle moves between separate areas. Those strands are easier to remove from an open organizer than from tiny lettering or a complicated decorative model. If surface detail is your main reason for printing, PLA remains the easier choice.
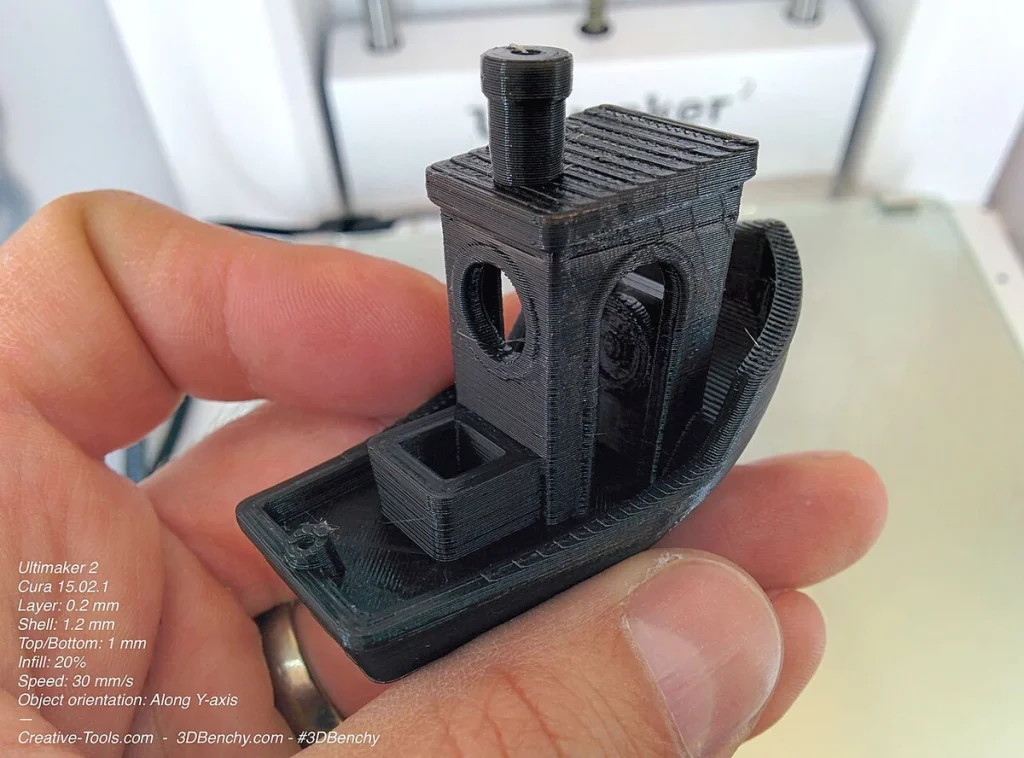
Be more cautious with bridges, where plastic spans a gap, and overhangs, where an edge extends beyond the layer below. PETG generally struggles more with these shapes than PLA.
Turning up the fan may help them hold their shape, but PolyLite’s guidance warns that rapid cooling can weaken bonding between layers. Turning the model to print at a different angle or adding removable printed supports beneath unsupported areas may help more than raising cooling for the whole print.
Also separate two problems that often get called “poor adhesion.” A print lifting off the bed needs attention to the build surface and first layer. A finished part splitting between layers needs attention to how the plastic joins during printing. A stronger grip on the bed doesn’t fix weak layers.
Settings To Start With On PolyLite PETG
For the original formula, Polymaker’s V5.4 data sheet recommends 230–260°C at the nozzle, 70–80°C on the bed, and the part-cooling fan off or at up to 20%. Its guidance is based on a 0.4mm nozzle and doesn’t require an enclosed chamber. Check that your printer supports the chosen temperatures and filament diameter.
Use your build-plate maker’s PETG instructions. Polymaker lists polycarbonate and textured PEI as suitable surface materials, with glue where needed.
Smooth PEI deserves particular care: PETG can stick strongly enough to damage it. On Prusa’s smooth PEI sheet, the manufacturer calls for a separating layer such as glue stick. Here, glue helps the print release afterward.
For moisture problems, the original filament’s drying recommendation is 65°C for six hours. Use a filament dryer rated for that temperature and spool, or follow its specific PolyLite PETG program.
Popping as plastic comes out of the nozzle is a reason to dry the filament; persistent strings are another reason to check moisture before changing settings. Keep the dried spool sealed with moisture-absorbing desiccant when you aren’t printing.
Polymaker’s wiki recommends a maximum volumetric speed of 15mm³/s or less. That’s the volume of plastic extruded each second. Wider lines and thicker layers demand more plastic at the same movement speed, so a printer’s advertised speed doesn’t tell you whether it can melt PolyLite fast enough.
In your slicer—the software that prepares models for printing—lower the maximum volumetric speed if plastic comes out unevenly at speed. This limits printing speed so the printer has more time to melt the filament.
On a Bambu printer, use a matching original PolyLite profile, or saved set of printing settings, where available. Polymaker still lists legacy Bambu Studio downloads.
Treat Generic PETG as a starting point and check its cooling and maximum volumetric speed settings. Don’t copy another owner’s hotter or faster profile without checking your machine’s limits.
If layers separate, reduce cooling first. Polymaker suggests 250–260°C when bonding remains poor with the fan off.
If dry filament still strings, tune retraction using a small test. This briefly pulls filament back before the nozzle travels, helping reduce plastic leaking out between printed areas. Change one setting at a time so you know what helped.
When PolyLite PETG Is Worth Choosing
Original PolyLite PETG is particularly reasonable if you’ve already found settings that work for your printer and want another matching spool.
If you’re moving beyond PLA for the first time, decide what PLA isn’t doing well enough. A decorative model that sits indoors may gain little from the switch. A practical cover exposed to modest warmth has a clearer reason to use PETG. Parts that must take repeated hard impacts need a more specific material choice; the PolyLite name alone doesn’t establish that capability.
PolyLite was positioned as Polymaker’s lower-cost, basic PETG, below its premium PolyMax option. That positioning doesn’t make remaining stock a bargain at any price. Compare equal amounts of filament and account for whether you need a dryer.
For a new purchase, the closest alternative is the replacement Polymaker PETG. If a listing doesn’t clearly distinguish the formulas, choose one that does. Check the successor’s own settings before using it; this review’s starting values are for original PolyLite.


