Prusa MK4S Review
Premium open-frame choice · Kit costs less than assembled
Our verdict
I’d choose the MK4S for everyday PLA models and PETG parts when offline printing, accessible repairs and detailed support justify the premium. Its open frame is the main tradeoff: regular ABS or ASA work means budgeting for an enclosure, or choosing an enclosed printer from the start.
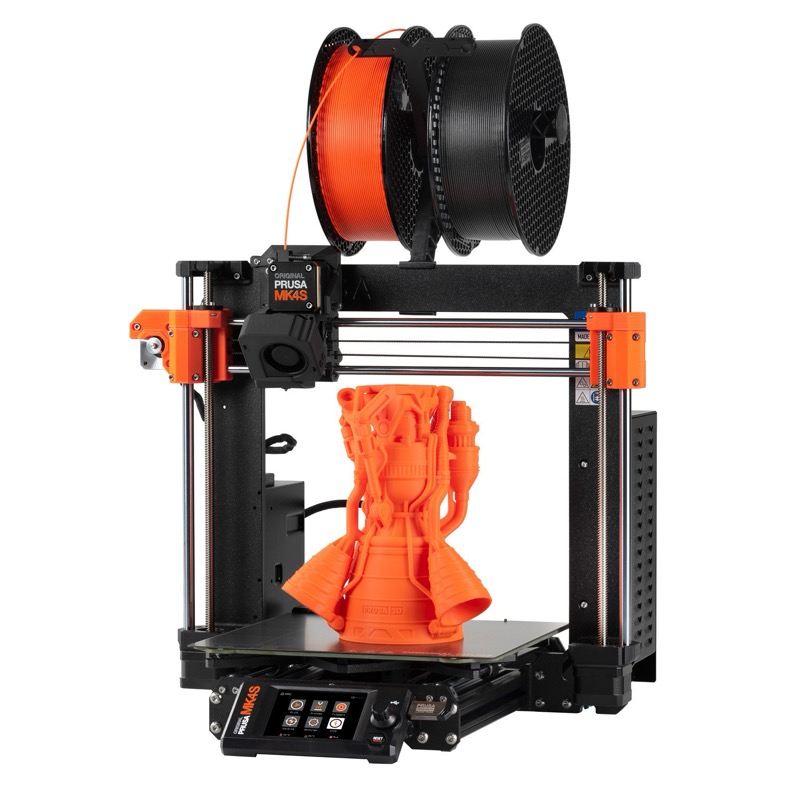
Best atEveryday PLA and PETG projects with offline operation and accessible parts for repairs.
Less suited toRegular ABS or ASA printing without an added enclosure, large one-piece props, or maximizing hardware for the least money.
The Key Specs
| Print area | 250 × 210 × 220 mmLeave room for supports and adhesion borders; larger models may need splitting. |
|---|---|
| Material fit | Open frame; start with PLA or PETGFor regular ABS or ASA work, plan on an enclosure and suitable ventilation. |
| First layer | Automatic nozzle-height setting with a loadcellChanging sheets normally needs no manual height adjustment; sheet cleaning and preparation still matter. |
| Cooling and flow | Revised cooling and a high-flow nozzleUseful for overhangs and some time savings; the upgrade will not make every job much quicker. |
| File transfer | USB, local PrusaLink or cloud Prusa ConnectUSB supports fully offline printing; Ethernet and Wi-Fi are built in. |
| Repair access | Open frame, published instructions and replacement partsThere is a practical route to fixing components, with routine maintenance still required. |
Which Version Should You Buy?
- Assembled MK4S
- Choose it for the quickest start; unpacking, filament loading and startup checks remain.
- MK4S kit
- Costs less. Choose it if building the mechanism appeals to you and you can set aside time to work carefully.
- MK4-to-MK4S upgrade
- Costs much less than a new printer. Choose it when improved cooling and modest time savings would help; keep a satisfactory MK4 if they would not.
Budget beyond the printer. Allow for filament, shipping and a material-appropriate sheet—textured or satin for PETG, with a glue separation layer when the sheet instructions require it. ABS or ASA adds enclosure and ventilation costs. The optional MMU3 adds five-filament printing and needs space for its spools.
Also consider: Prusa CORE One+ (Gen 2). I’d favor it for a new printer intended for regular ABS or ASA work: it includes an enclosure and offers more printing height.
More Specs And Ownership Details
| Desk space | 500 × 550 × 400 mm without the spool; allow extra room for filament, access and the moving bed. |
|---|---|
| Print preparation | Use PrusaSlicer with the MK4S, fitted nozzle and filament profiles; inspect orientation, supports and the layer preview. |
| Routine care | Clean the sheet and nozzle; check rods, bearings and pulleys every 200 printing hours. |
| MMU3 configuration | Five filament feeds through one nozzle; Prusa recommends the standard nozzle configuration for this setup. |
| MK4 upgrade limits | The S upgrade does not enlarge the print area or add an enclosure. |
I’d consider the Prusa MK4S if you want good-looking everyday prints, easy access for repairs, and the choice to keep your files off the internet. I’d recommend it for PLA models and PETG parts if those benefits matter to you. Its main drawback is paying a higher price for a printer without an enclosure. If your materials need a warm, controlled space, adding an enclosure takes more money and room.
Buying one and upgrading to one are different decisions. An MK4 owner can get the revised cooling and nozzle without replacing the whole printer. A new buyer should also consider the enclosed Prusa CORE One+ (Gen 2), especially for heat-resistant parts. The MK4S remains available, but the newer alternatives may suit your prints better.
What The MK4S Changes For Your Prints
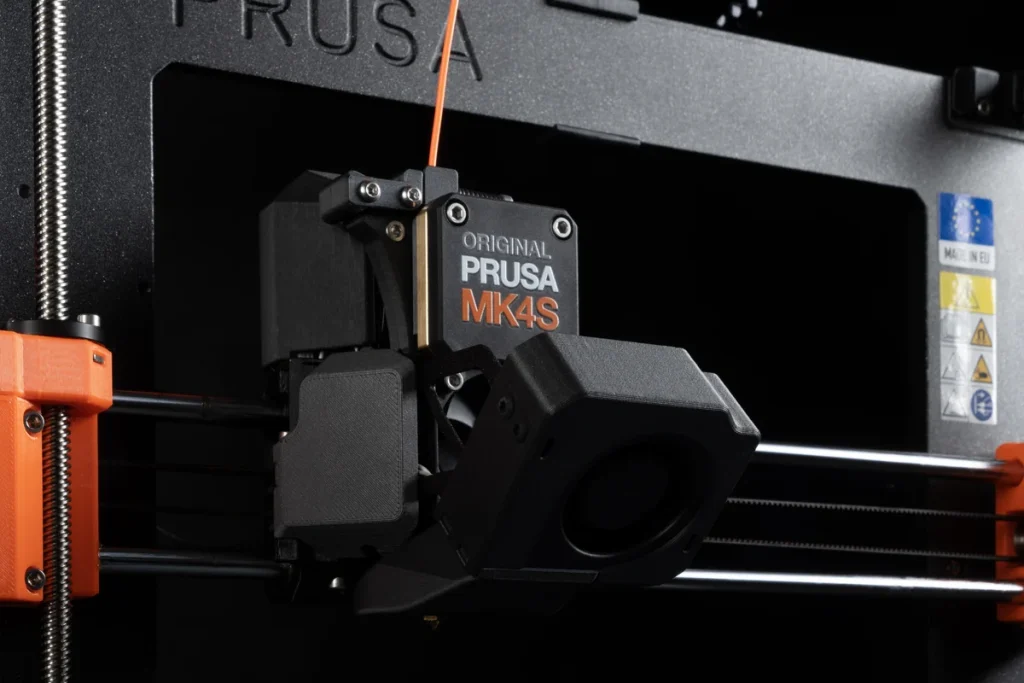
The MK4S’s new nozzle and cooling system work together to help it print faster. The high-flow nozzle melts plastic fast enough to keep up, while a redesigned fan and duct cool the plastic after it leaves the nozzle. That helps a projecting edge hold its shape before the next layer arrives.
Those projecting edges are called overhangs. When they extend too far, you normally add supports: temporary printed scaffolding that you remove afterward. Better cooling can reduce that extra work on suitable shapes. It doesn’t mean every underside will print neatly without support, particularly when you change materials.
In a reported comparison with the MK4, selected PLA objects finished 5–15% faster using each printer’s SPEED profile, a set of print settings with 0.20 mm layers. The objects included manufacturer samples and the reviewer’s own test models. Surfaces, overhangs and bridges—plastic printed across gaps between supported points—looked slightly better; some toy prints were difficult to tell apart. The improvement was useful but modest.
The system that automatically sets the nozzle’s height for the first layer isn’t new to the MK4S. Neither is Input Shaper, which adjusts the printer’s movements to reduce ripples caused by vibration. Both were already on the MK4. Prusa supplies tuned Input Shaper settings, so you don’t need the optional accelerometer, a sensor used to recalibrate those settings. Recalibration is mainly relevant after hardware modifications.
The time savings matter most if they let you finish more work, such as adjusting a design and printing another version. If your MK4 already finishes occasional prints while you’re doing something else, a modest reduction may be much less valuable. A nozzle that can push out more plastic per second won’t necessarily make every job much quicker.
How The MK4S Handles Everyday Parts
The MK4S is a good choice for models, organizers and small functional parts, but a part can look good without being the right size. PLA, a common starting plastic, suits decorative models and many indoor projects. PETG is useful for tougher parts, though you’ll need to take more care with the surface you print on.
A reported test of a two-piece cone puzzle showed good results, but the printers used different settings. Both used the same spool of MatterHackers Quantum Silk PLA, 0.20 mm layers and 10% lightning infill—a branching structure inside the print. The MK4S produced smooth parts that fitted together in 2 hours 59 minutes.
A Bambu P1P took 3 hours 23 minutes and left rough edges where the pieces should fit. However, the printers used different presets and plastic-flow limits: MK4S SPEED at 24 mm³/s versus P1P Standard at 12 mm³/s. Those settings limit how much plastic the printer can push through the nozzle each second. The result applies to those configurations, not every print.
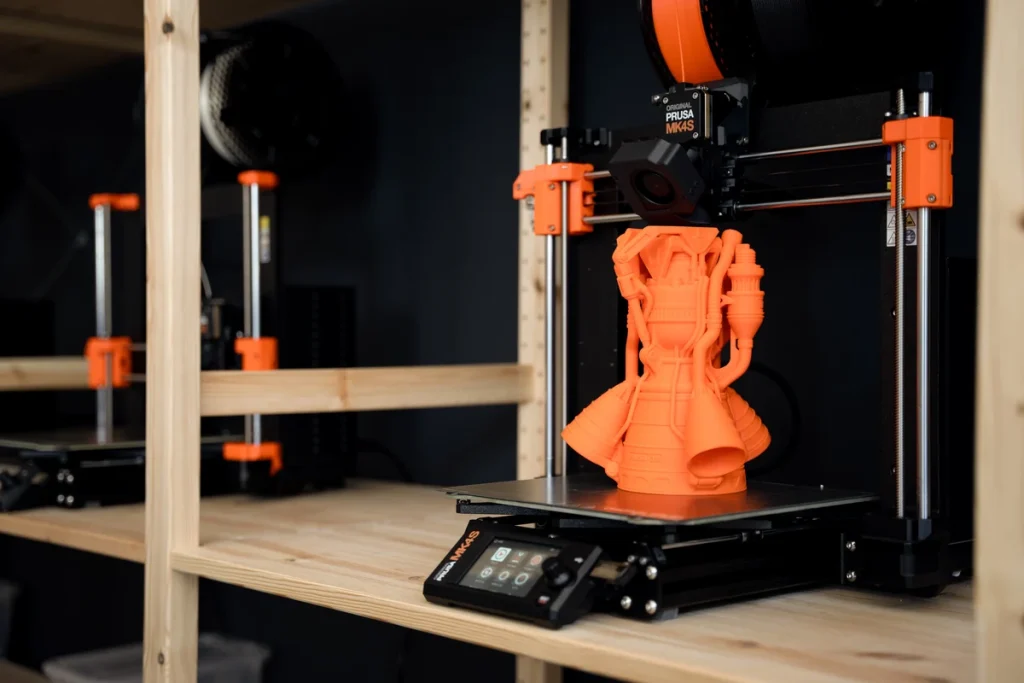
In another print from that test, an Airless Cornhole Bag with interlinked pieces like chain mail came out clean and flexible in recycled Prusament PETG. It took 4 hours 46 minutes at 0.28 mm draft settings, with a standard PETG profile. The reviewer slowed the first layer to 30 mm/s, so that successful result included a settings adjustment.
A separate review measured a stepped test piece with intended sizes from 5 to 25 mm. The average size error was 0.097 mm in X and Y, the two horizontal directions. The largest individual error listed was 0.16 mm. The report didn’t fully specify the material and settings or establish whether repeated prints matched. Those measurements describe that small object; they don’t guarantee the same accuracy with other materials, settings or positions on the print bed.
If you’re printing a lid that must fit a box, leave enough room between the pieces and try the joint before committing to the full design. You can print just the connecting portions first. A smooth wall doesn’t prove a hole will accept your screw, and one successful puzzle doesn’t guarantee every downloaded assembly will fit.
Better cooling also helps with bridges, so the reported gains are encouraging for openings and small spans. They don’t establish how wide a gap the MK4S can print across without supports in all your designs.
For repeated work, count the time needed to get a usable part, including preparation, removal and any reprint. These examples don’t establish how often prints fail or prove the MK4S will finish more usable parts per week than a current enclosed competitor.
Getting The MK4S Ready And Sending Prints
Choose the assembled MK4S if your goal is to start making things quickly. You still unpack it, fit the spool holder, load filament and follow the startup checks, but you’re not building the mechanism. One assembled review sample was ready to print within about five minutes; treat that as a successful example, not a deadline for your first setup.
The kit is a different commitment. You assemble the frame, moving parts, print head, wiring and heated bed. The official guide walks through the work with pictures, and the connections don’t require soldering. Set aside a weekend so you can work carefully without rushing. That’s planning advice, not a measured build time: your experience and pace will make a substantial difference.
The startup self-test checks the printer before you begin. A force sensor called a loadcell lets the nozzle measure the print surface and automatically set the first-layer height. You don’t normally have to adjust that height by hand when changing the sheet you print on. You do still need a clean sheet prepared for the plastic you’re using.
PrusaSlicer turns your 3D model into instructions for the printer. Select the MK4S, the nozzle type and size fitted to your printer, and your filament. Then choose a print profile, arrange the model, and inspect the preview showing its layers. You still decide which way the model sits and where it needs supports; automation doesn’t make every file ready to print.
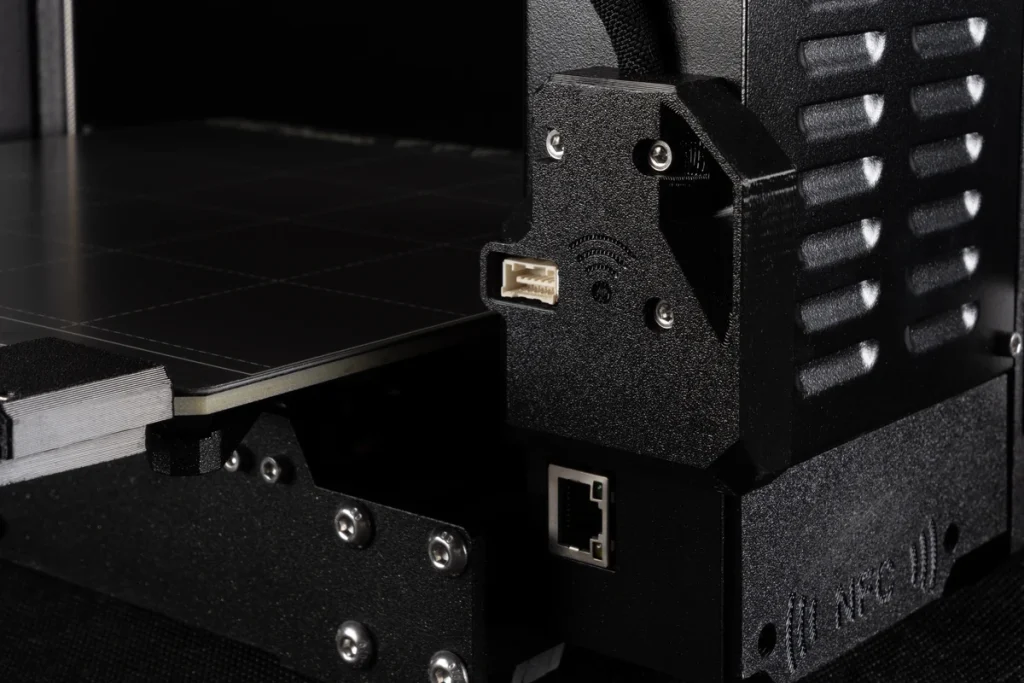
You can send those instructions to the printer in three ways: save them to a USB drive for fully offline printing, use PrusaLink over your local network, or use the cloud-based Prusa Connect service. Ethernet and Wi-Fi are built in.
Prusa has announced Prusa Connect Local as PrusaLink’s successor, with early access being prepared. That planned change isn’t a reason to delay ordinary USB or local-network use. For now, follow the documentation for your installed software rather than instructions written for a preview release.
Where The MK4S Needs Extra Care
Your model needs to fit within the MK4S’s printing space of 250 × 210 × 220 mm, roughly 9.8 × 8.3 × 8.7 inches. Supports and any extra outline printed to help the part stick to the bed also need room. If your prop is too big, you’ll need to print it in smaller parts and put them together.
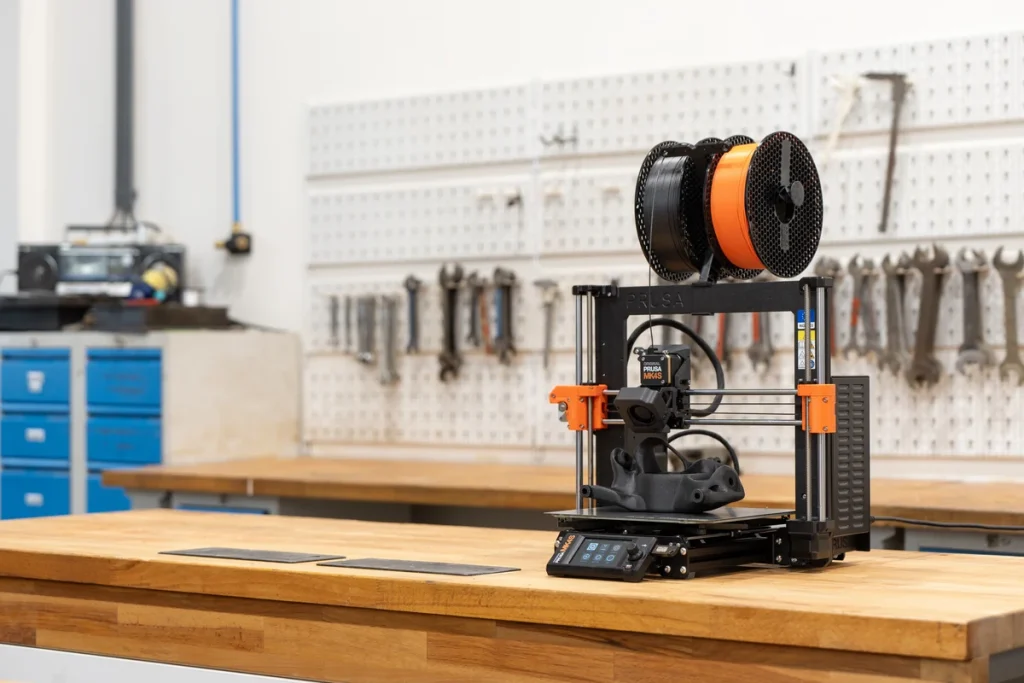
The printer needs considerably more desk space than its build plate suggests. Prusa lists dimensions of 500 × 550 × 400 mm without the spool. Allow room above for filament and around the printer for access. The bed moves forward and backward, so leave space for that movement and keep its cable clear. A shallow shelf is a poor choice.
For PETG, budget for a textured or satin sheet, as Prusa recommends. PETG can stick so firmly to a bare smooth PEI sheet that removing the print damages the surface. Follow the sheet instructions, including adding a layer of glue when required to keep the plastic from bonding too strongly. Automatic height adjustment doesn’t replace that preparation.
One reviewer saw larger PETG prints lift from both satin and textured sheets. The same review reported apparent false stuck-filament alerts after several PLA prints. Those incidents show possible interruptions, not how often all MK4S owners will encounter them.
If your printer reports stuck filament, don’t assume the warning is false. If alerts keep appearing, follow Prusa’s stuck-filament troubleshooting guide to investigate before turning off detection. Poor kit assembly, unsuitable settings and damp filament need different fixes; don’t assume every failed print points to the same defect.
For regular printing with ABS or ASA plastics, plan on an enclosure to limit drafts and hold warmth. These plastics can warp as they cool, particularly in larger parts. If that’s your main use, an enclosed printer is a better starting point than adding a cabinet around the MK4S.
An enclosure that holds warmth doesn’t necessarily keep emissions out of the room. Heated filament can release particles and gases. Plan for ventilation, including a system that captures emissions near the printer; simply closing a door around it doesn’t establish that the air is safe to breathe.
What You Get For The MK4S’s Higher Price
The strongest reason to pay for the MK4S is its repair access and support. The open frame makes parts accessible, Prusa publishes assembly and maintenance instructions, and its store carries replacement nozzles, sensor parts, covers and other components. That gives you a practical route to fixing a problem instead of treating the whole printer as disposable.
You’ll still need to take care of the printer. Routine care includes cleaning the sheet and nozzle, clearing debris, and checking belts and moving parts. Prusa calls for checks of rods, bearings and pulleys every 200 printing hours. Being able to repair it doesn’t prove the MK4S costs less to own over several years.
The kit costs less than the assembled printer, while an MK4-to-MK4S upgrade costs much less than either new-printer option. You’ll also need to budget for the sheet your material needs, filament and any enclosure. For US orders, include shipping and the same accessories when comparing costs.
Prusa advertises round-the-clock chat and email support. Its published standard warranty for US buyers is one year. The assembled printer’s coverage includes assembly; kit coverage applies to individual components and excludes the cost of in-house repair service and shipping. That’s a meaningful reason to pay for assembly if you want help that extends beyond identifying a faulty part.
For a new printer intended for ABS or ASA, I’d favor the CORE One+ (Gen 2) within Prusa’s range. It includes an enclosure and offers 250 × 220 × 270 mm of printing space. The MK4S-to-CORE One conversion is also a documented option for existing owners, but it’s a substantial rebuild. Buy the printer you need now rather than assuming a later conversion will be the cheapest route.
The MMU3 accessory adds multicolor printing by feeding five filaments through one nozzle. Prusa recommends its standard nozzle configuration for that setup. Don’t assume the high-flow nozzle’s results with one material also apply to the MMU3. If frequent color changes are essential, check how much space the spools need and what work the MMU3 requires from you during printing. Compatibility alone doesn’t establish how much time or material your multicolor prints will need.
Should You Buy Or Upgrade To The MK4S?
For a new buyer printing mainly PLA and PETG, I’d recommend the MK4S when offline operation, accessible repairs and detailed support are worth paying for. Choose assembled if you want the quickest start. Choose the kit if building the printer appeals to you and you can comfortably spend the time on it.
I’d pass if you mainly need large one-piece props, expect to print ABS or ASA regularly without adding an enclosure, or simply want the most hardware for the least money. The CORE One+ (Gen 2)’s extra printing height may also let you print some taller models in one piece.
If you own an MK4, the S upgrade is easier to justify when troublesome overhangs or busy printing days make the improved cooling and modest time savings useful. If your existing prints look good and finish soon enough, keeping the MK4 is reasonable. The upgrade won’t expand its printing space or enclose it.
If you own an MK3-series printer, converting it to an MK4S takes more work than upgrading an MK4. Compare that full cost and rebuild effort with buying a complete printer. Keeping your working printer and adding another lets you continue printing during setup. Choose based on what you need to improve: first-layer adjustment, print time, material choice or simply having a second printer.


