Photographer acknowledgments, original images and reuse licenses, organized by article.
Anycubic Kobra 3 Max
-
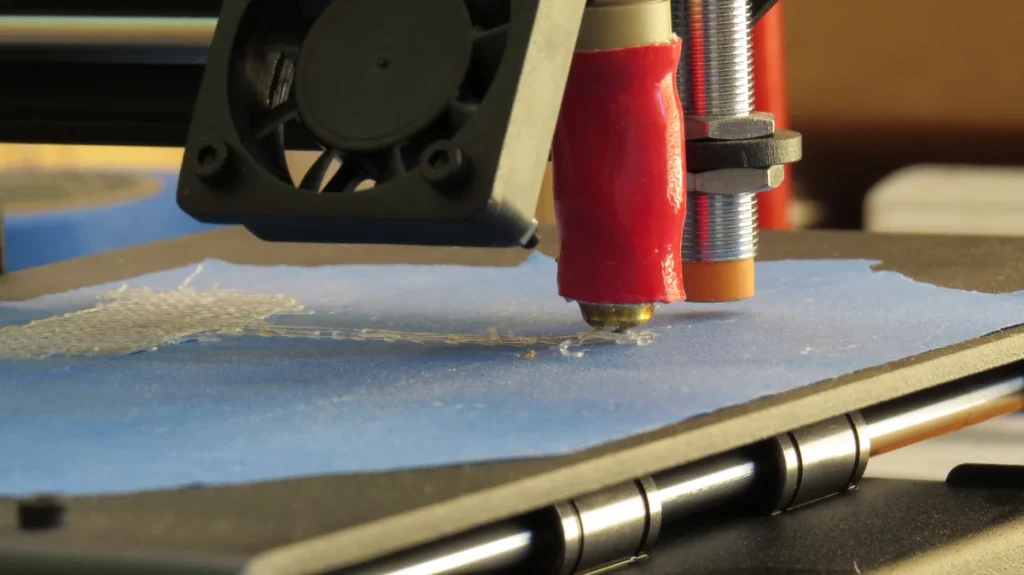
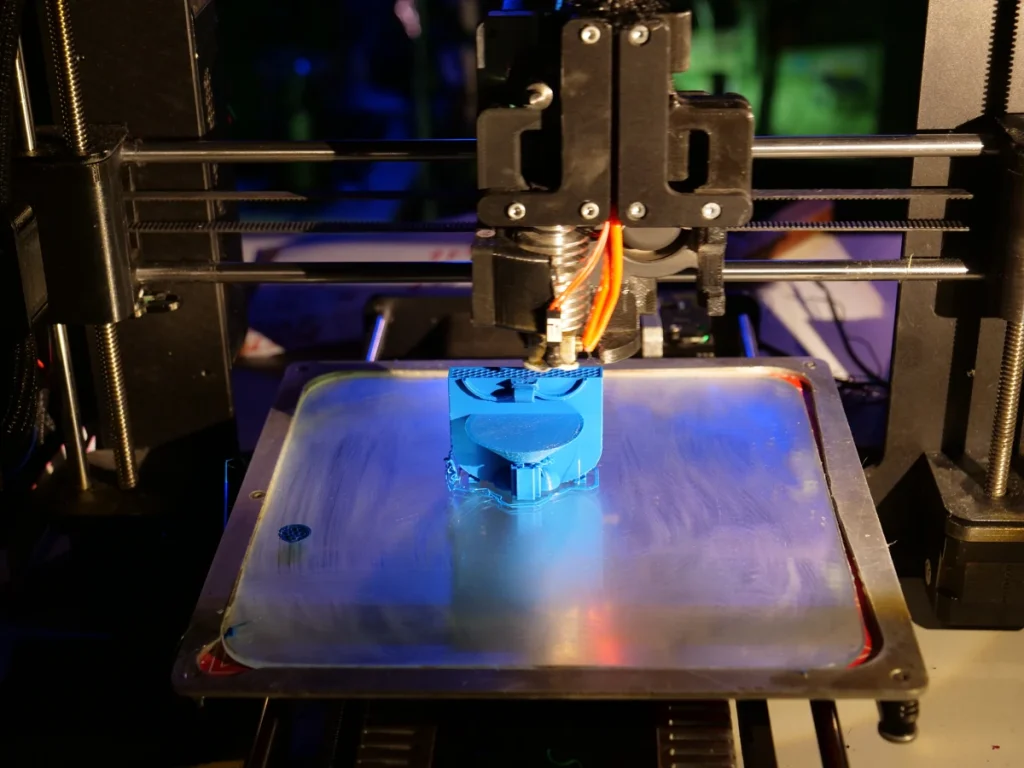
A first layer being printed on a tape-covered bed on another FDM printer. View photo
3D Printer - the first layer(16661915478).jpg by Luke Jones, CC BY 2.0. Resized and converted to WebP.
-
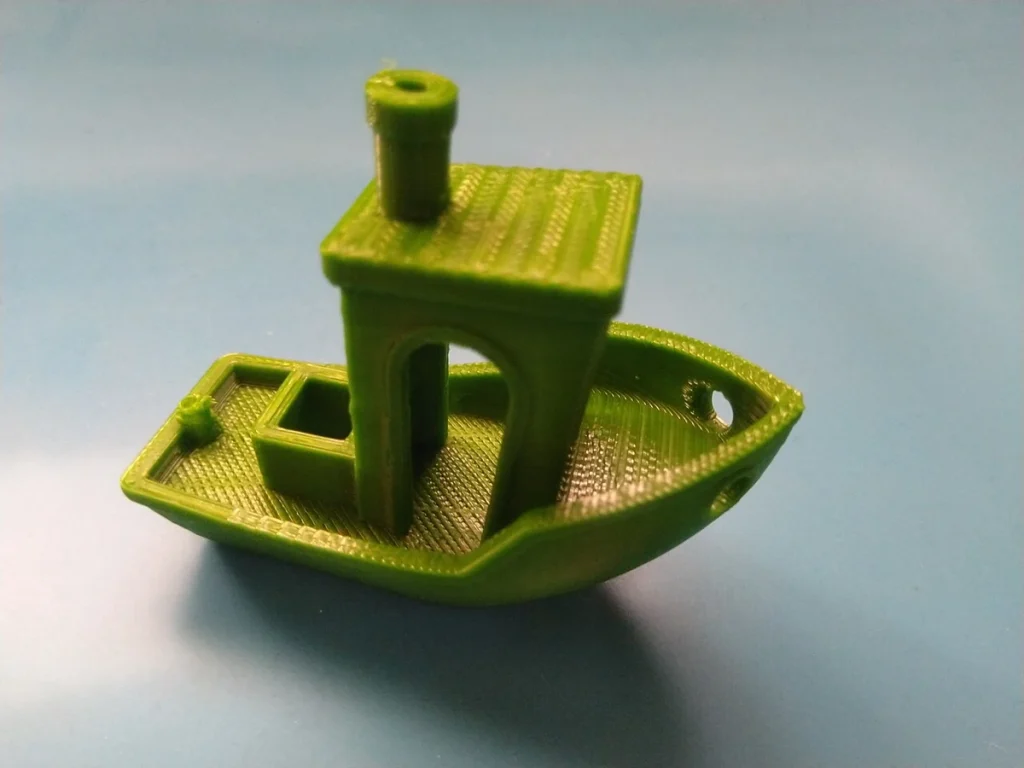
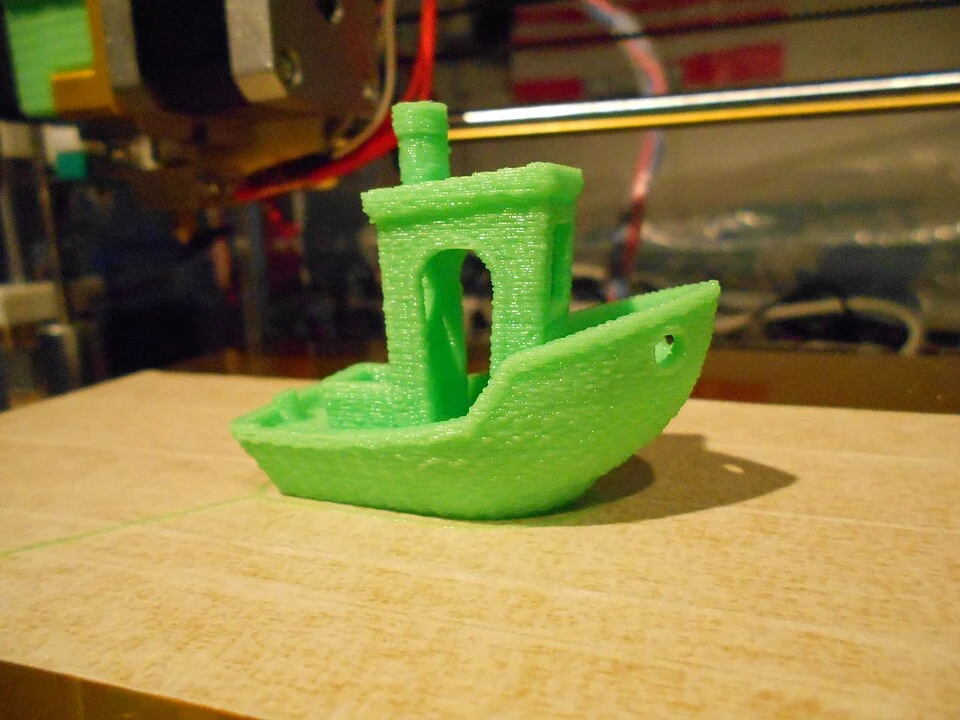
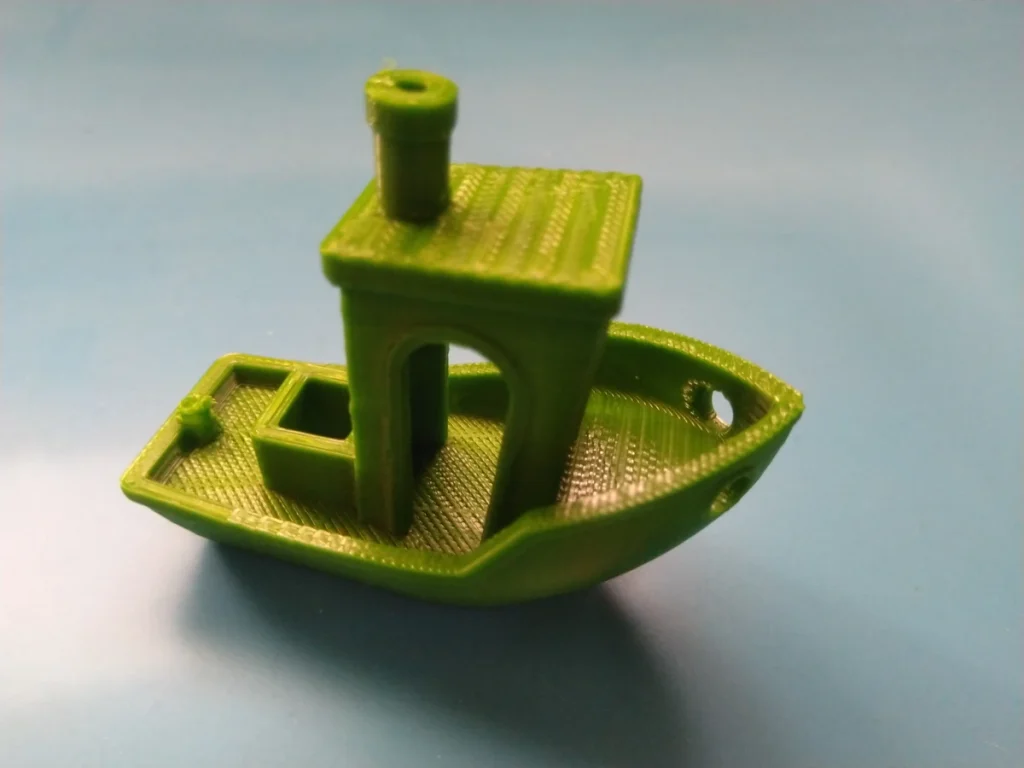
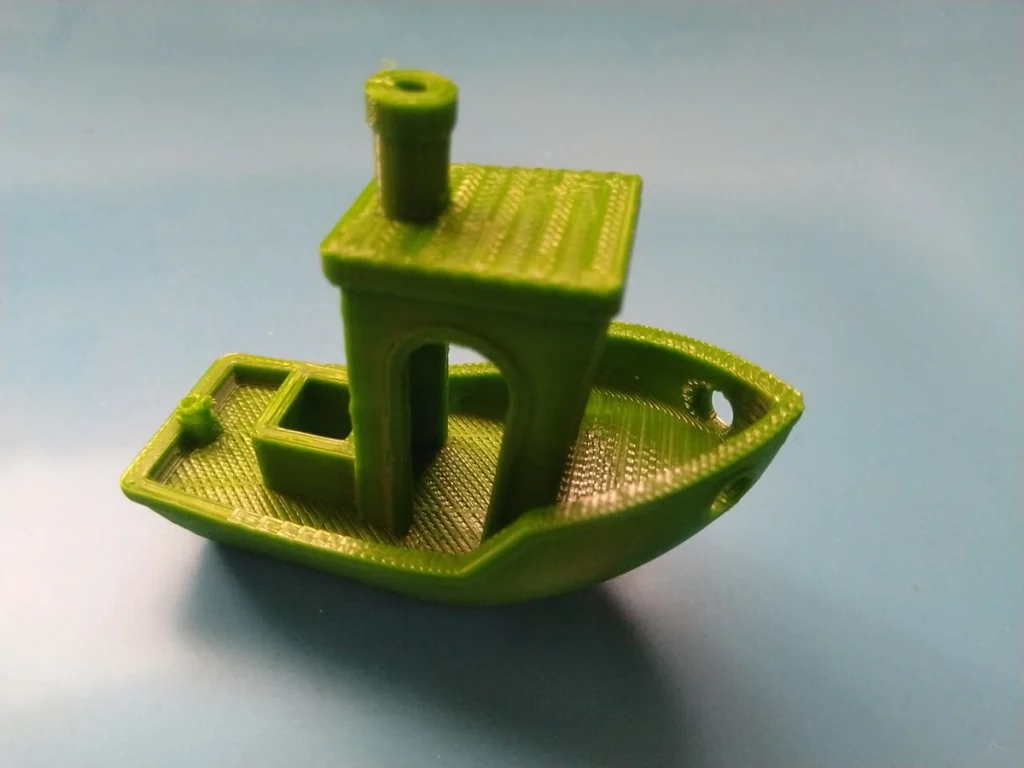
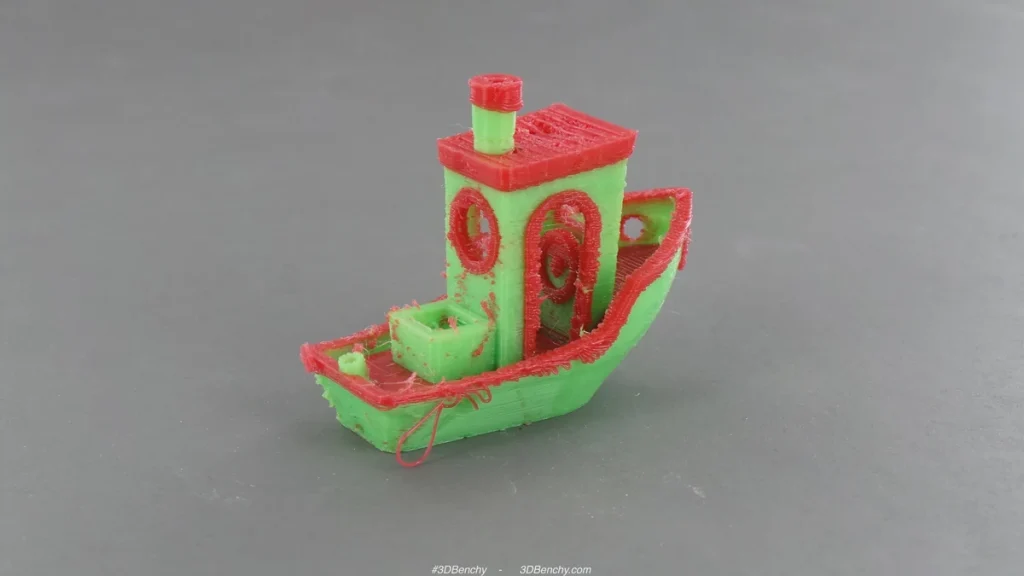
A green Benchy print shows visible layer lines and small openings; the printer and material grade are unspecified. View photo
3D BENCHY.jpg by Sumanbargavr, CC BY-SA 4.0. Resized and converted to WebP.
-
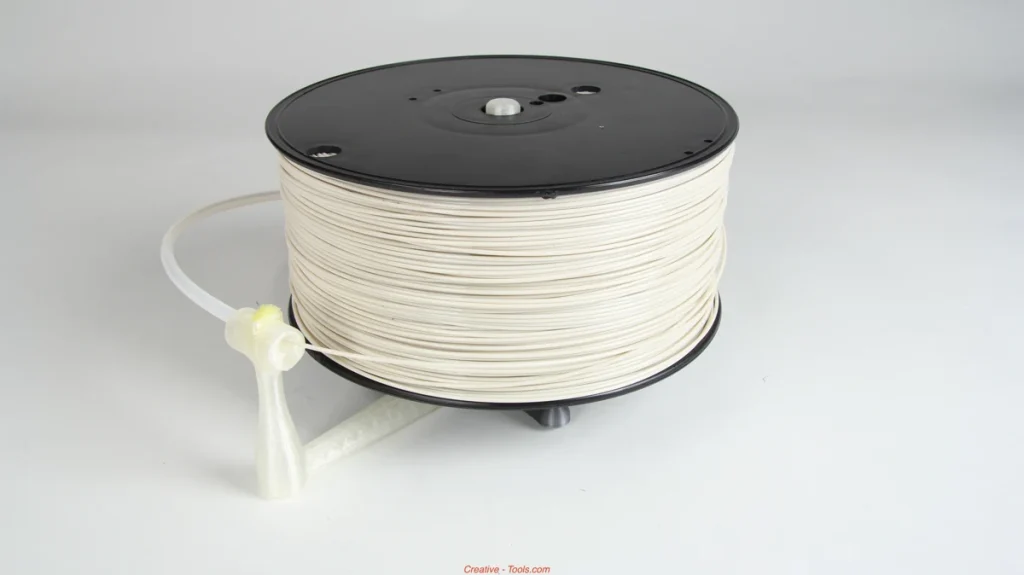
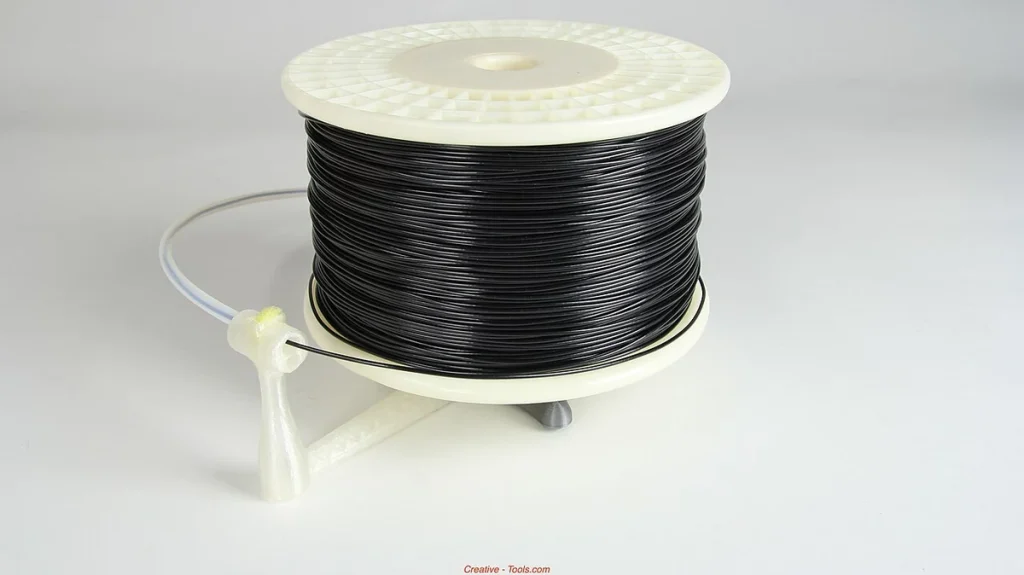
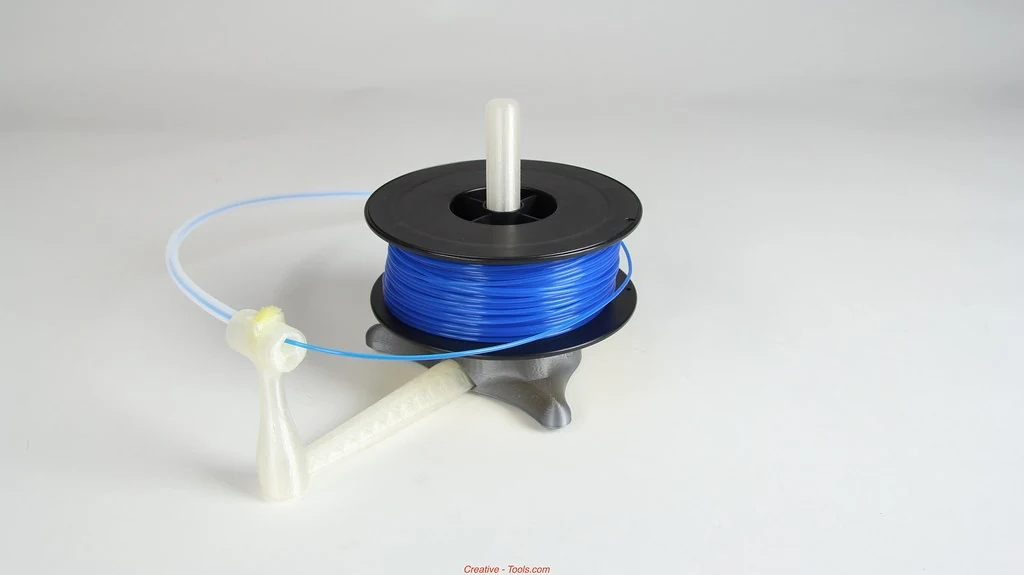
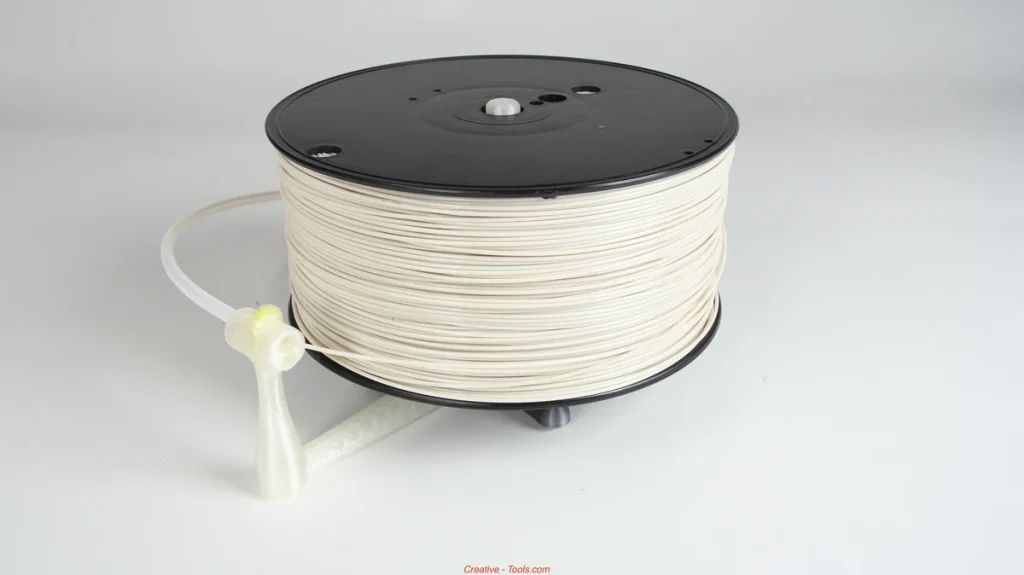
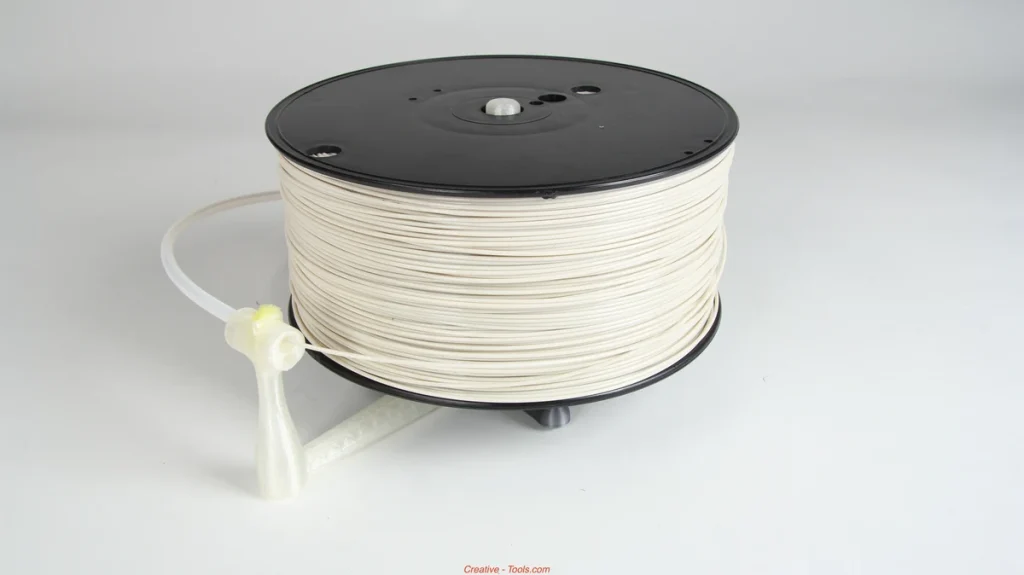
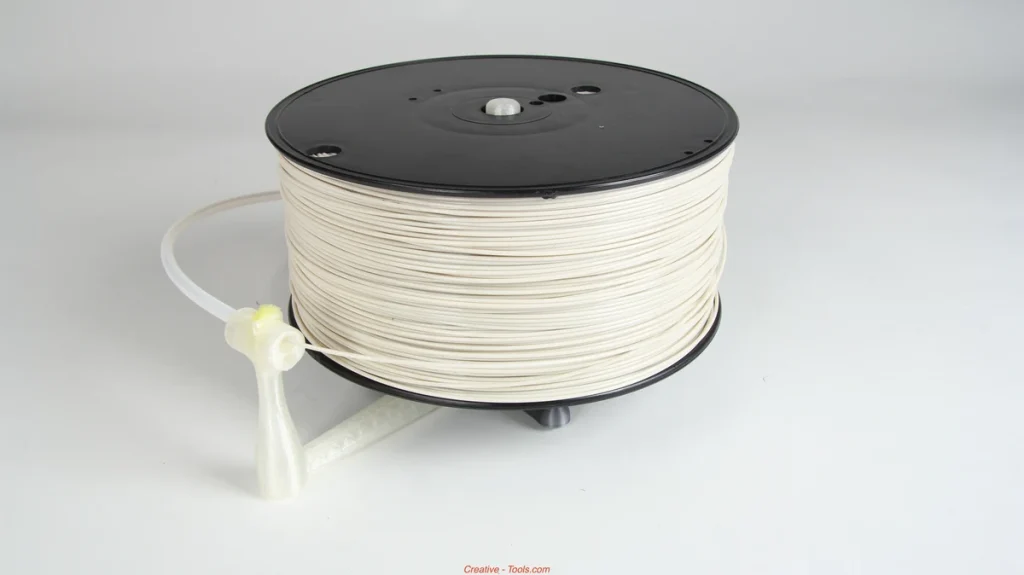
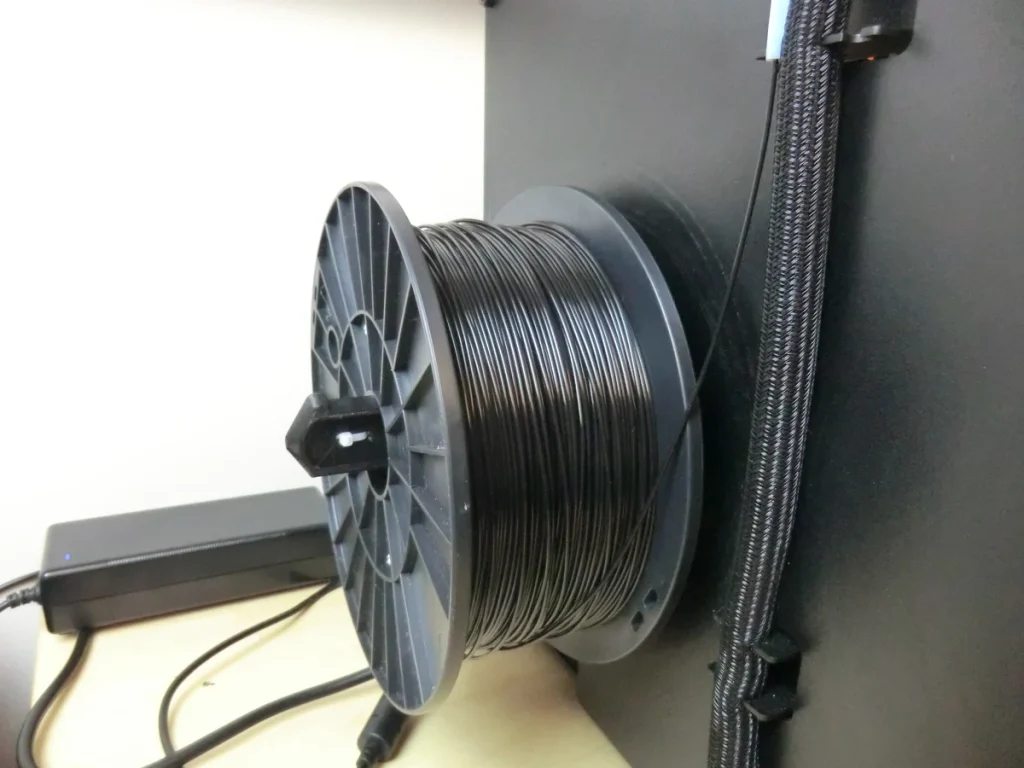
A separate filament spool on a printed holder illustrates external feeding; the filament grade is unspecified. View photo
Universal stand-alone filament spool holder (Fully 3D-printable) v09.jpg by Creative Tools, CC BY 2.0. Resized and converted to WebP.
-
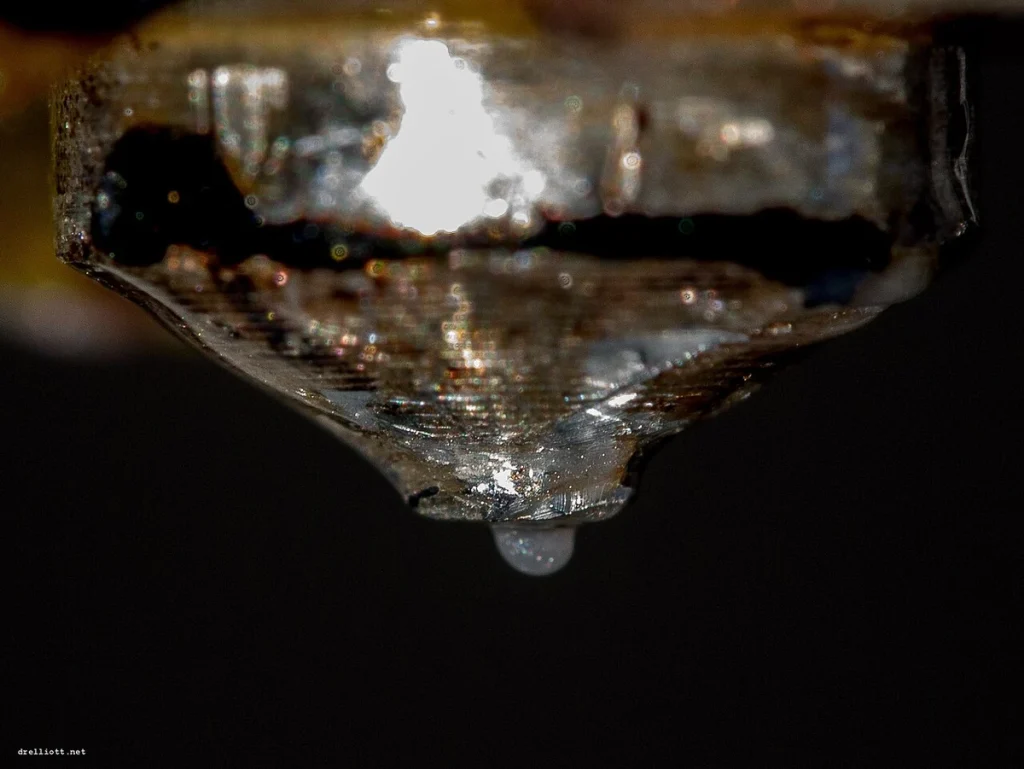
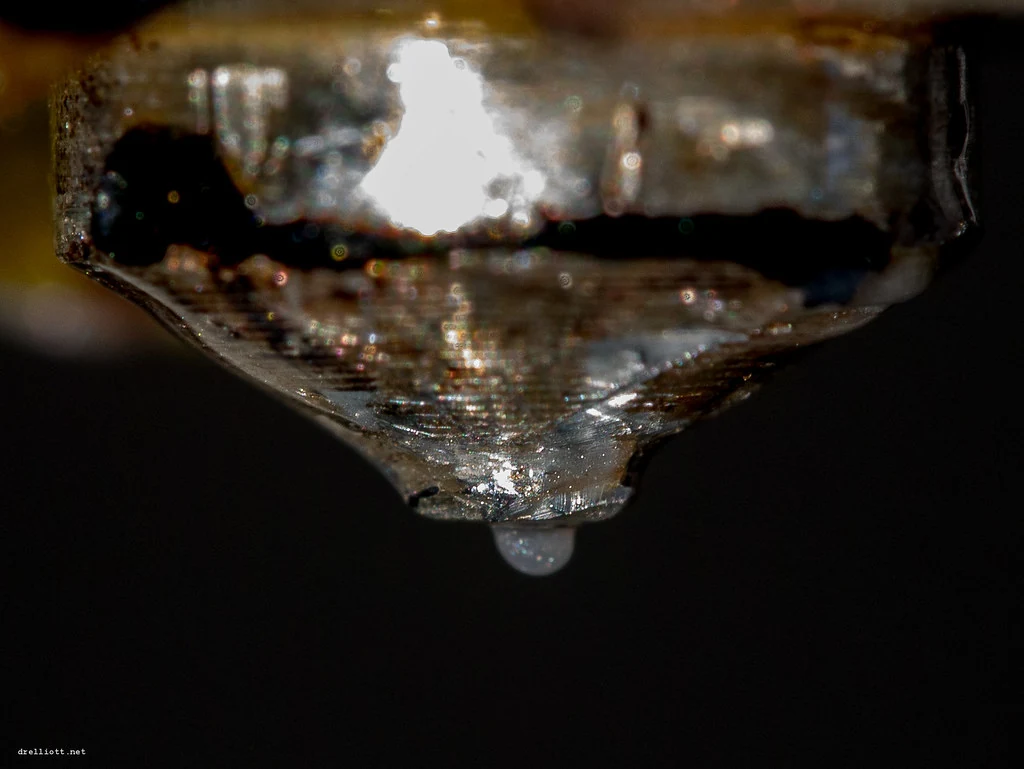
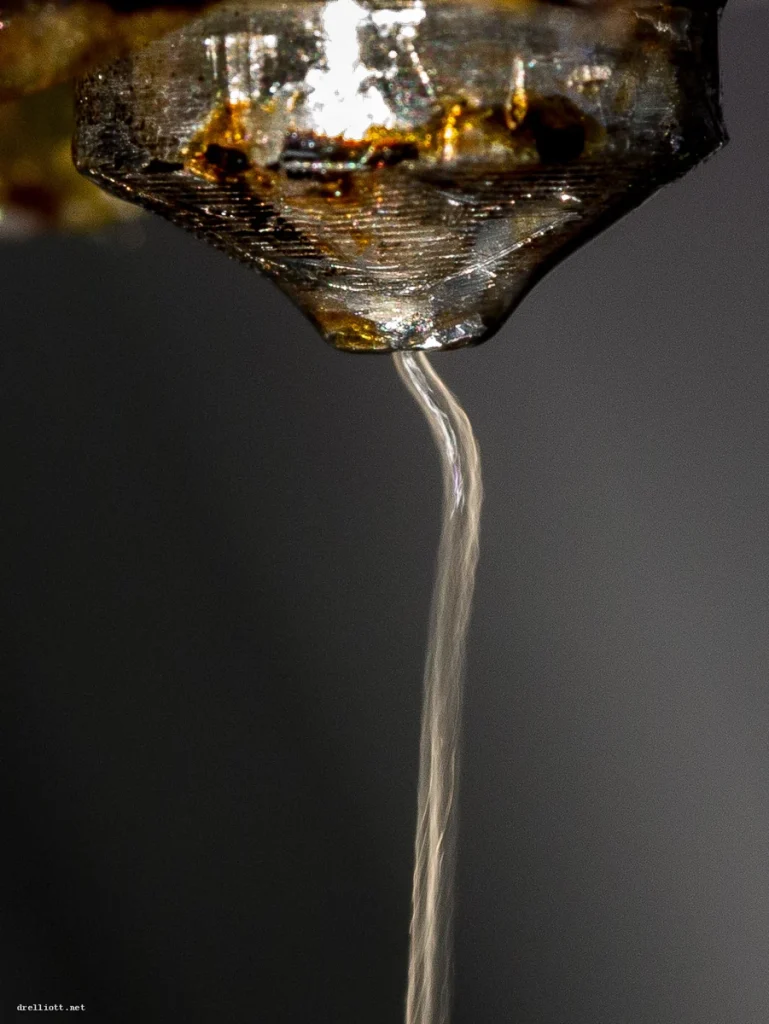
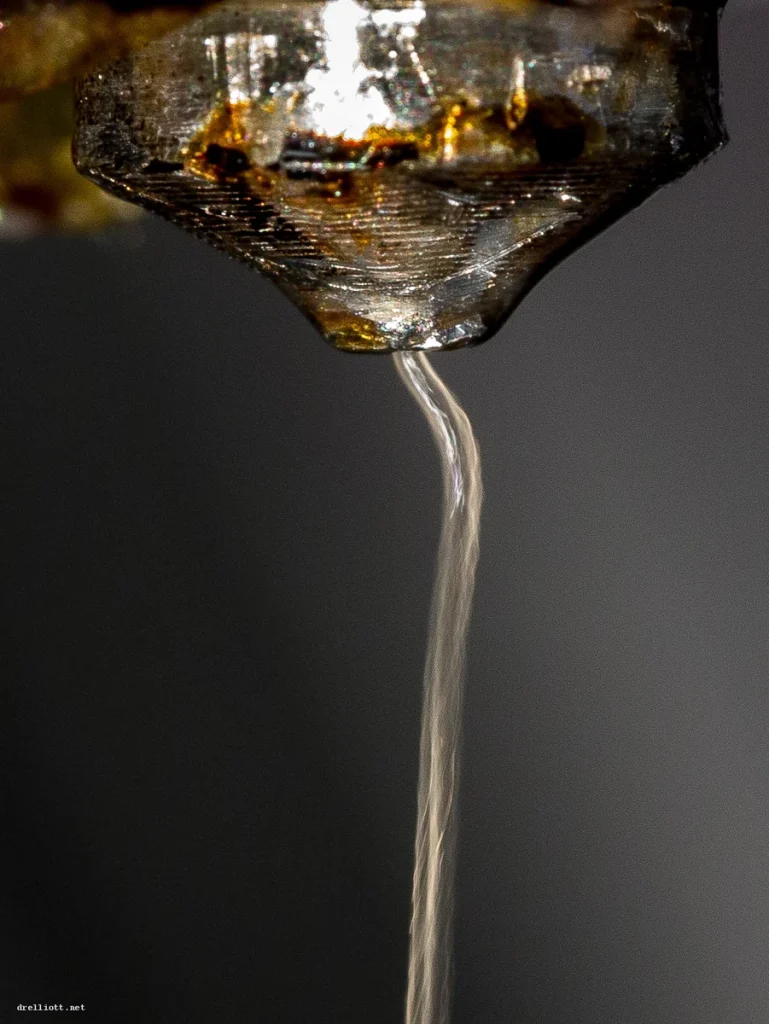
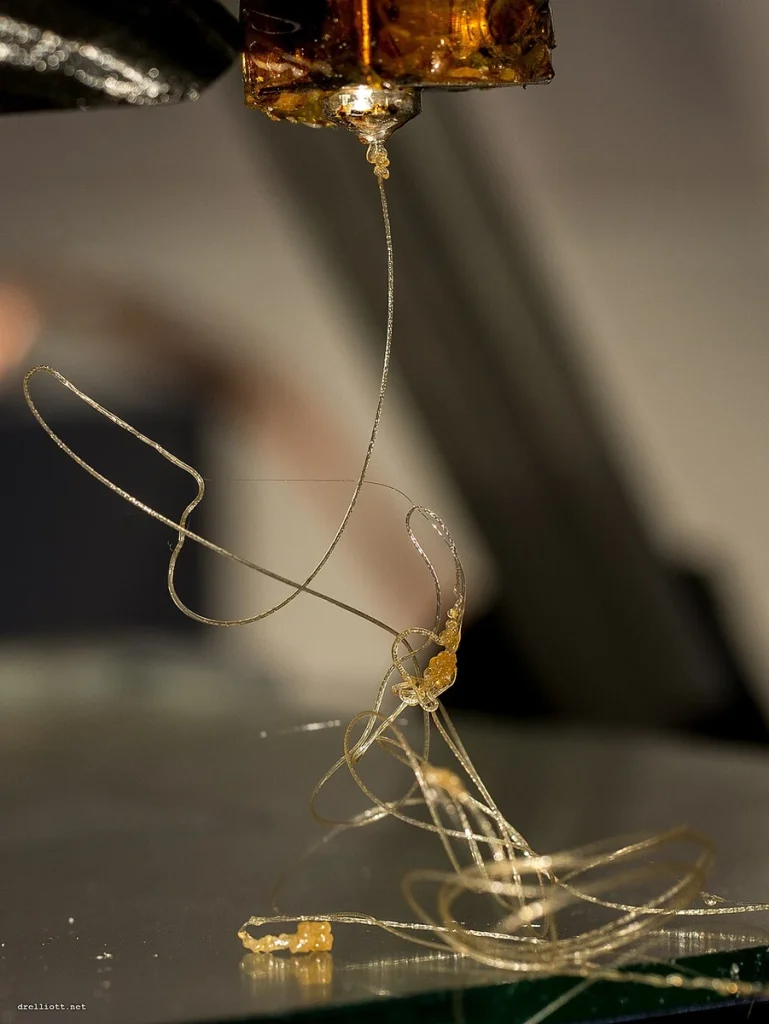
A close-up of plastic leaving a 3D-printer nozzle; this is a general extrusion example. View photo
3D printer nozzle extruding plastic (15425519178).jpg by David Elliott, CC BY 2.0. Resized and converted to WebP.




Anycubic Photon Mono 4 Ultra
-
A resin-printed 3DBenchy with its supports still attached: a general example of the extra structures that also occupy printing space. View photo
Creative Tools, 3DBenchy printed on a resin printer, CC BY 2.0. Resized and converted to WebP.
-
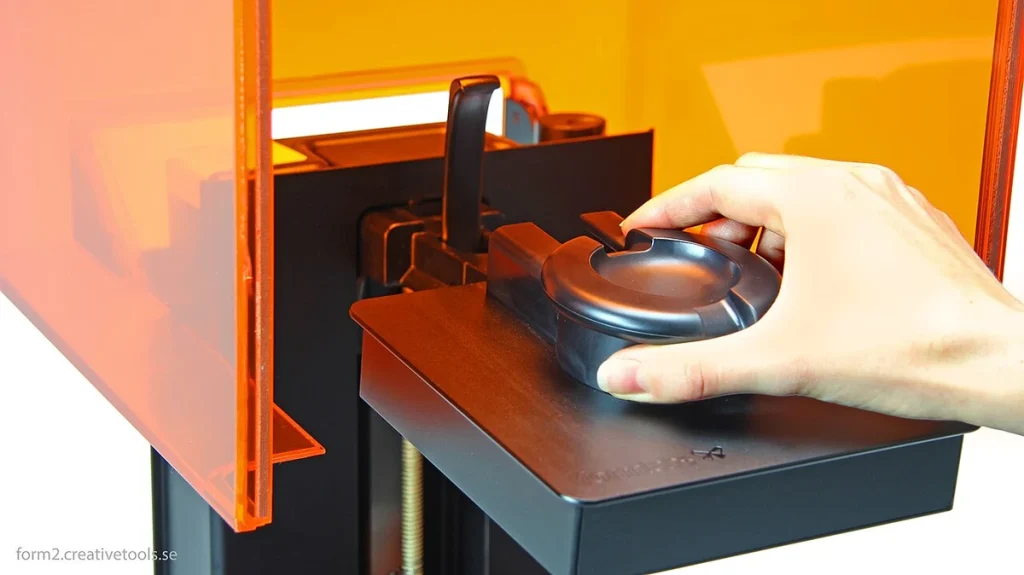
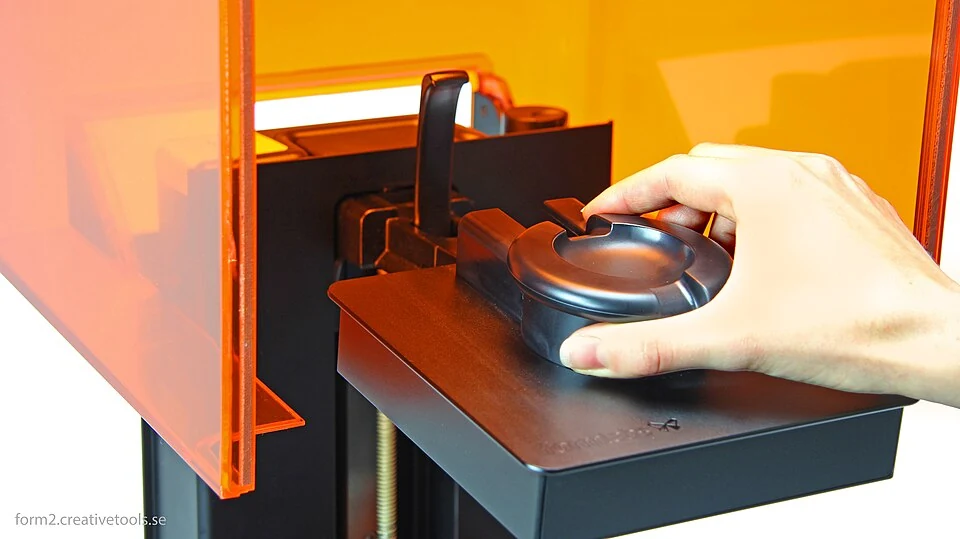
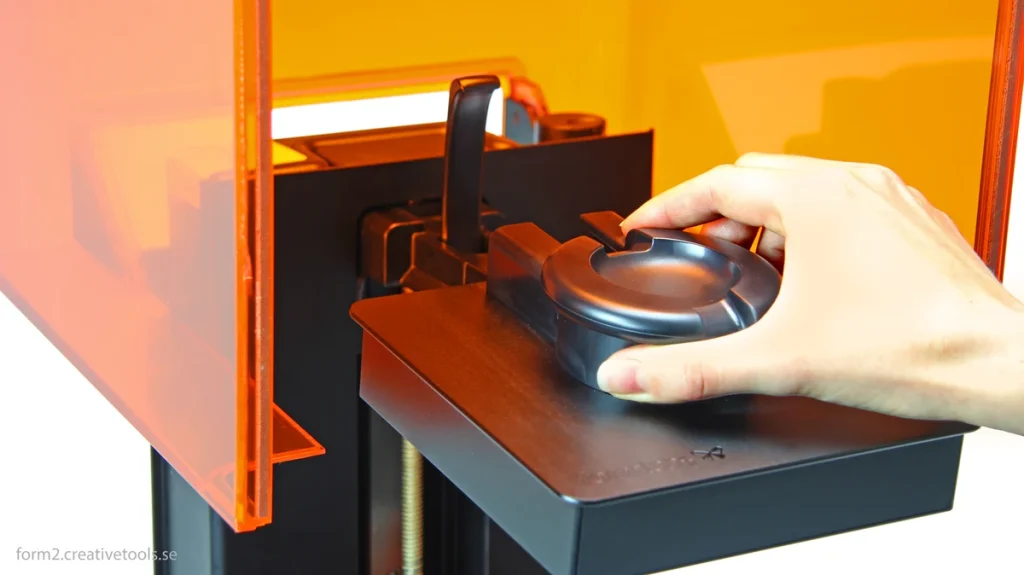
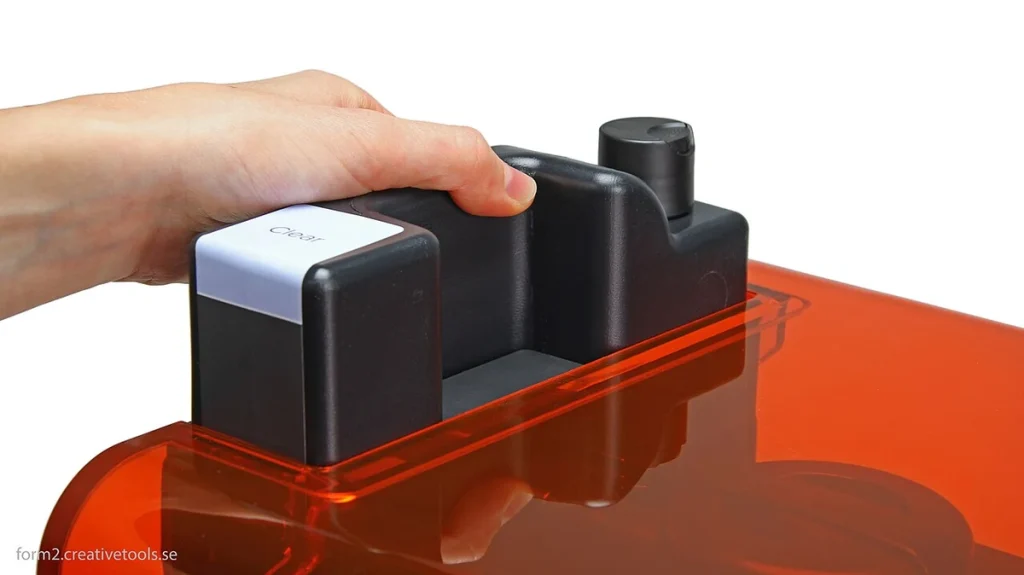
Build-platform handling on a Formlabs Form 2, shown as general resin-printer setup context. View photo
Creative Tools, Formlabs_Form2_Bild06_5184x2912, CC BY 2.0. Resized and converted to WebP.
-
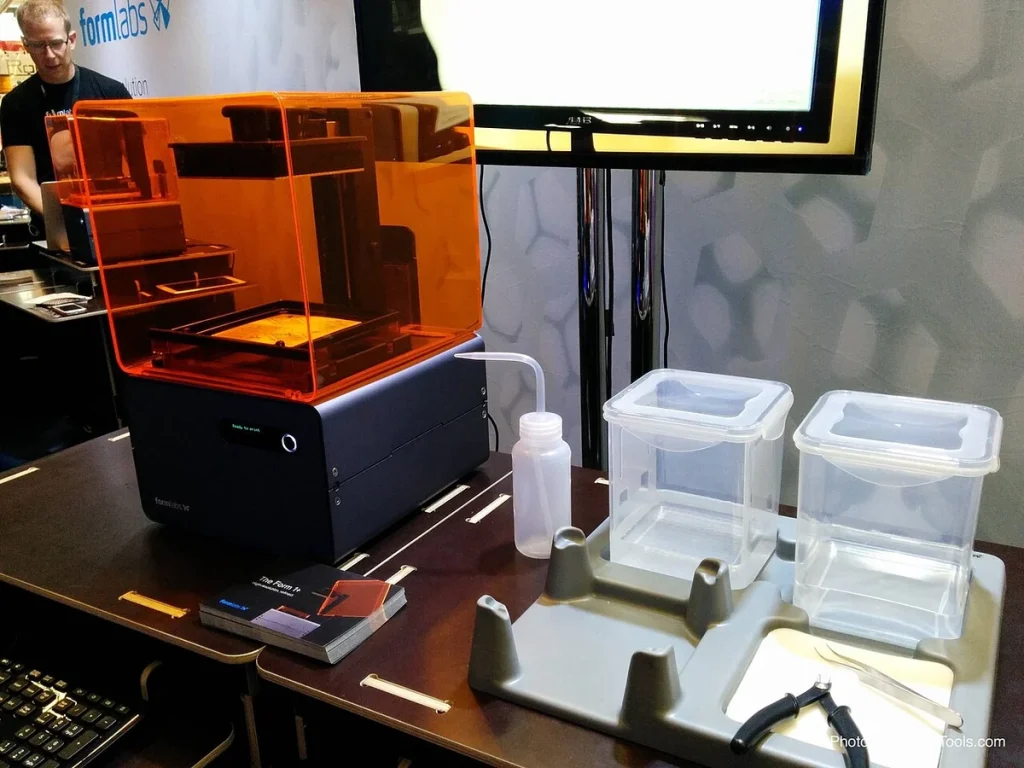
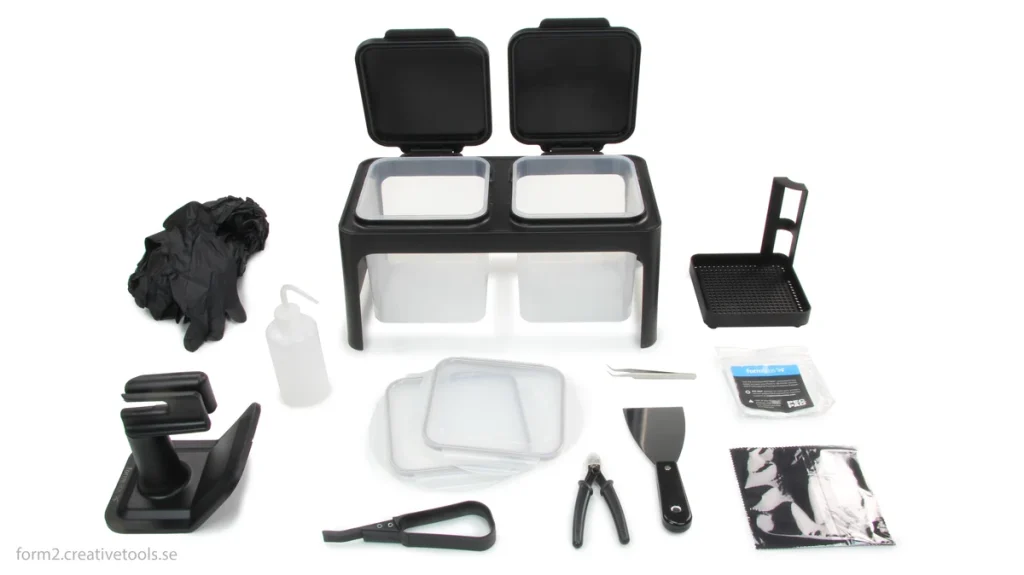
A Formlabs display at the 2014 London 3D Printshow includes separate containers, tools and a tray beside the printer. Plan space for cleanup as well as printing. View photo
Creative Tools, 3D Printshow 2014 London - Formlabs Form 1 SLA 3D printer booth v02, CC BY 2.0. Resized and converted to WebP.
-
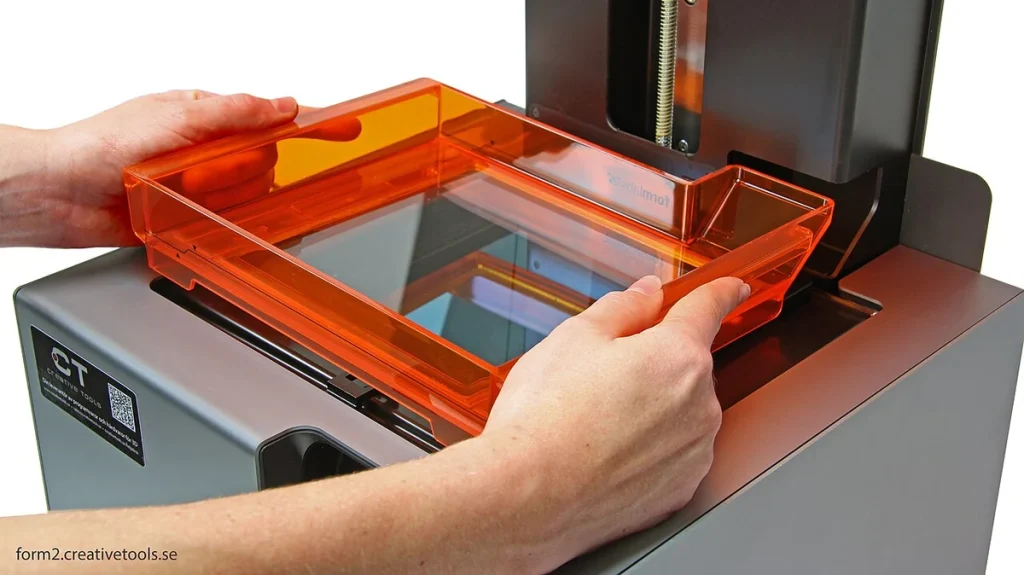
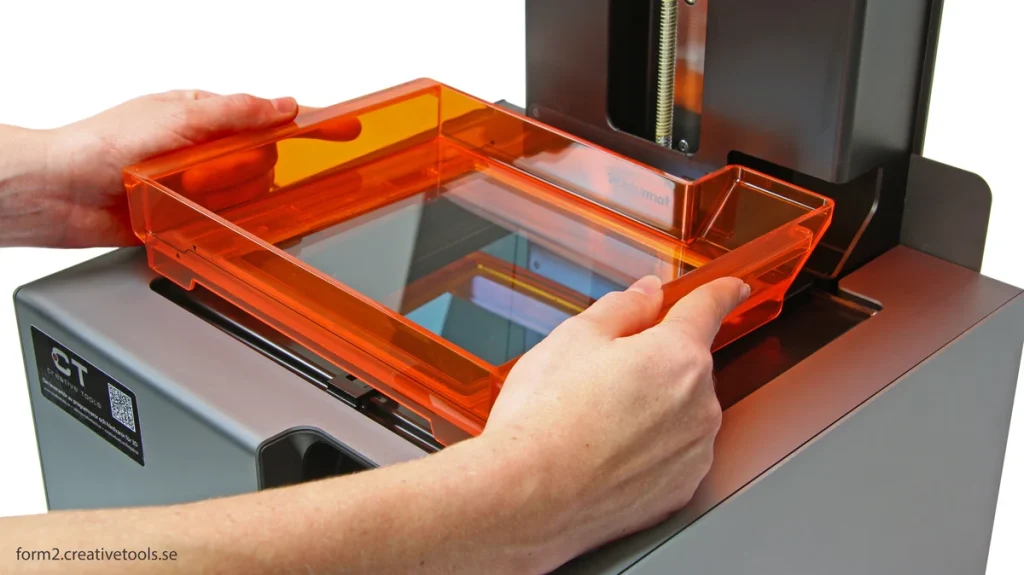
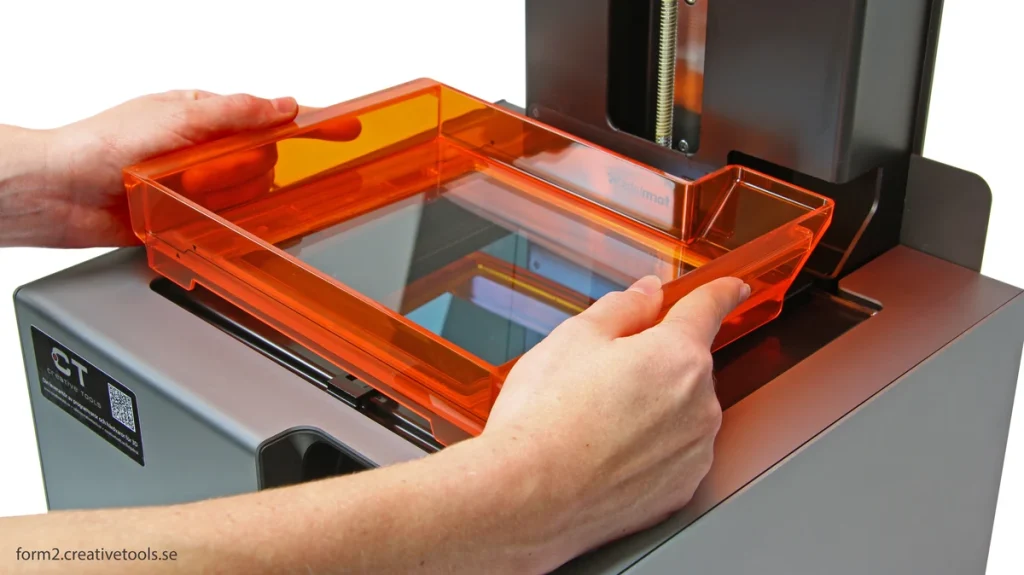
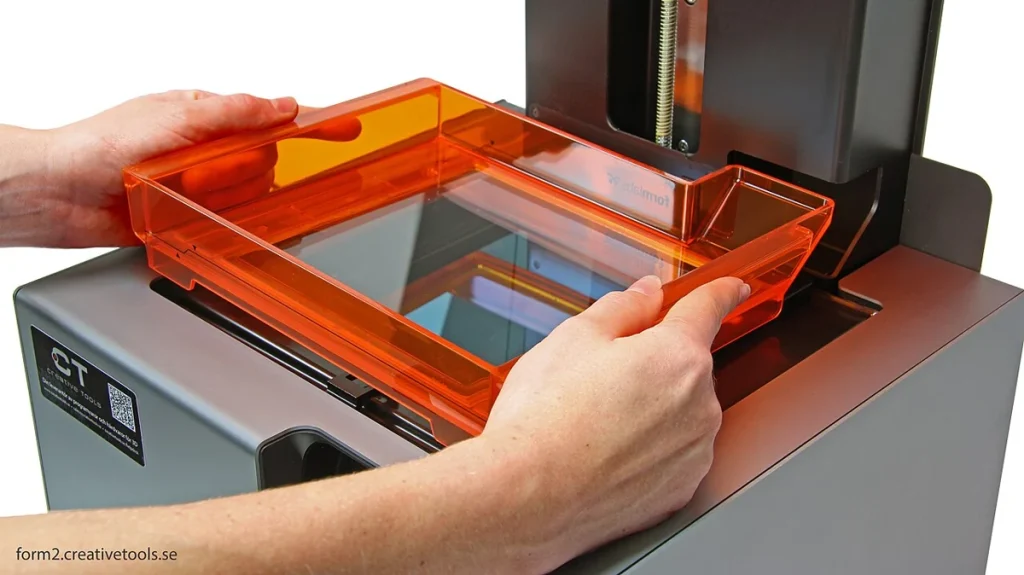
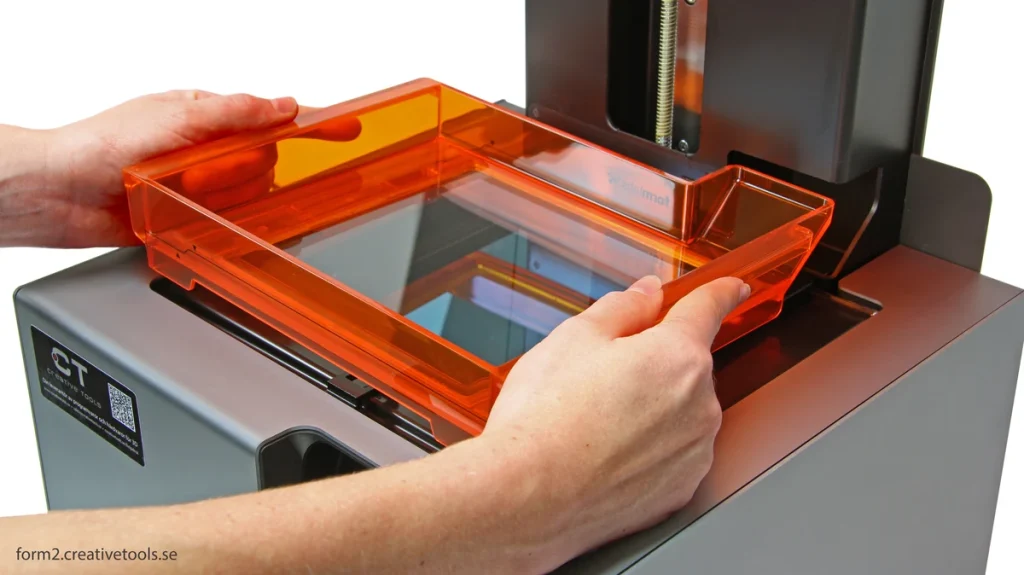
A Formlabs Form 2 resin tank being handled by its edges. This is general vat-handling context; the Ultra’s ACF replacement film must match its own model. View photo
Creative Tools, Formlabs_Form2_Bild09_5184x2912, CC BY 2.0. Resized and converted to WebP.

.jpg)
.jpg)
.jpg)
Anycubic Photon P1
-
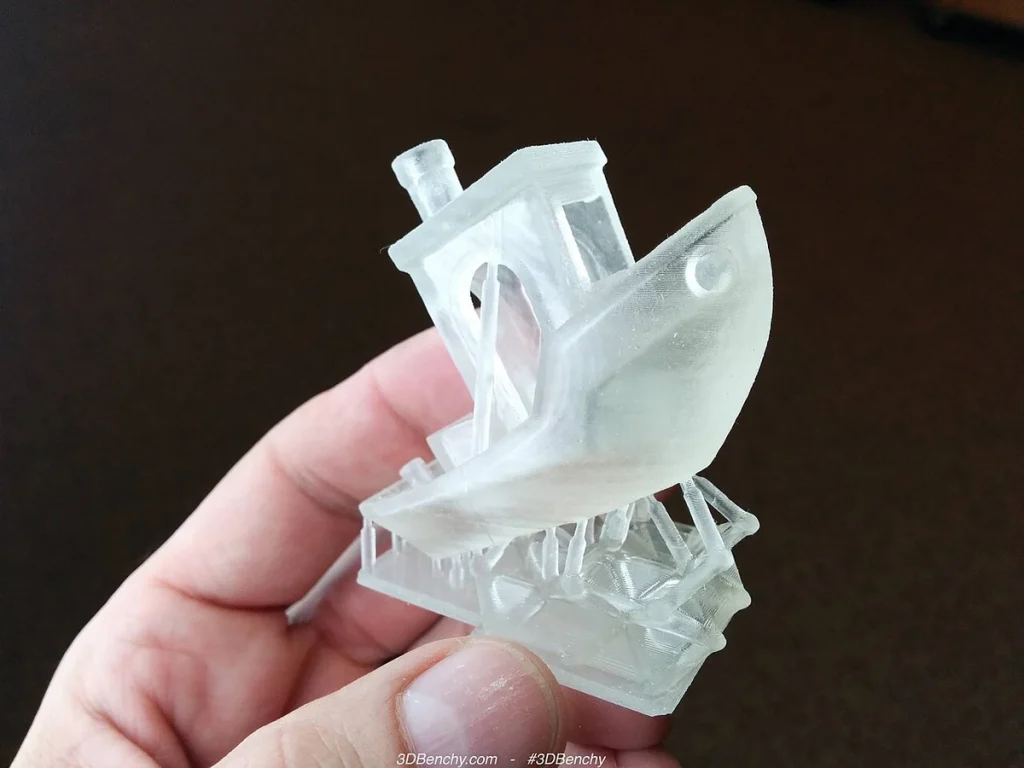
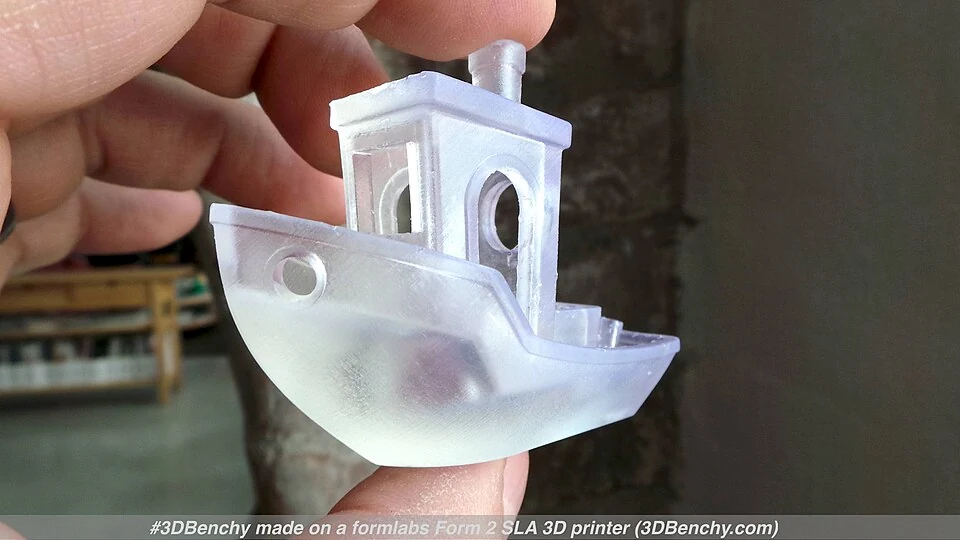
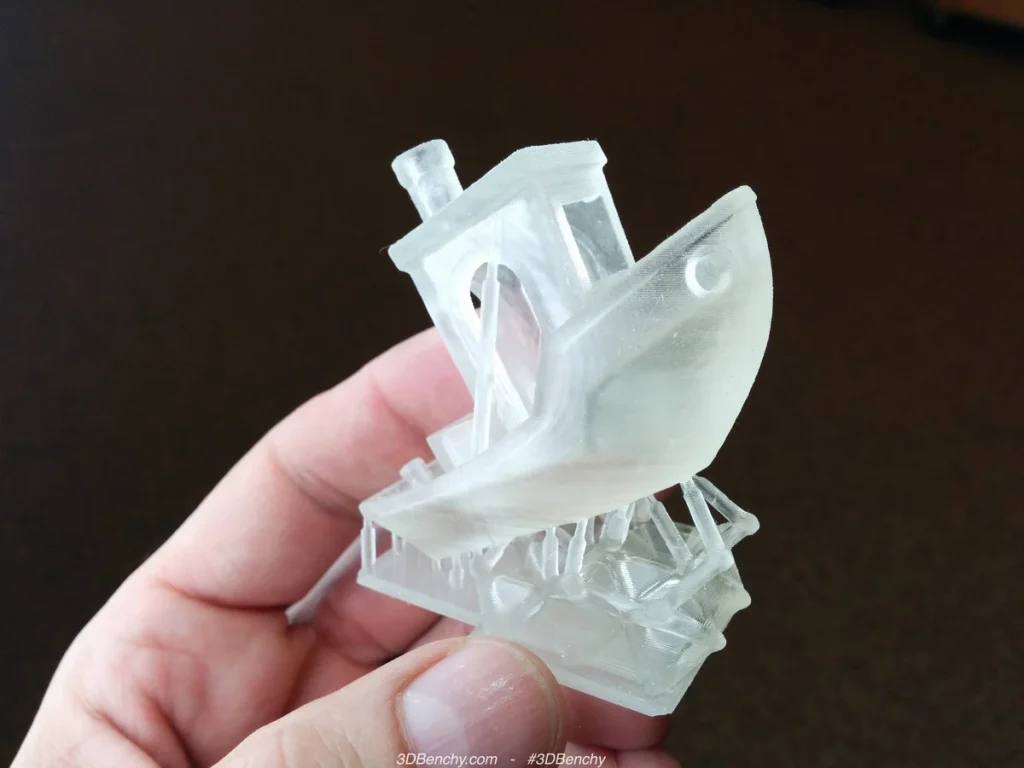
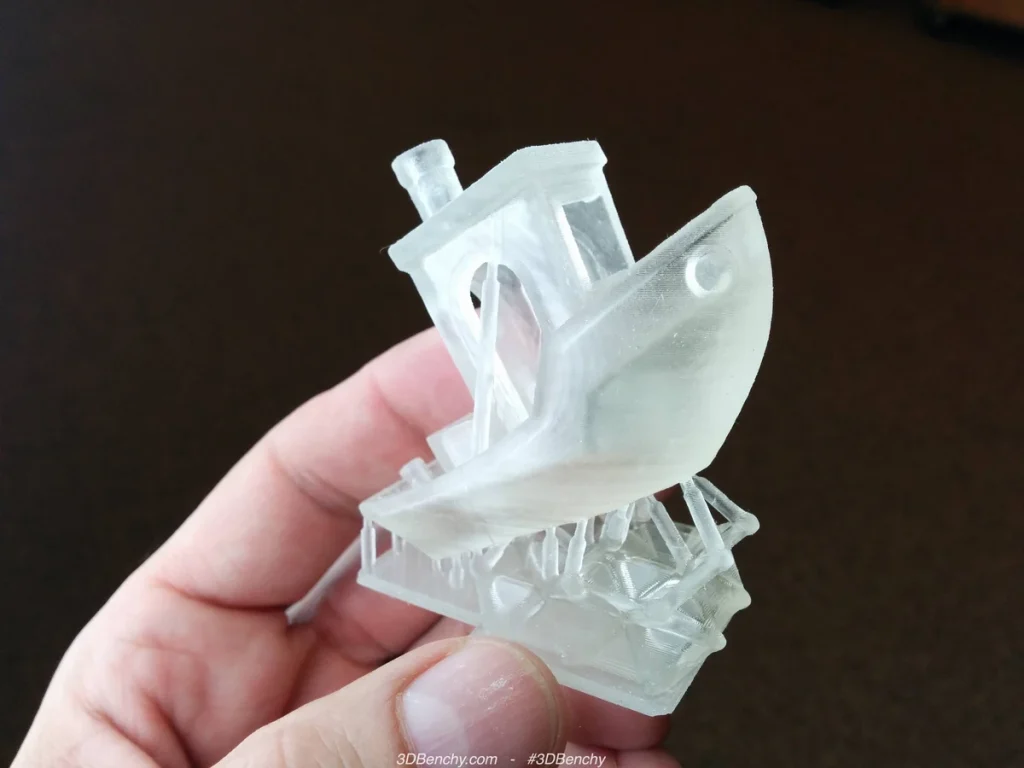
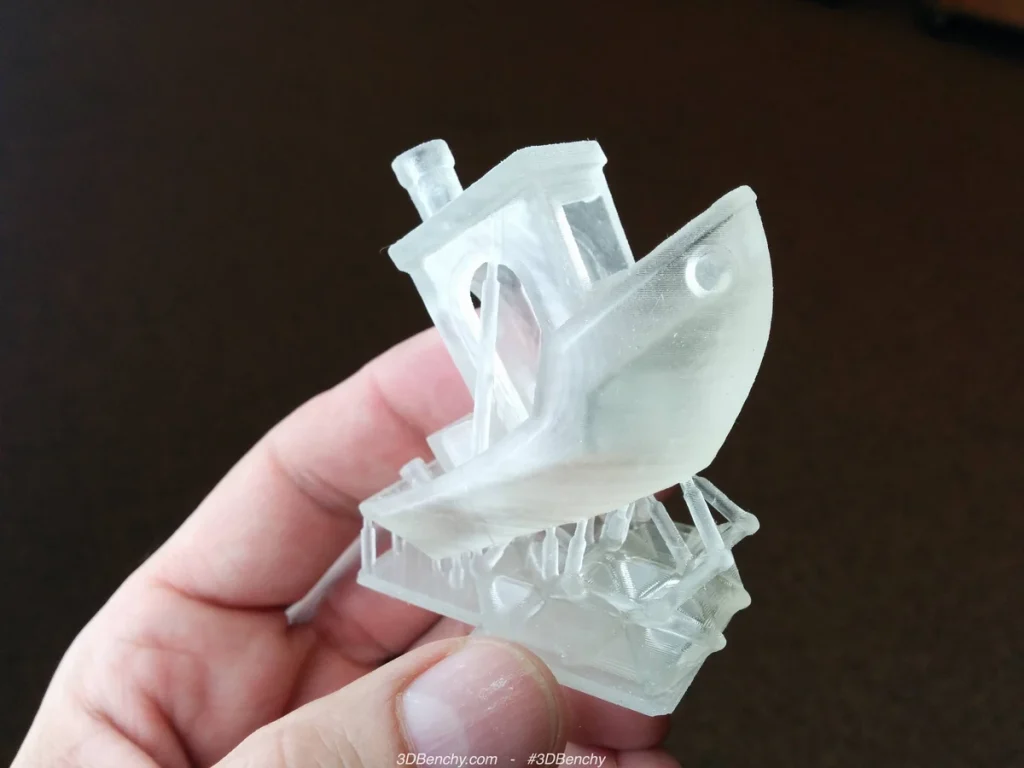
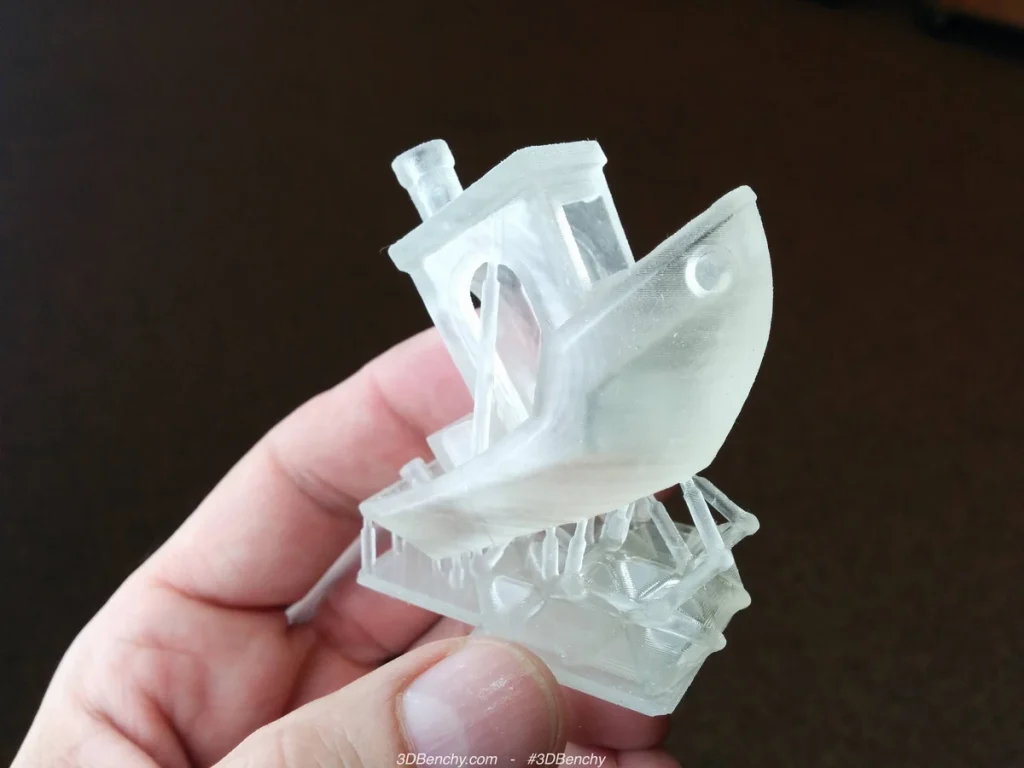
A translucent 3DBenchy made on a Formlabs Form 2, shown as a general resin-printing example. View photo
#3DBenchy made on a formlabs Form 2 SLA 3D printer form2.creativetools.se v4 — 3DBenchy. https://commons.wikimedia.org/wiki/File:-3DBenchy_made_on_a_formlabs_Form_2_SLA_3D_printer_form2.creativetools.se_v4_(24614370211).jpg · CC BY 2.0: https://creativecommons.org/licenses/by/2.0/ Resized and converted to WebP.
-
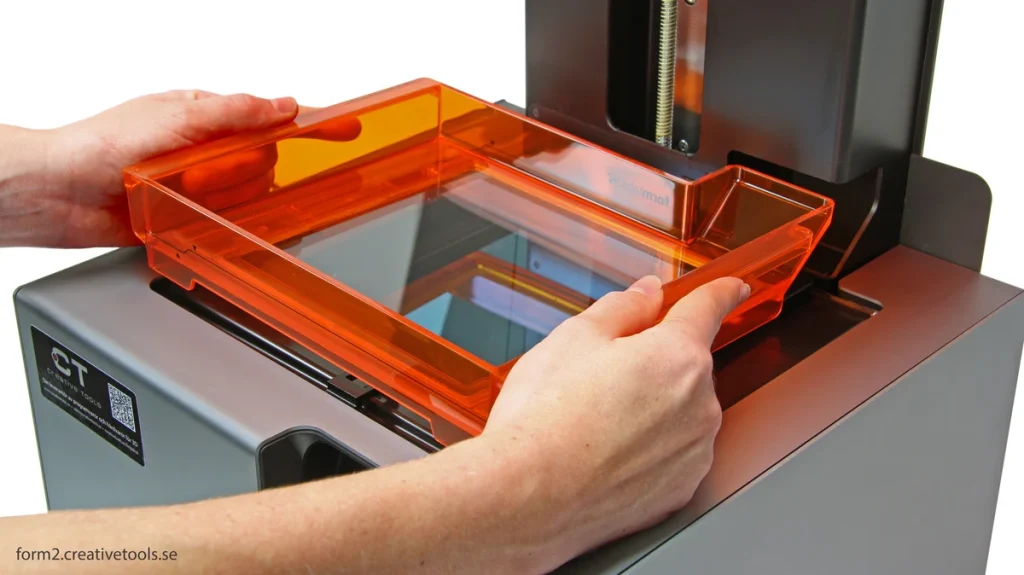
An empty Formlabs Form 2 resin tank being handled—a general vat-handling example; the P1 uses different hardware. View photo
Formlabs_Form2_Bild09_5184x2912 — Creative Tools. https://commons.wikimedia.org/wiki/File:Formlabs_Form2_Bild09_5184x2912_(24416246841).jpg · CC BY 2.0: https://creativecommons.org/licenses/by/2.0/ Resized and converted to WebP.
-
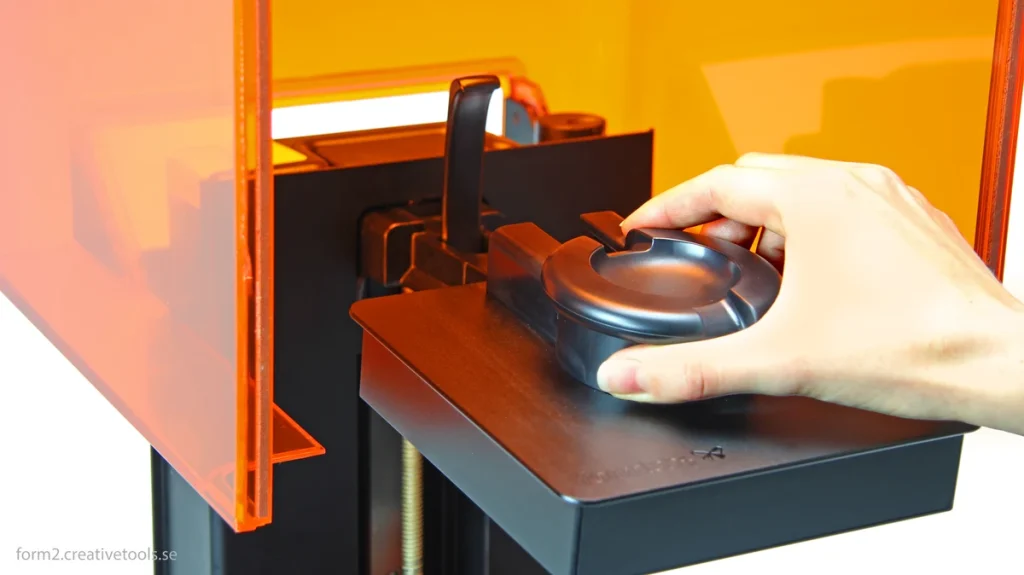
Handling the build platform on a Formlabs Form 2, shown as a general resin-printer setup example. View photo
Formlabs_Form2_Bild06_5184x2912 — Creative Tools. https://commons.wikimedia.org/wiki/File:Formlabs_Form2_Bild06_5184x2912_(24498628565).jpg · CC BY 2.0: https://creativecommons.org/licenses/by/2.0/ Resized and converted to WebP.
-
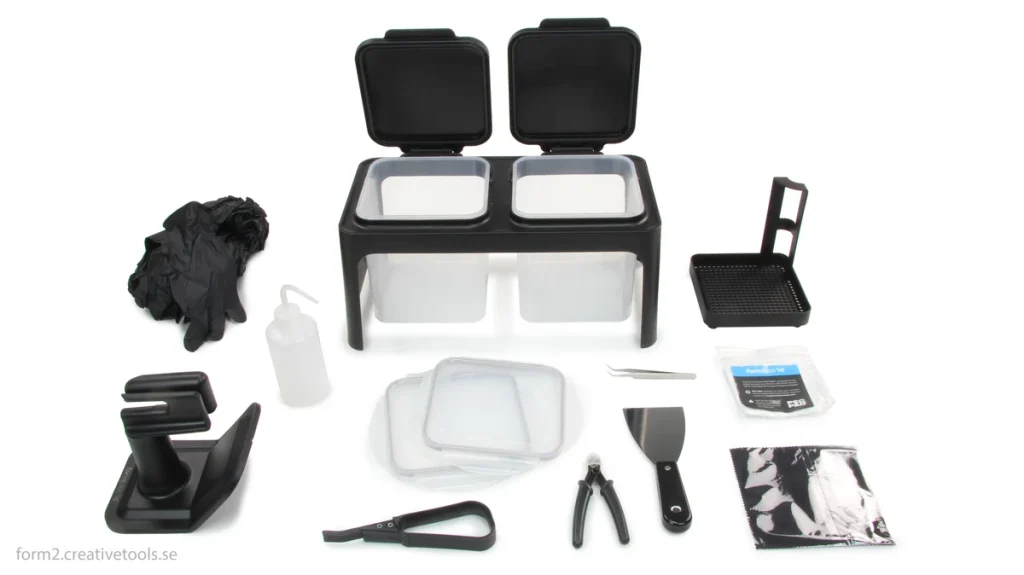
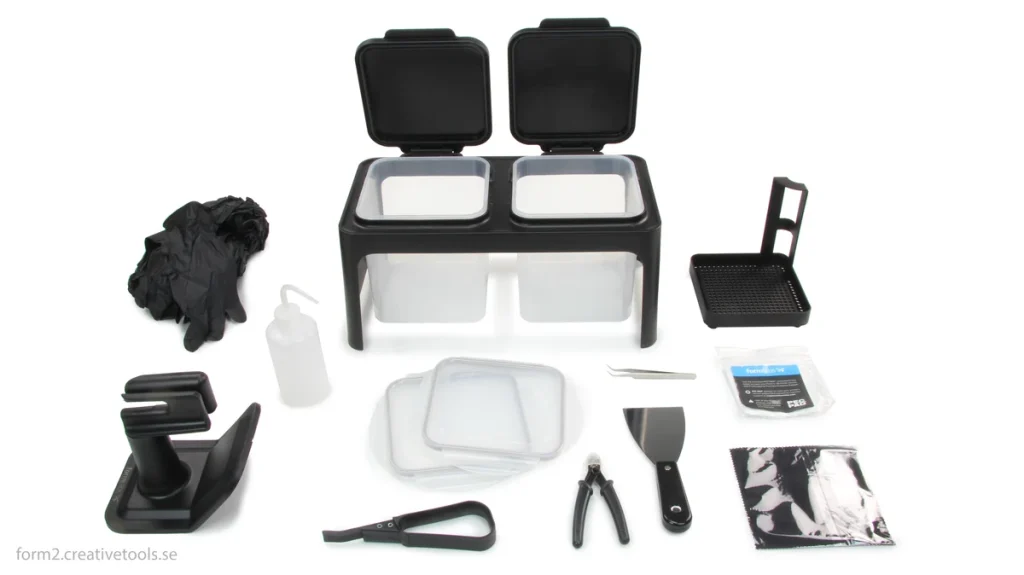
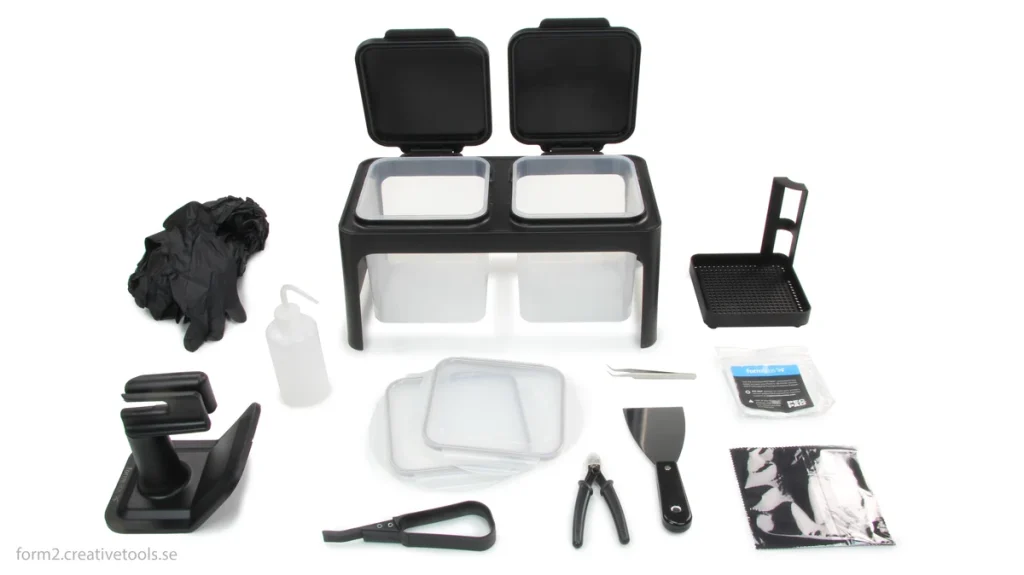
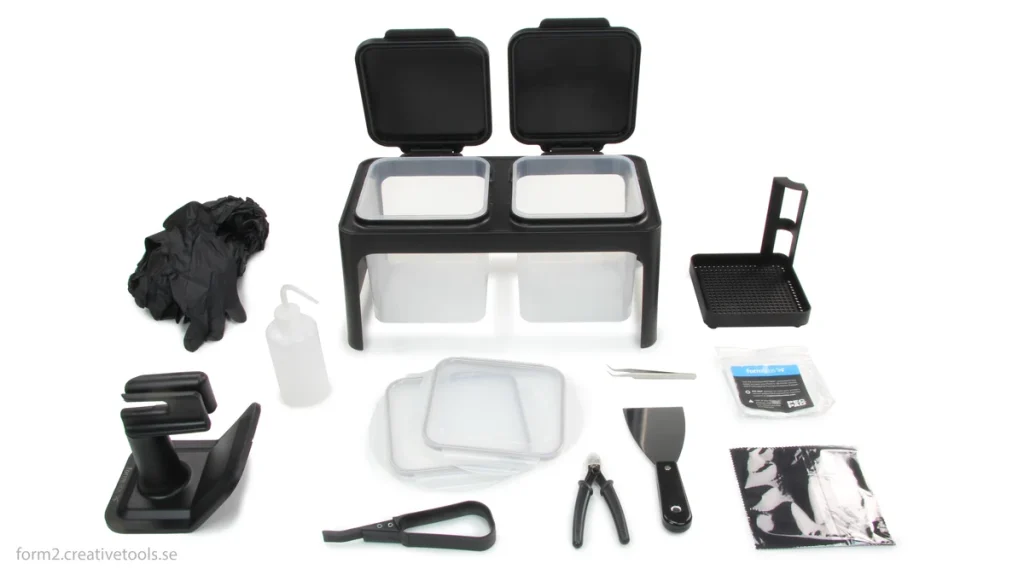
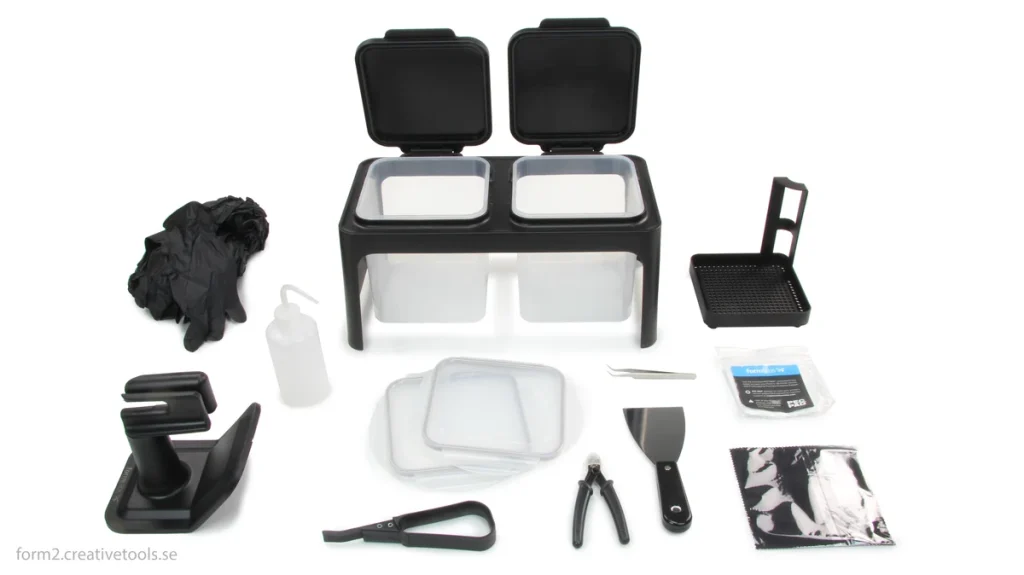
Formlabs finishing equipment illustrates the separate tools and containers used for resin-print cleanup. View photo
Formlabs_Form2_Bild07_5184x2912 — Creative Tools. https://commons.wikimedia.org/wiki/File:Formlabs_Form2_Bild07_5184x2912_(24498628135).jpg · CC BY 2.0: https://creativecommons.org/licenses/by/2.0/ Resized and converted to WebP.
.jpg)
.jpg)
Anycubic Photon P1 Max
-
A resin-printed 3DBenchy with its support structures still attached. View photo
Creative Tools — “3DBenchy printed on a resin printer” (https://www.flickr.com/photos/creative_tools/17345089792/), CC BY 2.0 (https://creativecommons.org/licenses/by/2.0/). Resized and converted to WebP.
-
Handling a Formlabs Form 2 build platform during setup. View photo
Creative Tools — “Formlabs_Form2_Bild06_5184x2912” (https://www.flickr.com/photos/creative_tools/24498628565/), CC BY 2.0 (https://creativecommons.org/licenses/by/2.0/). Resized and converted to WebP.
-
A Formlabs finishing kit with rinse containers, gloves and print-removal tools. View photo
Creative Tools — “Formlabs_Form2_Bild07_5184x2912” (https://www.flickr.com/photos/creative_tools/24498628135/), CC BY 2.0 (https://creativecommons.org/licenses/by/2.0/). Resized and converted to WebP.
-
An empty Formlabs Form 2 resin tank being handled. View photo
Creative Tools — “Formlabs_Form2_Bild09_5184x2912” (https://www.flickr.com/photos/creative_tools/24416246841/), CC BY 2.0 (https://creativecommons.org/licenses/by/2.0/). Resized and converted to WebP.
Anycubic Standard Resin
-
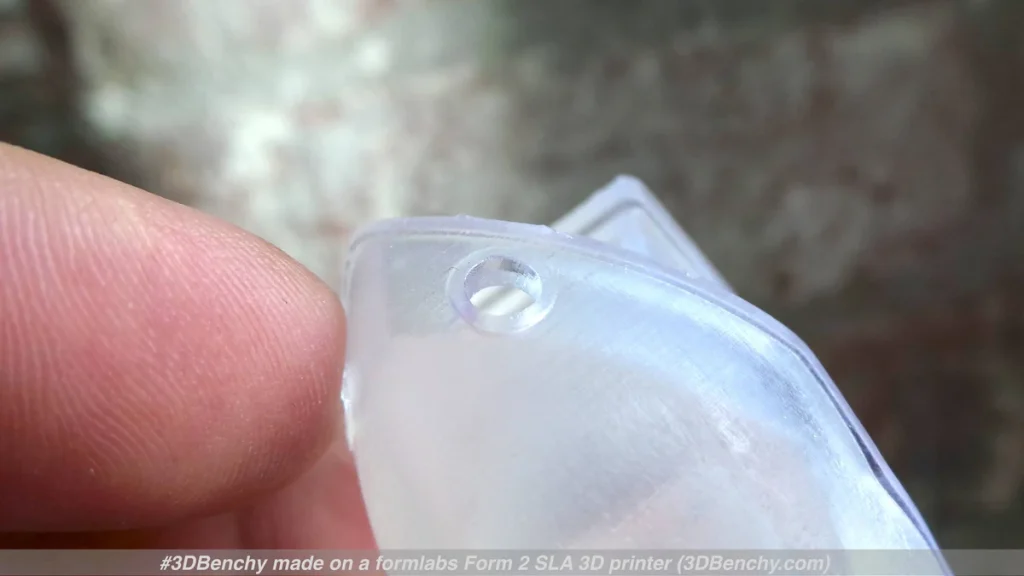
Bow detail on a 3DBenchy printed with a Formlabs Form 2; the resin grade is unspecified, and this is not a Standard resin test print. View photo
3DBenchy — #3DBenchy made on a formlabs Form 2 SLA 3D printer form2.creativetools.se v7. https://www.flickr.com/photos/3dbenchy/24079712644 — CC BY 2.0: https://creativecommons.org/licenses/by/2.0/ . Resized and converted to WebP.
-
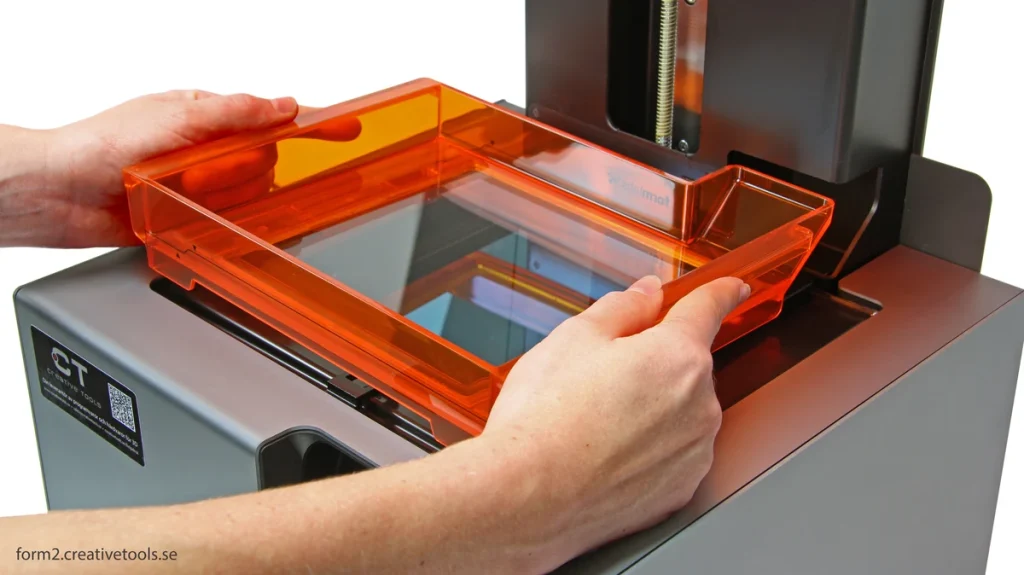
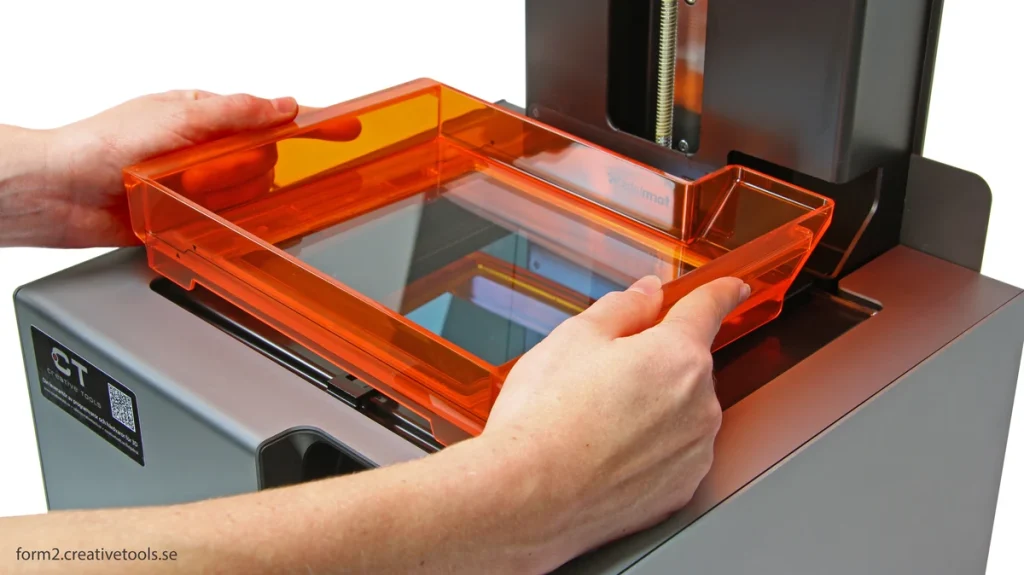
A Formlabs Form 2 resin tank held by its rim during setup—a general equipment example, with no Standard resin identified. View photo
Creative Tools — Formlabs_Form2_Bild09_5184x2912. https://www.flickr.com/photos/creative_tools/24416246841/ — CC BY 2.0: https://creativecommons.org/licenses/by/2.0/ . Resized and converted to WebP.
-
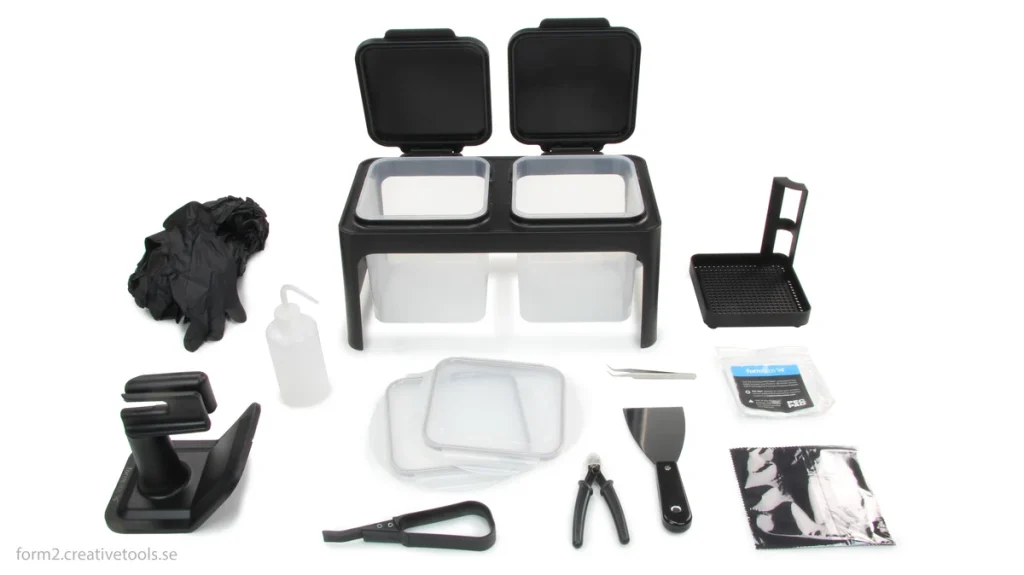
A Formlabs finishing kit with rinse containers, gloves and hand tools illustrates the space needed for resin-print cleanup. View photo
Creative Tools — Formlabs_Form2_Bild07_5184x2912. https://www.flickr.com/photos/creative_tools/24498628135/ — CC BY 2.0: https://creativecommons.org/licenses/by/2.0/ . Resized and converted to WebP.
.jpg)
Atomic Filament PLA
-
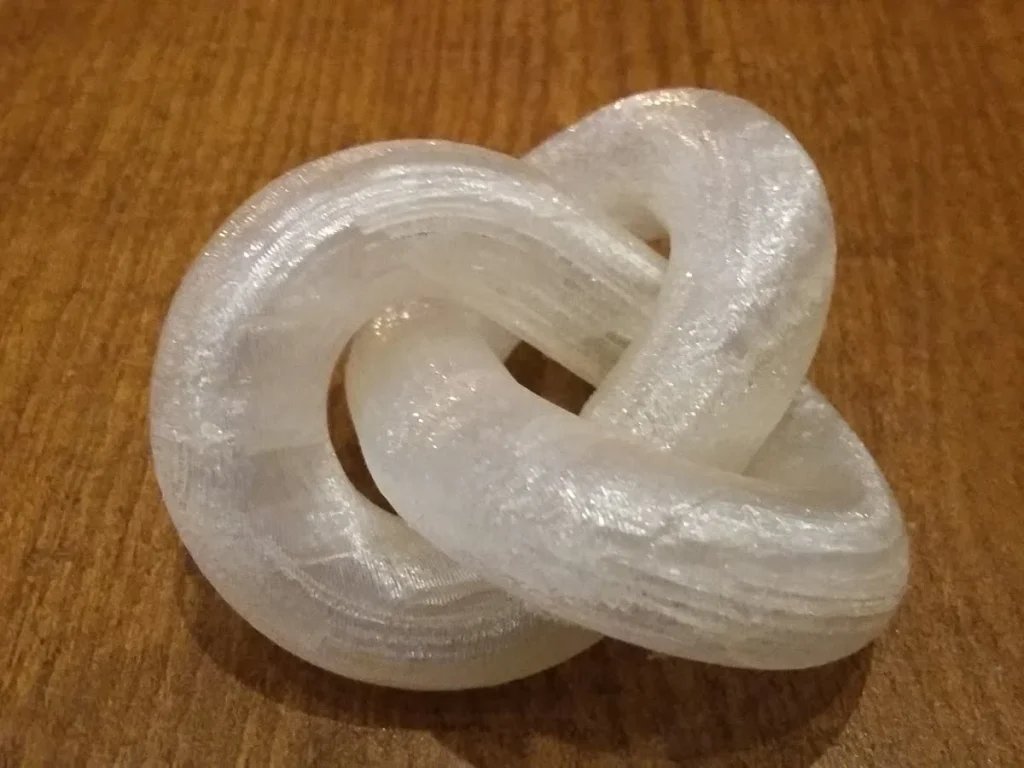
A translucent 3D-printed trefoil shows visible layers and overlapping curved surfaces. This general example is not identified as Atomic PLA. View photo
© Nevit Dilmen, “Trifoil 20151214 202843-757930 cr”, CC BY-SA 3.0 (https://creativecommons.org/licenses/by-sa/3.0/). Converted to WebP.
-
A separate 3D-printed filament spool holder, shown without a spool. Check holder dimensions for the spool you plan to use; this photo does not demonstrate Atomic spool compatibility. View photo
Creative Tools, “Universal stand-alone filament spool holder (complete)”, CC BY 2.0 (https://creativecommons.org/licenses/by/2.0/). Resized and converted to WebP.

_(16077681960).jpg)
Autodesk Fusion Review
-
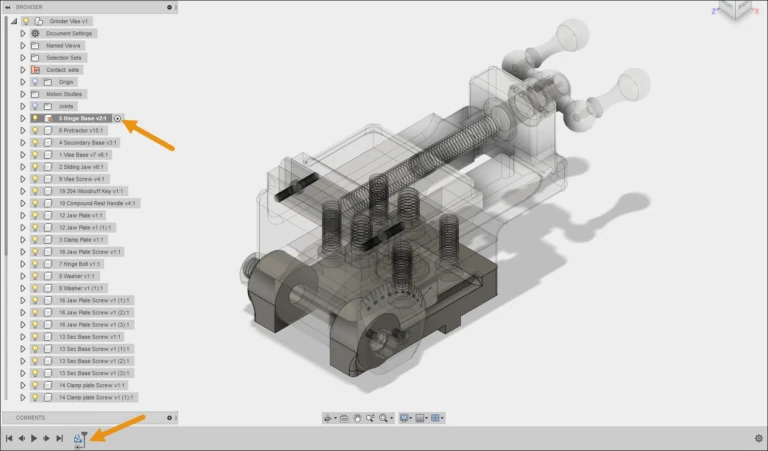
An earlier Fusion interface illustrates the relationship between an active component and its design history. View photo
Autodesk screen shots reprinted courtesy of Autodesk, Inc. Autodesk and Fusion are registered trademarks or trademarks of Autodesk, Inc., and/or its subsidiaries and/or affiliates in the USA and other countries.
-
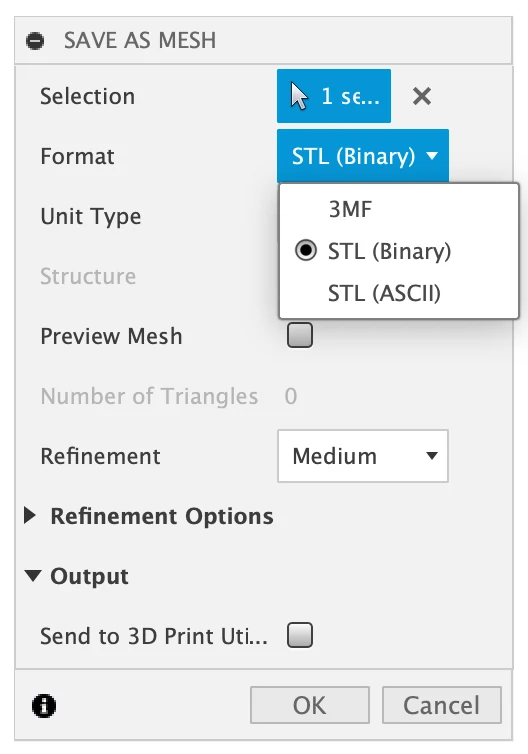
Save As Mesh offers STL and 3MF formats for the handoff to a slicer. View photo
Autodesk screen shots reprinted courtesy of Autodesk, Inc. Autodesk and Fusion are registered trademarks or trademarks of Autodesk, Inc., and/or its subsidiaries and/or affiliates in the USA and other countries.
-
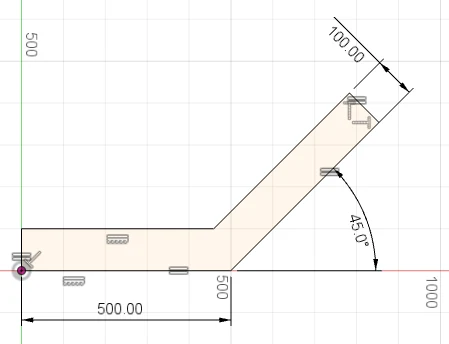
Dimensions and constraints control the shape in this Autodesk tutorial. View photo
Autodesk screen shots reprinted courtesy of Autodesk, Inc. Autodesk and Fusion are registered trademarks or trademarks of Autodesk, Inc., and/or its subsidiaries and/or affiliates in the USA and other countries.
-
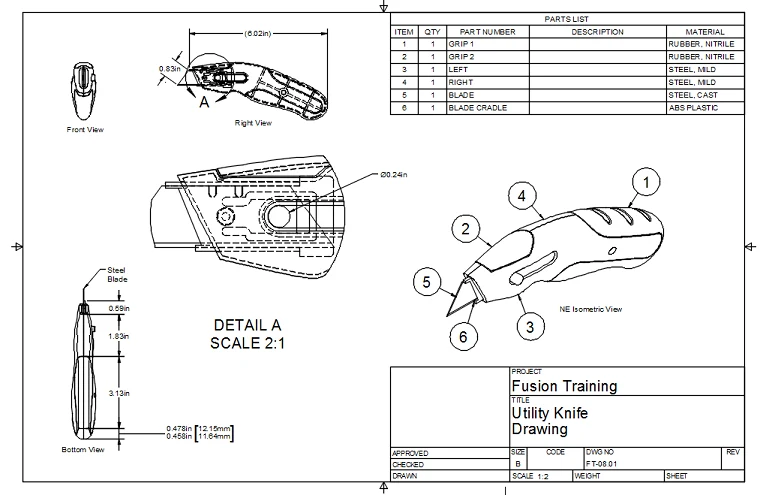
Autodesk’s drawing tutorial illustrates views and annotations; personal-use drawing output remains restricted. View photo
Autodesk screen shots reprinted courtesy of Autodesk, Inc. Autodesk and Fusion are registered trademarks or trademarks of Autodesk, Inc., and/or its subsidiaries and/or affiliates in the USA and other countries.
-
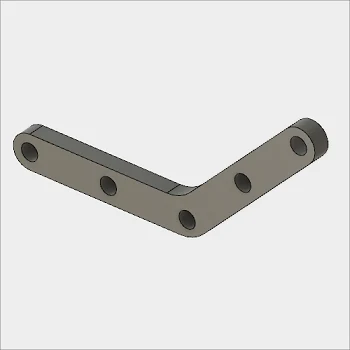
This Autodesk tutorial turns a constrained sketch into a solid with holes. View photo
Autodesk screen shots reprinted courtesy of Autodesk, Inc. Autodesk and Fusion are registered trademarks or trademarks of Autodesk, Inc., and/or its subsidiaries and/or affiliates in the USA and other countries.
Autodesk Maya Review
-
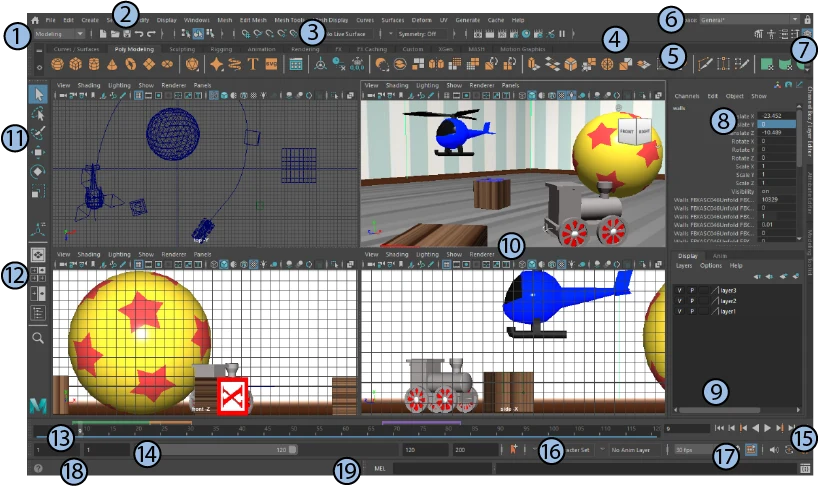
Maya brings modeling views, scene controls and animation timing into one workspace. View photo
Autodesk screen shots reprinted courtesy of Autodesk, Inc. Autodesk, Maya and Arnold are registered trademarks or trademarks of Autodesk, Inc., and/or its subsidiaries and/or affiliates in the USA and other countries.
-
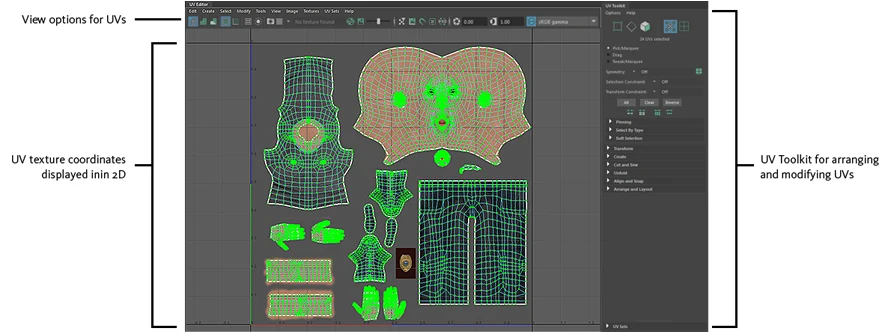
The UV Editor lays out a model’s surface for texturing; inspect the layout for stretching. View photo
Autodesk screen shots reprinted courtesy of Autodesk, Inc. Autodesk, Maya and Arnold are registered trademarks or trademarks of Autodesk, Inc., and/or its subsidiaries and/or affiliates in the USA and other countries.
-
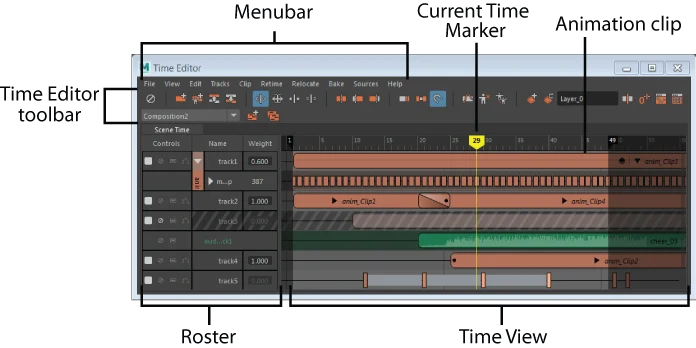
The Time Editor arranges animation into clips that can be retimed and blended. View photo
Autodesk screen shots reprinted courtesy of Autodesk, Inc. Autodesk, Maya and Arnold are registered trademarks or trademarks of Autodesk, Inc., and/or its subsidiaries and/or affiliates in the USA and other countries.
-
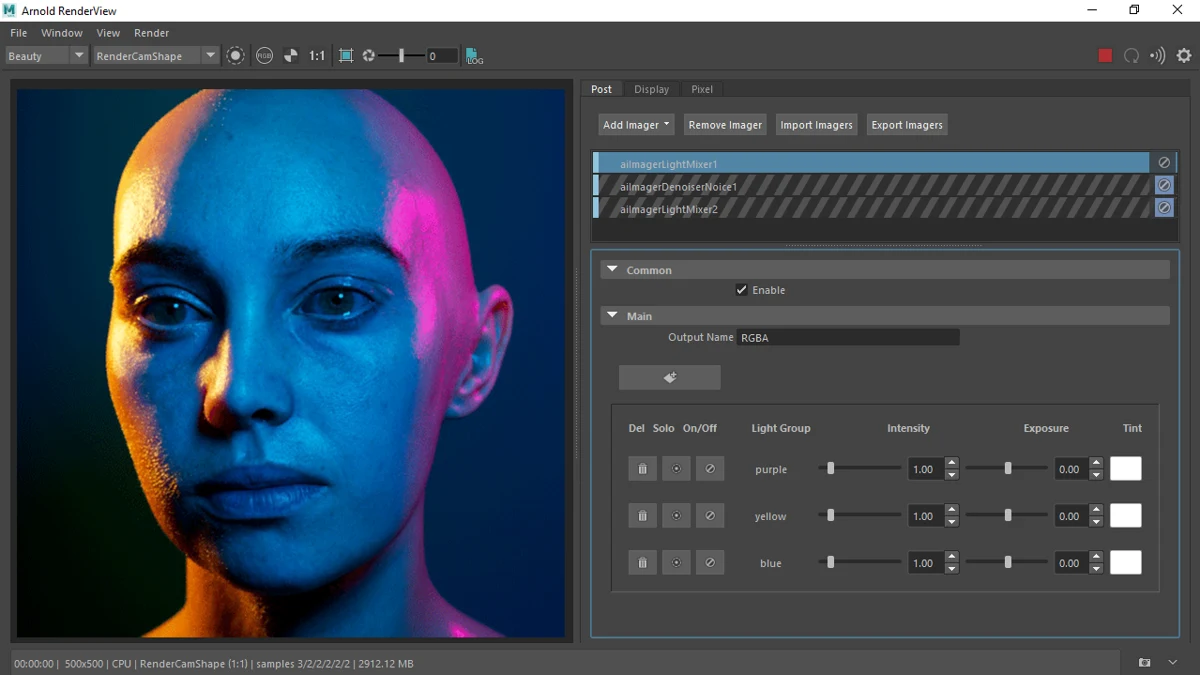
Arnold RenderView pairs a rendered preview with controls for adjusting the scene’s lighting. View photo
Autodesk screen shots reprinted courtesy of Autodesk, Inc. Autodesk, Maya and Arnold are registered trademarks or trademarks of Autodesk, Inc., and/or its subsidiaries and/or affiliates in the USA and other countries.
-
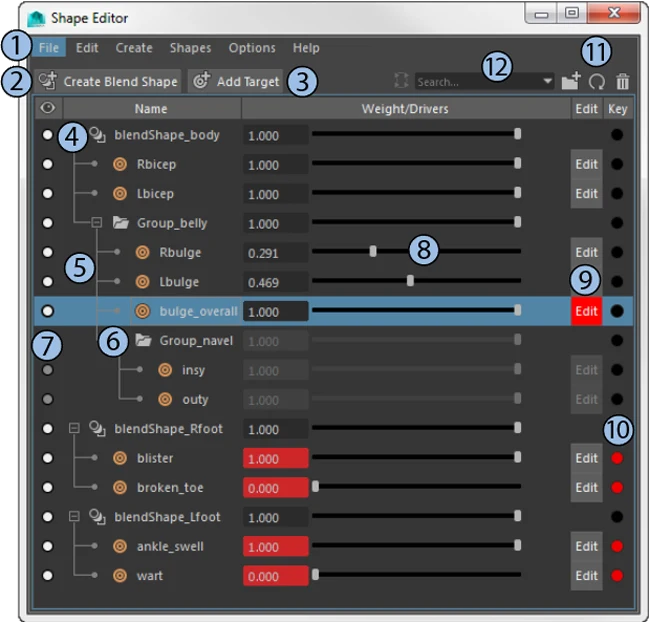
The Shape Editor exposes target weights and groups for checking how alternate shapes combine. View photo
Autodesk screen shots reprinted courtesy of Autodesk, Inc. Autodesk, Maya and Arnold are registered trademarks or trademarks of Autodesk, Inc., and/or its subsidiaries and/or affiliates in the USA and other countries.
Bambu Lab PLA Tough+
-
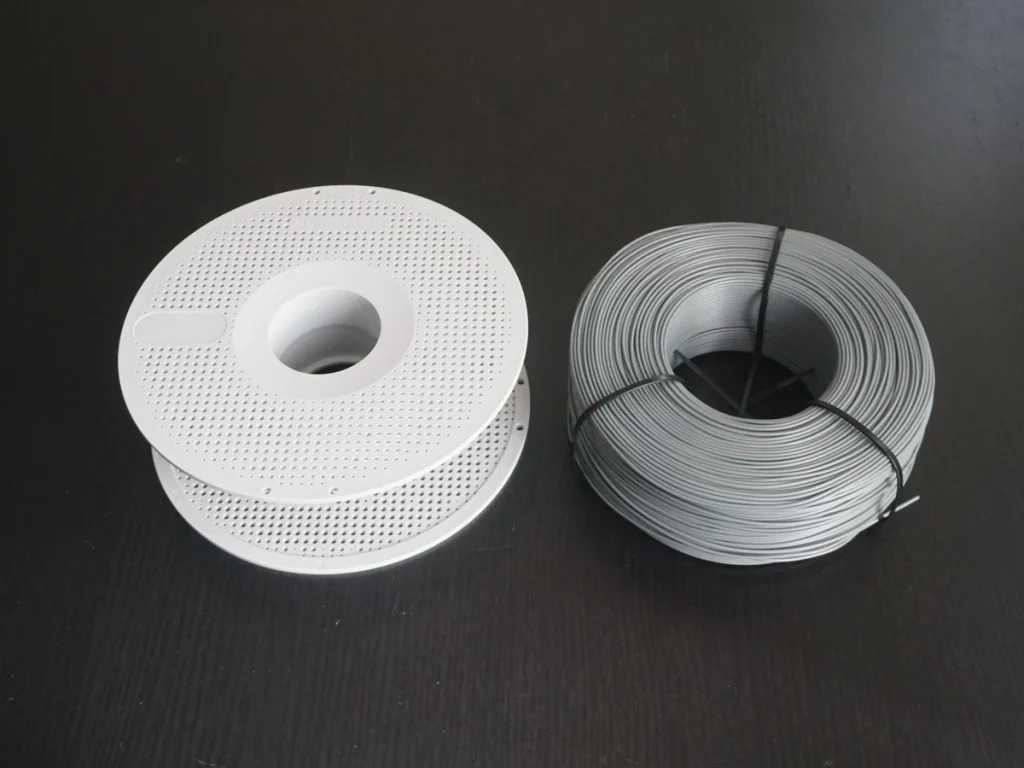
A Bambu reusable spool beside a refill coil, before loading. The filament grade is unspecified. View photo
Filament Refill (Bambu Lab) Step 1 by Suit, CC BY-SA 4.0. Resized and converted to WebP.
-
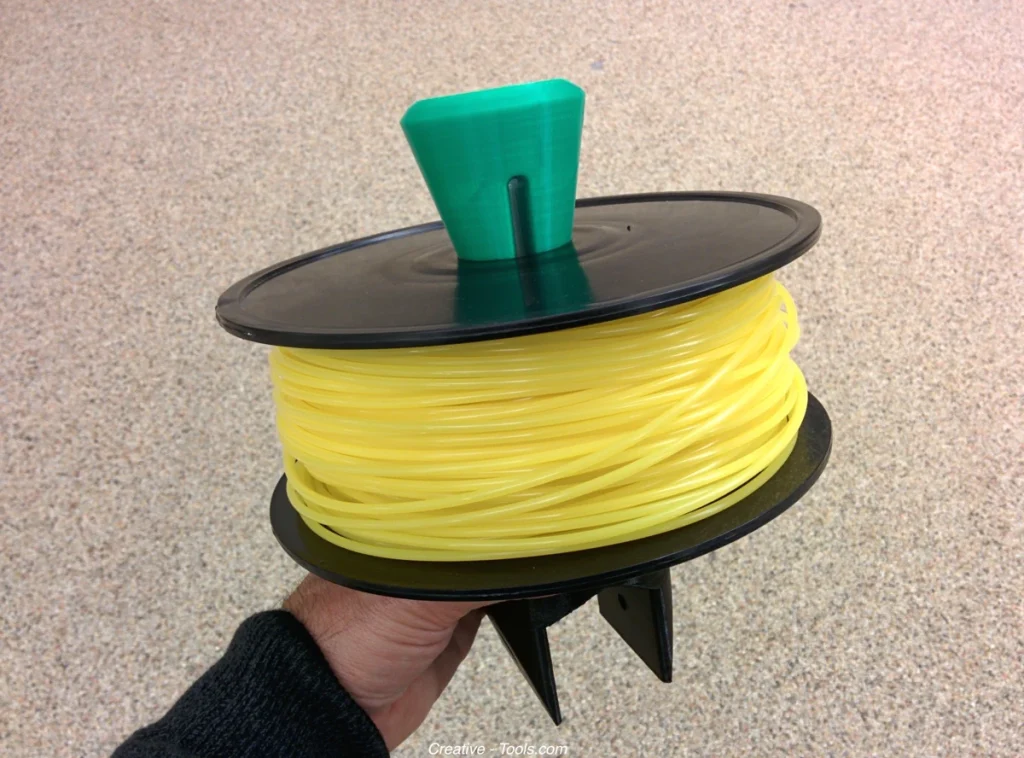
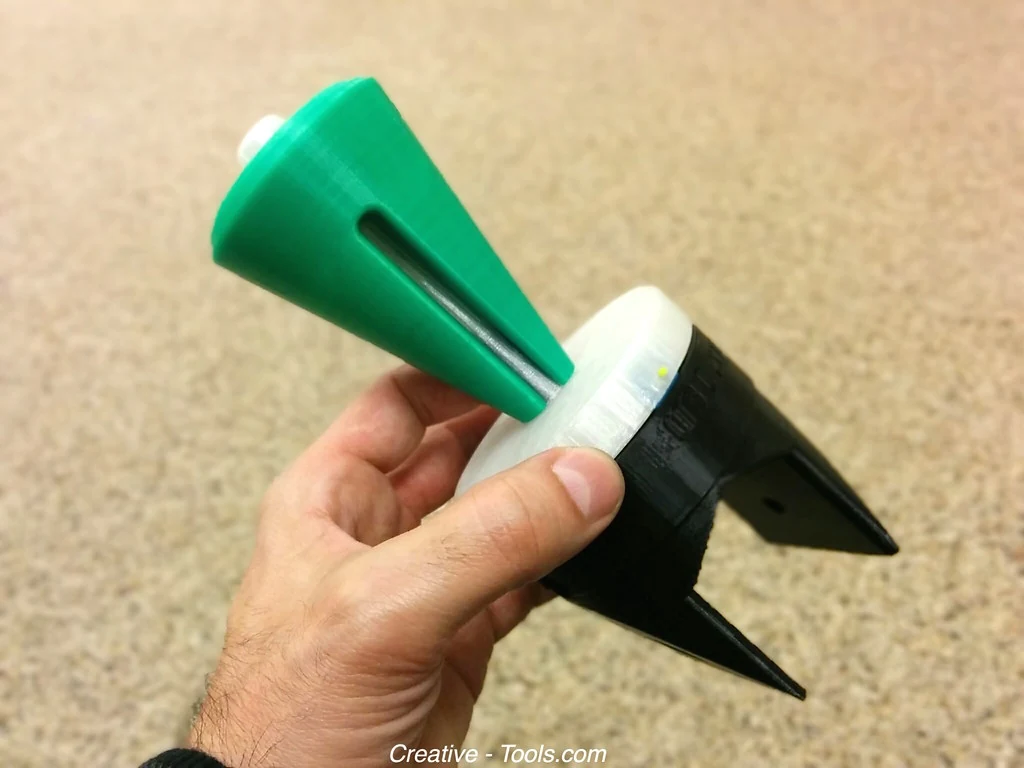
A hand holds a spool on a printed holder with a split locking cone. This general handling example does not show Tough+ or a durability test. View photo
Universal stand-alone filament spool holder (narrow center cone) v01 (16263195741) by Creative Tools, CC BY 2.0. Resized and converted to WebP.
-
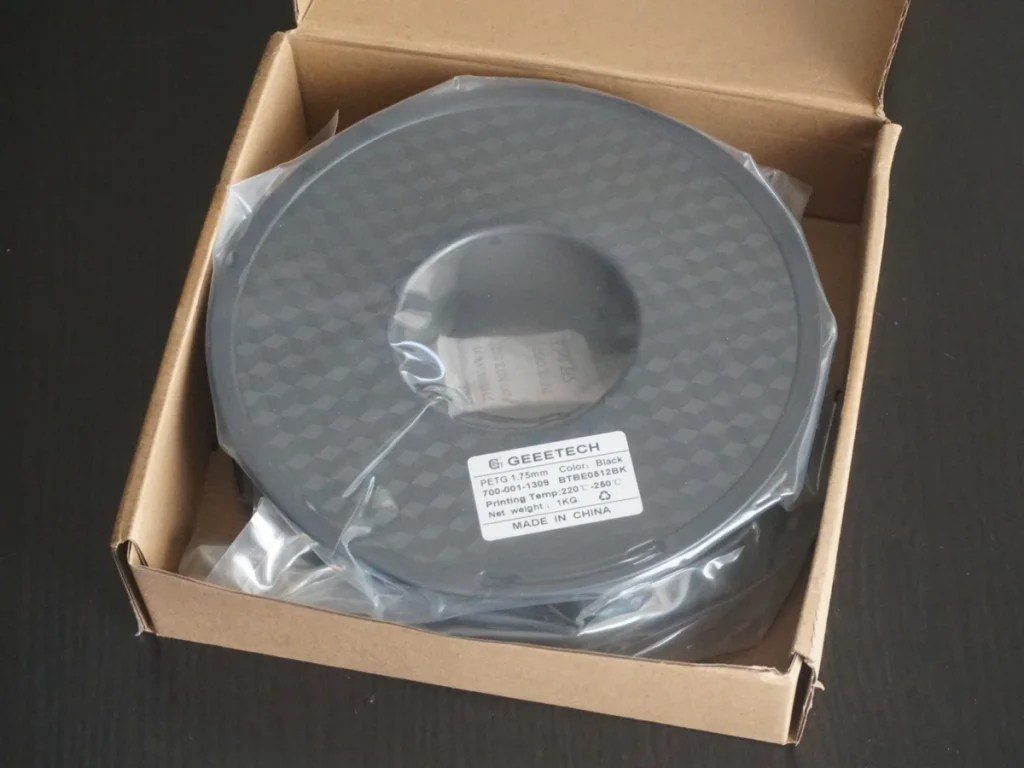
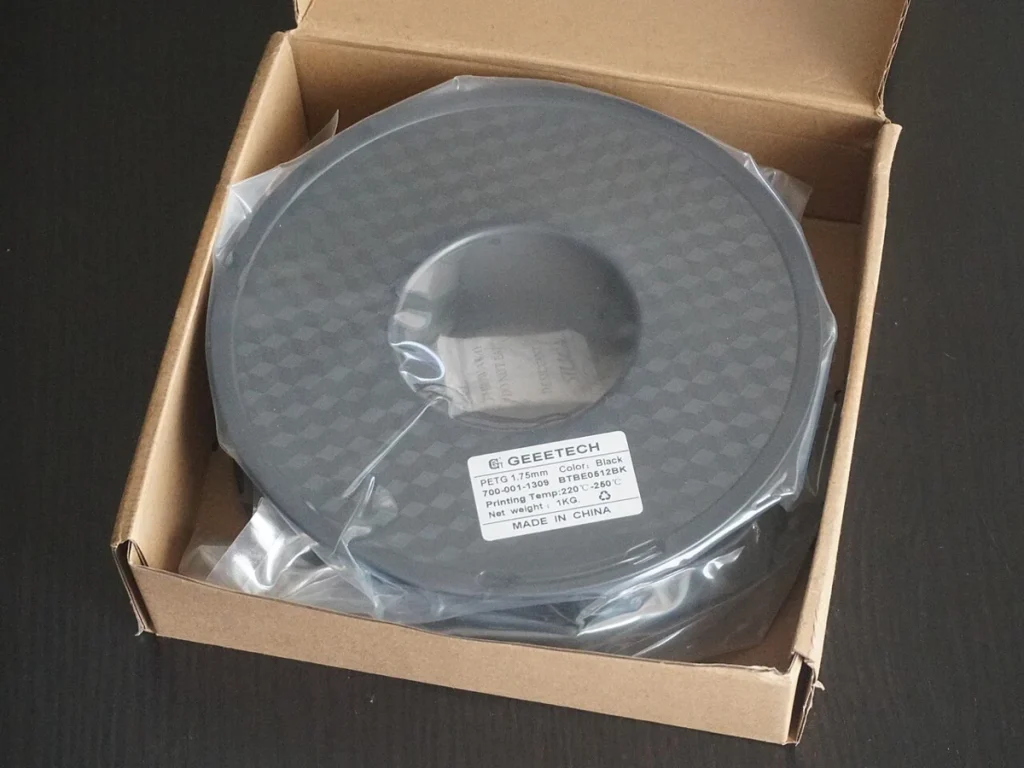
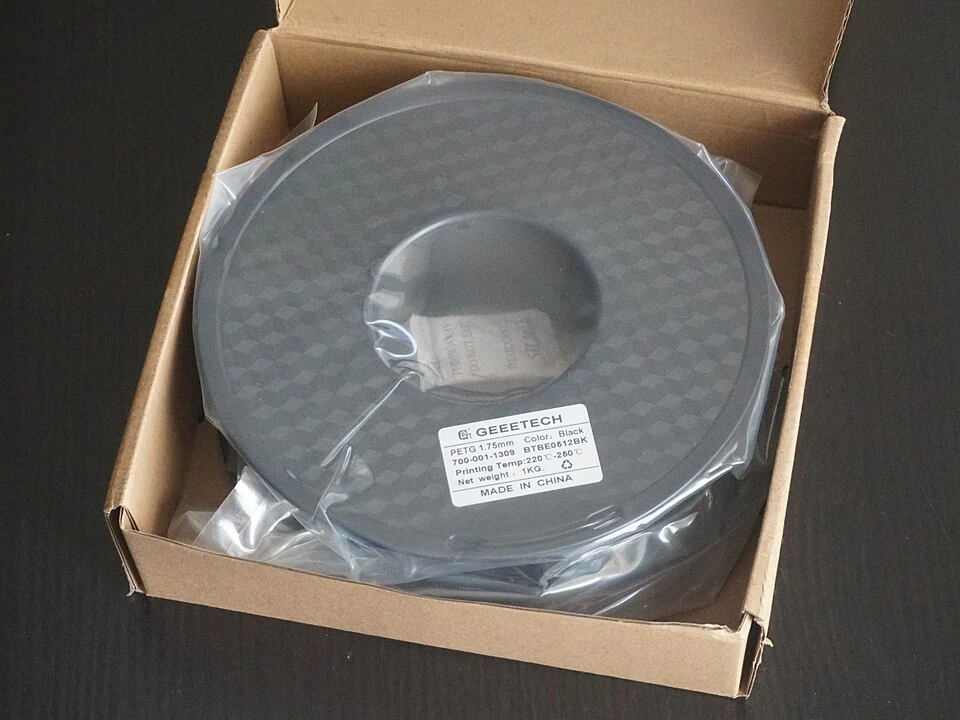
A GEEETECH PETG spool in sealed packaging with desiccant—a general material-handling example. View photo
1 kg petg filament in packaging by Suit, CC BY-SA 4.0. Resized and converted to WebP.



Bambu PETG Basic
-
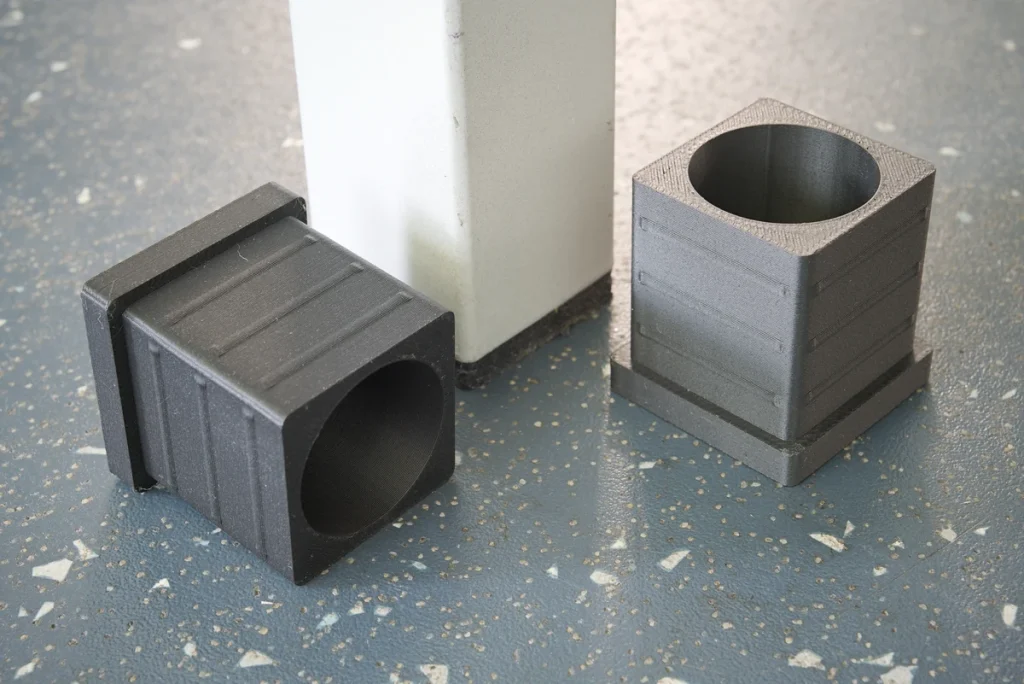
Printed table-leg caps illustrate a household replacement part. The filament grade is unspecified. View photo
Frank Markesteijn, “3D printed table leg tip”, https://commons.wikimedia.org/wiki/File:3D_printed_table_leg_tip.jpg — CC BY-SA 4.0, https://creativecommons.org/licenses/by-sa/4.0/; resized and converted to WebP.
-
A generic filament refill without a spool illustrates why refill and complete-spool purchases need different budgeting. View photo
Suit, “1 kg refill filament”, https://commons.wikimedia.org/wiki/File:1_kg_refill_filament.jpg — CC BY-SA 4.0, https://creativecommons.org/licenses/by-sa/4.0/; resized and converted to WebP.


Bambu PLA Basic
-
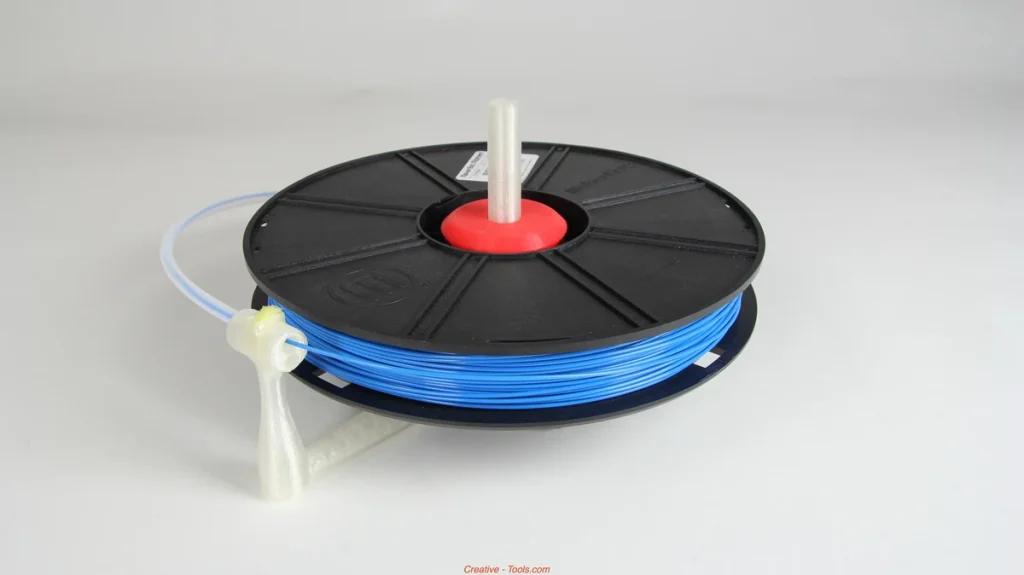
A filament reel on a separate printed spool holder—a general example of external spool feeding. View photo
Universal stand-alone filament spool holder (Fully 3D-printable) v07.jpg — Creative Tools (https://www.flickr.com/photos/33907867@N02/15404715520/), CC BY 2.0 (https://creativecommons.org/licenses/by/2.0/). Resized and converted to WebP.
-
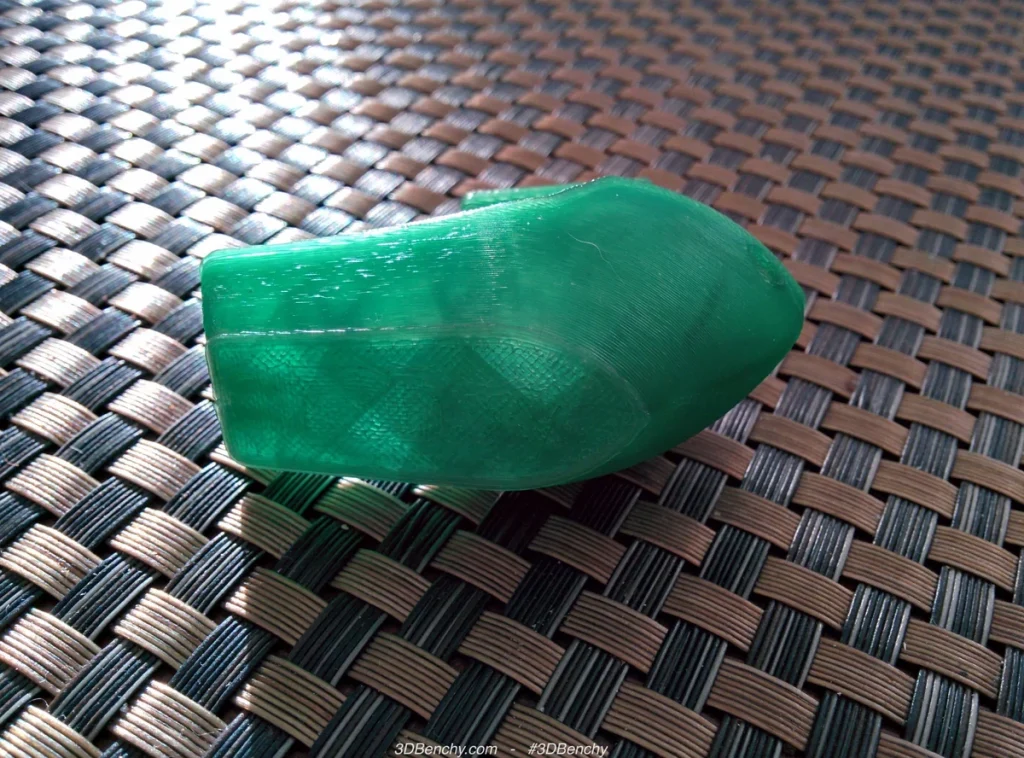
The underside of a translucent green PLA Benchy printed on a Flashforge Dreamer. This is a general PLA example, not a Bambu PLA Basic test sample. View photo
3DBenchy.com - -3DBenchy - Green Translucent PLA v04 (17319452456).jpg — 3DBenchy (https://www.flickr.com/photos/3dbenchy/17319452456/), CC BY 2.0 (https://creativecommons.org/licenses/by/2.0/). Resized and converted to WebP.


Bambu TPU 95A HF
-
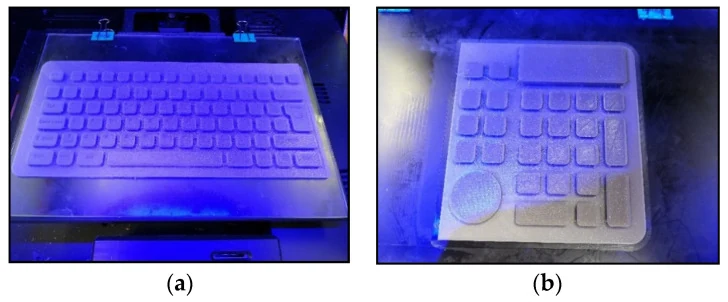
A separate TPU printing example: keyboard sections made with Filaflex 82A on a Creality CR-10 S5 Pro. These are not Bambu TPU 95A HF samples. View photo
Figure 8 from “Influence of 3D-Printed TPU Properties for the Design of Elastic Products” — Lucía Rodríguez-Parada, Sergio de la Rosa and Pedro F. Mayuet (2021), https://pmc.ncbi.nlm.nih.gov/articles/PMC8347708/ . CC BY 4.0: https://creativecommons.org/licenses/by/4.0/ . Converted to WebP; content unchanged.
-
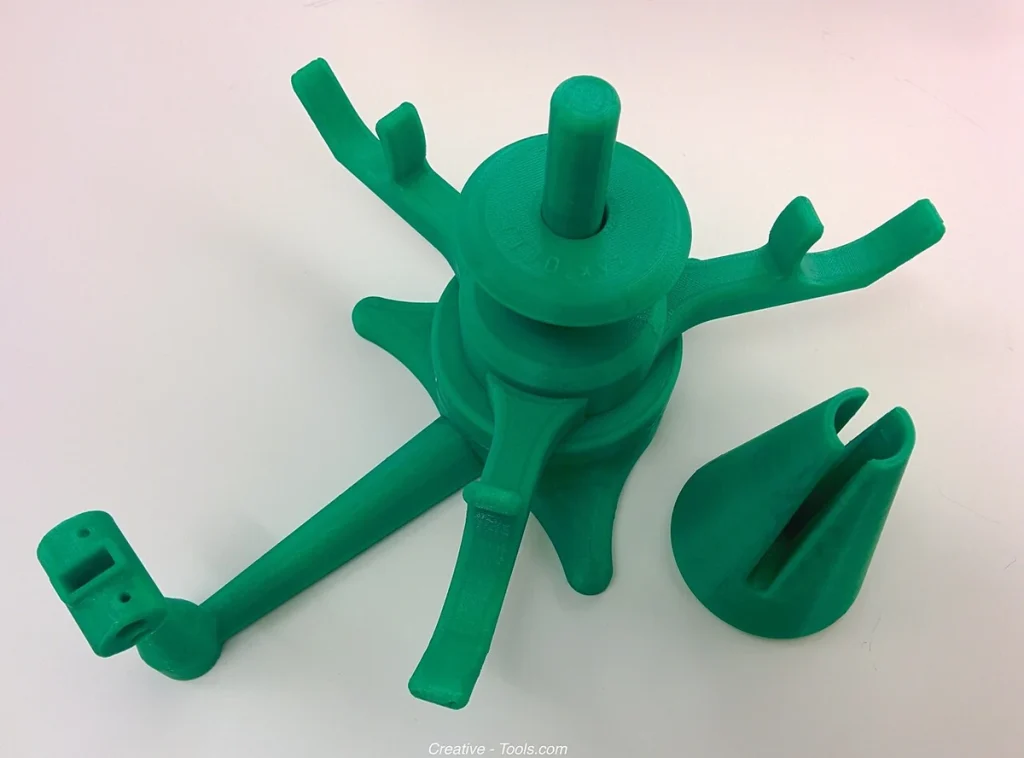
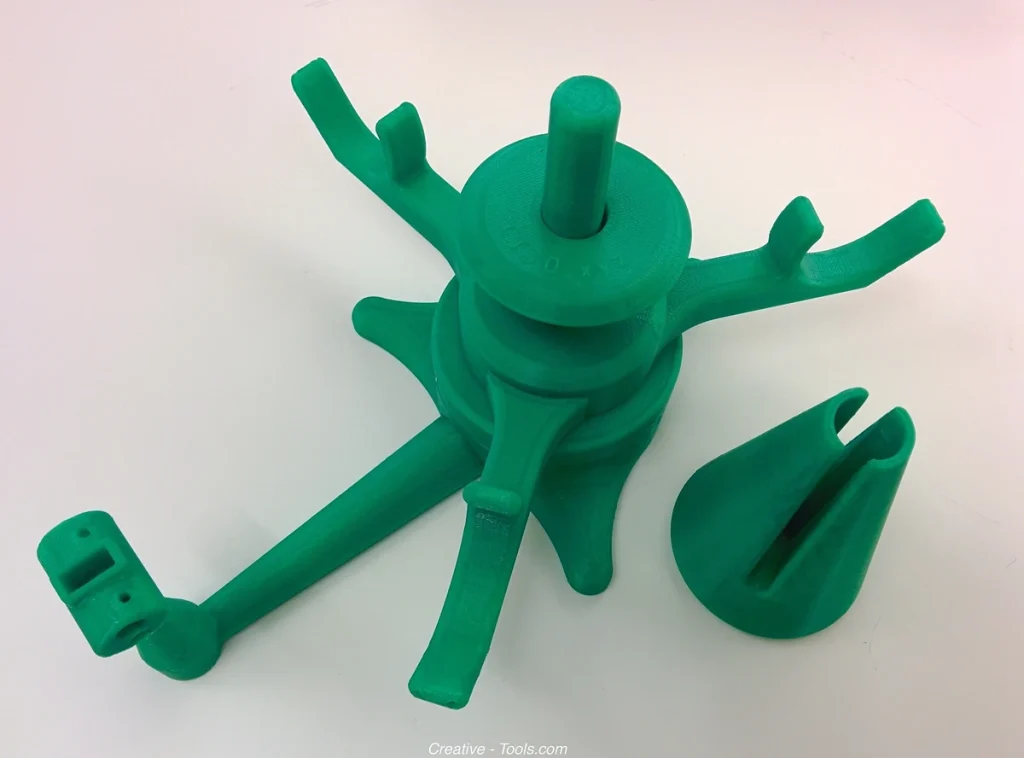
A freestanding filament spool holder and guide parts. Checking that the spool turns freely is part of troubleshooting a soft-filament feed path. View photo
“Universal stand-alone filament spool holder (complete)” — Creative Tools, https://www.flickr.com/photos/creative_tools/16077681960/ . CC BY 2.0: https://creativecommons.org/licenses/by/2.0/ . Resized and converted to WebP; original mark retained.
Best 3D Printer For Cosplay
-
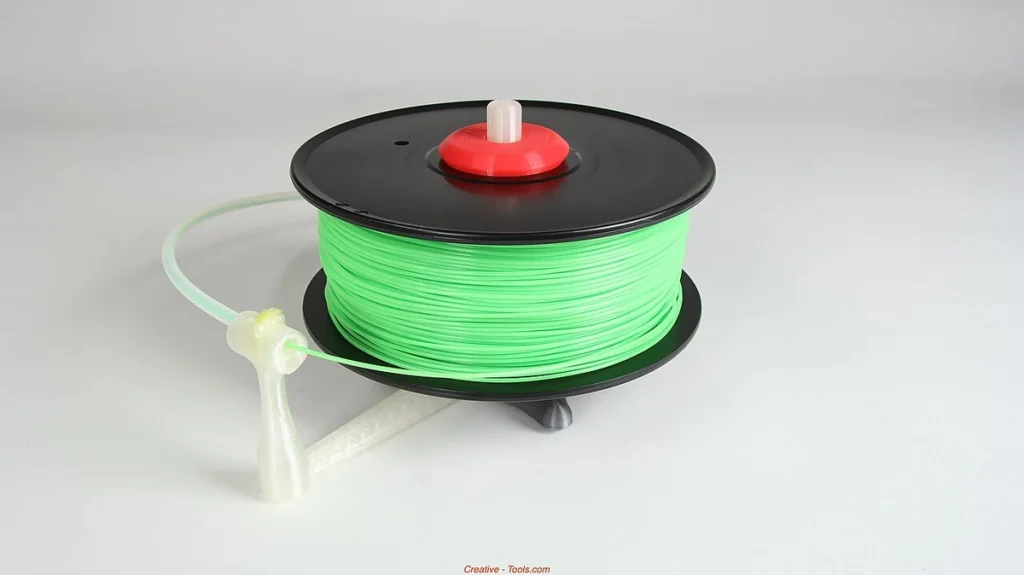
A filament spool on a separate printed holder with a guide tube: a general filament-handling example. View photo
Universal stand-alone filament spool holder (Fully 3D-printable) v01.jpg — Creative Tools, CC BY 2.0. Resized and converted to WebP.
-
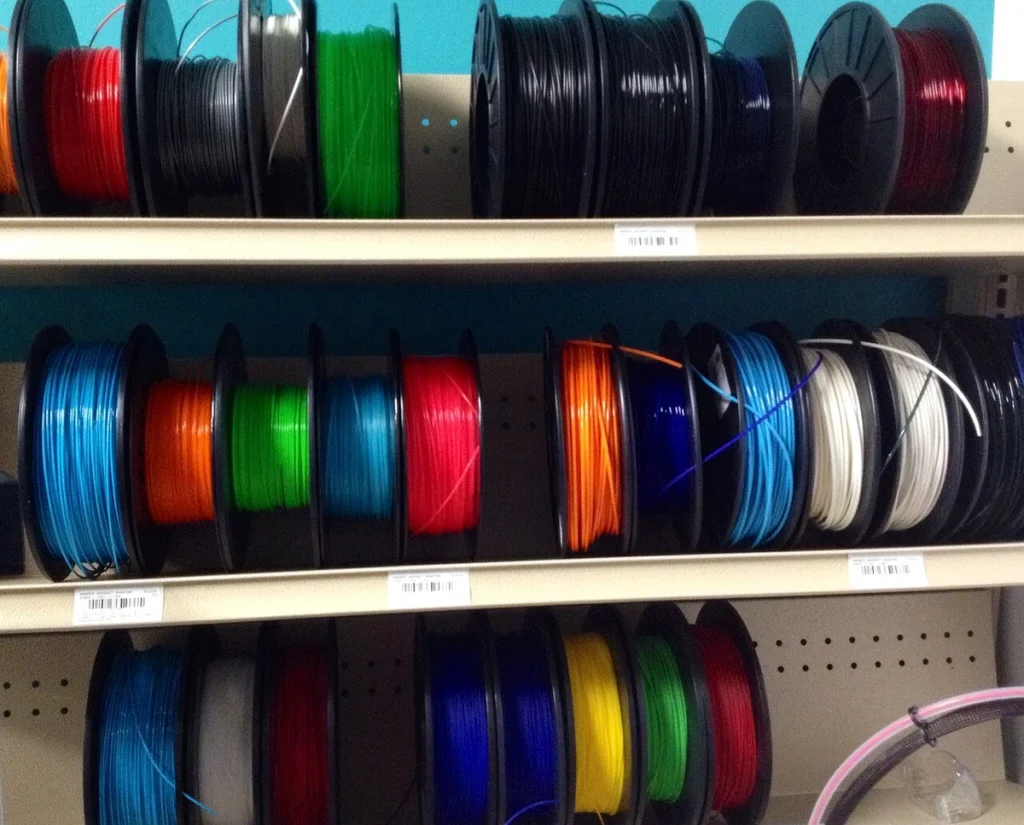
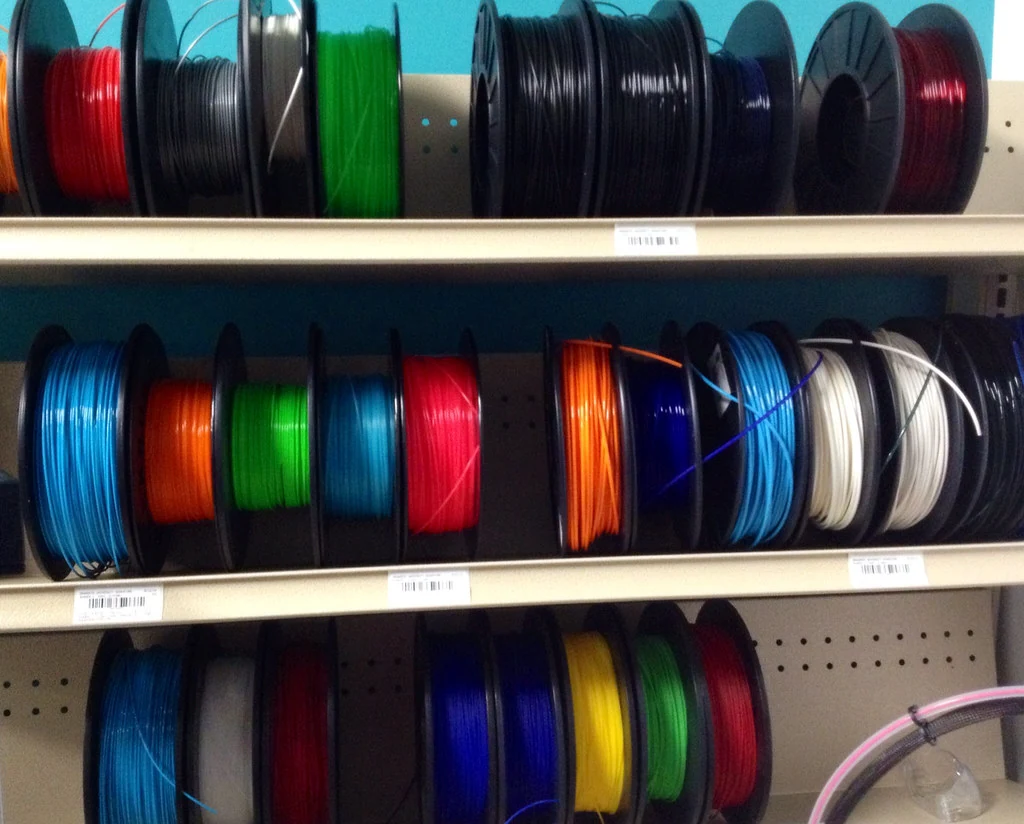
Filament spools on open shelves at Brandeis Maker Lab; this is general storage, not a sealed dry-feeding setup. View photo
3D printing filament.jpg — westonhighschool library, CC BY-SA 2.0. Resized and converted to WebP.
-
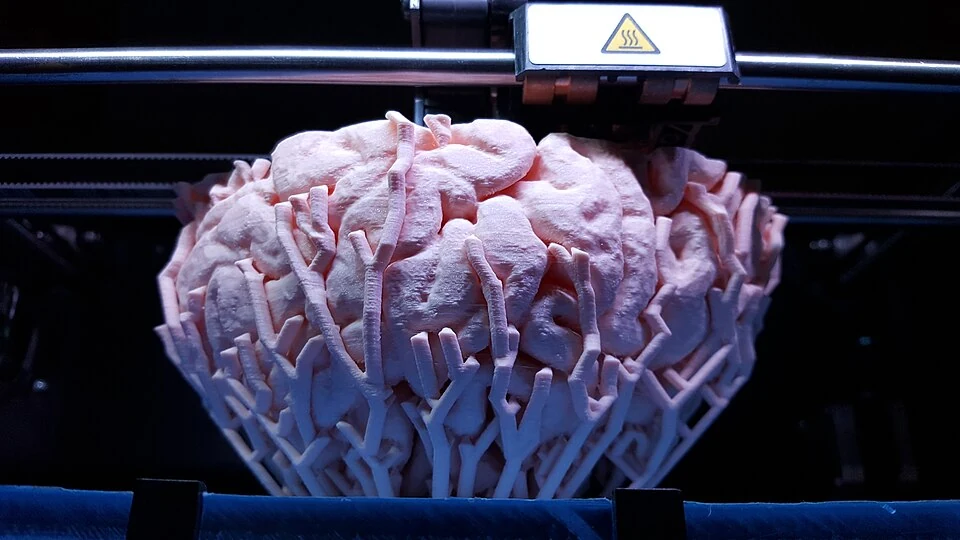
A brain model with branching printed supports illustrates the extra structures surrounding a print. View photo
3D printing brain with support.jpg — Nevit, CC BY-SA 3.0. Resized and converted to WebP.
-
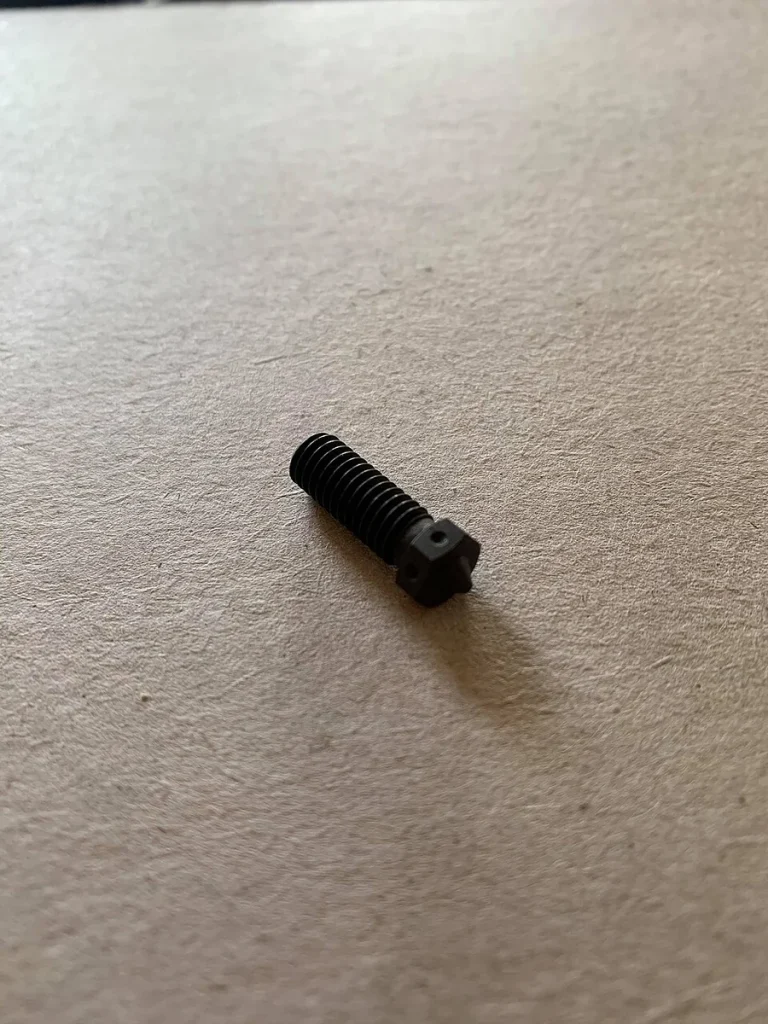
A loose threaded 3D-printer nozzle. Check the exact nozzle required by your printer and filled filament. View photo
Hardened Steel 3D Printing Nozzle.jpg — MUNGOUNDANG, CC BY-SA 4.0. Resized and converted to WebP.
_v01.jpg)



Best 3D Printer For Robotics
-
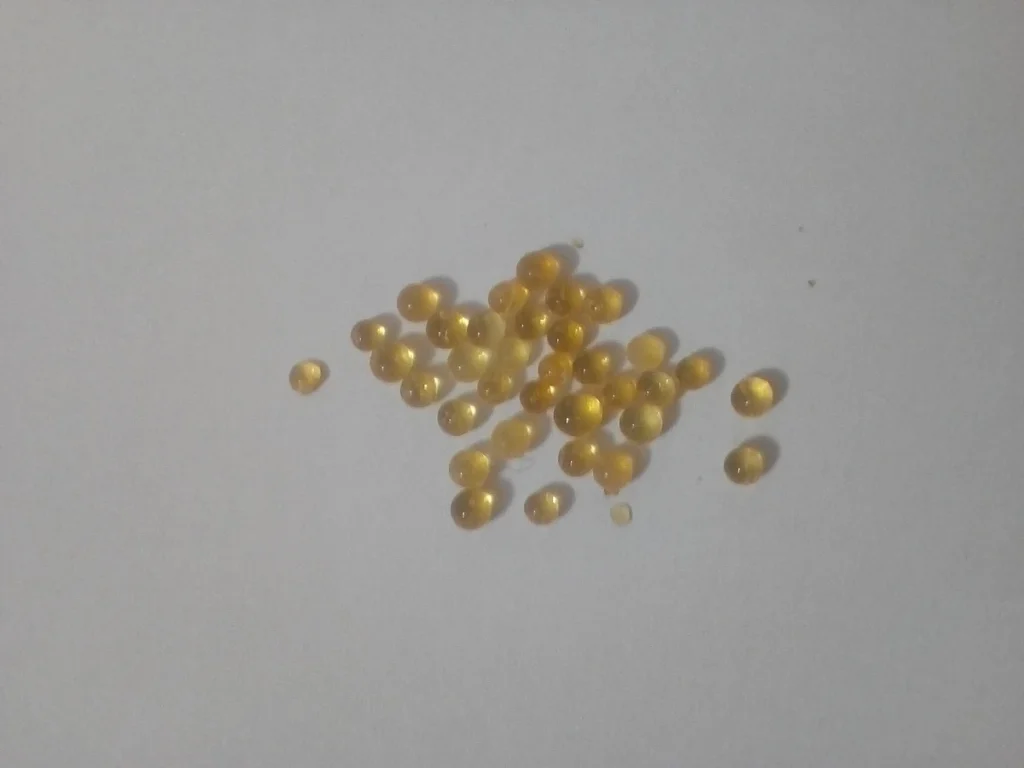
Silica gel beads, shown here loose, provide context for desiccant storage; storage does not replace the filament’s required drying cycle. View photo
Silica gel (2) — Sheek, CC BY-SA 4.0 (https://creativecommons.org/licenses/by-sa/4.0/). Resized and converted to WebP.
-
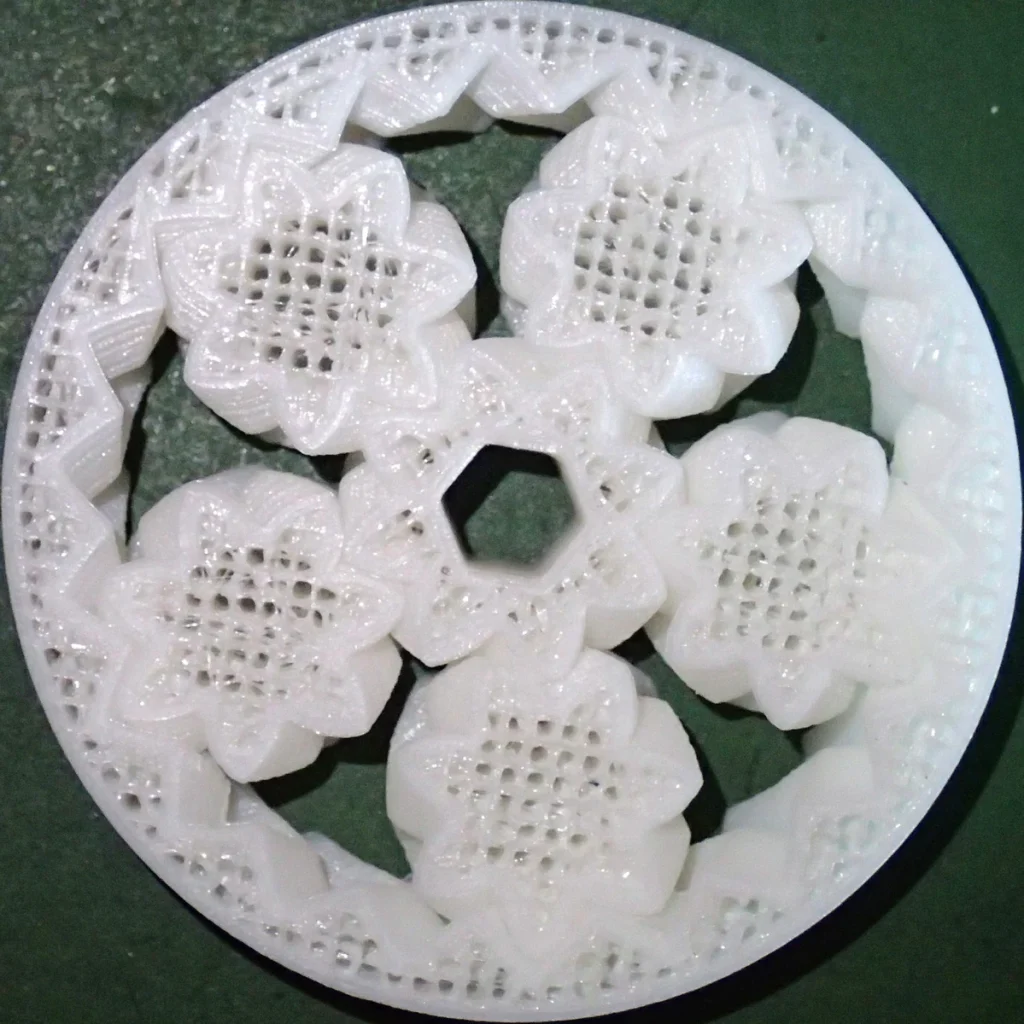
A general printed mechanism example: helical planetary gears inside a toothed ring. View photo
Helical planetary gear — Robbie Sproule, CC BY 2.0 (https://creativecommons.org/licenses/by/2.0/). Resized and converted to WebP.
-
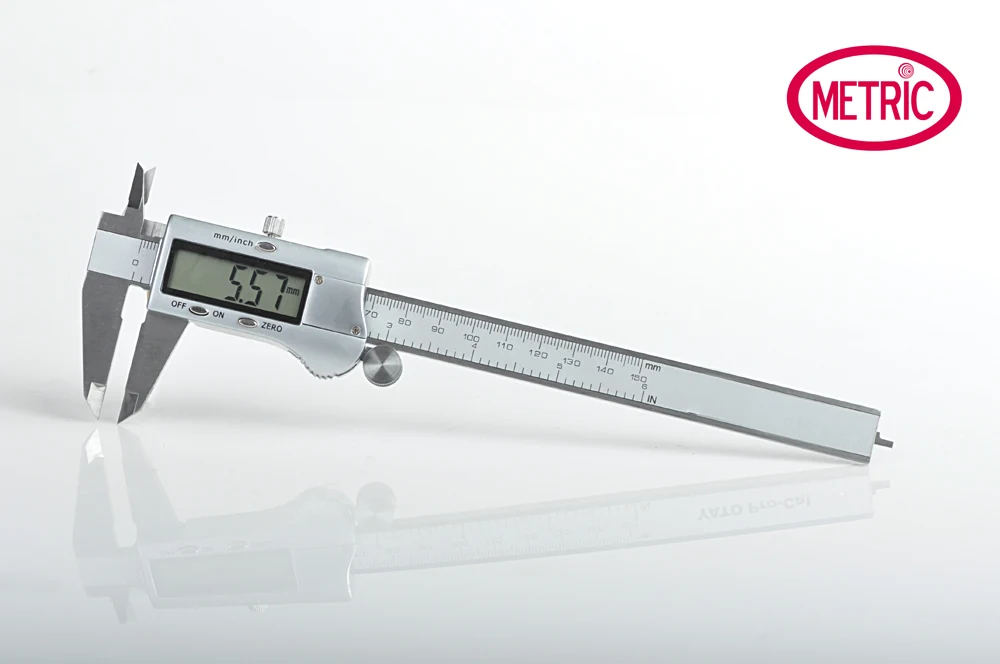
A digital caliper is one of the measuring tools to budget for when checking robot parts. View photo
Digital caliper — Lior Streng, CC BY-SA 4.0 (https://creativecommons.org/licenses/by-sa/4.0/). Converted to WebP.



Best 3D Printers For Prototyping
-
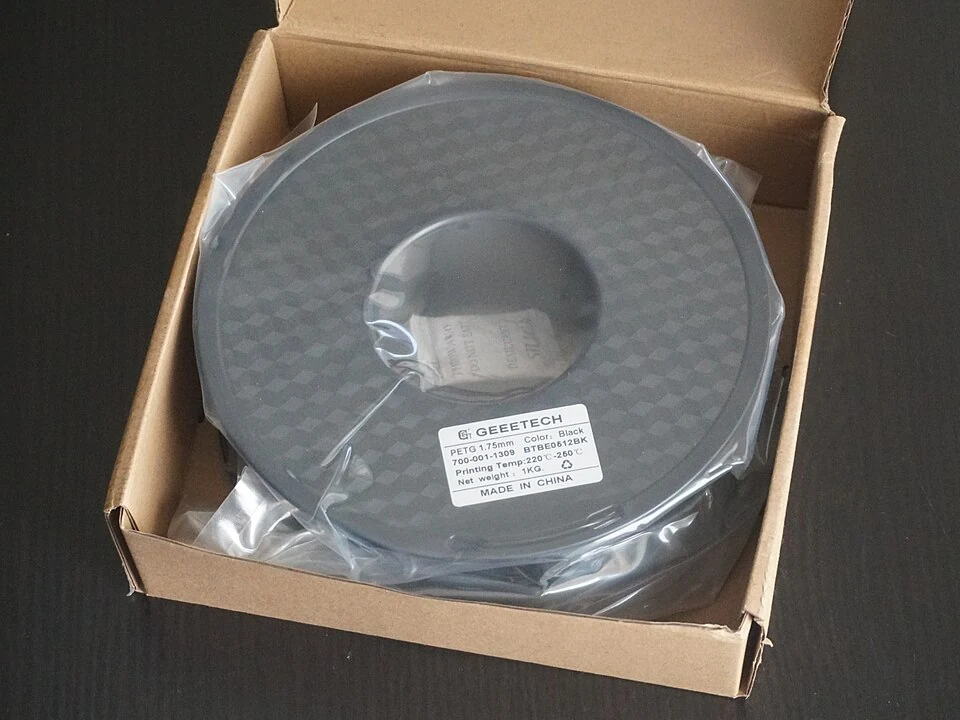
A PETG spool in sealed packaging with a desiccant packet; this is a storage example, not a drying setup. View photo
Suit, CC BY-SA 4.0. Converted to WebP.
-
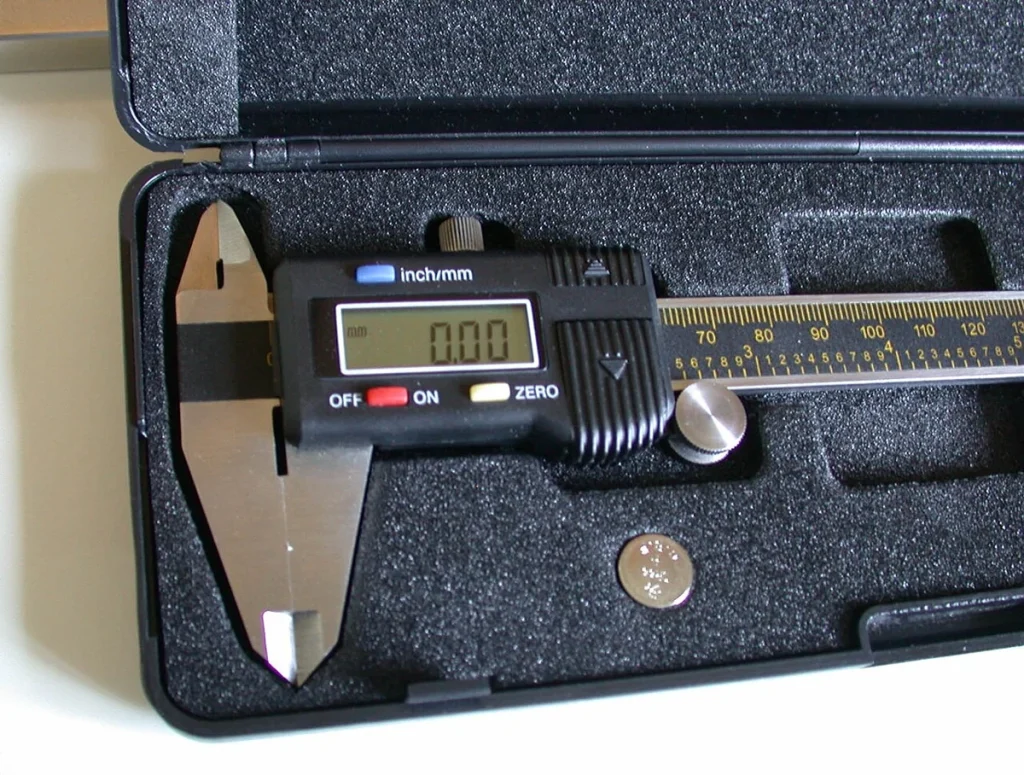
Digital calipers in their case, ready for checking part dimensions. View photo
Dvortygirl, CC BY-SA 3.0. Resized and converted to WebP.

Best Carbon Fiber Filament
-
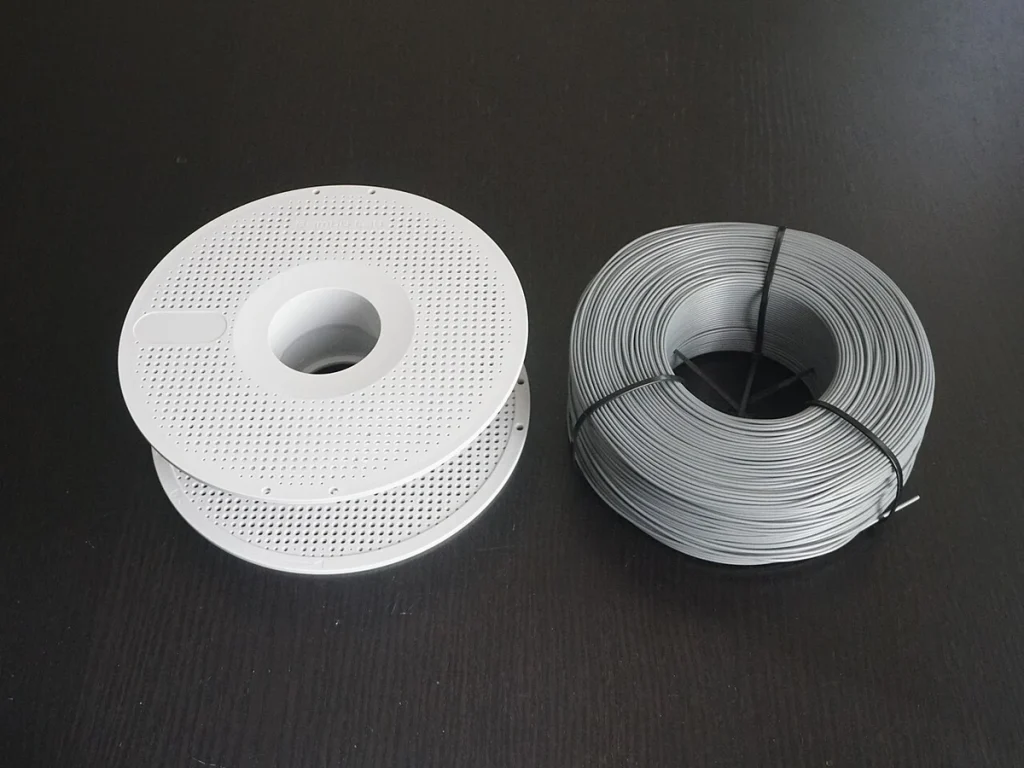
An empty Bambu reusable spool beside a tied filament refill. The refill’s material grade is unspecified. View photo
Suit / Wikimedia Commons — CC BY-SA 4.0 (https://creativecommons.org/licenses/by-sa/4.0/). https://commons.wikimedia.org/wiki/File:Filament_Refill_(Bambu_Lab)_Step_1.jpg — resized and converted to WebP.
-
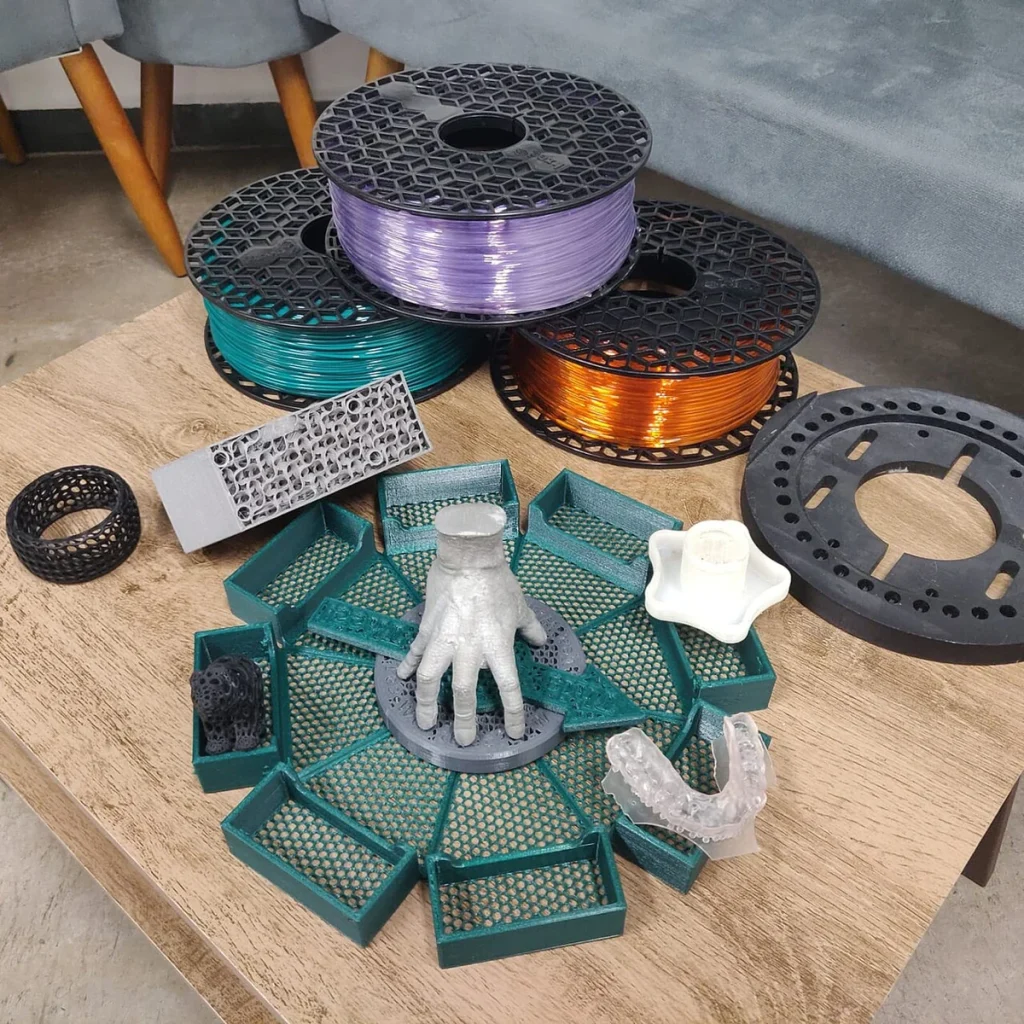
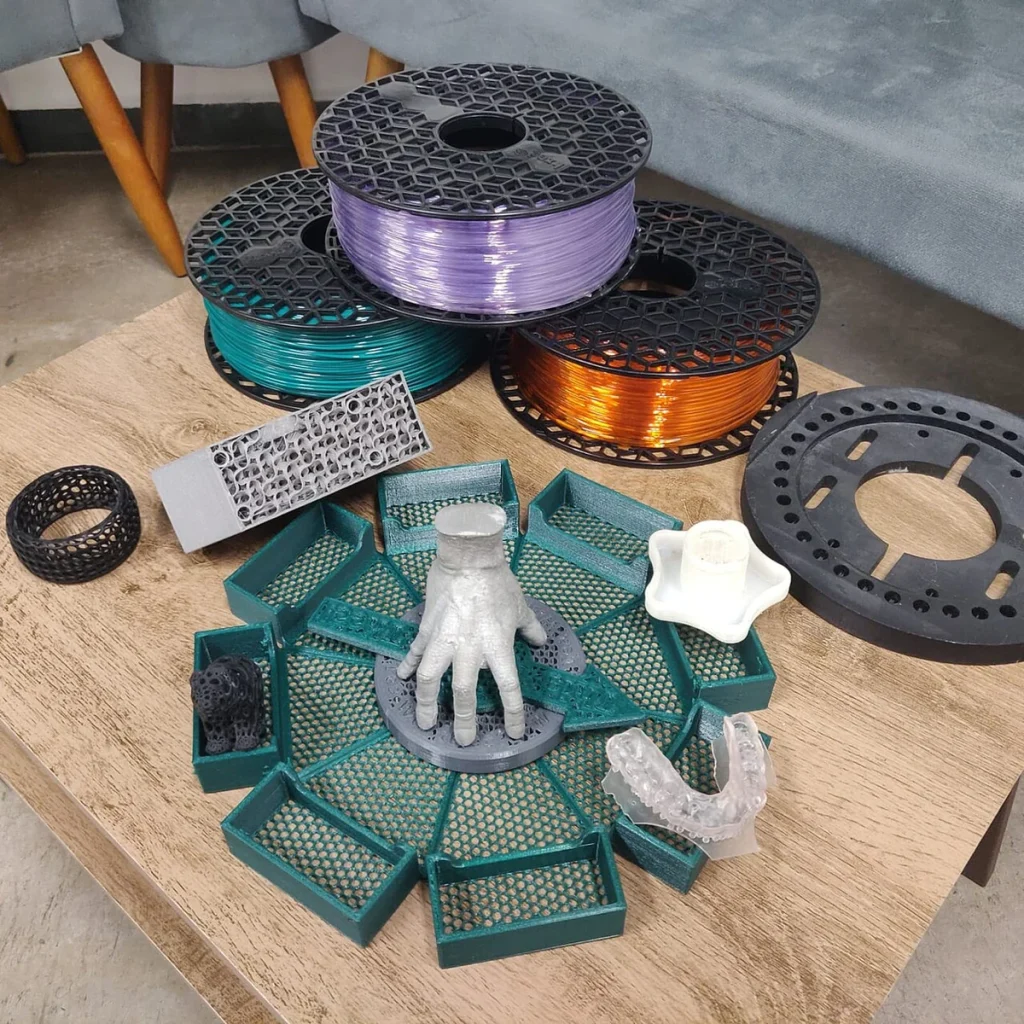
Filament spools and assorted printed objects; the materials used for these examples are not identified. View photo
Vitor.Ger / Wikimedia Commons — CC BY-SA 4.0 (https://creativecommons.org/licenses/by-sa/4.0/). https://commons.wikimedia.org/wiki/File:3DPrinted_Objects.jpg — resized and converted to WebP.
_Step_1.jpg)

Best Engineering Filament
-
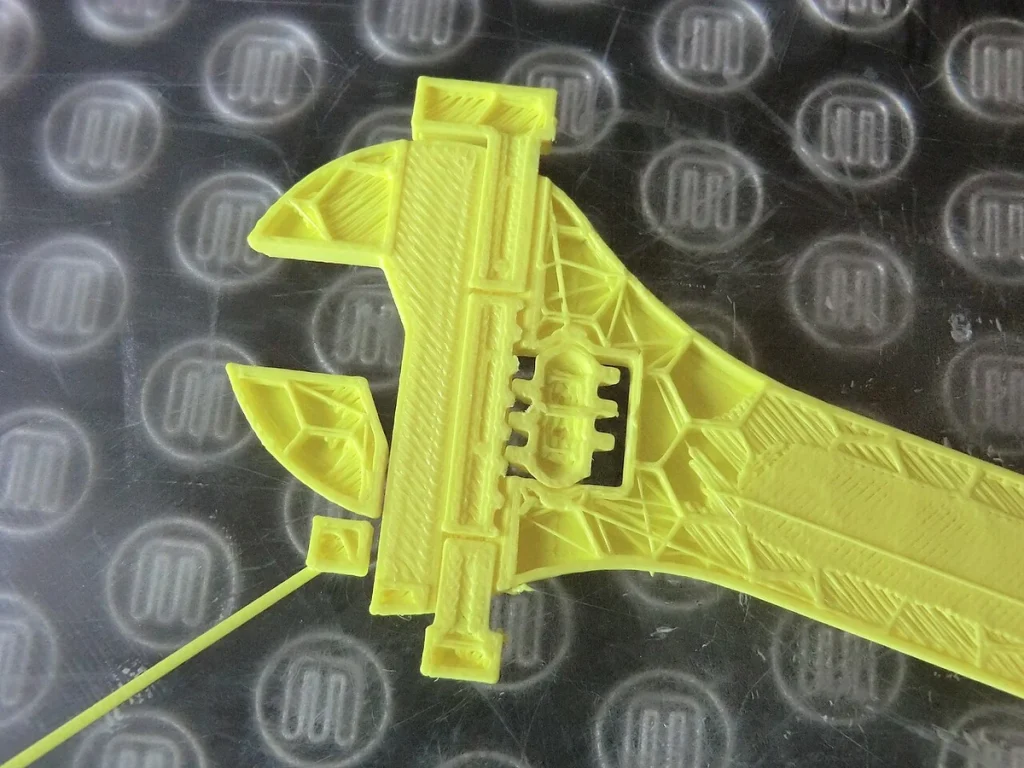
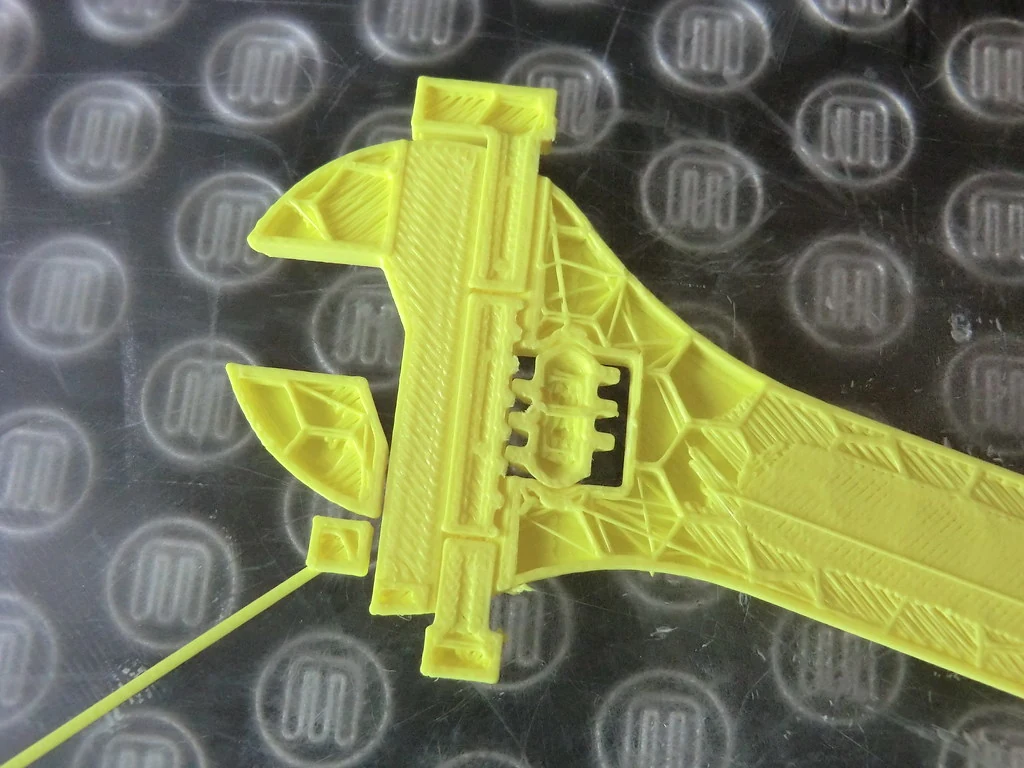
A paused adjustable-wrench print exposes the walls, infill and adjustment mechanism. View photo
“Fully assembled 3D printable wrench” by Creative Tools — CC BY 2.0 (https://creativecommons.org/licenses/by/2.0/); https://commons.wikimedia.org/wiki/File:Fully_assembled_3D_printable_wrench.jpg. Resized and converted to WebP.
-
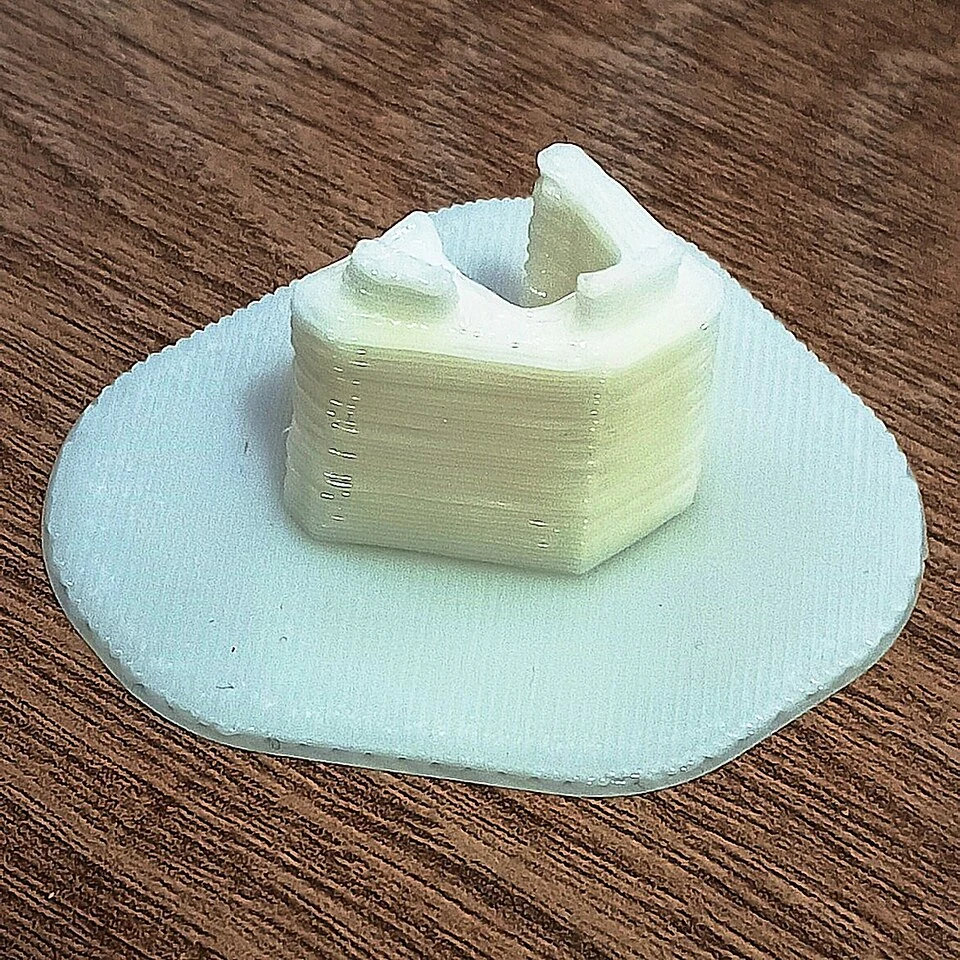
A printed part with its raft still attached, shown as a general bed-adhesion example. View photo
“Stampa 3d raft” by A7N8X — CC BY-SA 4.0 (https://creativecommons.org/licenses/by-sa/4.0/); https://commons.wikimedia.org/wiki/File:Stampa_3d_raft.jpg. Resized and converted to WebP.
-
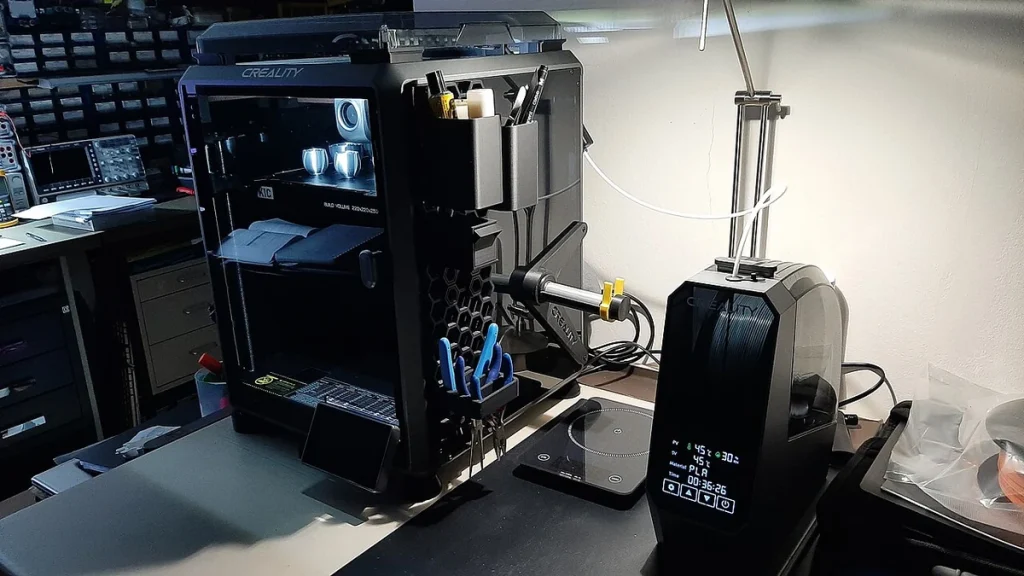
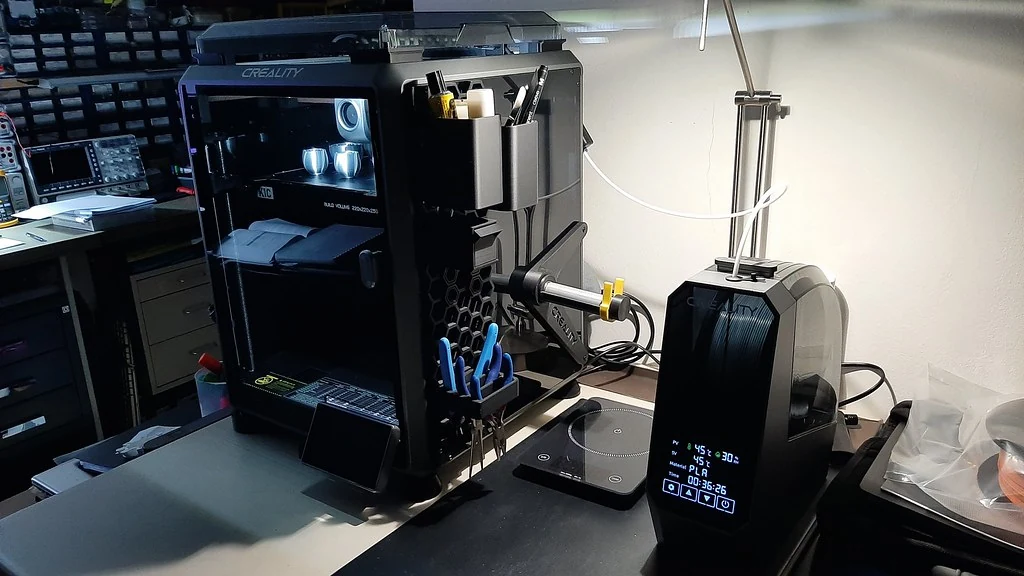
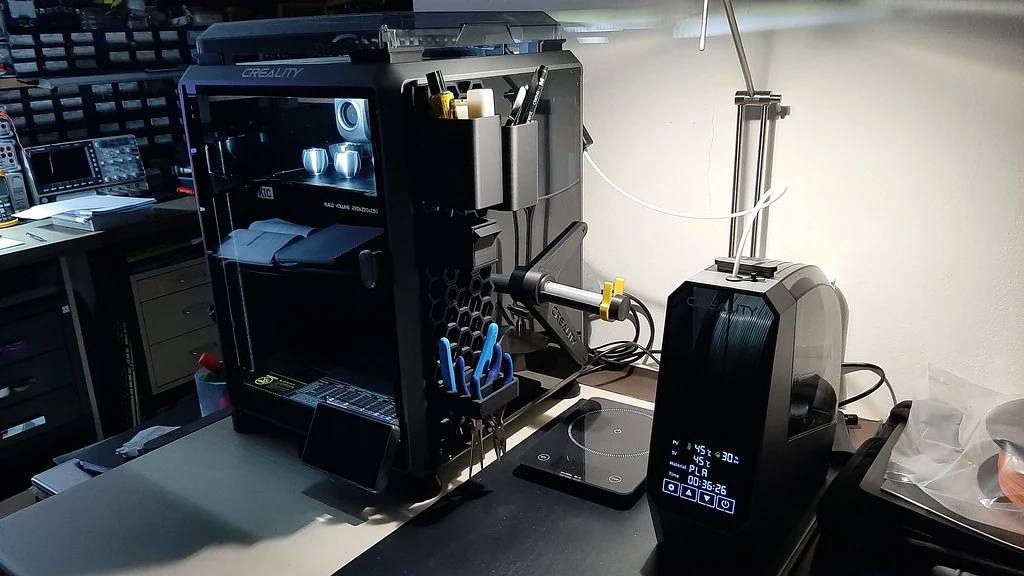
A filament dry box beside a Creality K1C, with PLA selected on the display. View photo
“Creality dry-box” by Mortymore — CC BY 2.0 (https://creativecommons.org/licenses/by/2.0/); https://commons.wikimedia.org/wiki/File:Creality_dry-box.jpg. Resized and converted to WebP.
-
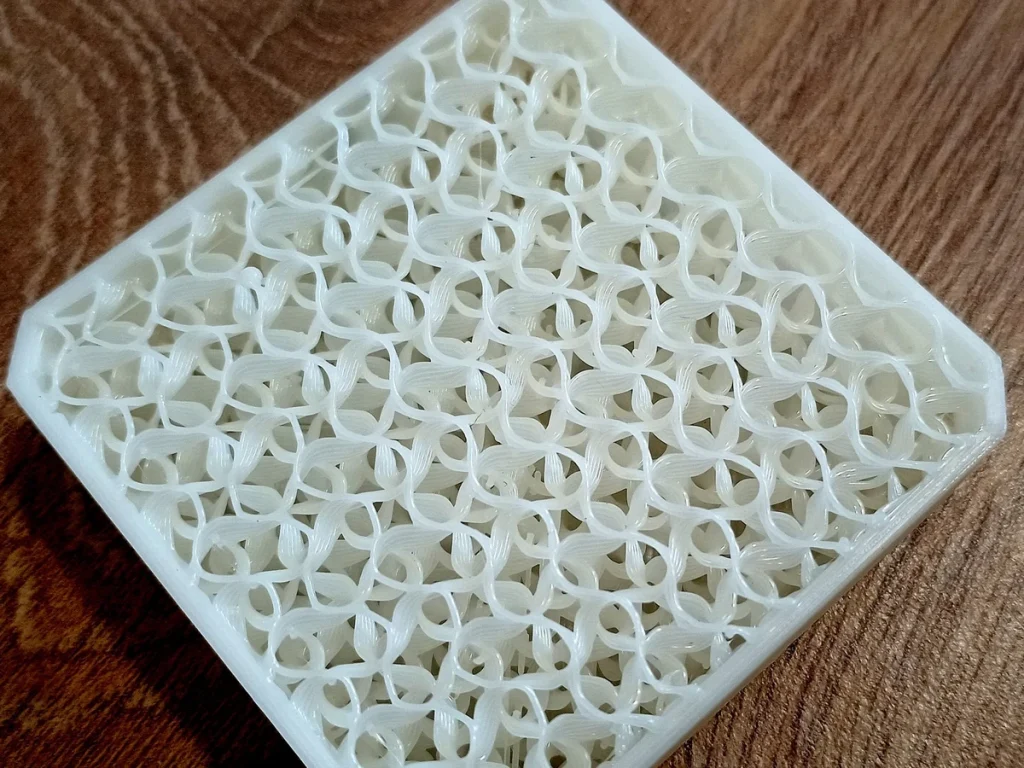
Exposed gyroid infill inside a printed shell. View photo
“Gyroid” by A7N8X — CC BY-SA 4.0 (https://creativecommons.org/licenses/by-sa/4.0/); https://commons.wikimedia.org/wiki/File:Gyroid.jpg. Resized and converted to WebP.




Best Fast 3D Printer
-
A general project example: a screw-top container among other small 3D prints. View photo
“Screwable Box (5887976037)” by syvwlch. CC BY 2.0: https://creativecommons.org/licenses/by/2.0. Original: https://www.flickr.com/photos/27164521@N00/5887976037/. Resized and converted to WebP.
-
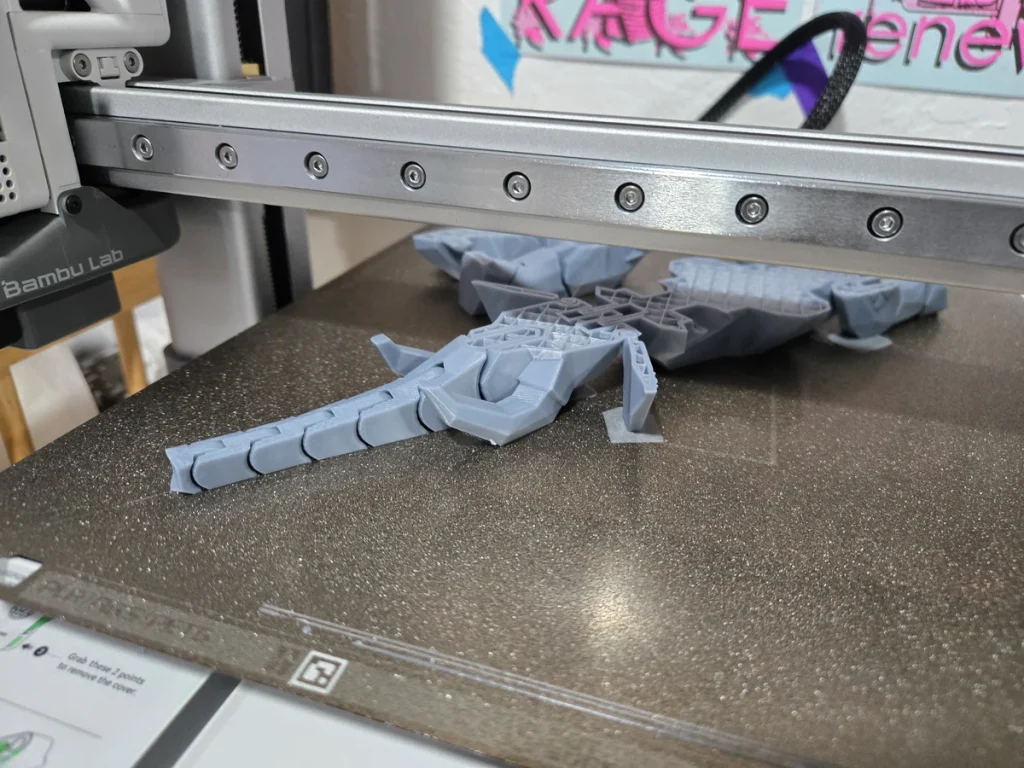
An articulated elephant takes shape on an A1 build plate, with its internal infill still visible. View photo
“Building up an elephant” by Quinn Daedal. CC BY-SA 4.0: https://creativecommons.org/licenses/by-sa/4.0. Original: https://www.flickr.com/photos/quinnanya/55137245761/. Resized and converted to WebP.
-
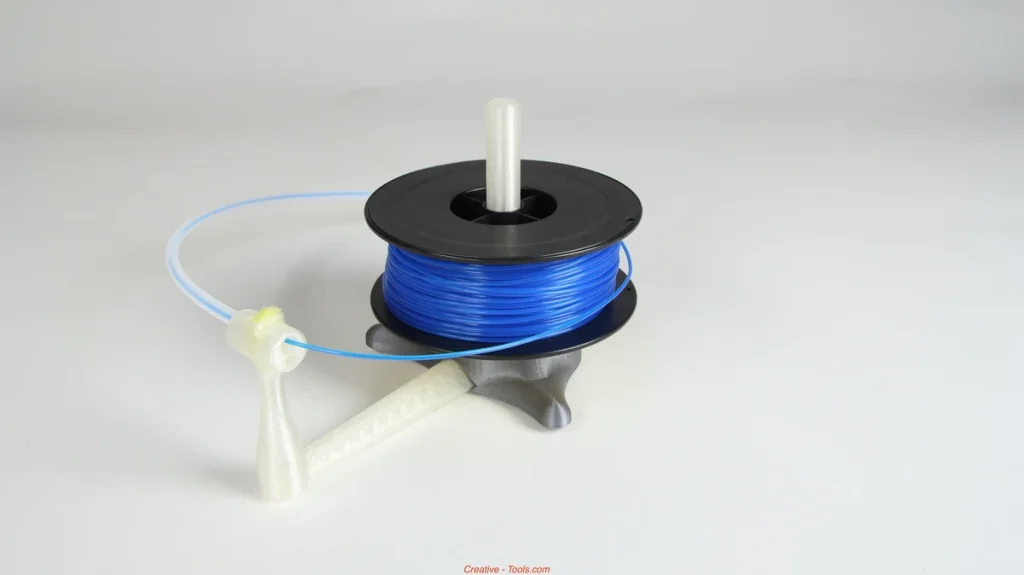
A standalone printed spool holder with a guide tube—a general filament-handling example. View photo
“Universal stand-alone filament spool holder (Fully 3D-printable) v04” by Creative Tools. CC BY 2.0: https://creativecommons.org/licenses/by/2.0. Original: https://www.flickr.com/photos/33907867@N02/15591161602/. Resized and converted to WebP.
-
A blue part during filament printing, with its internal infill visible beneath the nozzle. View photo
“3D printer at 35c3 01” by Leonhard Lenz. CC BY-SA 4.0: https://creativecommons.org/licenses/by-sa/4.0. Original: https://commons.wikimedia.org/wiki/File:3D_printer_at_35c3_01.jpg. Resized and converted to WebP.
-
An Elegoo Mars resin printer with its build platform visible above the vat. View photo
“Elegoo mars” by Tampere Hacklab. CC BY 2.0: https://creativecommons.org/licenses/by/2.0. Original: https://www.flickr.com/photos/tamperehacklab/52006277090/. Resized and converted to WebP.
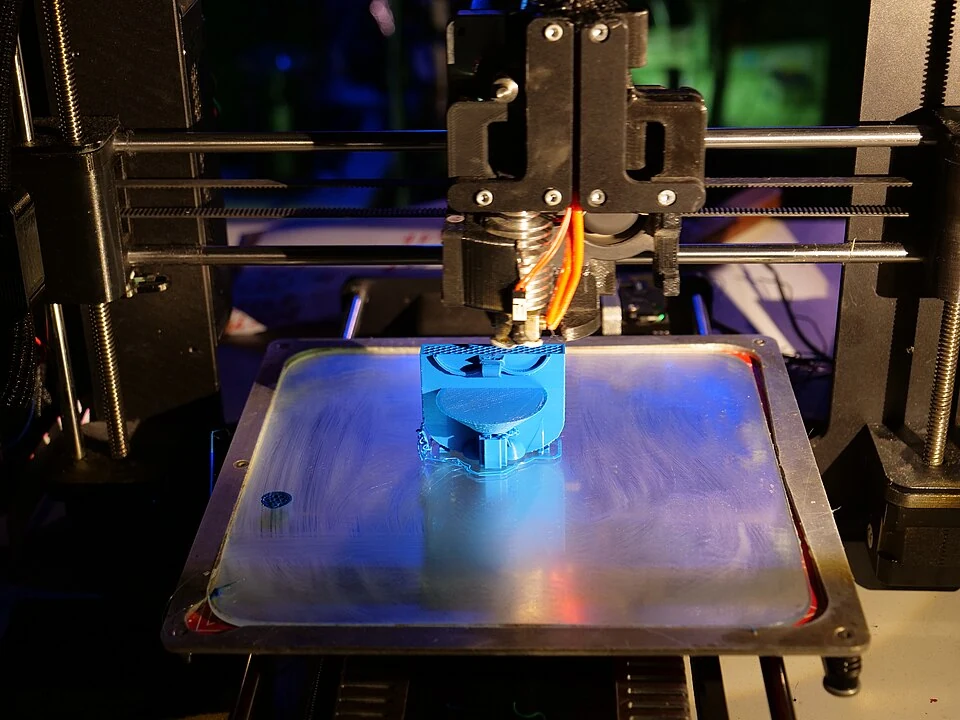

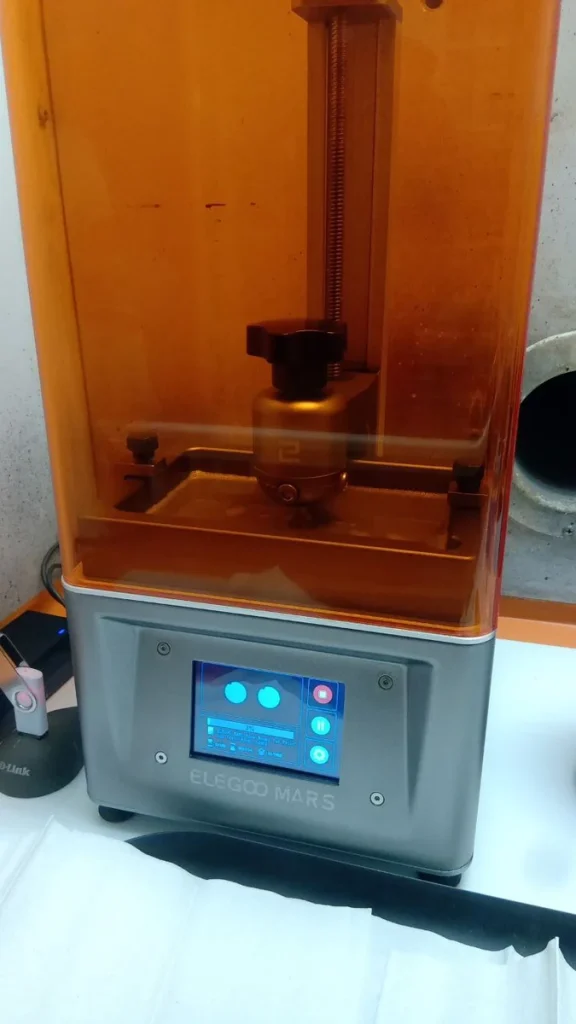
Best Filament For Beginners
-
Filament spools in several colors on display; the specific material grades are not identified. View photo
3D Printing Materials — Maurizio Pesce. https://www.flickr.com/photos/30364433@N05/16837486456/ CC BY 2.0 (https://creativecommons.org/licenses/by/2.0/); resized and converted to WebP.
-
A reel mounted on a separate spool holder, with filament routed through a guide arm. View photo
Universal stand-alone filament spool holder (Fully 3D-printable) v03 — Creative Tools. https://www.flickr.com/photos/33907867@N02/15587658111/ CC BY 2.0 (https://creativecommons.org/licenses/by/2.0/); resized and converted to WebP.
-
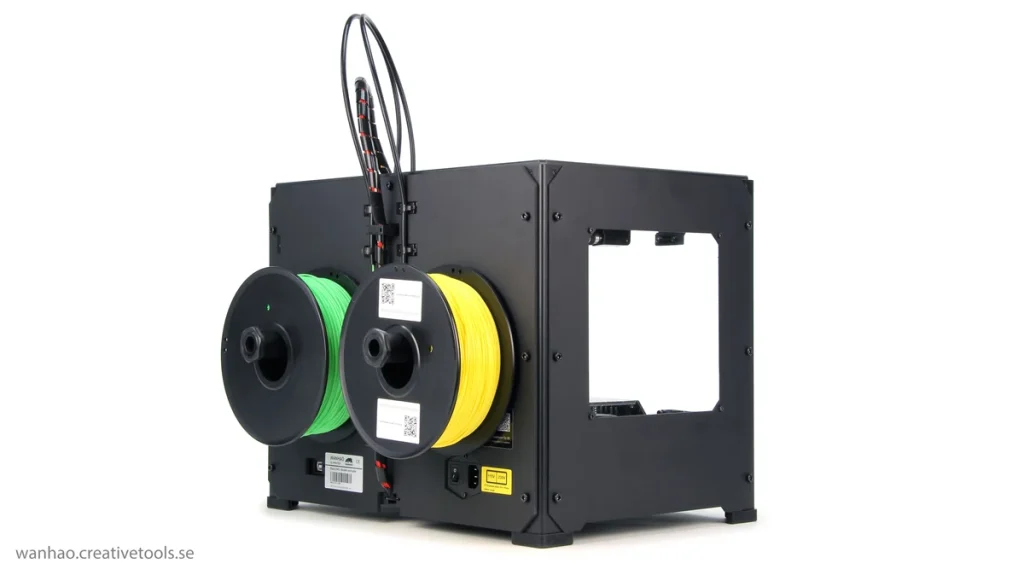
Green and yellow filament spools feed a Wanhao Duplicator 4S through tubes above the frame. View photo
WanHao Duplicator4S Bild04 5184x2912 — Creative Tools. https://www.flickr.com/photos/creative_tools/15843481335/ CC BY 2.0 (https://creativecommons.org/licenses/by/2.0/); resized and converted to WebP.
-
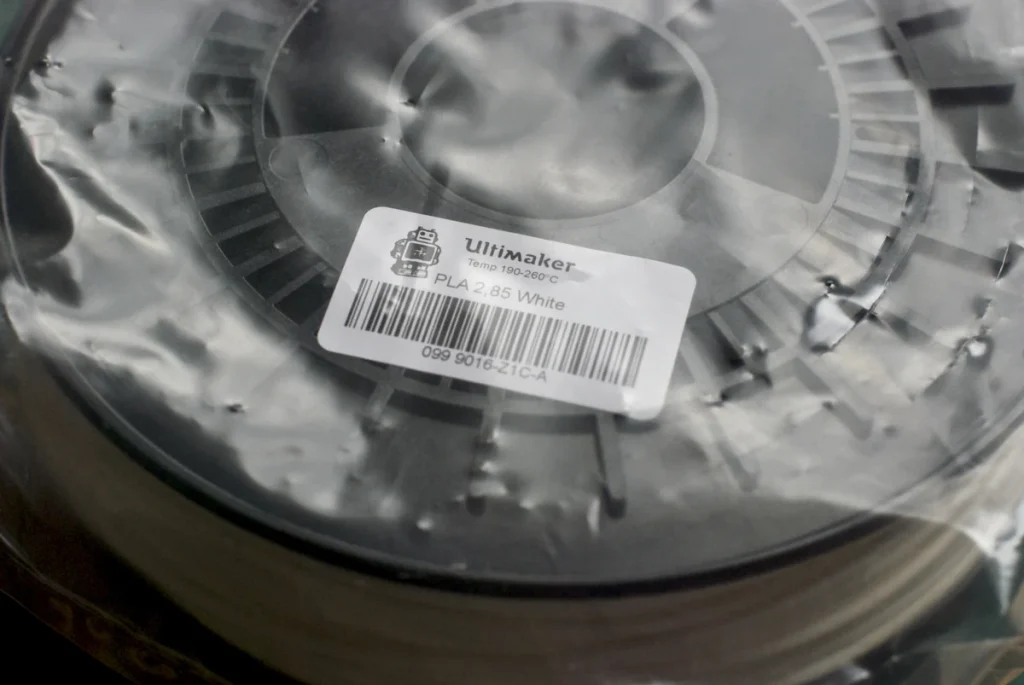
A packaged spool labeled Ultimaker PLA 2.85 White. Sealed packaging does not replace the material maker’s preparation instructions. View photo
PLA White filament — Gary C Martin. https://www.flickr.com/photos/50394334@N00/12183594183/ CC BY 2.0 (https://creativecommons.org/licenses/by/2.0/); resized and converted to WebP.
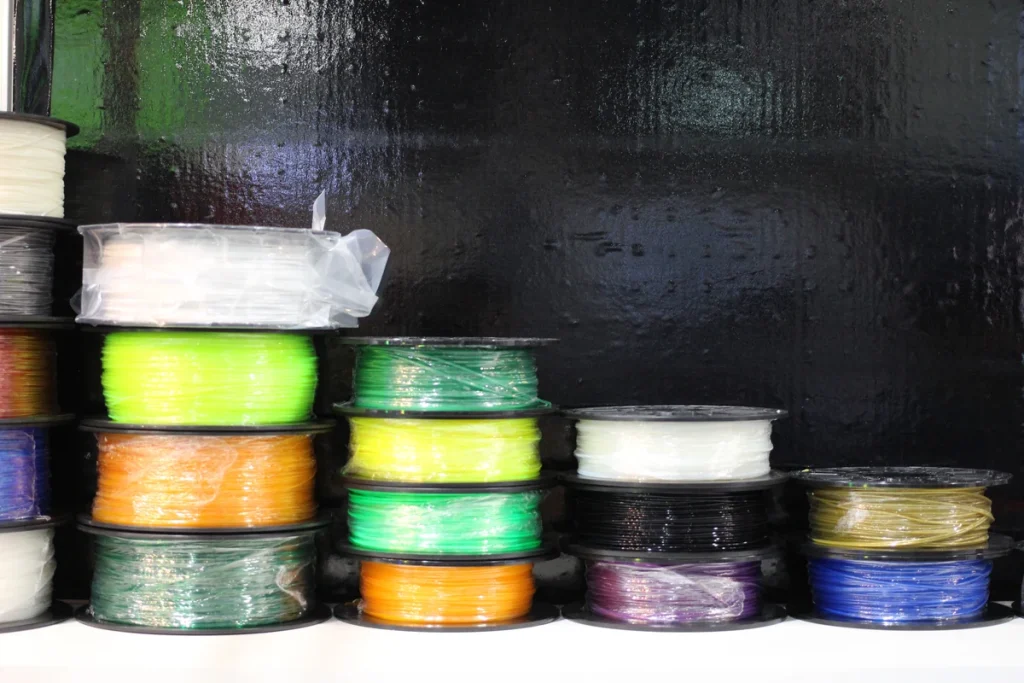
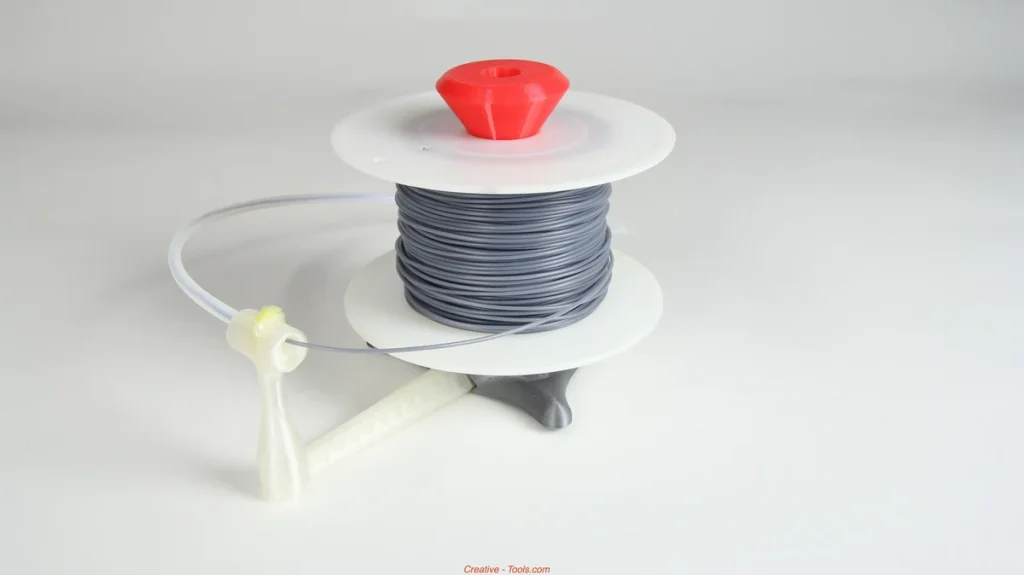
Best Open Source 3D Printer
-
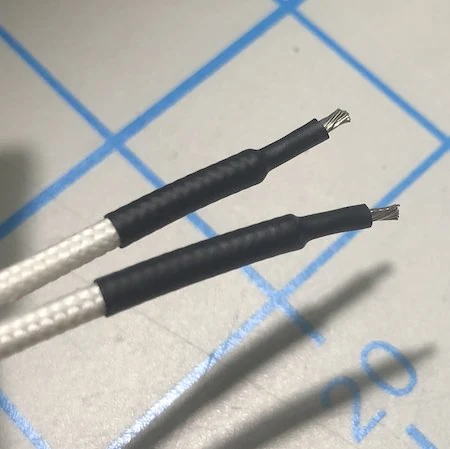
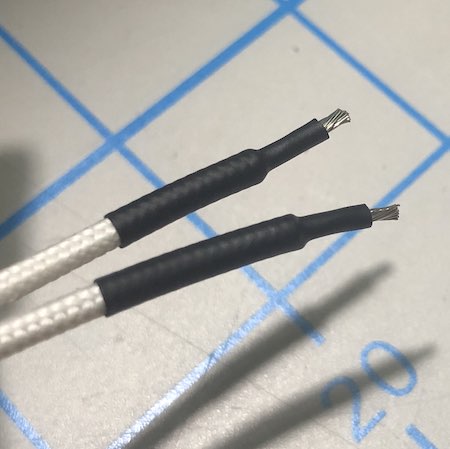
Heat-shrink tubing on two braided wires in Voron’s wiring documentation. View photo
Voron Design documentation contributors. GPL-3.0: https://raw.githubusercontent.com/VoronDesign/Voron-Documentation/main/LICENSE Original: https://raw.githubusercontent.com/VoronDesign/Voron-Documentation/main/build/electrical/images/microfit-heatshrink-ends.jpg WebP conversion September 7, 2026; no warranty.
-
Rail-alignment hardware on an earlier Voron build, shown as a general assembly example. View photo
Badnoob / Voron Design documentation contributors. GPL-3.0: https://raw.githubusercontent.com/VoronDesign/Voron-Documentation/main/LICENSE Original: https://raw.githubusercontent.com/VoronDesign/Voron-Documentation/main/community/troubleshooting/badnoob/images/rail_misalignment_adjustment1.jpg WebP conversion September 7, 2026; no warranty.
Best Professional 3D Printer
-
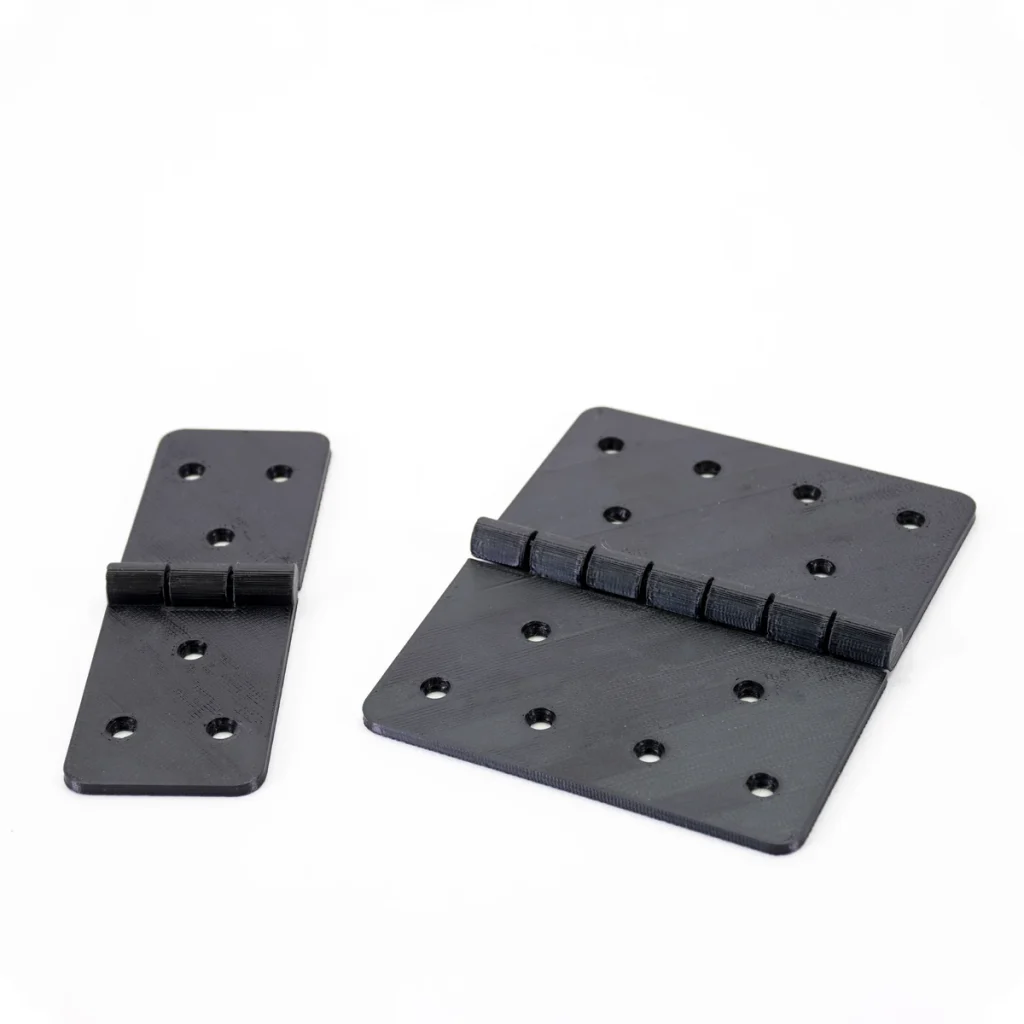
Prusament manufacturer examples of printed hinges. View photo
(c) Prusa Polymers - prusament.com
-
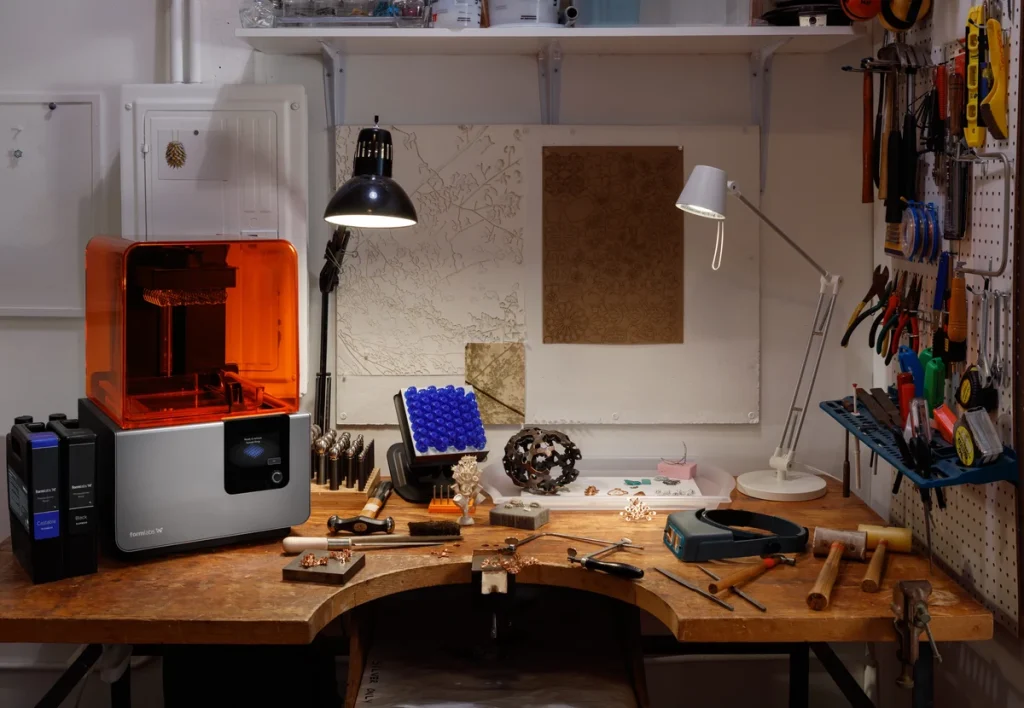
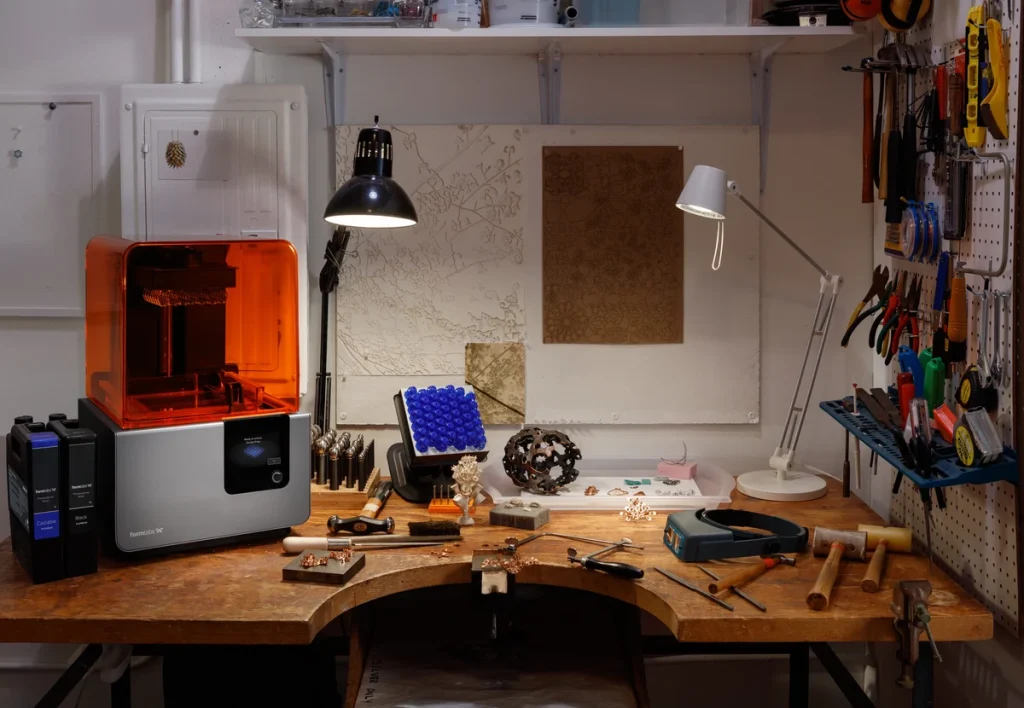
A Form 2 workbench with printed parts and finishing tools illustrates the workspace around resin printing. View photo
Photo: Formlabs Inc., CC BY 2.0. Resized and converted to WebP.
-
Prusament manufacturer example of a printed cap and base in contrasting colors. View photo
(c) Prusa Polymers - prusament.com
-
Filament supplies are part of the setup budget as well as an ongoing cost. View photo
(c) Prusa Polymers - prusament.com
-
Filament passes through equipment on Prusament’s manufacturing line. View photo
(c) Prusa Polymers - prusament.com
Best Resin For 3D Printing
-
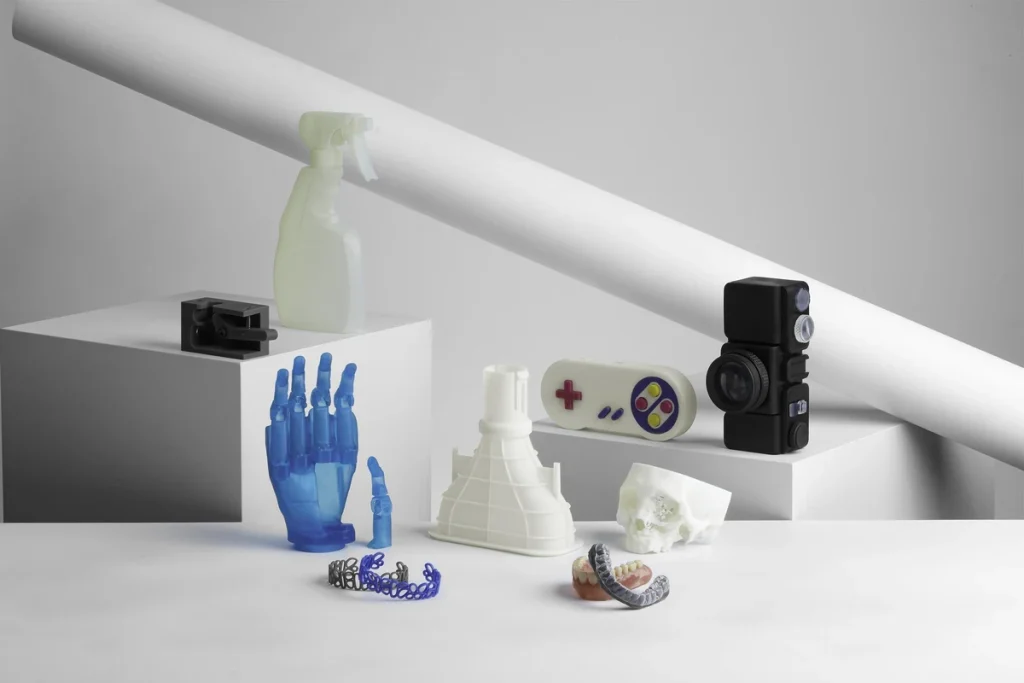
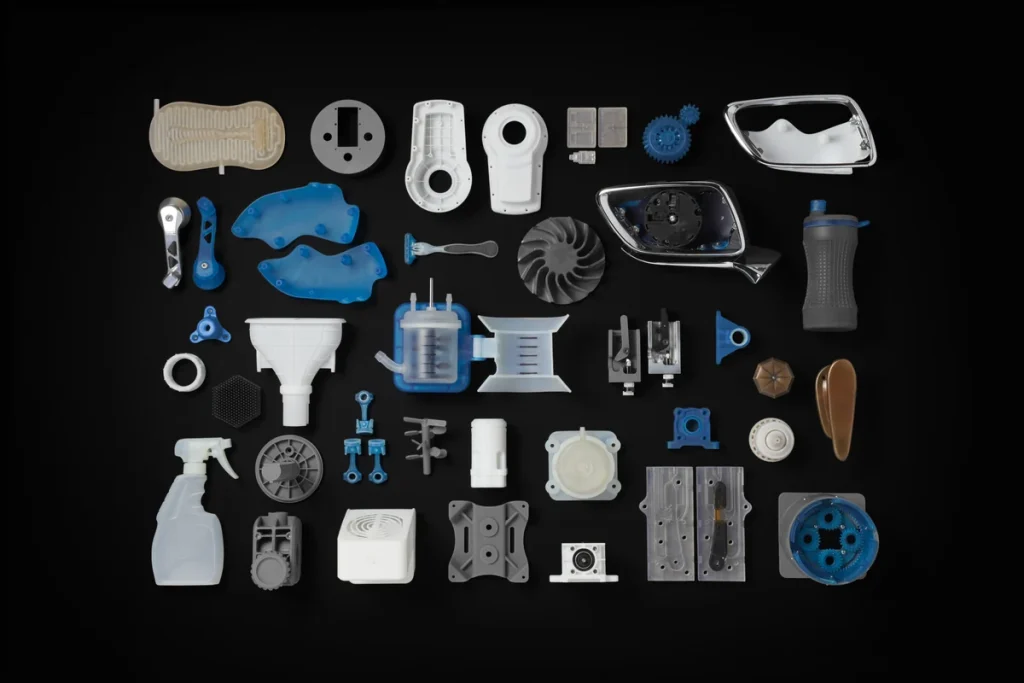
Formlabs manufacturer examples printed in several different resins on a Form 2. View photo
Variety of Parts Printed on a Formlabs Form 2 SLA 3D Printer by Formlabs Inc. — CC BY 2.0. Resized and converted to WebP.
-
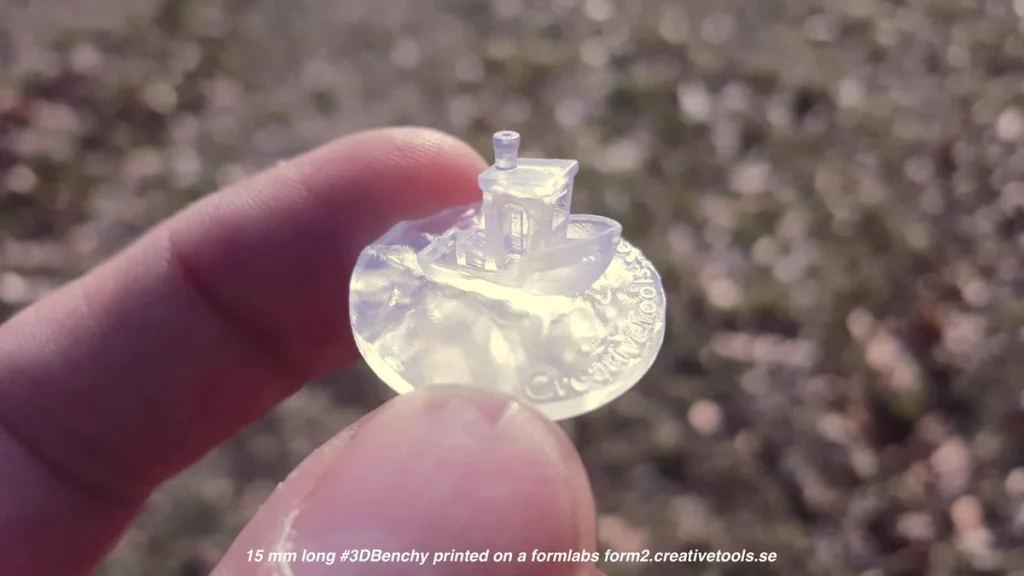
A 15 mm Benchy printed on a Form 2 by Creative Tools; the resin grade is not specified. View photo
15 mm long 3DBenchy printed on a formlabs form2 by Creative Tools — CC BY 2.0. Resized and converted to WebP.
-
Formlabs manufacturer examples of parts made in different resins on a Form 2. View photo
Array of Parts Made Via Additive Manufacturing Using Formlabs Form 2 SLA 3D Printer by Formlabs Inc. — CC BY 2.0. Resized and converted to WebP.
-
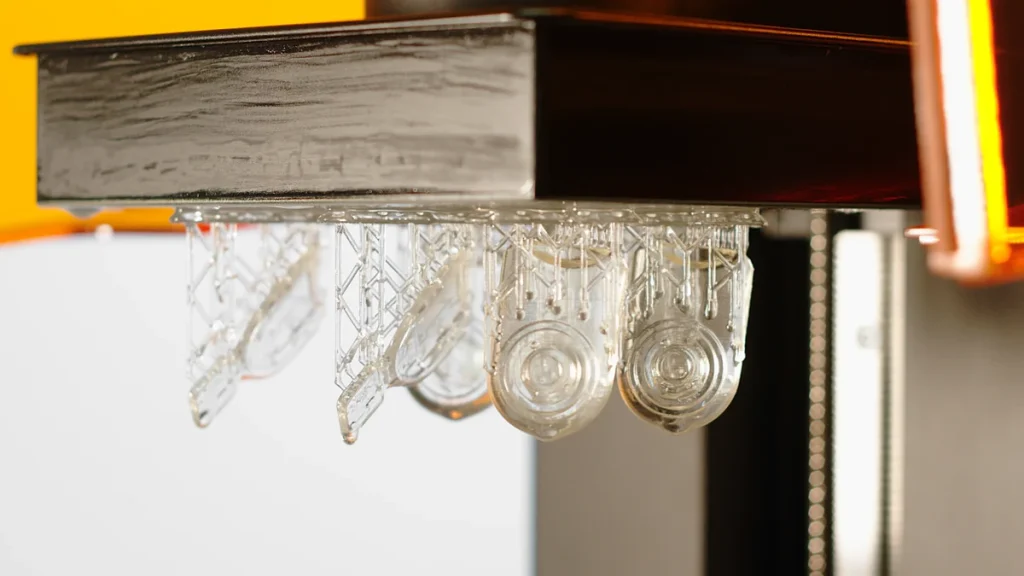
Formlabs Clear Resin parts still attached to a Form 2 build platform, in a manufacturer photograph. View photo
Clear Parts on a Formlabs Form 2 SLA 3D Printer Build Platform by Formlabs Inc. — CC BY 2.0. Resized and converted to WebP.
-
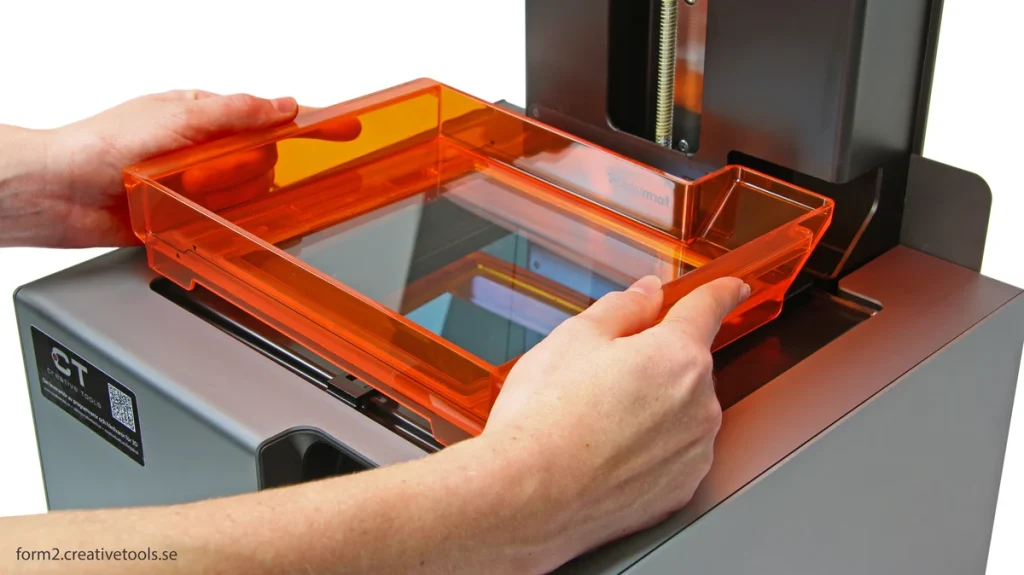
An empty resin tank being fitted to a Form 2; tank design and material compatibility depend on the printer. View photo
Formlabs Form2 Bild09 5184x2912 (24416246841).jpg by Creative Tools — CC BY 2.0. Resized and converted to WebP.
_v04.jpg)
Creality Ender 3 V3 SE
-
A green Benchy photographed in 2016 on a different printer's taped bed. View photo
3DBenchy.JPG — C13m3n7 / Wikimedia Commons — CC BY-SA 4.0 (https://creativecommons.org/licenses/by-sa/4.0/). Resized source rendition; converted to WebP. Original: https://commons.wikimedia.org/wiki/File:3DBenchy.JPG
-
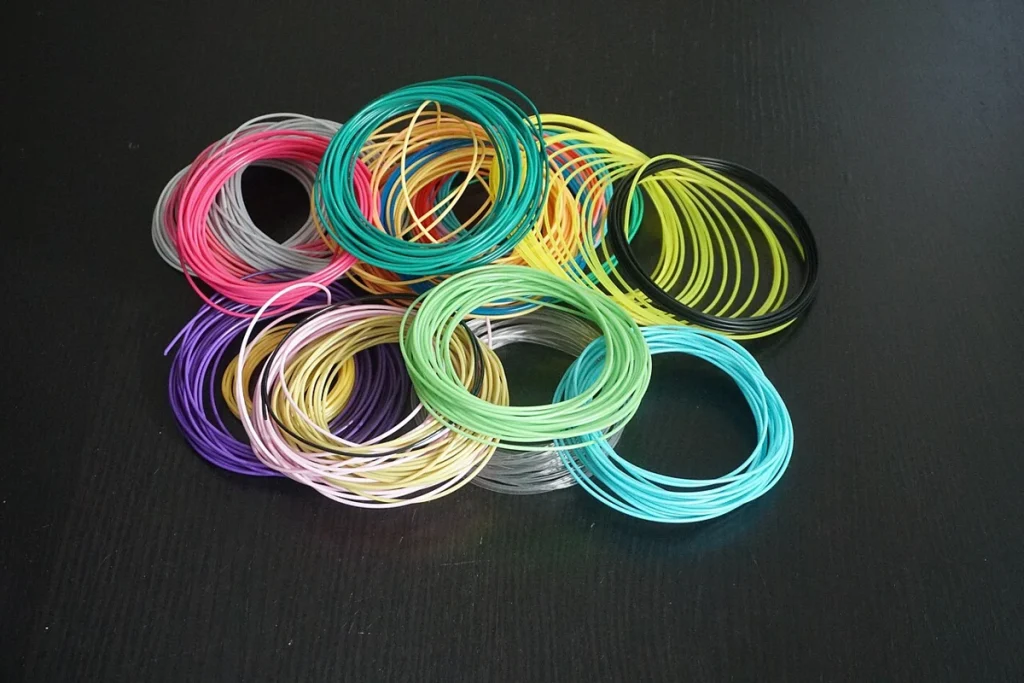
Loose coils of 1.75 mm printing filament in several colors. View photo
3D-Druck-Filament in verschiedenen Farben.jpg — Suit / Wikimedia Commons — CC BY-SA 4.0 (https://creativecommons.org/licenses/by-sa/4.0/). Resized and converted to WebP. Original: https://commons.wikimedia.org/wiki/File:3D-Druck-Filament_in_verschiedenen_Farben.jpg
-
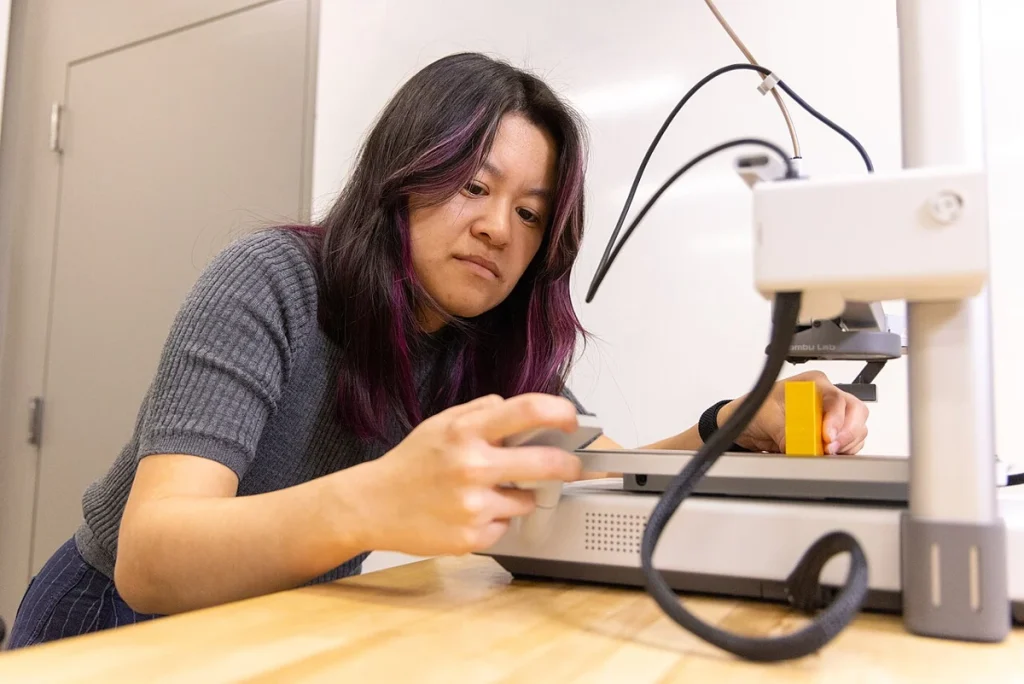
A Bambu Lab A1 mini in a UC Davis workspace. View photo
3D — Mario Rodriguez / UC Davis, UC Davis College of Engineering — CC BY 2.0 (https://creativecommons.org/licenses/by/2.0/). Resized and converted to WebP. Original: https://commons.wikimedia.org/wiki/File:3D_(54251825562).jpg


.jpg)
Creality Ender-3 V3 KE
-
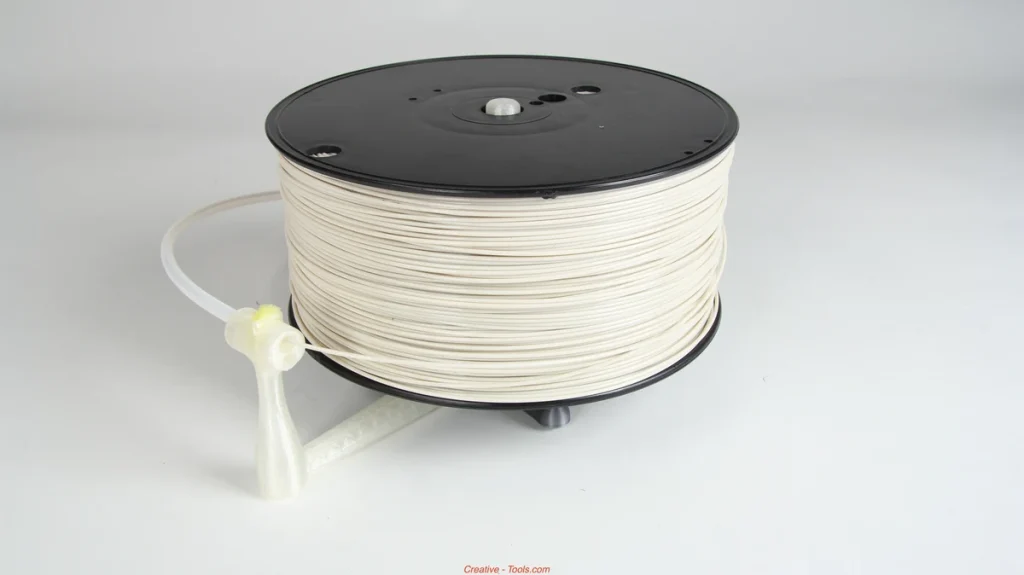
A spool on a standalone printed holder illustrates filament handling away from a printer. View photo
Filament spool on a printed standalone holder by Creative Tools, CC BY 2.0. Resized and converted to WebP.
-
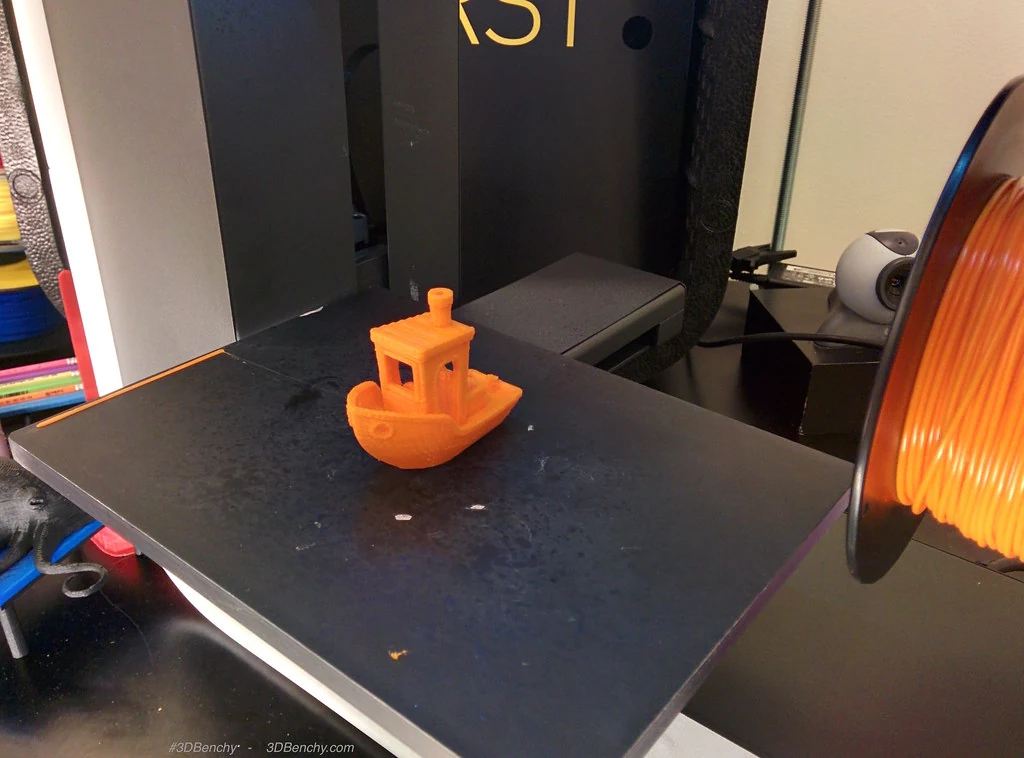
A low-resolution Benchy example printed on a BEETHEFIRST, separate from the KE tests discussed here. View photo
Orange Benchy on a BEETHEFIRST printer by 3DBenchy, CC BY 2.0. Resized and converted to WebP.
-
Filament spools stored on shelves at Brandeis Maker Lab; the photograph does not identify their material grades. View photo
Filament storage at Brandeis Maker Lab by westonhighschool library, CC BY-SA 2.0. Resized and converted to WebP.
-
A close-up of another 3D printer’s nozzle extruding plastic; this is general context, not a KE replacement-part reference. View photo
Close-up of a 3D printer nozzle extruding plastic by David Elliott, CC BY 2.0. Resized and converted to WebP.

.jpg)
.jpg)
Creality K1 Max
-
A printed Benchy example showing the boat’s small features; the printer and settings are unspecified. View photo
Sumanbargavr, “3D BENCHY” (https://commons.wikimedia.org/wiki/File:3D_BENCHY.jpg), CC BY-SA 4.0 (https://creativecommons.org/licenses/by-sa/4.0/). Resized and converted to WebP.
-
A standalone filament holder and guide tube illustrate spool feeding; this is a general setup example. View photo
Creative Tools, “Universal stand-alone filament spool holder (Fully 3D-printable) v10” (https://www.flickr.com/photos/creative_tools/14970173353), CC BY 2.0 (https://creativecommons.org/licenses/by/2.0/). Resized and converted to WebP.
-
Filament spools stored at Brandeis Maker Lab; colors alone do not identify the material. View photo
westonhighschool library, “3D printing filament” (https://www.flickr.com/photos/124105511@N08/15760663749/), CC BY-SA 2.0 (https://creativecommons.org/licenses/by-sa/2.0/). Resized and converted to WebP.
-
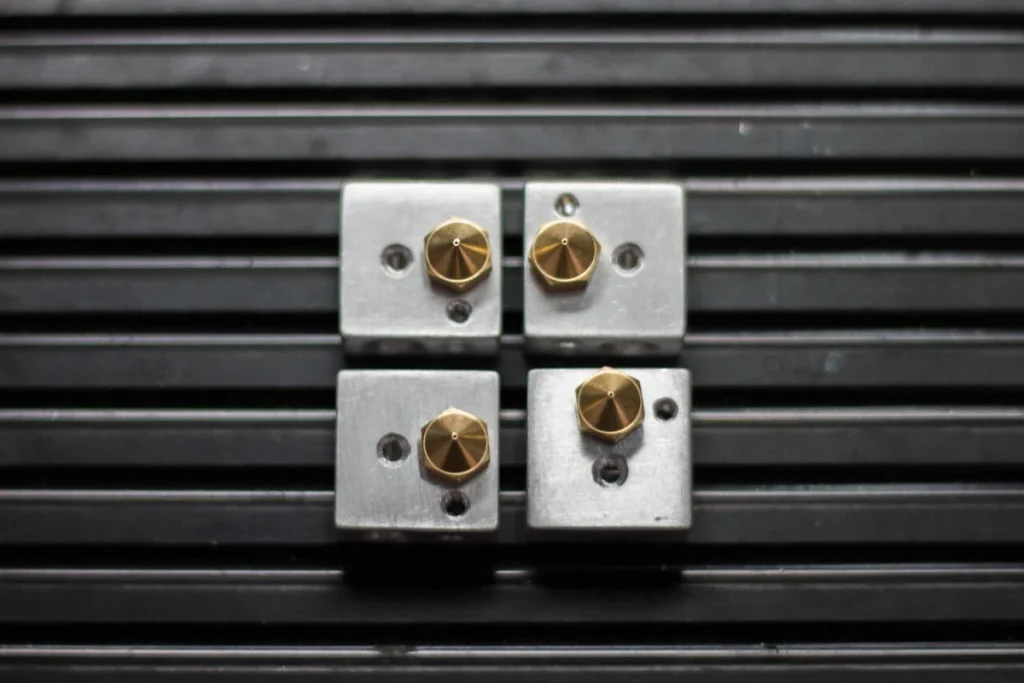
Nozzle and heater-block assemblies in a 3DKreator workshop; these are general component examples, not K1 Max replacements. View photo
3DKreator, “Workshop” (https://www.flickr.com/photos/136035313@N04/23823864805/), CC BY-SA 2.0 (https://creativecommons.org/licenses/by-sa/2.0/). Resized and converted to WebP.

Creality K1C
-
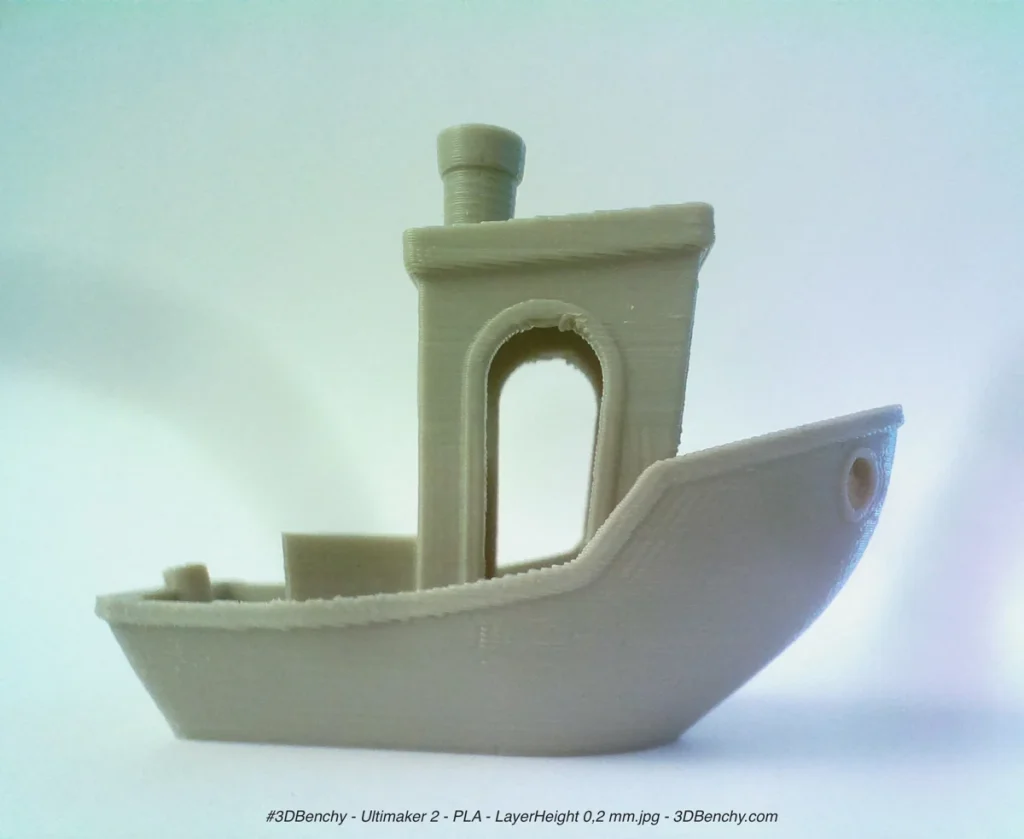
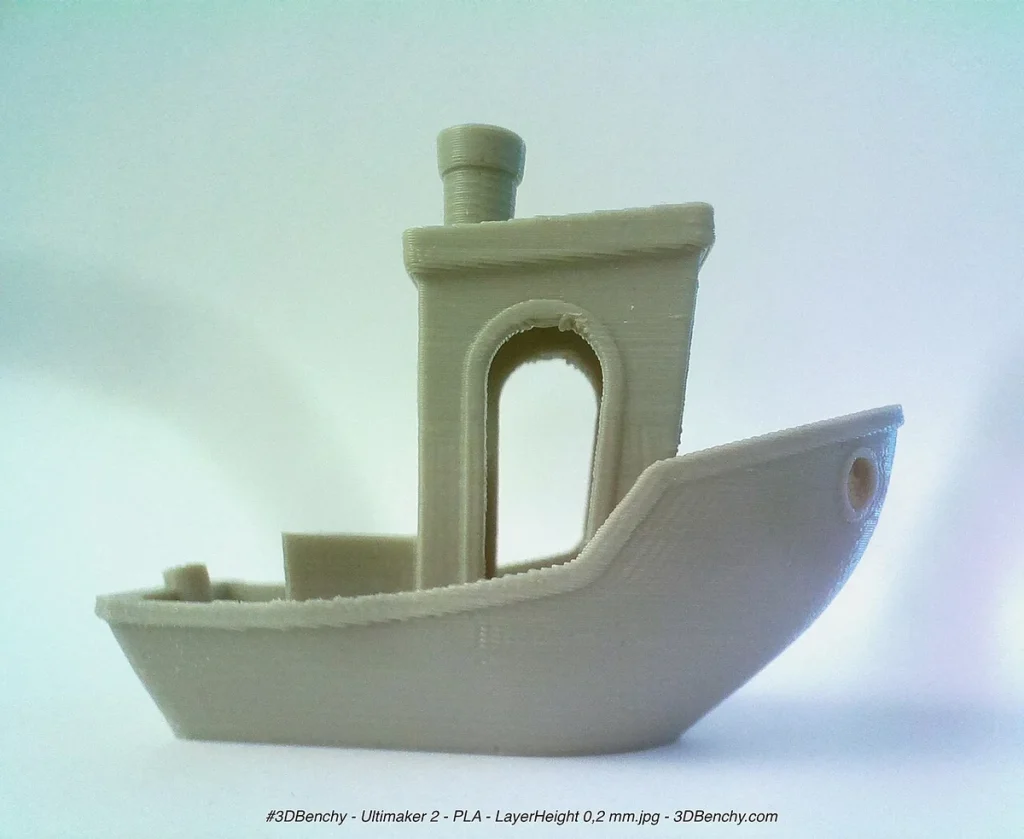
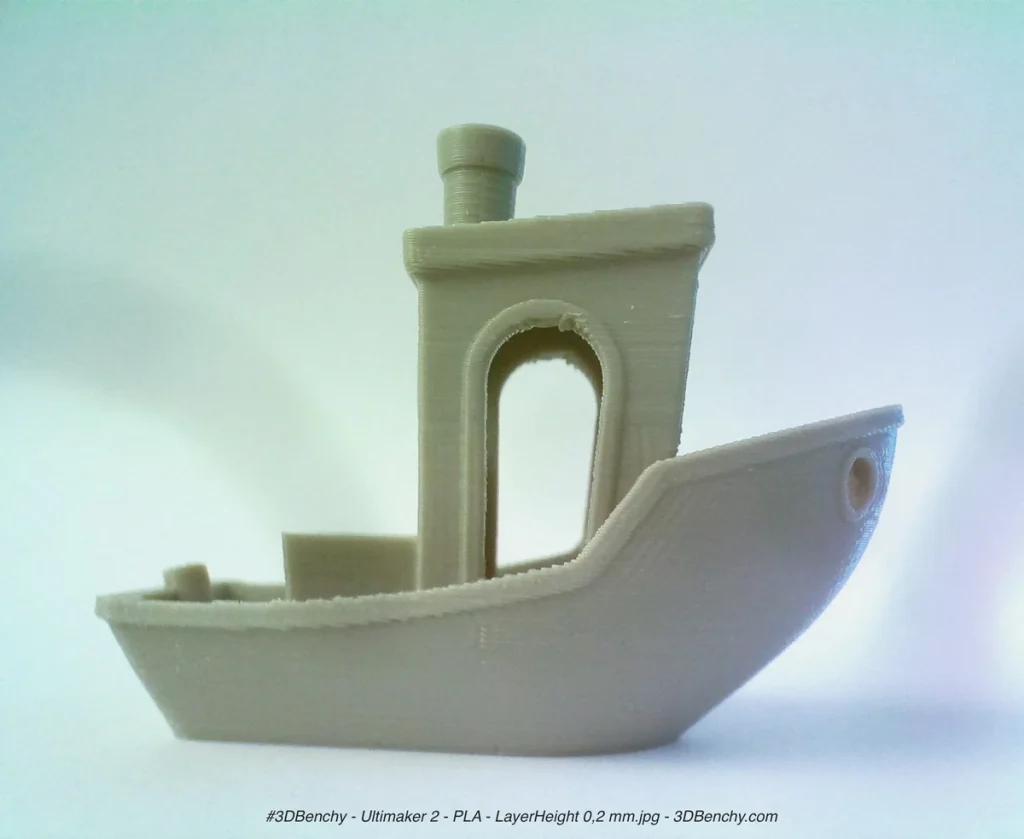
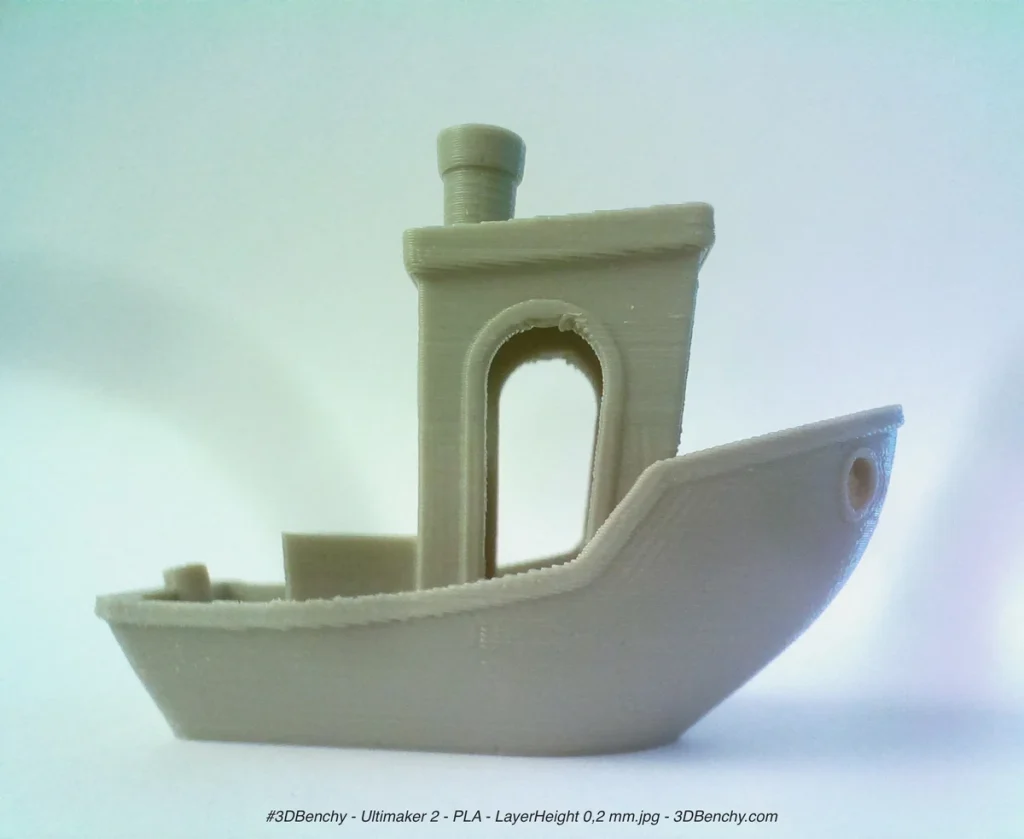
A PLA Benchy printed on an Ultimaker 2 at 0.2 mm layers; a general model example, not one of the K1C tests reported here. View photo
PLA Benchy printed on an Ultimaker 2 — 3DBenchy, CC BY 2.0 (https://creativecommons.org/licenses/by/2.0/). Image: https://commons.wikimedia.org/wiki/File:-3DBenchy_-_Ultimaker_2_-_PLA_-_LayerHeight_0,2_mm_(17214930532).jpg. Resized and converted to WebP.
-
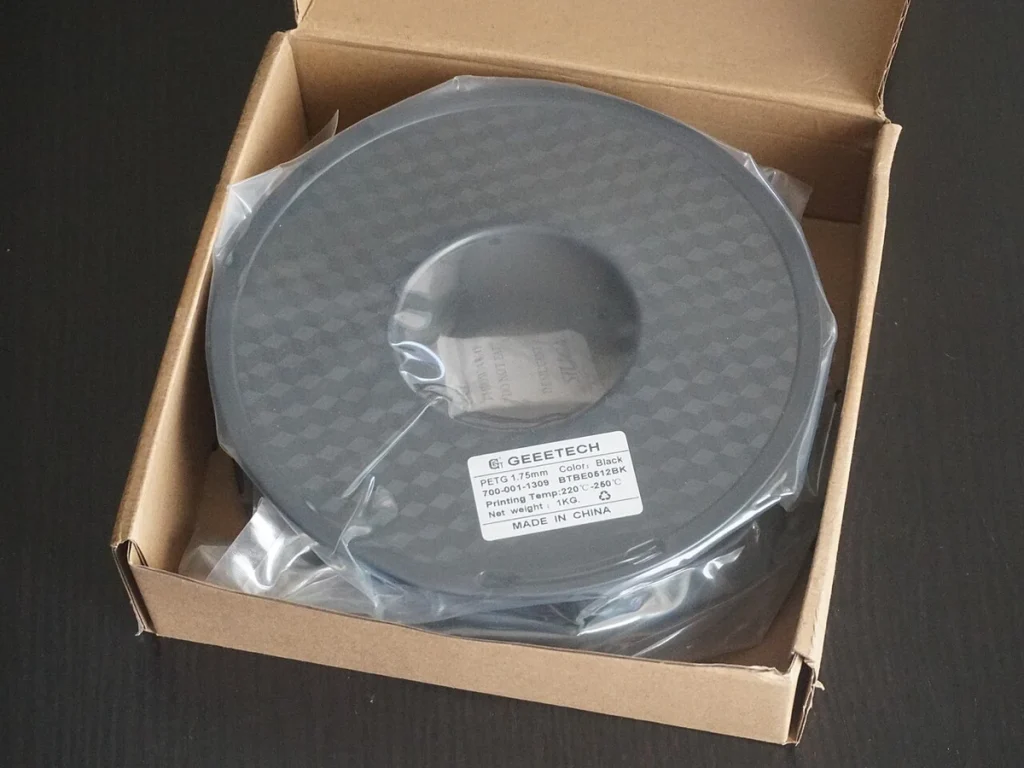
A PETG spool packaged with desiccant. Dry storage and filament drying are separate steps. View photo
PETG filament in protective packaging — Suit, CC BY-SA 4.0 (https://creativecommons.org/licenses/by-sa/4.0/). Image: https://commons.wikimedia.org/wiki/File:1_kg_petg_filament_in_packaging.jpg. Resized and converted to WebP.
-
A freestanding printed spool holder with a guide tube, shown as a general filament-handling example. View photo
Freestanding filament spool holder — Creative Tools, CC BY 2.0 (https://creativecommons.org/licenses/by/2.0/). Image: https://commons.wikimedia.org/wiki/File:Universal_stand-alone_filament_spool_holder_(Fully_3D-printable)_v01.jpg. Resized and converted to WebP.
-
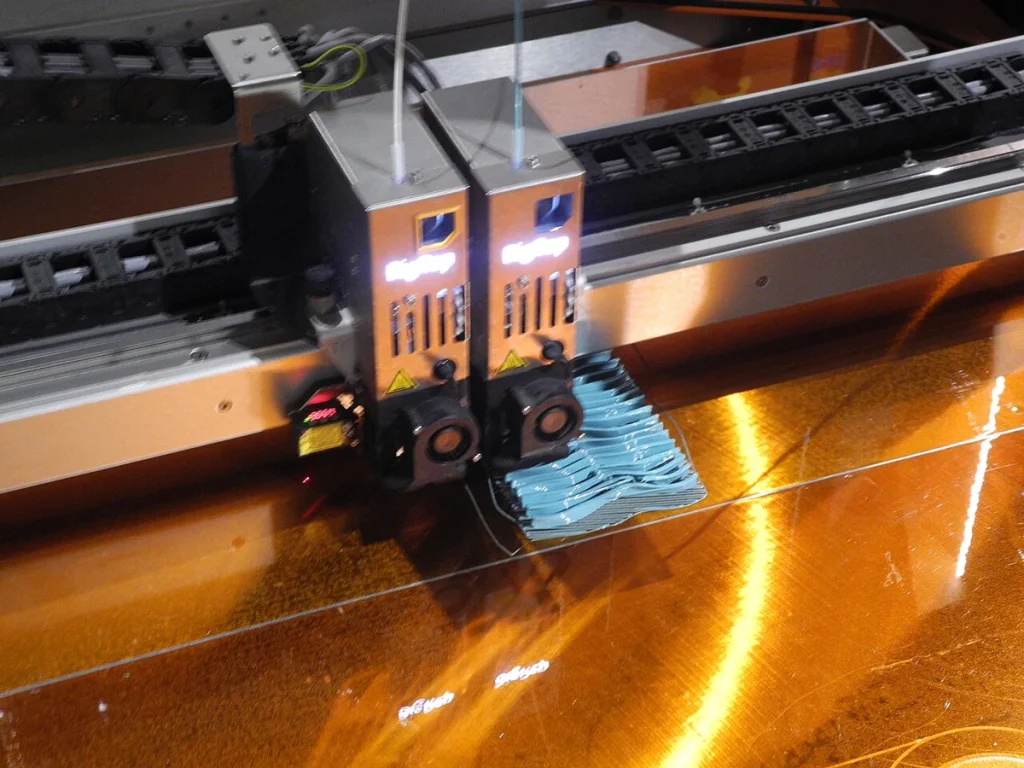
A BigRep ONE depositing blue filament at London’s Design Museum; a general printing-process view, not the K1C’s plate or service assembly. View photo
BigRep ONE printing on its build surface — John Seb Barber, CC BY 2.0 (https://creativecommons.org/licenses/by/2.0/). Image: https://commons.wikimedia.org/wiki/File:3d_printer_close_up.jpg. Resized and converted to WebP.
.jpg)

Creality K2 Plus
-
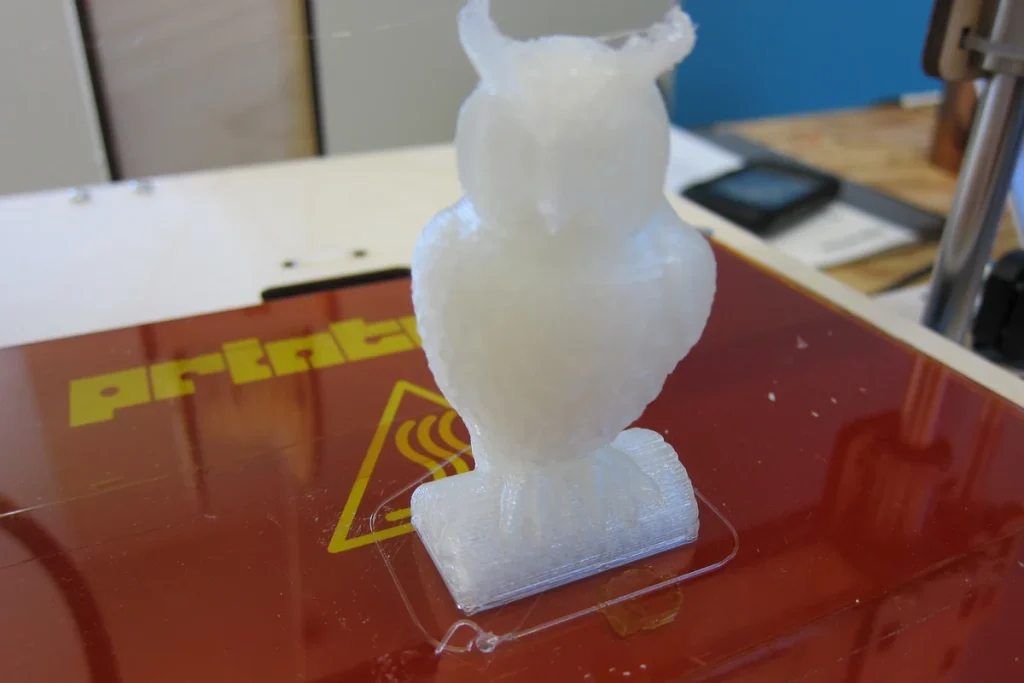
A white owl print on another printer’s bed: a general filament-printing example, not a K2 Plus test result. View photo
Make- 3D Printer Testing by jabella · CC BY 2.0 · Resized and converted to WebP.
-
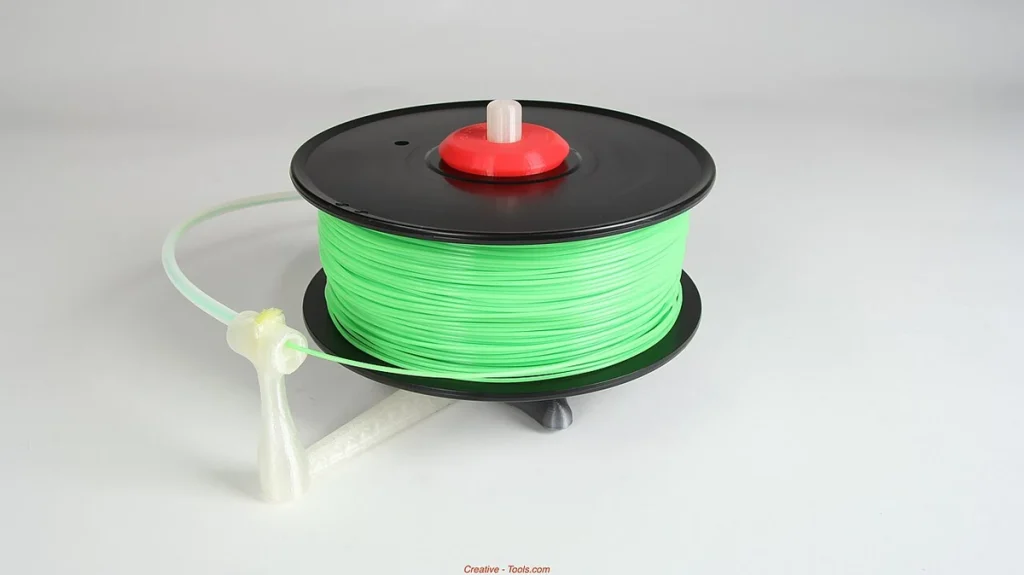
A filament spool on a separate printed holder; this general handling example does not establish CFS compatibility. View photo
Universal stand-alone filament spool holder (Fully 3D-printable) v10 by Creative Tools · CC BY 2.0 · Resized and converted to WebP.
-
A bulk container labeled silica gel—a general desiccant-storage example, not the CFS or its supplied desiccant. View photo
Silica gel! by Luigi Guarino · CC BY 2.0 · Resized and converted to WebP.
-
A close-up of another printer’s nozzle with plastic at its tip; use the K2 Plus service instructions for its own nozzle. View photo
3D printer nozzle extruding plastic by David Elliott · CC BY 2.0 · Resized and converted to WebP.

.jpg)
Creality SparkX i7
-
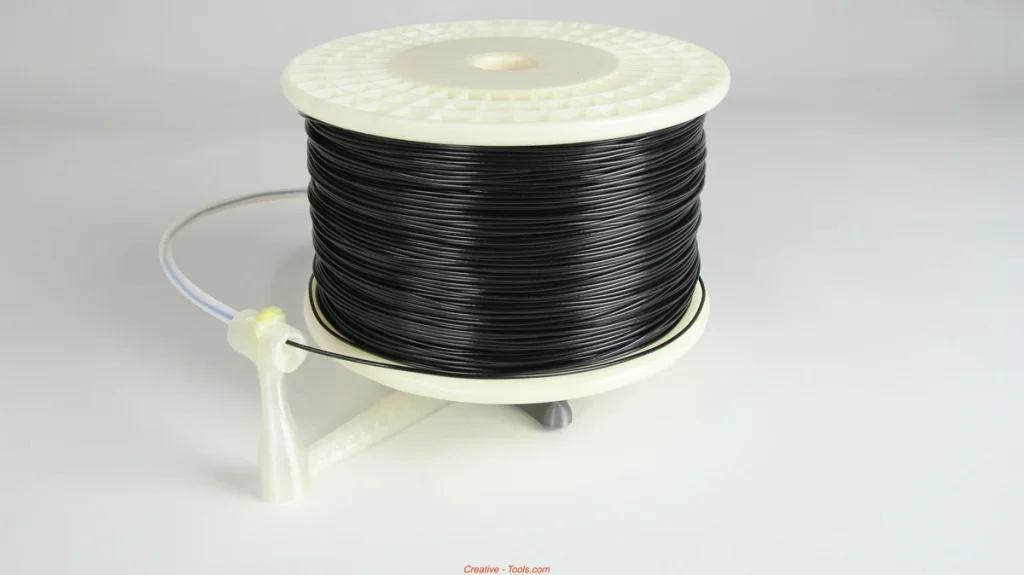
Black filament on a 3D-printed standalone holder, feeding into a guide tube. General spool-handling example. View photo
Universal stand-alone filament spool holder (Fully 3D-printable) v09 — Creative Tools, CC BY 2.0; resized and converted to WebP.
-
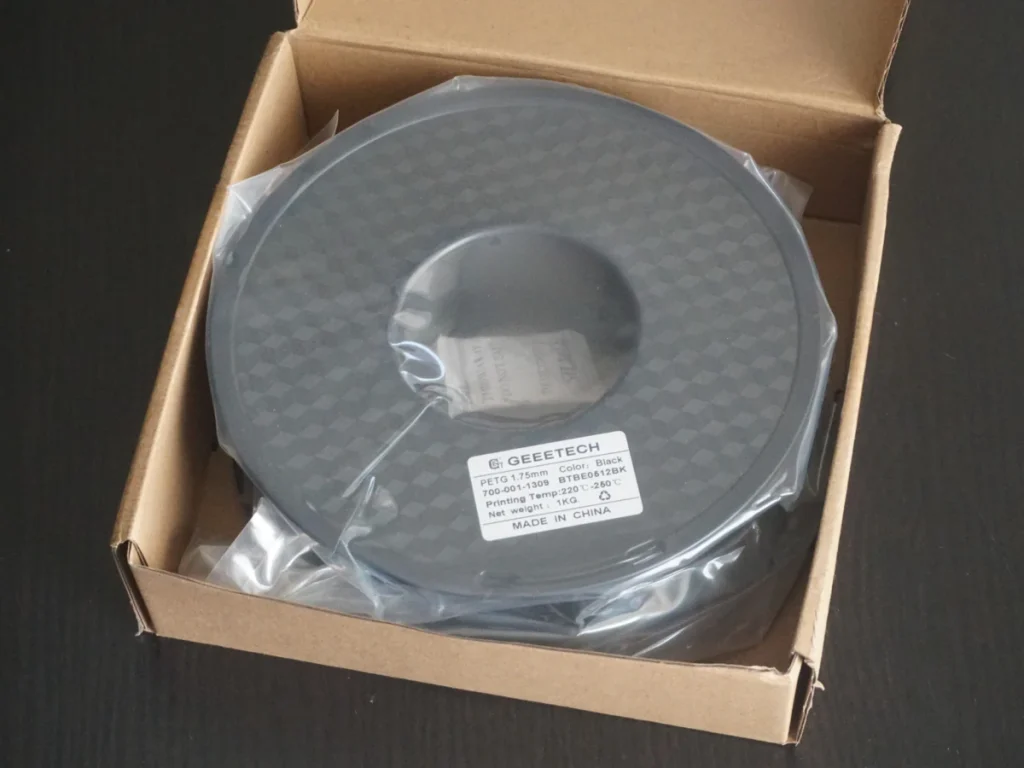
A sealed Geeetech PETG spool with a desiccant packet: an example of filament packaging. View photo
1 kg petg filament in packaging — Suit, CC BY-SA 4.0; resized and converted to WebP.
-
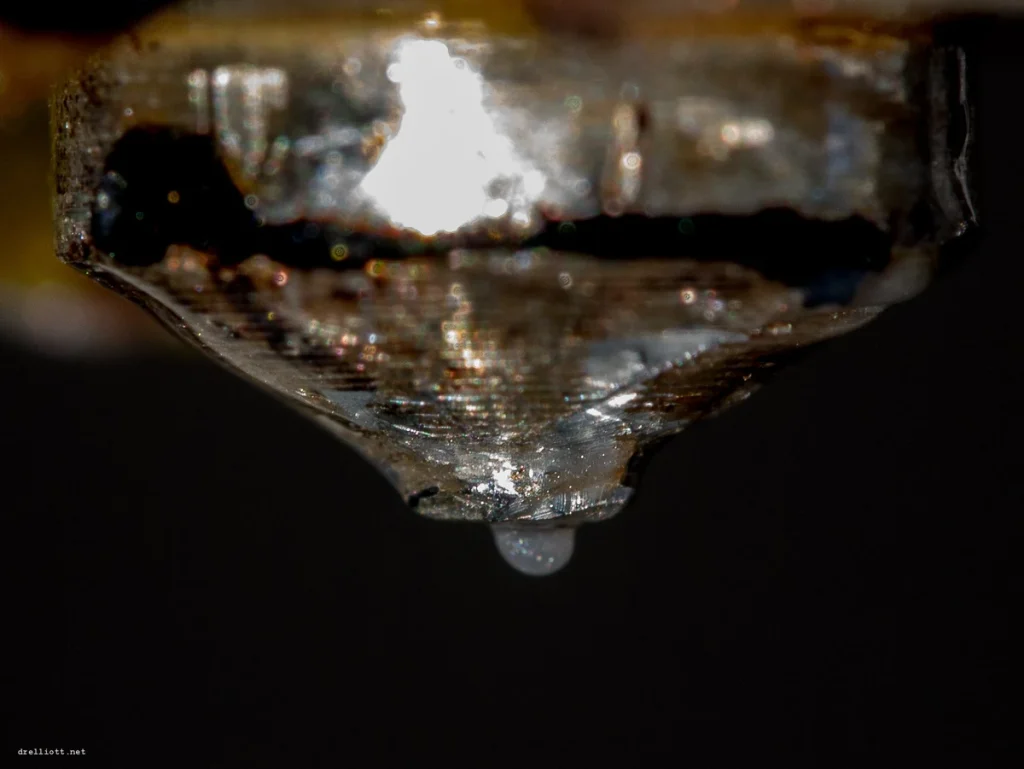
Close-up of a 3D-printer nozzle extruding plastic. This general process photograph shows different hardware from the i7. View photo
3D printer nozzle extruding plastic (15608959541) — David Elliott, CC BY 2.0; resized and converted to WebP.

Elegoo ABS-Like 3.0
-
A resin-printed 3DBenchy with supports still attached; the resin grade is unspecified. View photo
“3DBenchy printed on a resin printer” by Creative Tools (https://www.flickr.com/photos/creative_tools/17345089792/), CC BY 2.0 (https://creativecommons.org/licenses/by/2.0/). Resized and converted to WebP.
-
An empty Formlabs Form 2 tank being installed—a general setup example, not a demonstration of ABS-Like 3.0 compatibility. View photo
“Formlabs Form2 Bild09 5184x2912” by Creative Tools (https://www.flickr.com/photos/creative_tools/24416246841/), CC BY 2.0 (https://creativecommons.org/licenses/by/2.0/). Resized and converted to WebP.
-
A Formlabs resin-finishing kit with wash containers, gloves and tools illustrates the supplies needed beyond a bottle of resin. View photo
“Formlabs Form2 Bild07 5184x2912” by Creative Tools (https://www.flickr.com/photos/creative_tools/24498628135/), CC BY 2.0 (https://creativecommons.org/licenses/by/2.0/). Resized and converted to WebP.
Elegoo Centauri Carbon 2
-
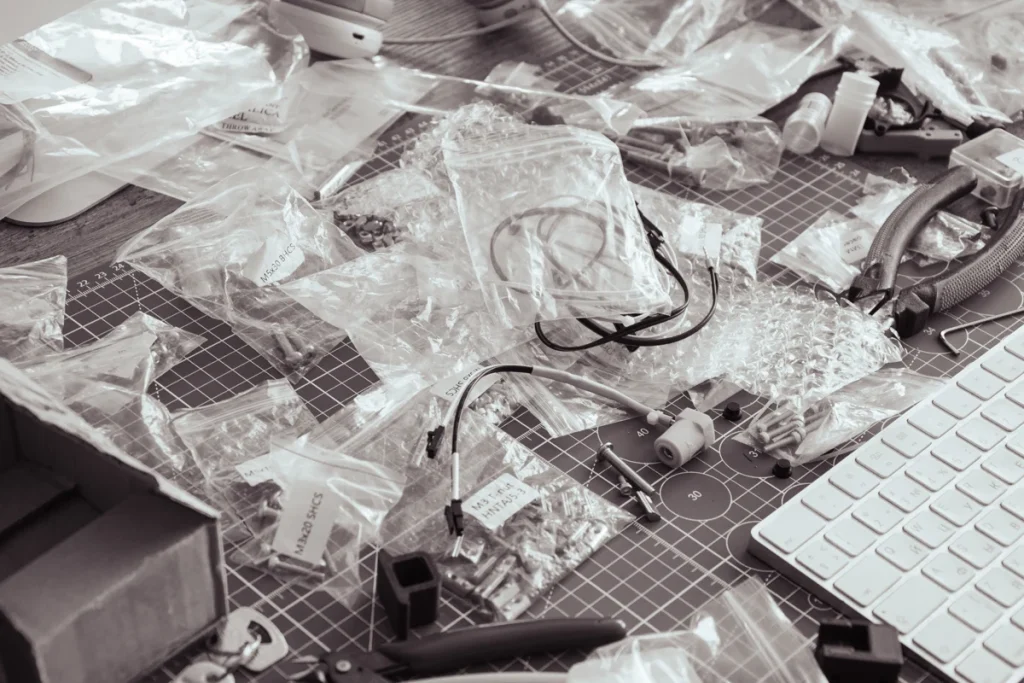
A Voron-build workbench with bagged fasteners, wiring and hand tools. View photo
“Workbench (Grey)” by disinterpreter — CC BY-SA 2.0 (https://creativecommons.org/licenses/by-sa/2.0/). https://commons.wikimedia.org/wiki/File:Workbench_(Grey).jpg. Resized and converted to WebP.
-
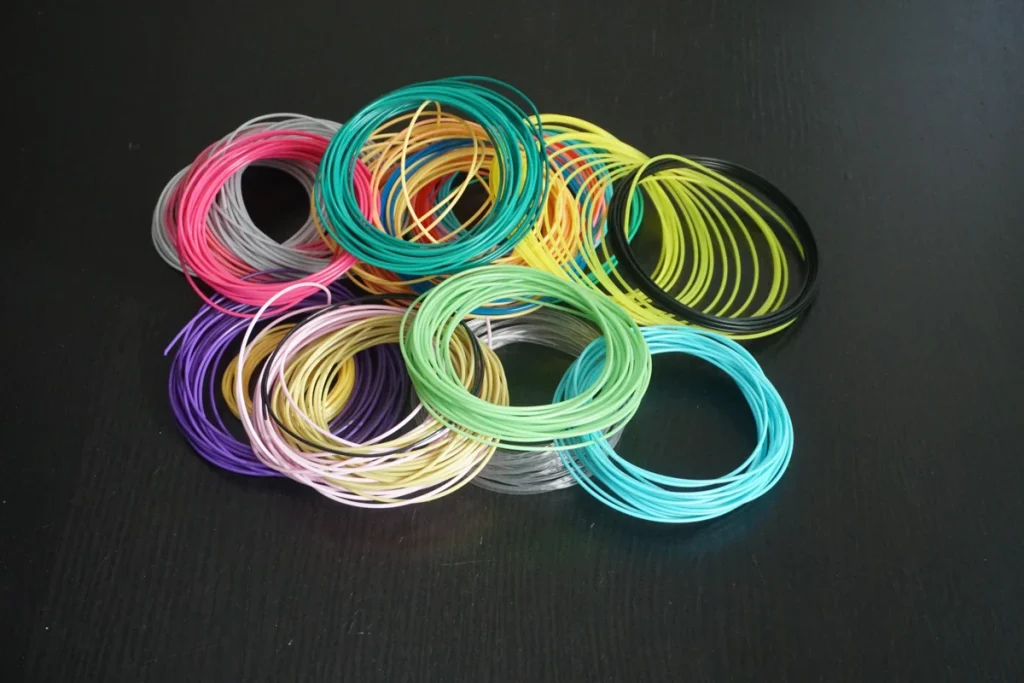
Loose coils of different-colored printing filament, shown as a general material example. View photo
“3D-Druck-Filament in verschiedenen Farben” by Suit — CC BY-SA 4.0 (https://creativecommons.org/licenses/by-sa/4.0/). https://commons.wikimedia.org/wiki/File:3D-Druck-Filament_in_verschiedenen_Farben.jpg. Resized and converted to WebP.
-
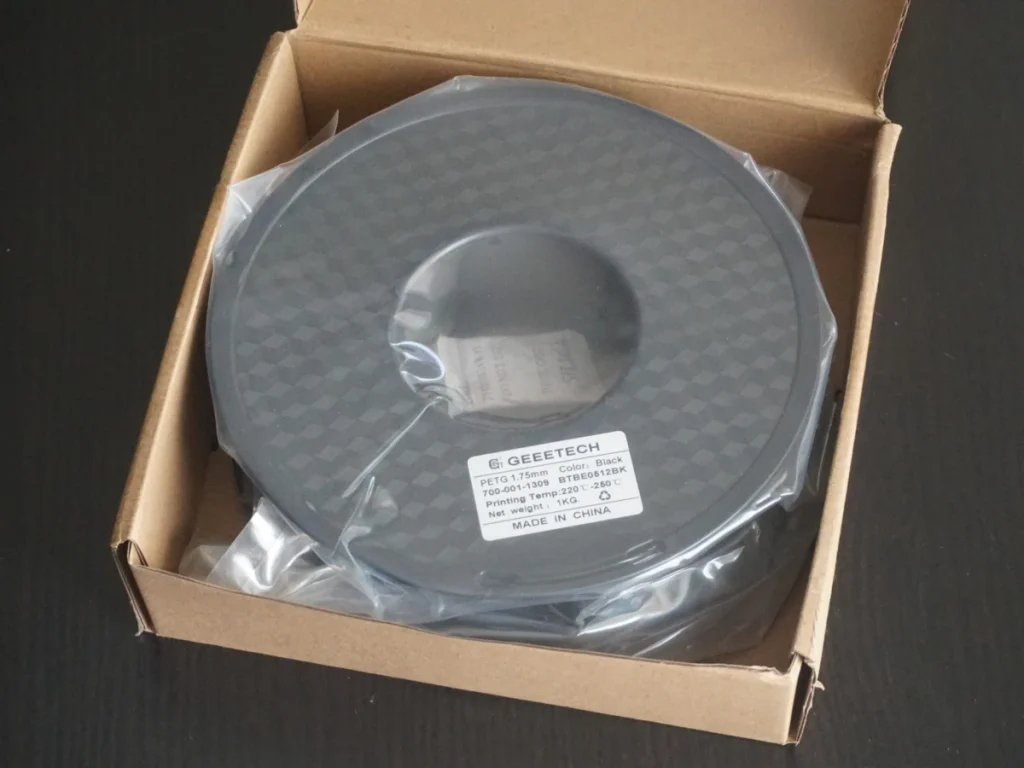
A Geeetech PETG spool in sealed packaging with a desiccant packet. View photo
“1 kg petg filament in packaging” by Suit — CC BY-SA 4.0 (https://creativecommons.org/licenses/by-sa/4.0/). https://commons.wikimedia.org/wiki/File:1_kg_petg_filament_in_packaging.jpg. Resized and converted to WebP.
-
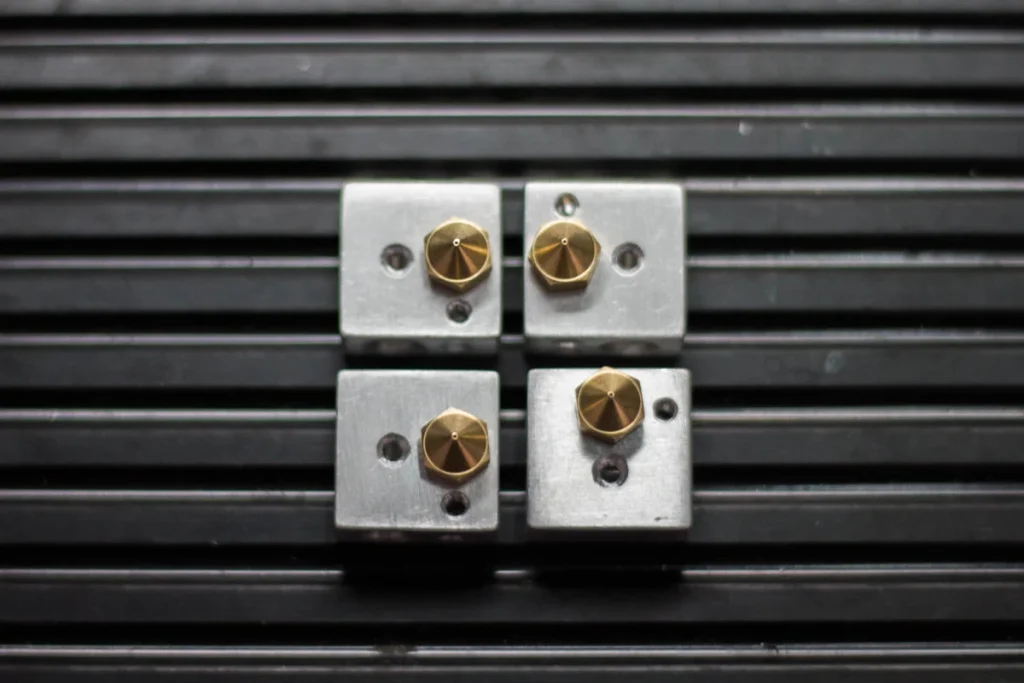
Nozzle and heater-block assemblies in a 3DKreator workshop. View photo
“Workshop” by 3DKreator — CC BY-SA 2.0 (https://creativecommons.org/licenses/by-sa/2.0/). https://commons.wikimedia.org/wiki/File:Workshop_-_23823864805.jpg. Resized and converted to WebP.
.jpg)
Elegoo Mars 5
-
A resin-printed boat with its supports still attached shows the extra space a supported model occupies. This is a general example, not a Mars 5 print. View photo
3DBenchy printed on a resin printer.jpg — Creative Tools (https://www.flickr.com/photos/creative_tools/17345089792/), CC BY 2.0 (https://creativecommons.org/licenses/by/2.0/). Resized and converted to WebP.
-
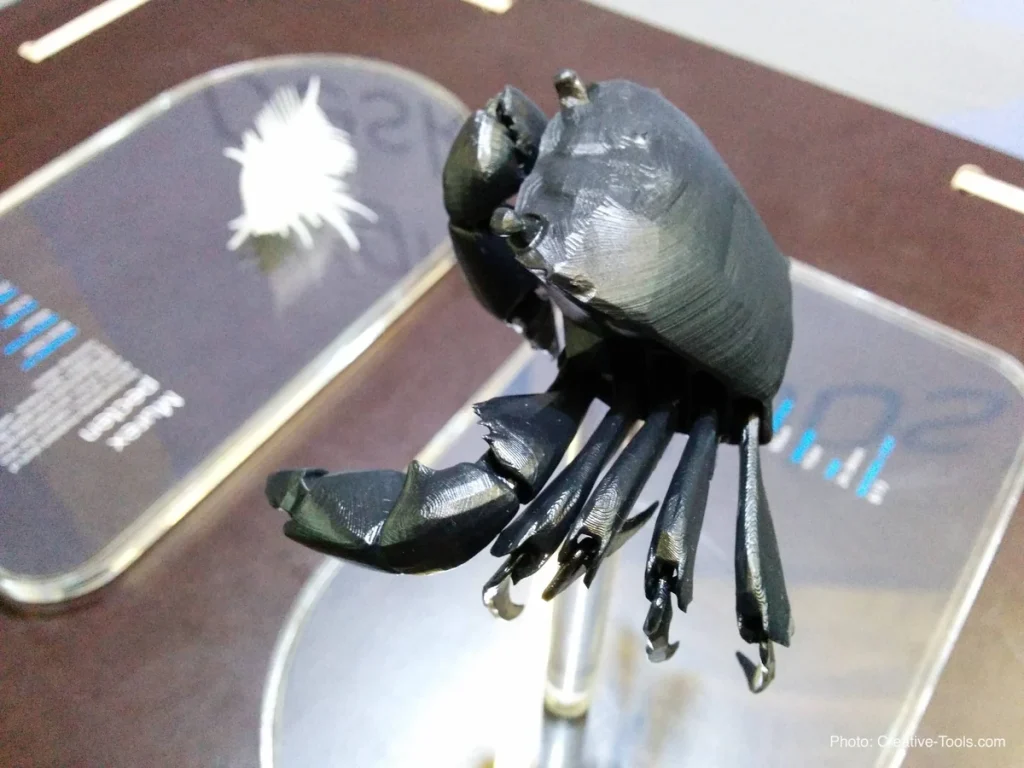
A Formlabs Form 1 crab print on display at the 2014 London 3D Printshow. This general resin-print example is separate from the Mars 5 comparisons above. View photo
3D Printshow 2014 London - Formlabs Form 1 SLA 3D printer crab 3D print (14964345437).jpg — Creative Tools (https://www.flickr.com/photos/creative_tools/14964345437/), CC BY 2.0 (https://creativecommons.org/licenses/by/2.0/). Resized and converted to WebP.
-
Handling a Formlabs Form 2 build platform: a general example of the removable plate used in resin printing. The Mars 5 uses a different plate assembly. View photo
Formlabs Form2 Bild06 5184x2912 (24498628565).jpg — Creative Tools (https://www.flickr.com/photos/creative_tools/24498628565/), CC BY 2.0 (https://creativecommons.org/licenses/by/2.0/). Resized and converted to WebP.
-
A Formlabs post-processing kit with rinse containers, gloves and removal tools illustrates the supplies that sit alongside a resin printer. View photo
Formlabs Form2 Bild07 5184x2912 (24498628135).jpg — Creative Tools (https://www.flickr.com/photos/creative_tools/24498628135/), CC BY 2.0 (https://creativecommons.org/licenses/by/2.0/). Resized and converted to WebP.
Elegoo Mars 5 Ultra
-
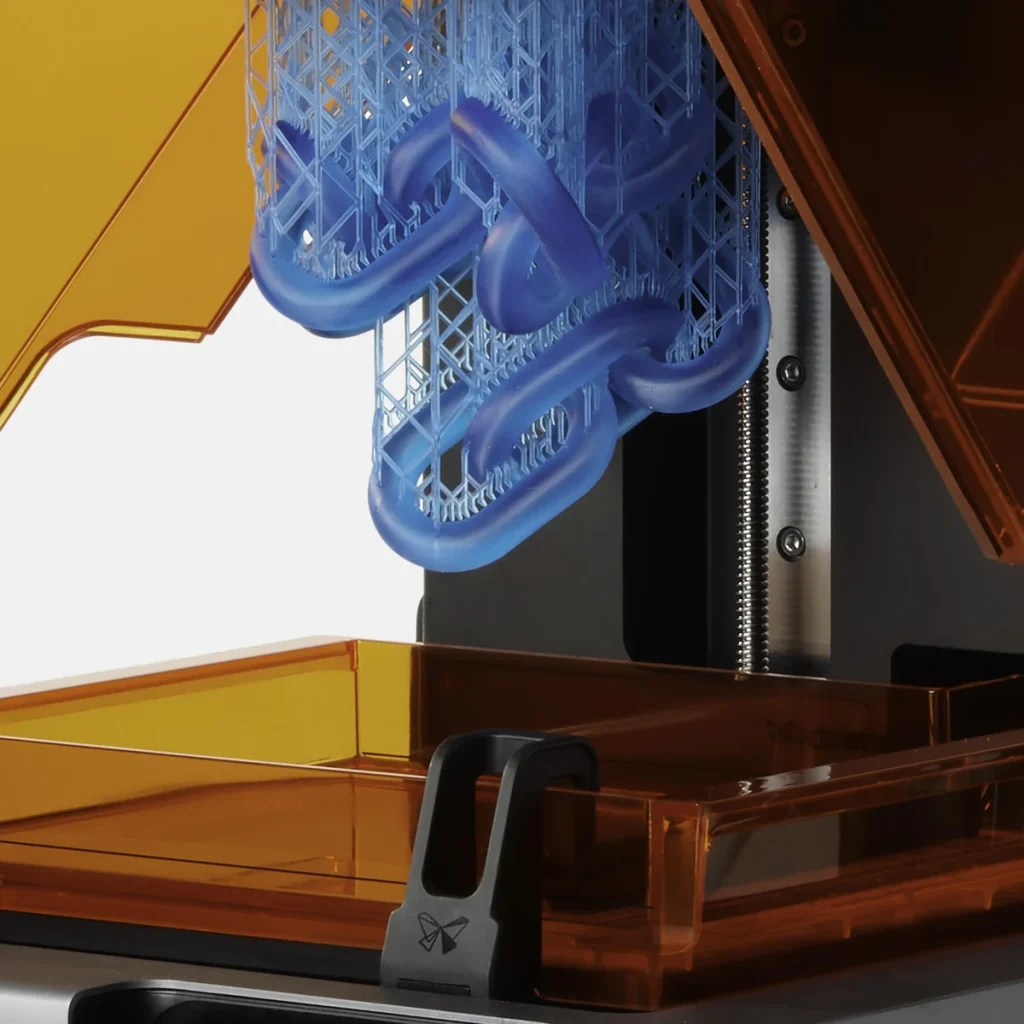
Manufacturer process example: a resin chain and its supports remain attached inside a Formlabs Form 2. View photo
Formlabs Inc. / original photograph, CC BY 2.0. Resized and converted to WebP.
-
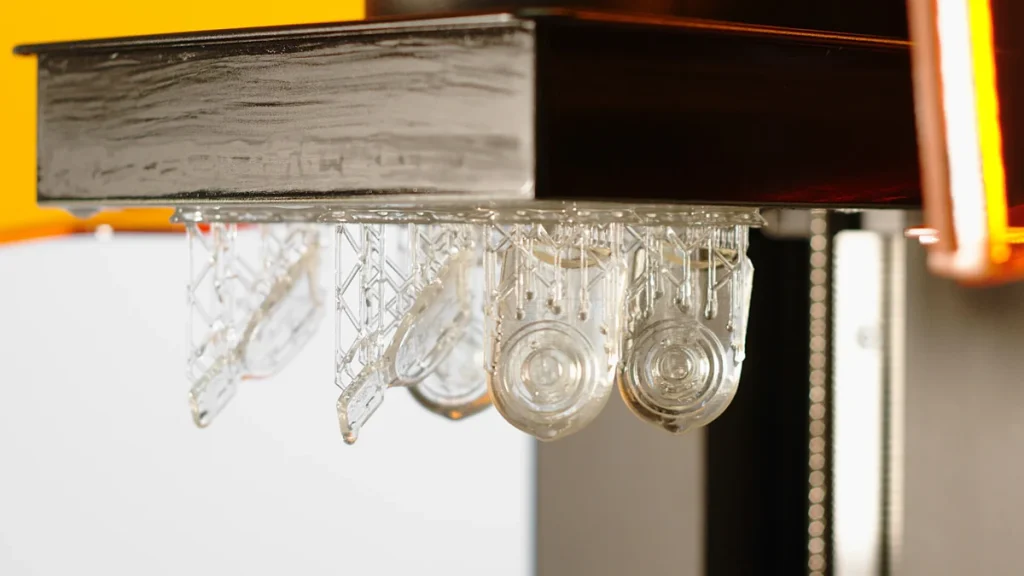
Manufacturer process example: clear resin parts await removal from a Formlabs Form 2 build platform. View photo
Formlabs Inc. / original photograph, CC BY 2.0. Resized and converted to WebP.
-
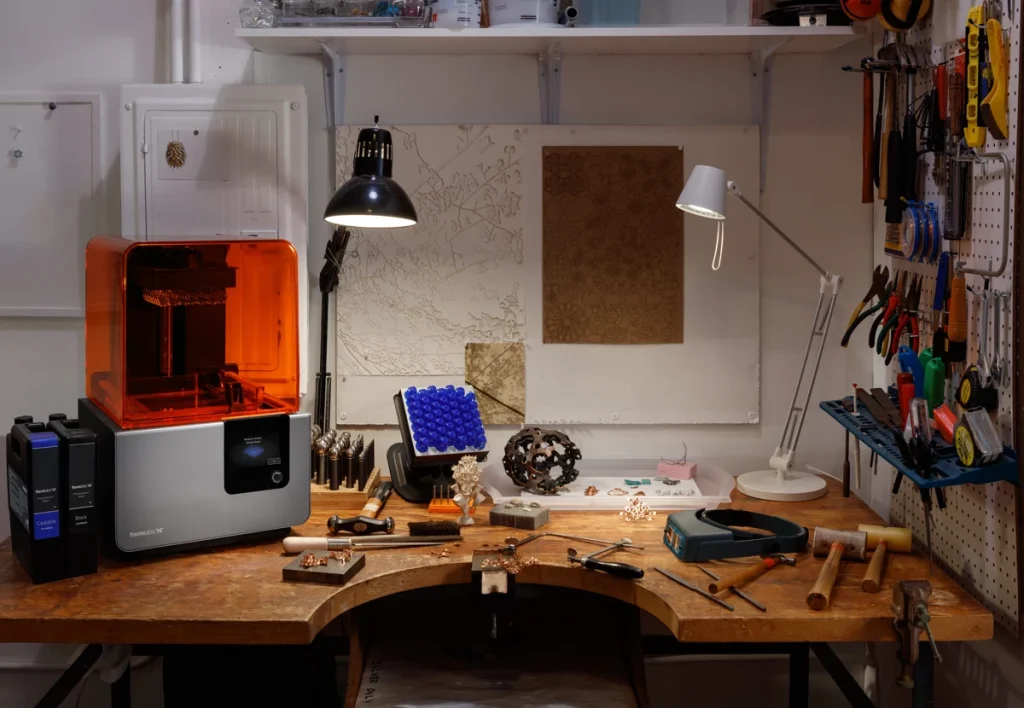
A Formlabs resin-printing workbench with space for tools and finishing work. View photo
Formlabs Inc. / original photograph, CC BY 2.0. Resized and converted to WebP.
-
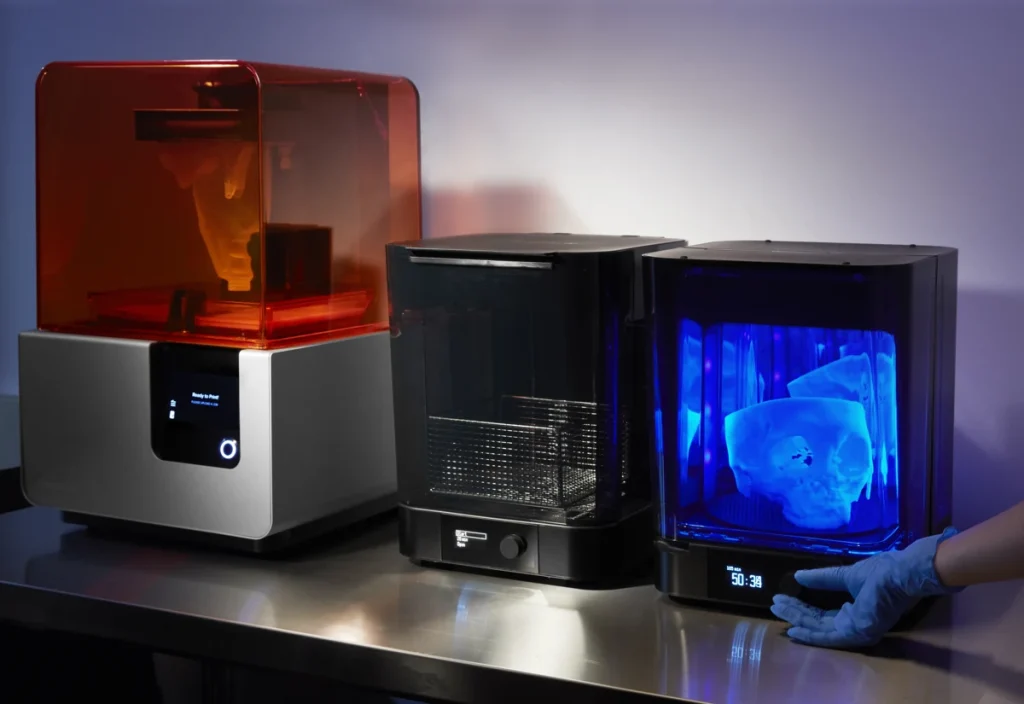
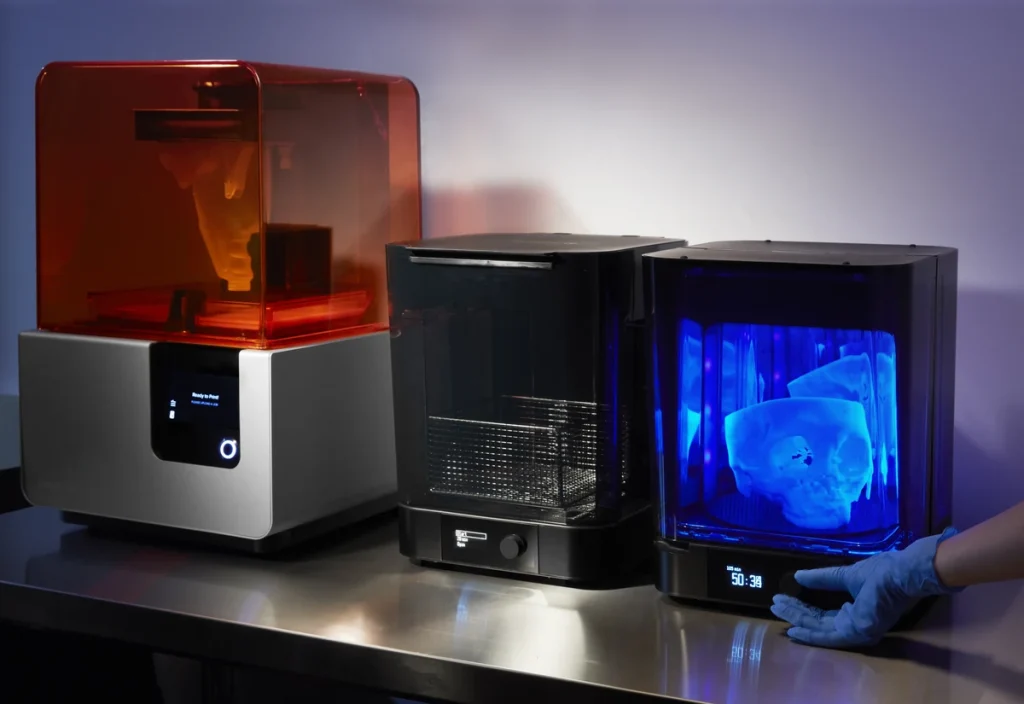
Manufacturer process example: a skull model in a Form Cure beside a Form Wash and Form 2 printer. View photo
Formlabs Inc. / original photograph, CC BY 2.0. Resized and converted to WebP.
Elegoo OrangeStorm Giga
-
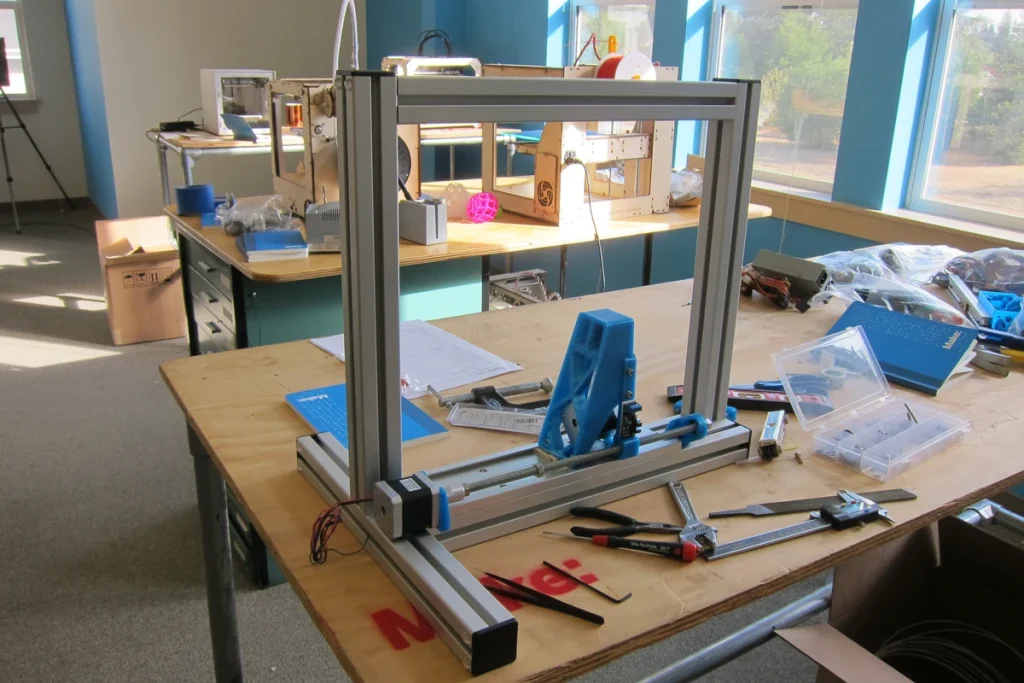
A Felix printer being assembled at a workshop, illustrating the bench space needed for tools and loose components. View photo
Make: 3D Printer Testing / Felix printer being assembled — John Abella, CC BY 2.0. Resized and compressed to WebP.
-
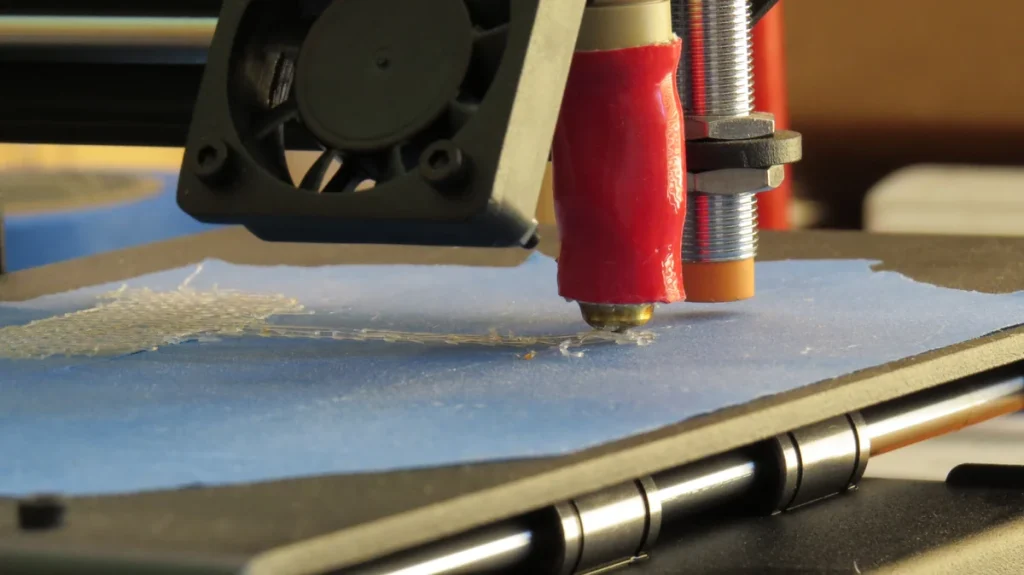
An early layer on a tape-covered filament-printer bed; a general first-layer example, not a Giga calibration result. View photo
3D Printer — Luke Jones, CC BY 2.0. Resized and compressed to WebP.
-
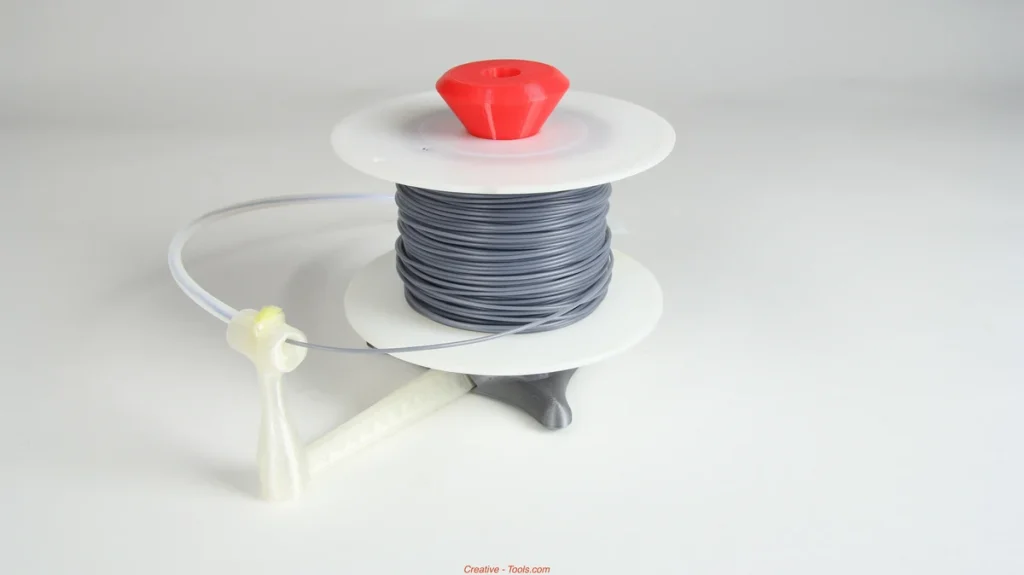
A filament spool on Creative Tools’ printed stand. This is a general spool-handling example, not the Giga’s supplied holder. View photo
Universal stand-alone filament spool holder (Fully 3D-printable) v03 — Creative Tools, CC BY 2.0. Resized and compressed to WebP.
-
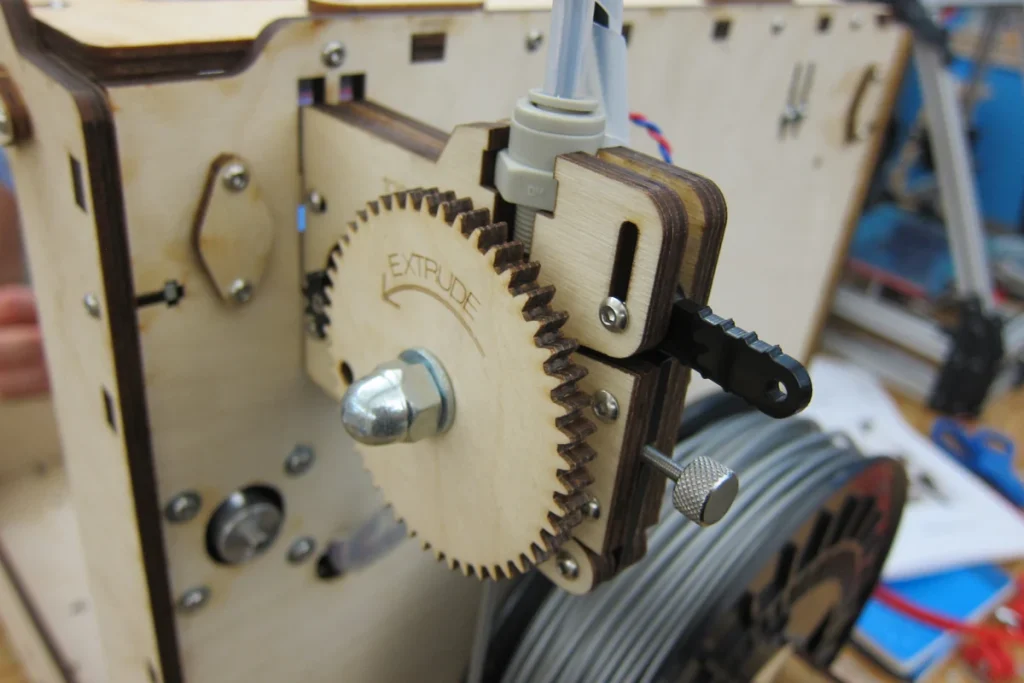
An Ultimaker filament feeder with its gears and adjustment hardware exposed; a general maintenance detail from a different printer. View photo
Make: 3D Printer Testing / Ultimaker Extruder Detail — John Abella, CC BY 2.0. Resized and compressed to WebP.
ELEGOO Rapid PETG
-
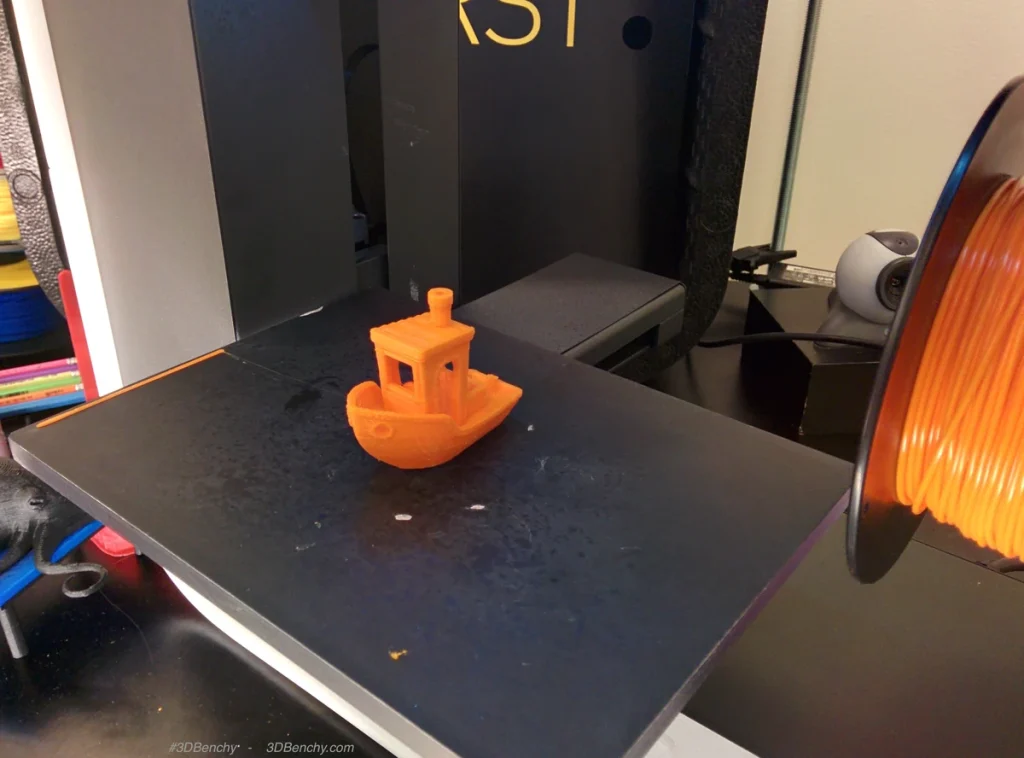
General finish example: an orange 3DBenchy on a BEETHEFIRST printer. The filament grade is unspecified. View photo
“#3DBenchy 3D-printed at low resolution on a BEETHEFIRST 3D printer” by 3DBenchy (https://www.flickr.com/photos/3dbenchy/17203395618/), CC BY 2.0 (https://creativecommons.org/licenses/by/2.0/). Resized and converted to WebP.
-
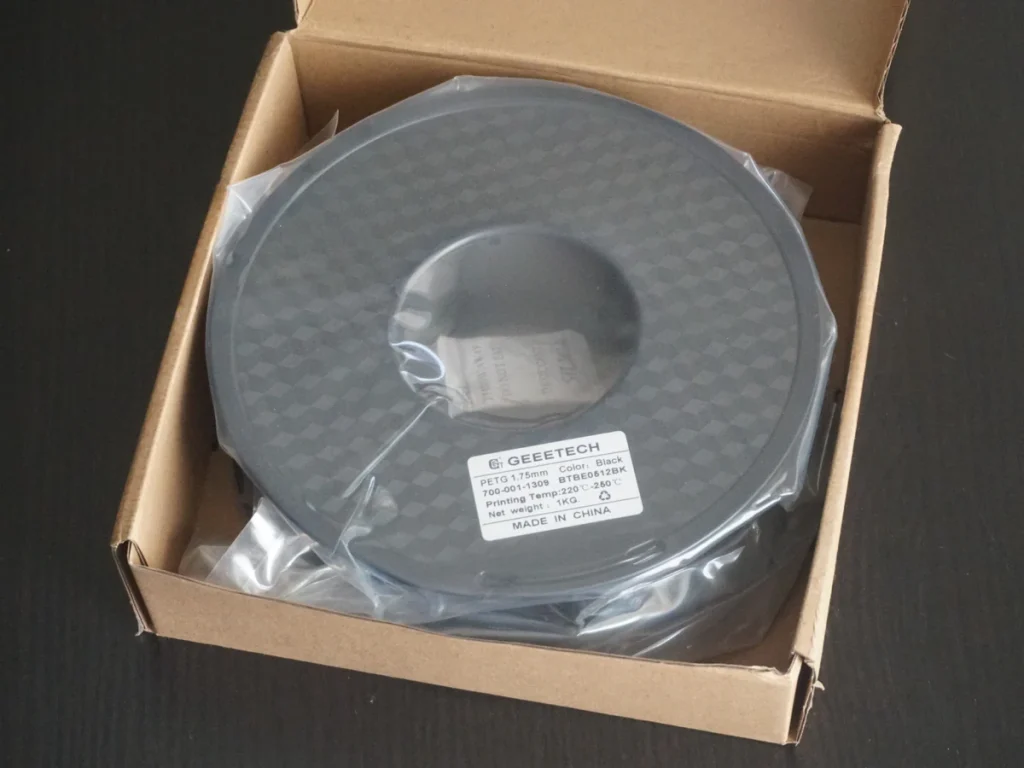
General packaging example: a Geeetech PETG spool in a sealed bag with desiccant. Use Rapid PETG’s own drying and feeder instructions. View photo
“1 kg petg filament in packaging” by Suit (https://commons.wikimedia.org/wiki/File:1_kg_petg_filament_in_packaging.jpg), CC BY-SA 4.0 (https://creativecommons.org/licenses/by-sa/4.0/). Resized and converted to WebP.
Elegoo Saturn 4 Ultra 16K
-
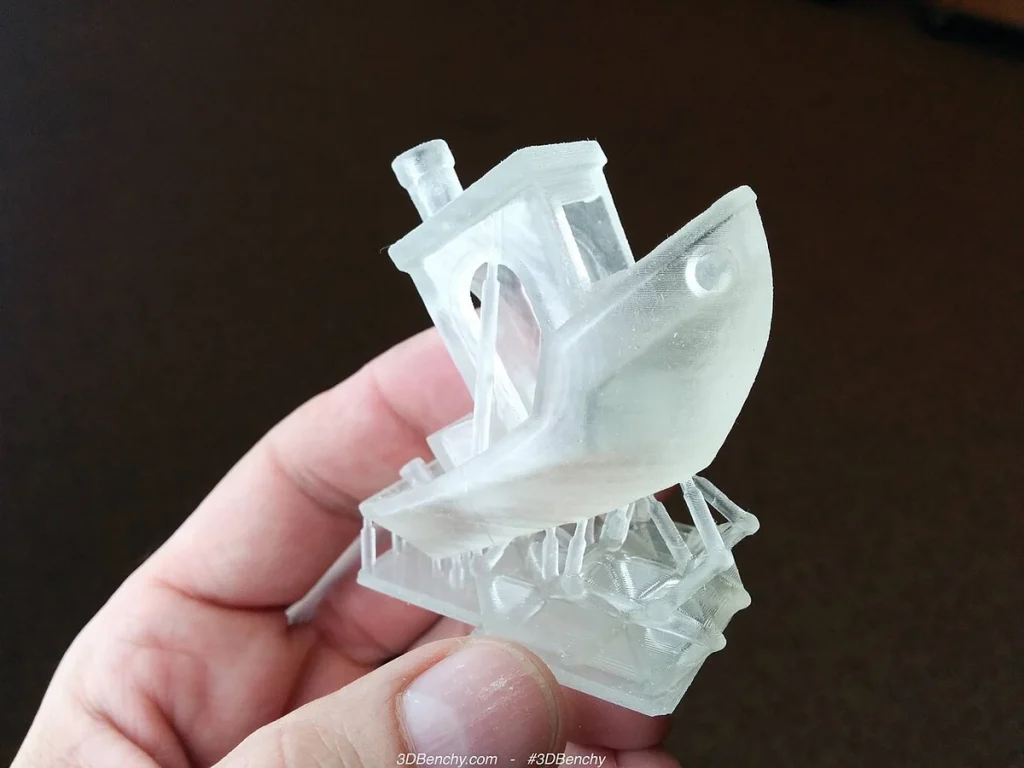
A resin-printed Benchy with its supports still attached, illustrating the finishing work left after printing. View photo
“3DBenchy printed on a resin printer.jpg” — Creative Tools, CC BY 2.0 (https://creativecommons.org/licenses/by/2.0/). https://commons.wikimedia.org/wiki/File:3DBenchy_printed_on_a_resin_printer.jpg Resized and converted to WebP.
-
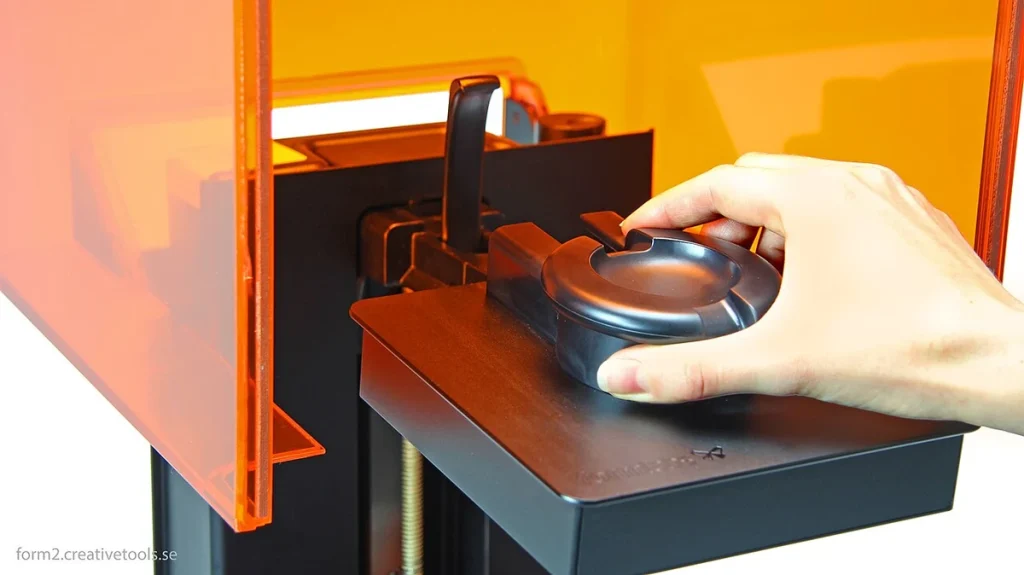
Handling a Formlabs Form 2 build platform during setup; this illustrates plate handling on a different resin printer. View photo
“Formlabs Form2 Bild06 5184x2912 (24498628565).jpg” — Creative Tools, CC BY 2.0 (https://creativecommons.org/licenses/by/2.0/). https://commons.wikimedia.org/wiki/File:Formlabs_Form2_Bild06_5184x2912_(24498628565).jpg Resized and converted to WebP.
-
An empty Formlabs Form 2 tank being handled during setup, shown as general resin-equipment context. View photo
“Formlabs Form2 Bild09 5184x2912 (24416246841).jpg” — Creative Tools, CC BY 2.0 (https://creativecommons.org/licenses/by/2.0/). https://commons.wikimedia.org/wiki/File:Formlabs_Form2_Bild09_5184x2912_(24416246841).jpg Resized and converted to WebP.
-
A Formlabs Form 2 resin cartridge being handled during setup; the Saturn uses a manually filled tank. View photo
“Formlabs Form2 Bild04 5184x2912 (24472439746).jpg” — Creative Tools, CC BY 2.0 (https://creativecommons.org/licenses/by/2.0/). https://commons.wikimedia.org/wiki/File:Formlabs_Form2_Bild04_5184x2912_(24472439746).jpg Resized and converted to WebP.
-
Formlabs finishing equipment, including rinse containers and hand tools, shows the extra equipment involved in resin printing. View photo
“Formlabs Form2 Bild07 5184x2912 (24498628135).jpg” — Creative Tools, CC BY 2.0 (https://creativecommons.org/licenses/by/2.0/). https://commons.wikimedia.org/wiki/File:Formlabs_Form2_Bild07_5184x2912_(24498628135).jpg Resized and converted to WebP.
.jpg)
Elegoo Standard Resin
-
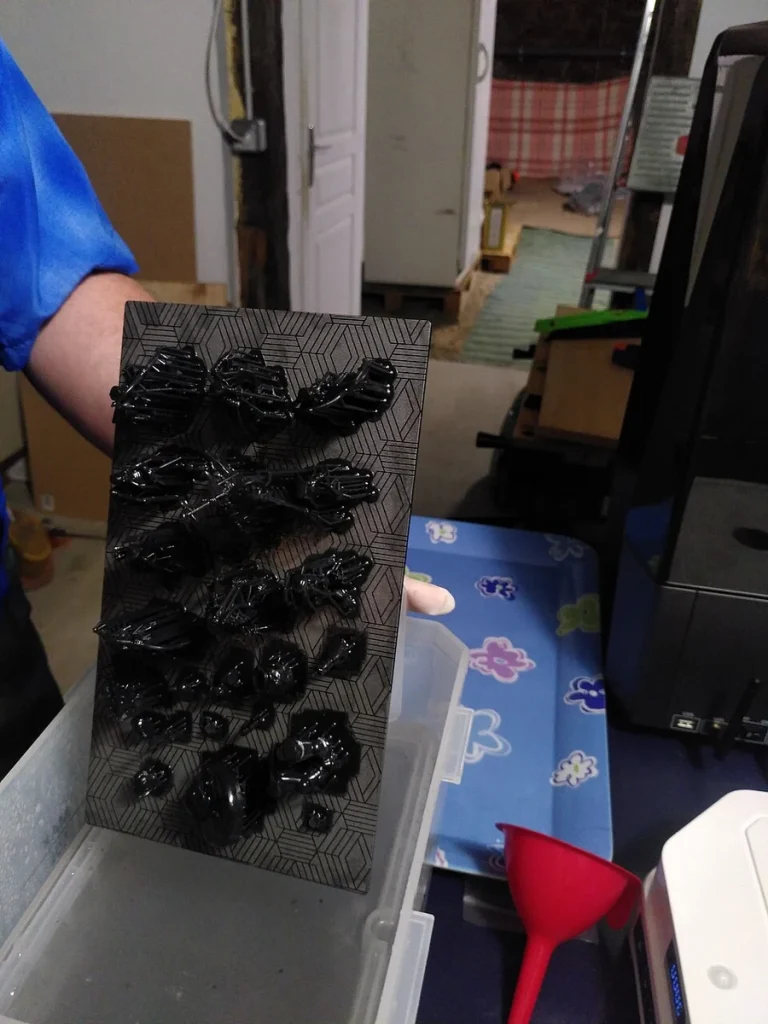
Resin figures remain attached to their supports and build plate before cleaning; the resin grade is unspecified. View photo
Lyokoï, “Résultat d’une impression 3D avant nettoyage.jpg”, https://creativecommons.org/licenses/by-sa/4.0/ — resized and converted to WebP. Source: https://commons.wikimedia.org/wiki/File:R%C3%A9sultat_d%E2%80%99une_impression_3D_avant_nettoyage.jpg
-
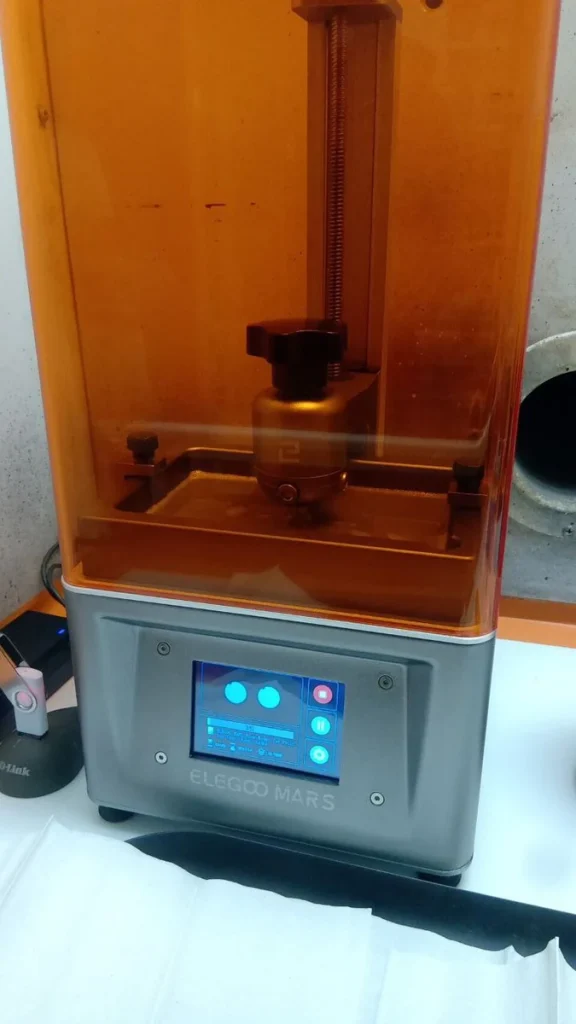
An Elegoo Mars in a workshop illustrates the LCD resin-printer workflow. The resin in its vat is unspecified. View photo
Tampere Hacklab, “Elegoo mars.jpg”, https://creativecommons.org/licenses/by/2.0/ — resized and converted to WebP. Source: https://commons.wikimedia.org/wiki/File:Elegoo_mars.jpg
-
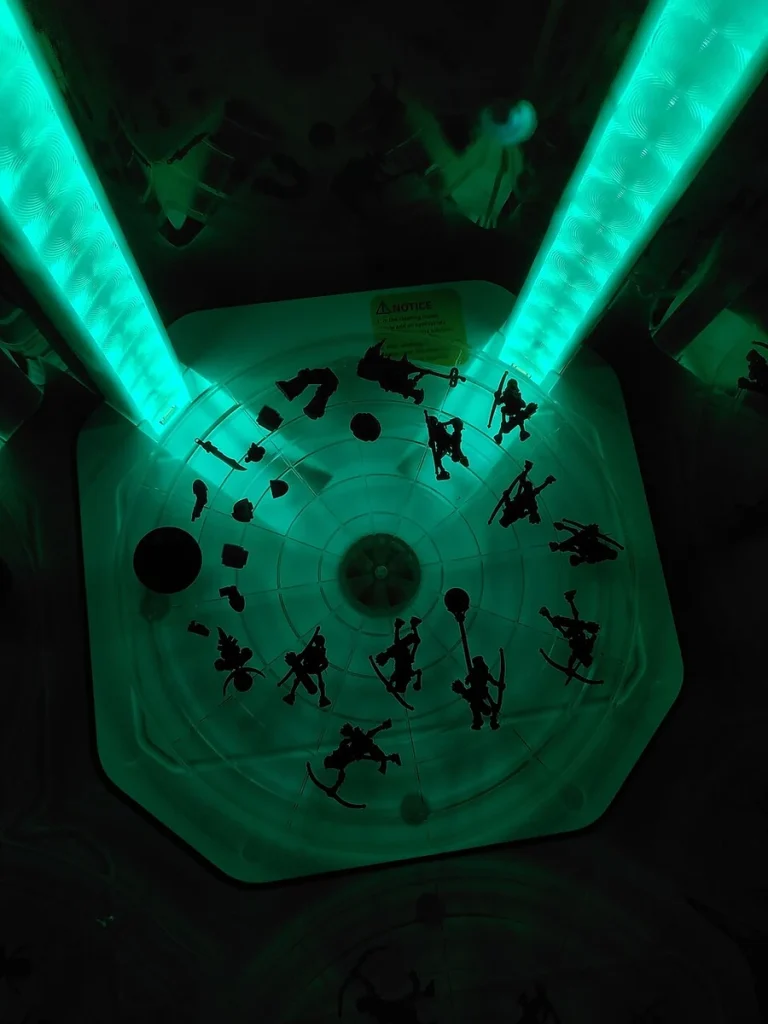
Resin figures and separate parts inside a UV-curing station; the resin grade and curing duration are unspecified. View photo
Lyokoï, “Polymérisation UV de figurines.jpg”, https://creativecommons.org/licenses/by-sa/4.0/ — resized and converted to WebP. Source: https://commons.wikimedia.org/wiki/File:Polym%C3%A9risation_UV_de_figurines.jpg



eSUN ABS+
-
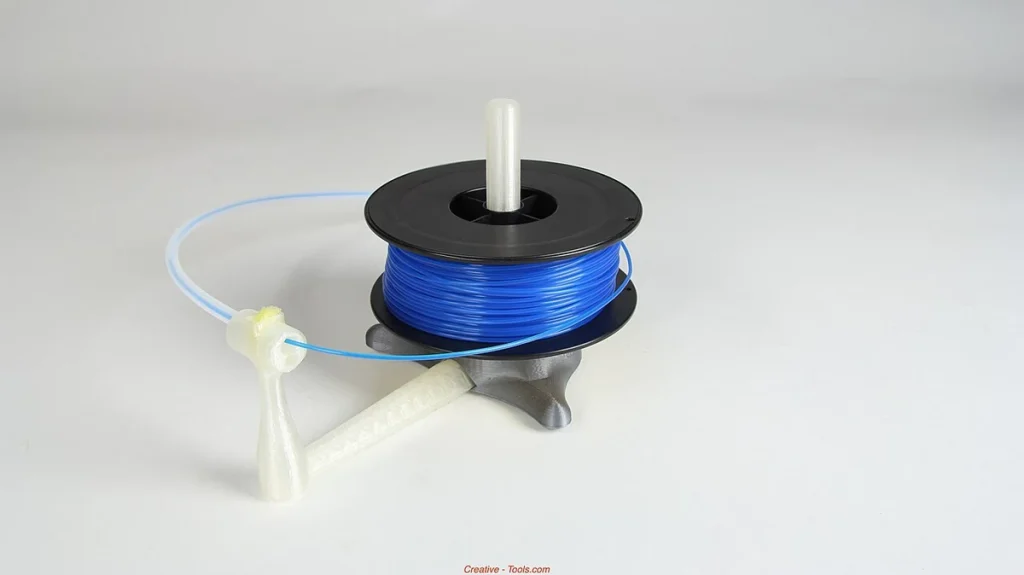
A printed spool holder carrying a reel of filament—a functional-part example with an ongoing load. Its material is unspecified. View photo
“Universal stand-alone filament spool holder (Fully 3D-printable) v04” by Creative Tools — https://www.flickr.com/photos/33907867@N02/15591161602/ — CC BY 2.0: https://creativecommons.org/licenses/by/2.0/. Resized and compressed to WebP.
eSUN PETG+
-
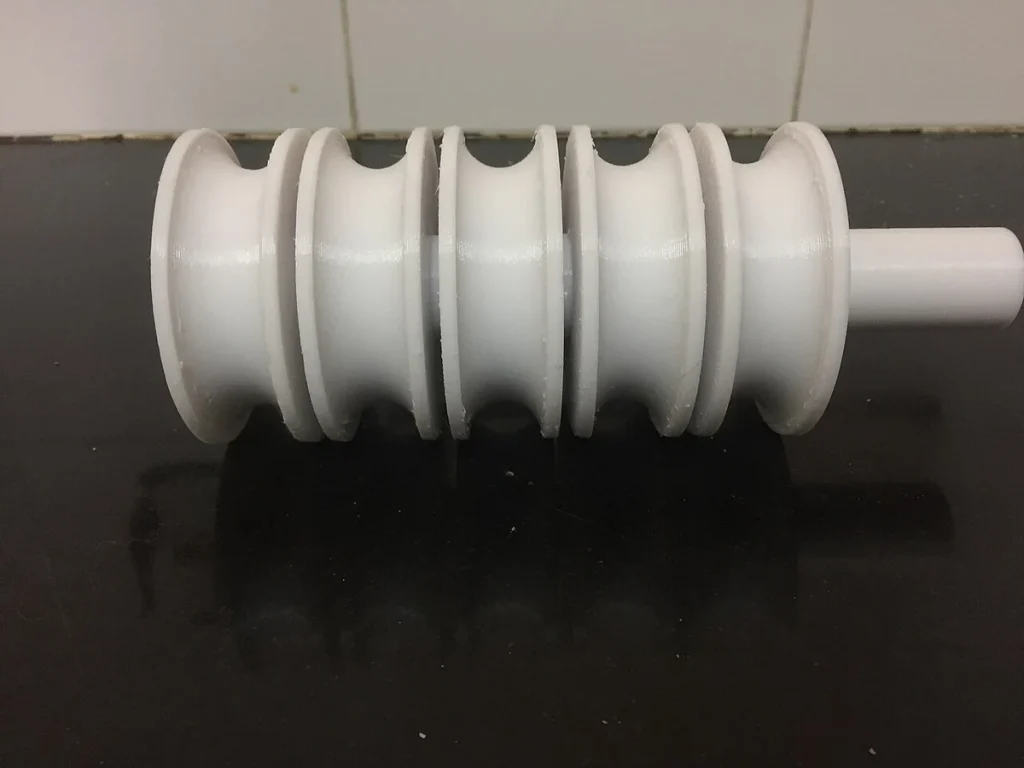
A PETG pulley-shaft print with visible layer lines. The filament brand and grade are unspecified; this is a general example, not an eSUN PETG+ test. View photo
“First PETG 3D FLM Printed Pulley Shaft Design” — newman72@sbcglobal.net, https://flickr.com/photos/23866680@N06/49014483321, CC BY 2.0 (https://creativecommons.org/licenses/by/2.0/). Resized and converted to WebP.
-
A Geeetech PETG spool in vacuum packaging with desiccant illustrates filament packaging and moisture protection. It is a different product from eSUN PETG+. View photo
“1 kg petg filament in packaging” — Suit, https://commons.wikimedia.org/wiki/File:1_kg_petg_filament_in_packaging.jpg, CC BY-SA 4.0 (https://creativecommons.org/licenses/by-sa/4.0/). Resized and converted to WebP; image remains CC BY-SA 4.0.
.jpg)
eSUN PLA+
-
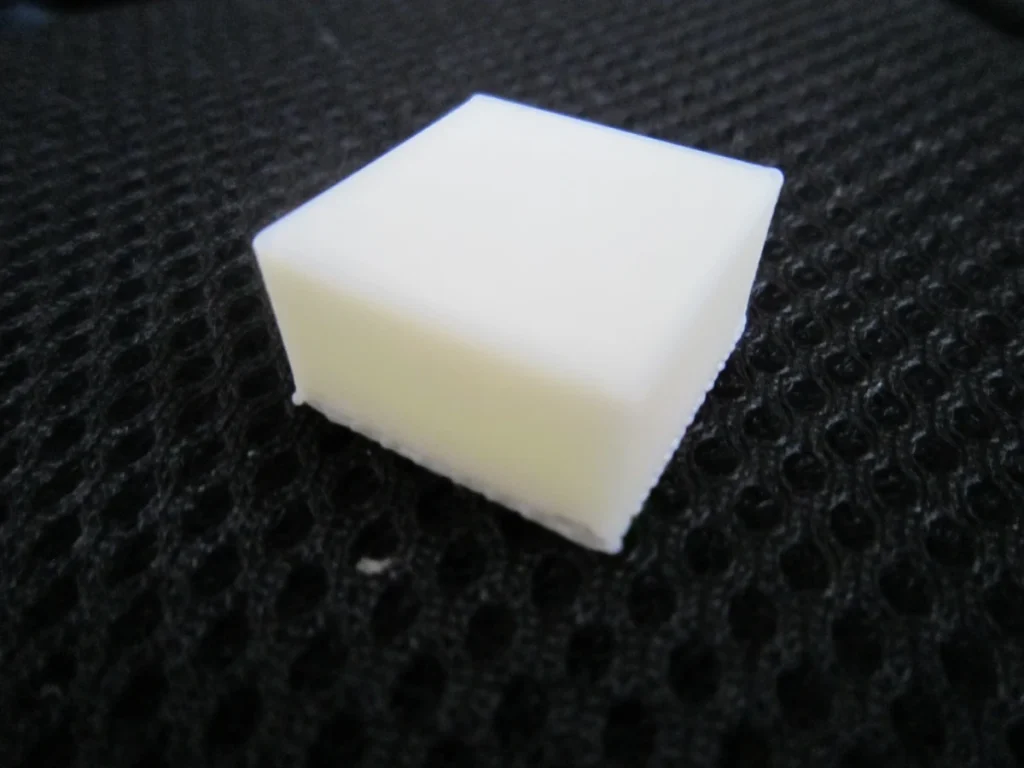
A generic calibration cube after raft removal. This illustrates a small setup print, not an eSUN PLA+ result. View photo
First Print: 20mm Calibration Cube — syvwlch. CC BY 2.0: https://creativecommons.org/licenses/by/2.0/. Resized and converted to WebP.
-
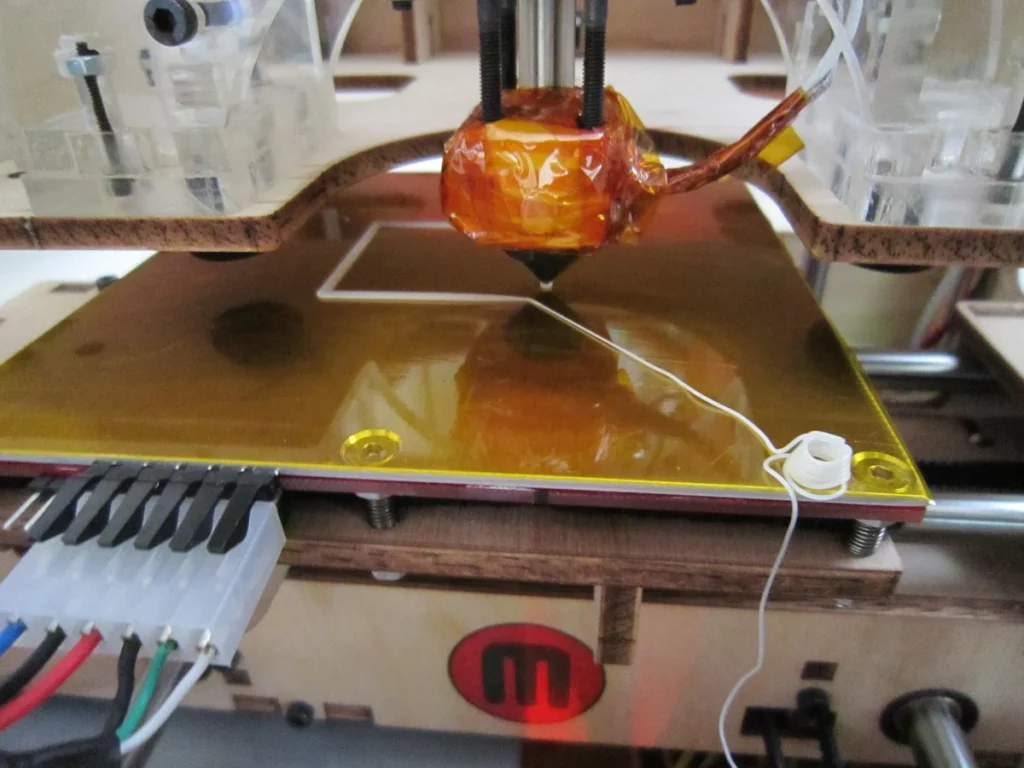
A printer laying down a calibration-print outline. This is a general first-layer setup scene; the filament is not identified as eSUN PLA+. View photo
First Print: 20mm Calibration Cube — syvwlch. CC BY 2.0: https://creativecommons.org/licenses/by/2.0/. Resized and converted to WebP.
-
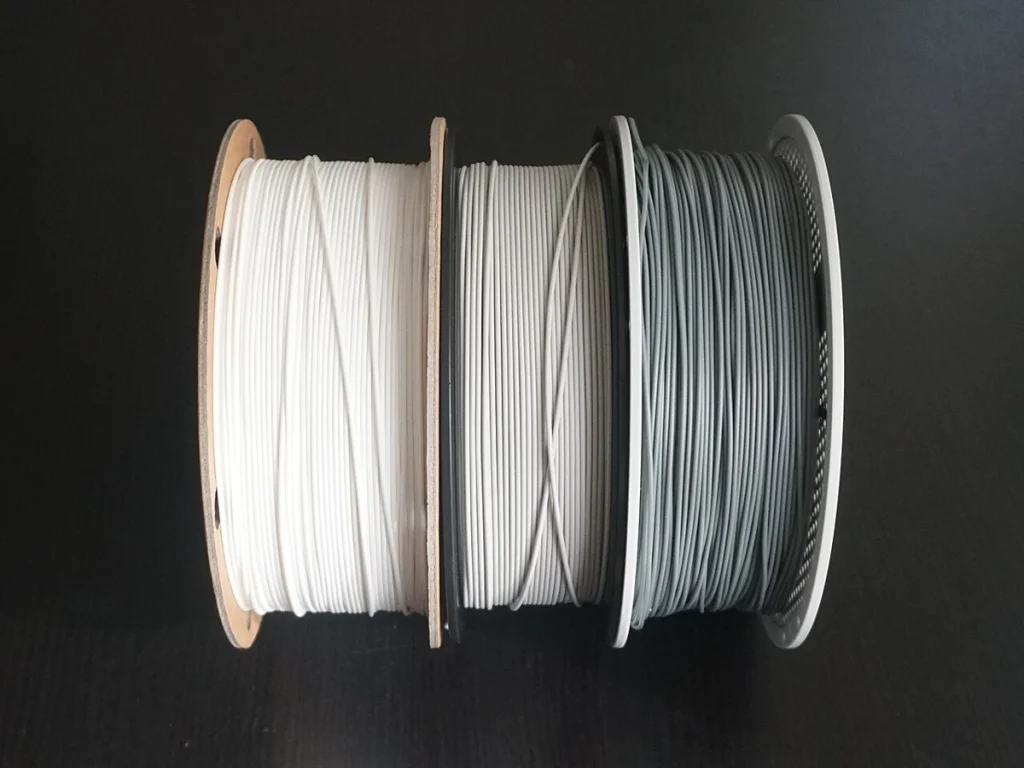
Cardboard, plastic and refill-on-reusable spool formats, from left to right. These generic examples illustrate package differences, not eSUN PLA+ feeder compatibility. View photo
Filament cardboard plastic refill 1 — Suit. CC BY-SA 4.0: https://creativecommons.org/licenses/by-sa/4.0/. Resized and converted to WebP; same license.
.jpg)
.jpg)

eSUN TPU 95A
-
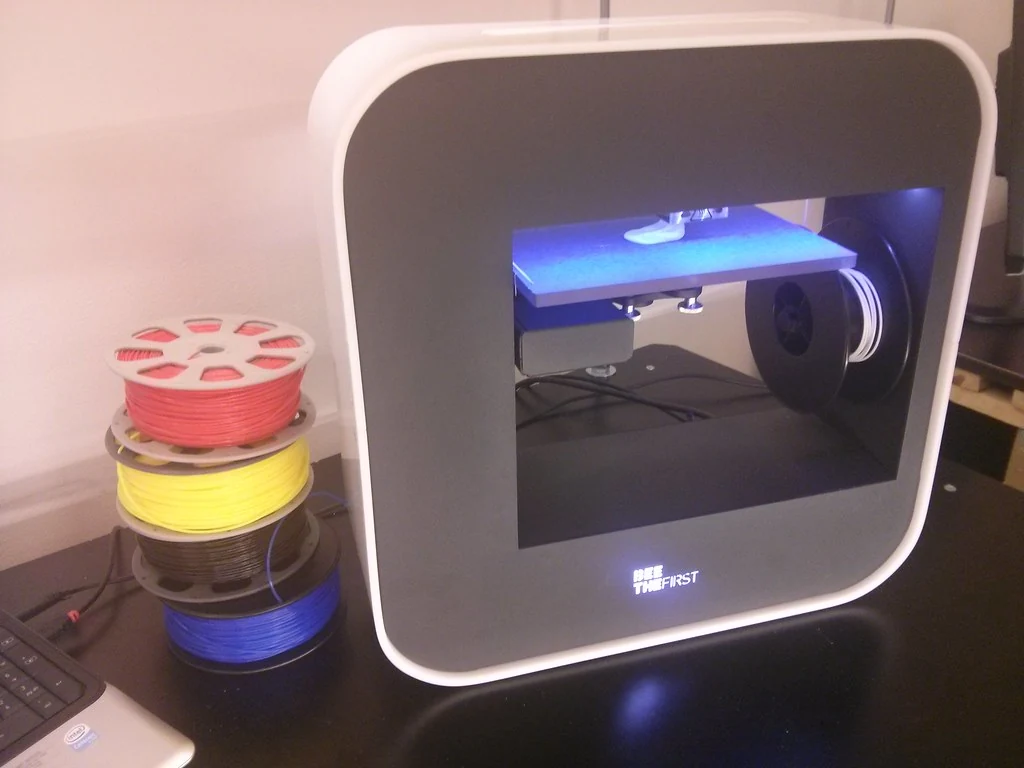
A BEETHEFIRST printer with a mounted spool and spare filament beside it; the material grades are unspecified. View photo
Creative Tools — BEETHEFIRST 3D printer and 3D-printed filament spools. https://www.flickr.com/photos/33907867@N02/14196364119/ CC BY 2.0 (https://creativecommons.org/licenses/by/2.0/). Converted to WebP.
-
A filament dryer beside a Creality K1C on a workbench. Its display shows PLA settings, not an eSUN TPU 95A drying schedule. View photo
Mortymore — Creality dry-box. https://www.flickr.com/photos/42537987@N07/54117116523/ CC BY 2.0 (https://creativecommons.org/licenses/by/2.0/). Converted to WebP.
-
This wrench print was paused to expose its walls and infill. It illustrates internal structure; the filament grade is unspecified. View photo
Creative Tools — Fully assembled 3D printable wrench. https://www.flickr.com/photos/33907867@N02/9618138363/ CC BY 2.0 (https://creativecommons.org/licenses/by/2.0/). Converted to WebP.

Fiberlogy FiberFlex 40D
-
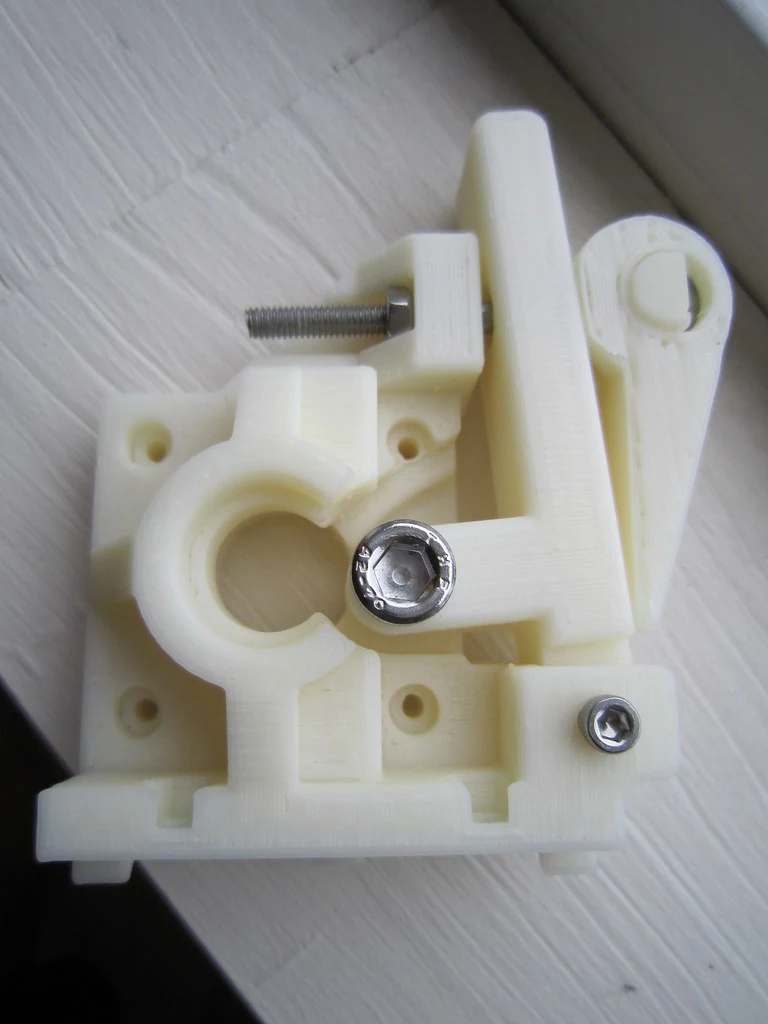
A printed replacement filament-drive mechanism: a general feeding-system example, not a FiberFlex 40D print. View photo
Filament Drive Replacement by syvwlch, CC BY 2.0. Converted to WebP.
-
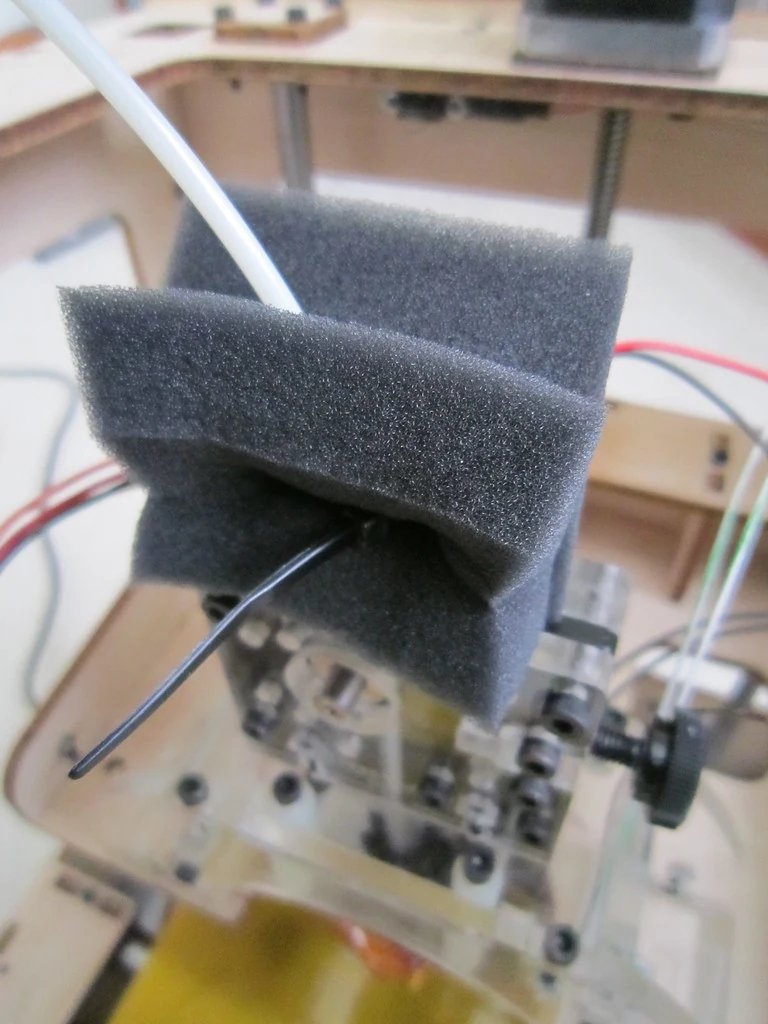
A homemade filament cleaner using foam brushes and a zip tie. This is general maintenance context; the filament grade is unidentified. View photo
Filament Cleaner by syvwlch, CC BY 2.0. Converted to WebP.
.jpg)
.jpg)
Flashforge AD5X
-
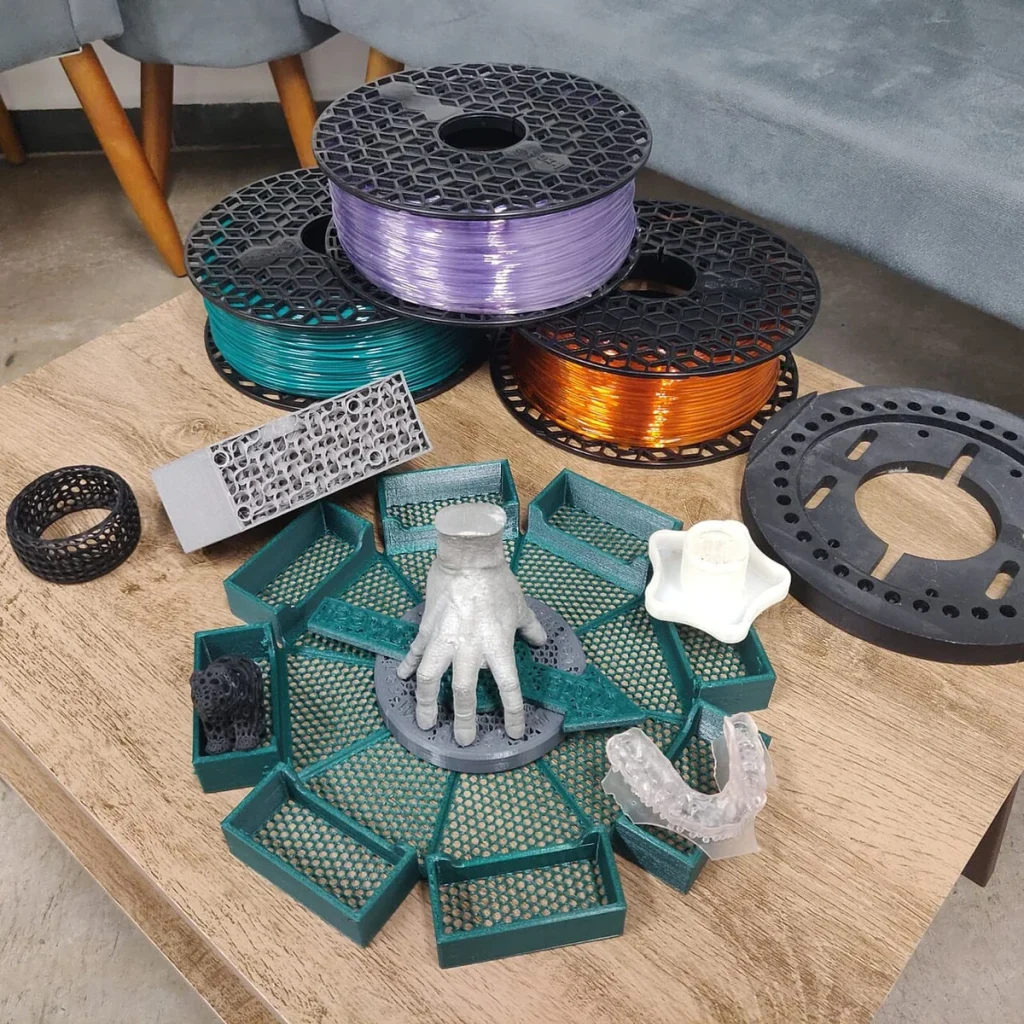
General printing context: trays, lattice pieces and other printed objects arranged beside filament spools. View photo
Vitor.Ger, “3DPrinted Objects.jpg”, CC BY-SA 4.0 (https://creativecommons.org/licenses/by-sa/4.0/). Resized and converted to WebP. Original: https://commons.wikimedia.org/wiki/File:3DPrinted_Objects.jpg
-
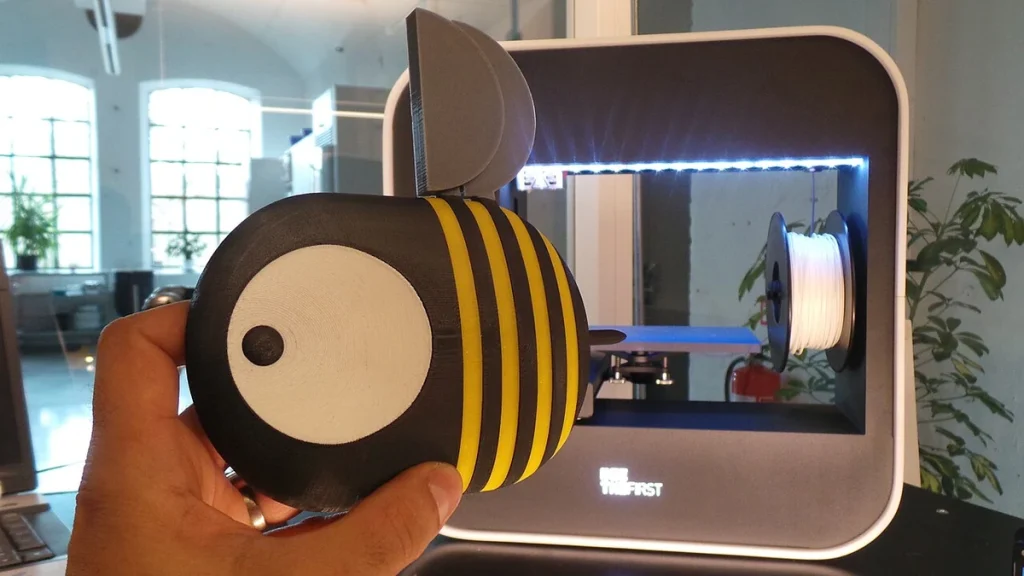
A BEETHEFIRST example: this bee was printed as separate colored parts and assembled. View photo
Creative Tools, “The BEEVERYCREATIVE BEE as multi-colour 3D-print.jpg”, CC BY 2.0 (https://creativecommons.org/licenses/by/2.0/). Resized and converted to WebP. Original: https://commons.wikimedia.org/wiki/File:The_BEEVERYCREATIVE_BEE_as_multi-colour_3D-print.jpg
-
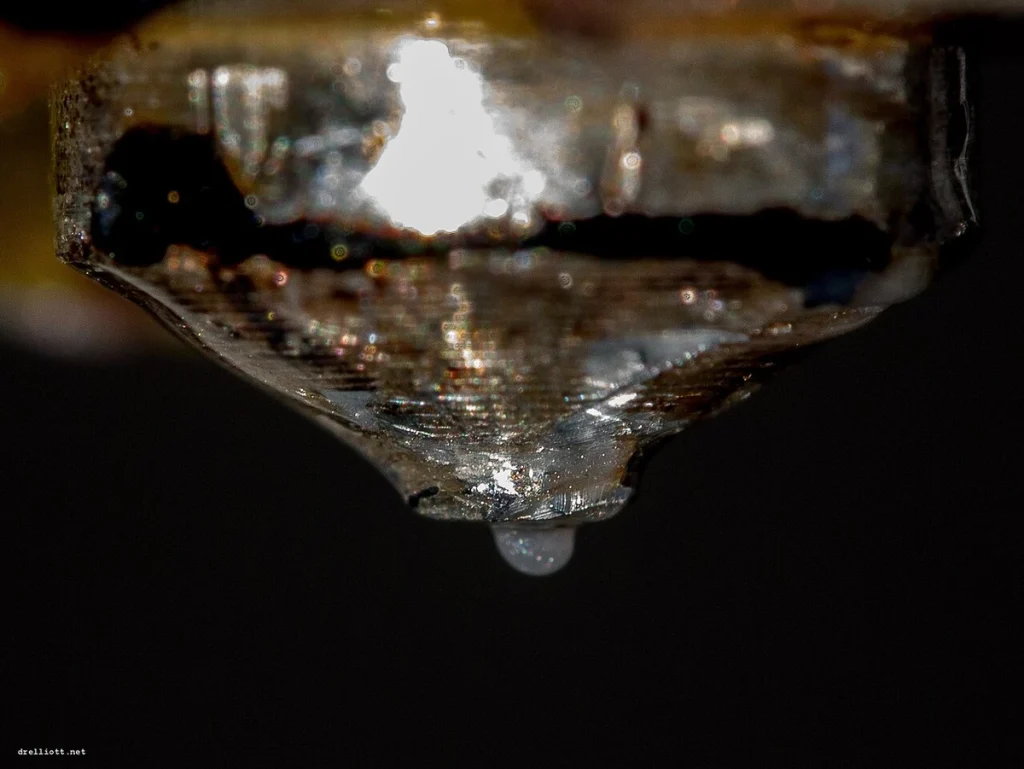
General extrusion context: a bead of plastic at a printer nozzle; this is not an AD5X nozzle assembly. View photo
David Elliott, “3D printer nozzle extruding plastic (15425519178).jpg”, CC BY 2.0 (https://creativecommons.org/licenses/by/2.0/). Resized and converted to WebP. Original: https://commons.wikimedia.org/wiki/File:3D_printer_nozzle_extruding_plastic_(15425519178).jpg
-
General filament-handling context: a white filament spool on a printed stand with a guide tube. View photo
Creative Tools, “Universal stand-alone filament spool holder (Fully 3D-printable) v10”, CC BY 2.0 (https://creativecommons.org/licenses/by/2.0/). Resized and converted to WebP. Original: https://commons.wikimedia.org/wiki/File:3D_Printing_Filament.jpg

Flashforge Adventurer 5M Pro
-
A green 3DBenchy showing visible layers and curved surfaces; a general printing example, not a 5M Pro test print. View photo
“3D BENCHY” by Sumanbargavr — https://commons.wikimedia.org/wiki/File:3D_BENCHY.jpg — CC BY-SA 4.0: https://creativecommons.org/licenses/by-sa/4.0/ Resized and converted to WebP.
-
A filament dry box beside a Creality K1C illustrates a separate drying setup; this is not the Adventurer 5M Pro. View photo
“Creality dry-box” by Mortymore — https://commons.wikimedia.org/wiki/File:Creality_dry-box.jpg — CC BY 2.0: https://creativecommons.org/licenses/by/2.0/ Resized and converted to WebP.
-
Close-up of plastic leaving a printer nozzle; this general process photo does not show the 5M Pro’s quick-change assembly. View photo
“3D printer nozzle extruding plastic” by David Elliott — https://commons.wikimedia.org/wiki/File:3D_printer_nozzle_extruding_plastic_(15608959541).jpg — CC BY 2.0: https://creativecommons.org/licenses/by/2.0/ Resized and converted to WebP.
-
White filament on a separate printed spool holder illustrates filament handling; it is not the 5M Pro’s supplied holder. View photo
“3D Printing Filament” by Creative Tools — https://commons.wikimedia.org/wiki/File:3D_Printing_Filament.jpg — CC BY 2.0: https://creativecommons.org/licenses/by/2.0/ Resized and converted to WebP.
.jpg)
Flashforge Creator 5 Pro
-
A 2015 two-color Benchy from a different dual-head printer, with visible strings and stray plastic. View photo
“Dual-print multi-part color 3D print of #3DBenchy v19” by 3DBenchy (https://www.flickr.com/photos/3dbenchy/19860660895), CC BY 2.0 (https://creativecommons.org/licenses/by/2.0/). Resized and converted to WebP.
-
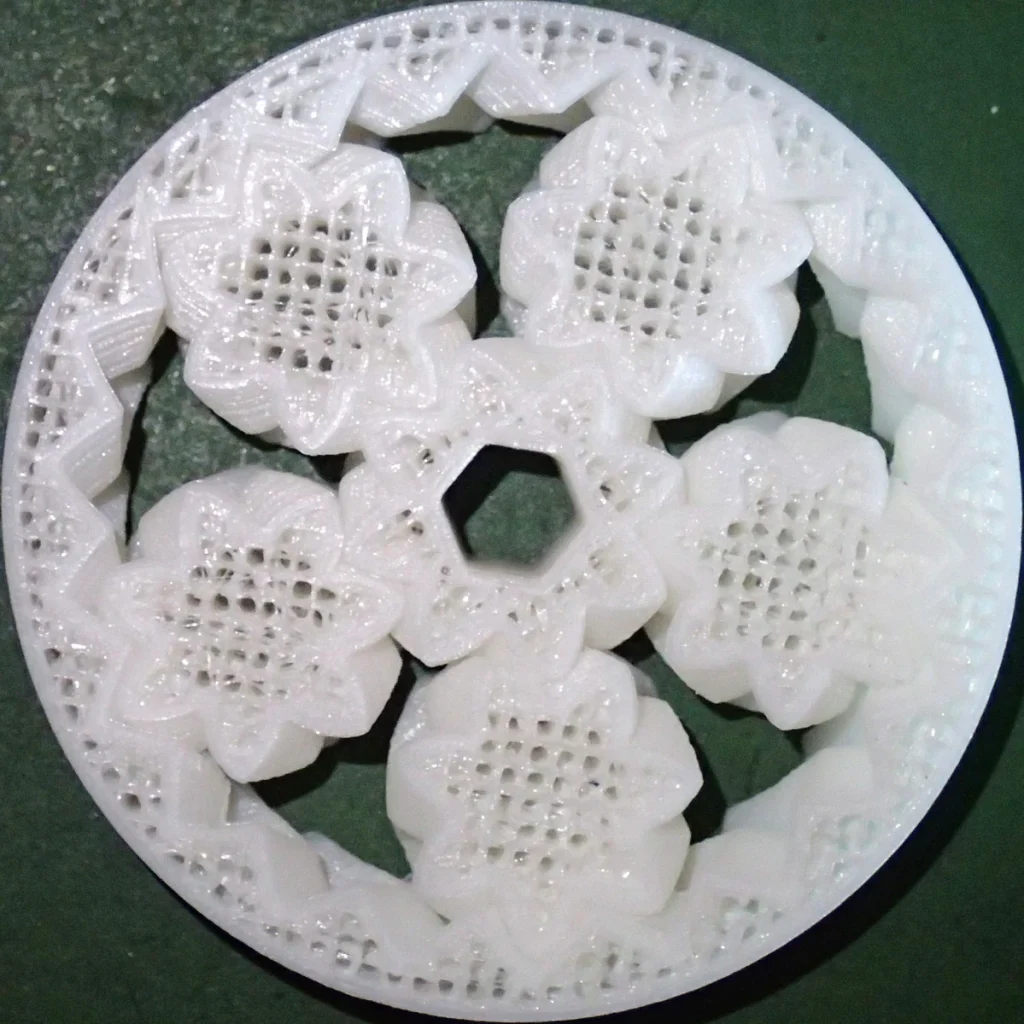
A 3D-printed planetary gear with visible infill; its printer and filament are unspecified. View photo
“Helical planetary gear” by Robbie Sproule (https://www.flickr.com/photos/robbie1/40069995811), CC BY 2.0 (https://creativecommons.org/licenses/by/2.0/). Resized and converted to WebP.
-
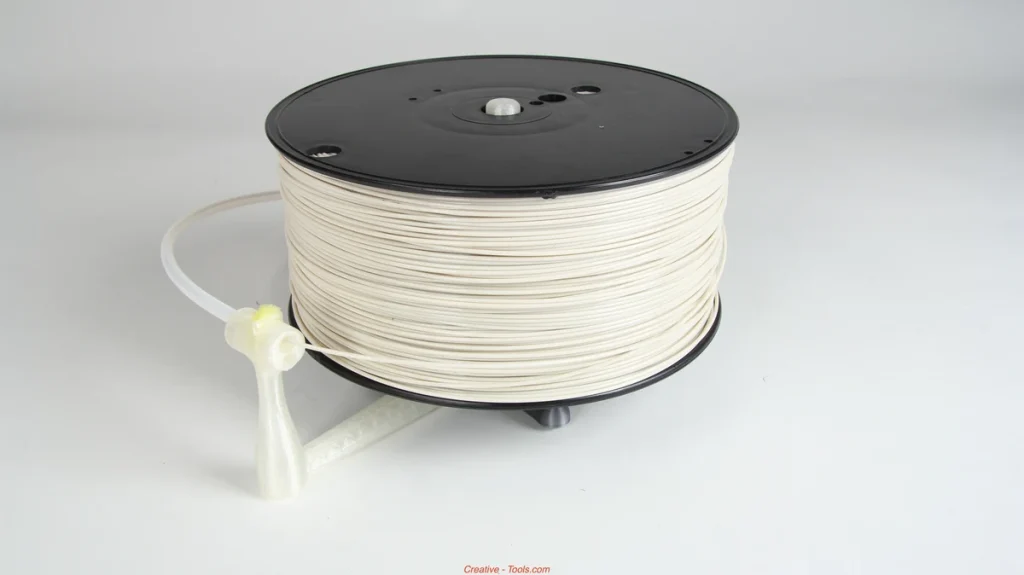
A standalone spool holder with a filament guide and tube, shown as general filament-handling context. View photo
“Universal stand-alone filament spool holder (Fully 3D-printable) v10” by Creative Tools (https://www.flickr.com/photos/creative_tools/14970173353), CC BY 2.0 (https://creativecommons.org/licenses/by/2.0/). Resized and converted to WebP.
-
An older hot-end assembly with taped wiring and screw fasteners, shown as general maintenance context. View photo
“Extruder Build, Part Two (Hot End)” by syvwlch (https://www.flickr.com/photos/27164521@N00/5797081637), CC BY 2.0 (https://creativecommons.org/licenses/by/2.0/). Resized and converted to WebP.
Formlabs Form 4
-
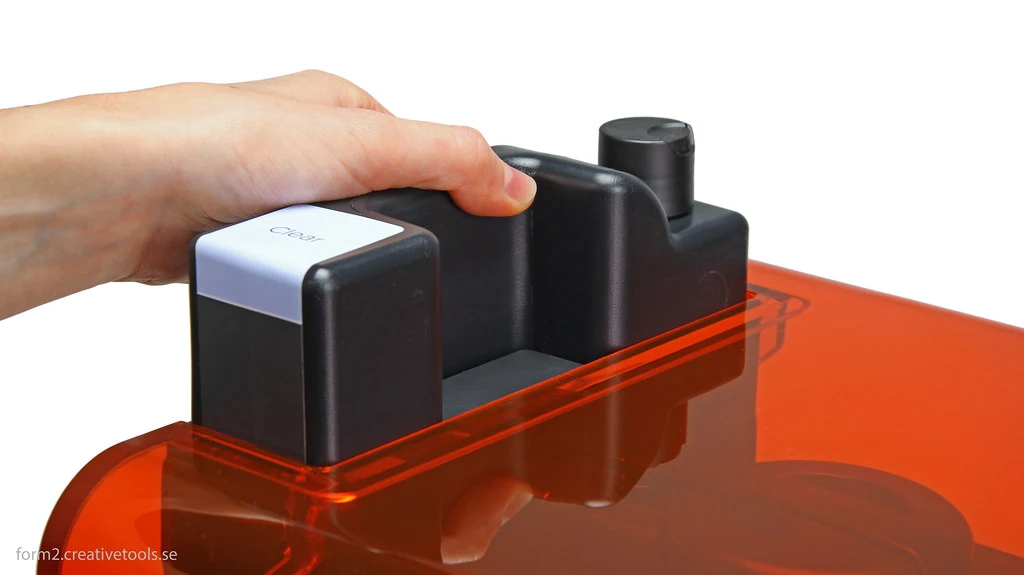
A Clear resin cartridge on an older Form 2 illustrates cartridge handling; this is not a Form 4 cartridge or Clear V5. View photo
“Formlabs_Form2_Bild04_5184x2912” by Creative Tools, CC BY 2.0 (https://creativecommons.org/licenses/by/2.0/). Resized and converted to WebP. Original: https://commons.wikimedia.org/wiki/File:Formlabs_Form2_Bild04_5184x2912_(24472439746).jpg
-
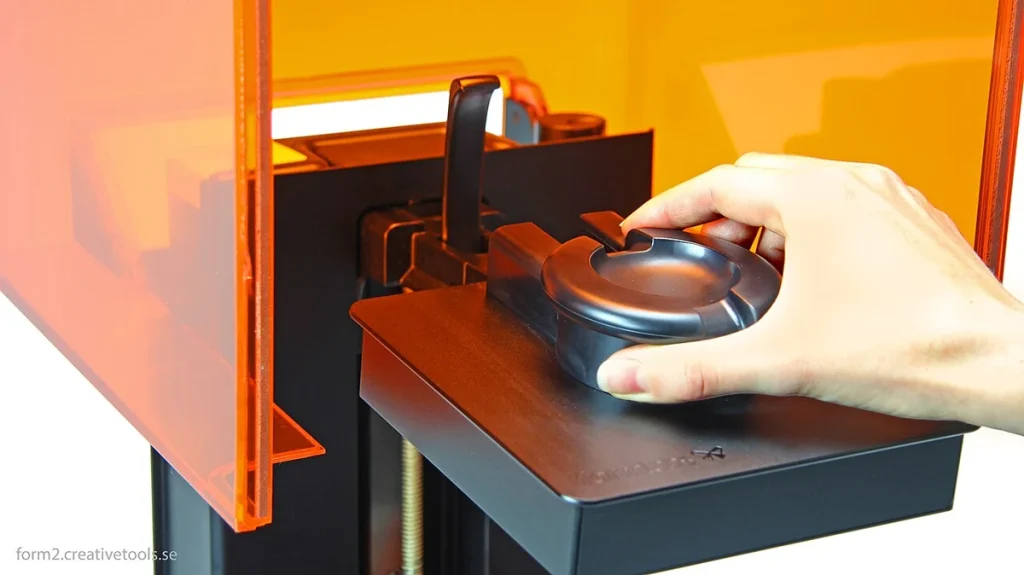
Handling the build platform on an older Form 2, shown as a general example of the physical work around resin printing. View photo
“Formlabs_Form2_Bild06_5184x2912” by Creative Tools, CC BY 2.0 (https://creativecommons.org/licenses/by/2.0/). Resized and converted to WebP. Original: https://commons.wikimedia.org/wiki/File:Formlabs_Form2_Bild06_5184x2912_(24498628565).jpg
-
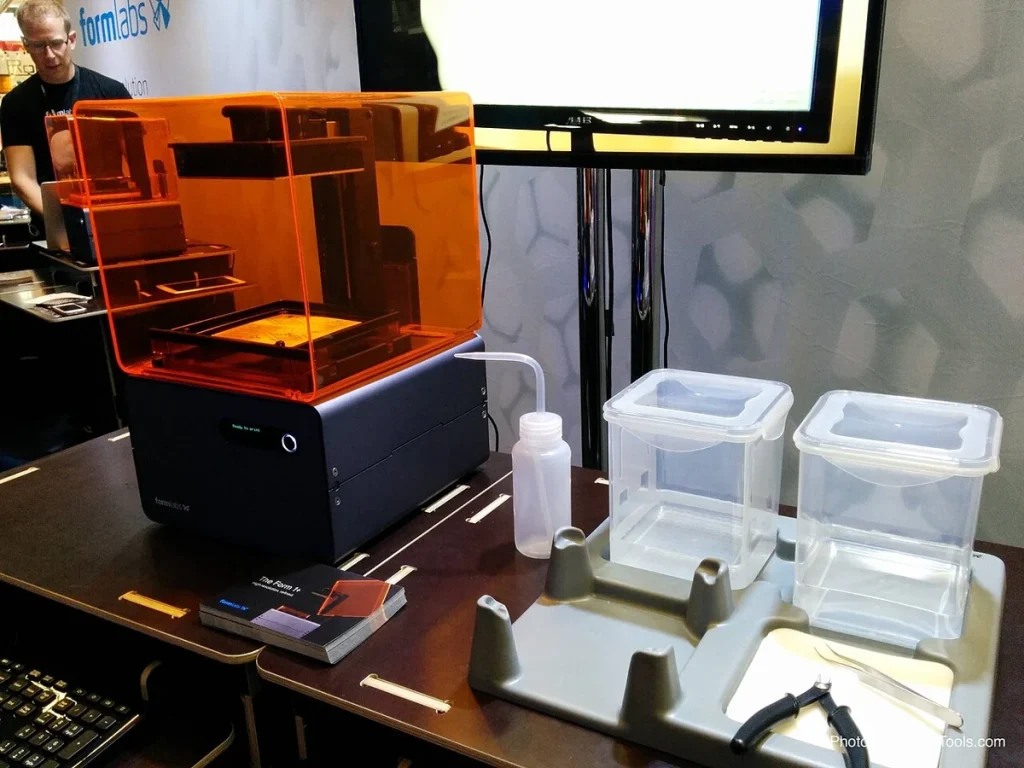
A Form 1 display with separate tubs and finishing tools illustrates the extra bench space resin printing can need. View photo
“3D Printshow 2014 London - Formlabs Form 1 SLA 3D printer booth v02” by Creative Tools, CC BY 2.0 (https://creativecommons.org/licenses/by/2.0/). Resized and converted to WebP. Original: https://commons.wikimedia.org/wiki/File:3D_Printshow_2014_London_-_Formlabs_Form_1_SLA_3D_printer_booth_v02_(14964197459).jpg
-
An empty tank being handled by its edges on an older Form 2; this is a general tank-handling example. View photo
“Formlabs_Form2_Bild09_5184x2912” by Creative Tools, CC BY 2.0 (https://creativecommons.org/licenses/by/2.0/). Resized and converted to WebP. Original: https://commons.wikimedia.org/wiki/File:Formlabs_Form2_Bild09_5184x2912_(24416246841).jpg
-
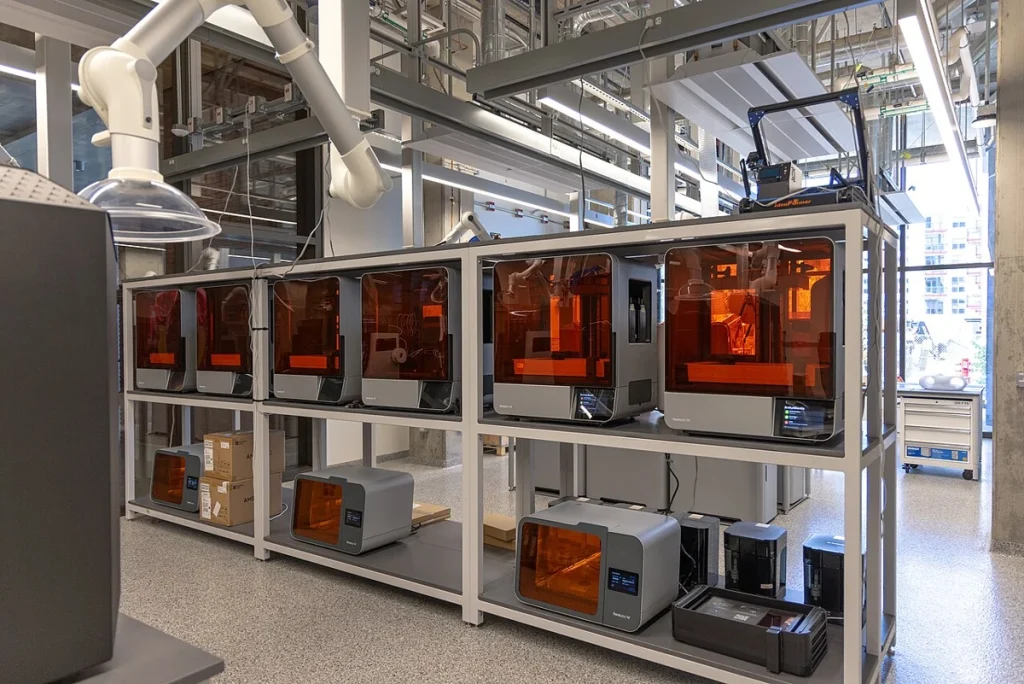
Resin printers, finishing equipment and extraction arms share a workspace at UC Davis Tech Foundry. View photo
“UC Davis Tech Foundry, June 2025” by Mario Rodriguez / UC Davis College of Engineering, CC BY 4.0 (https://creativecommons.org/licenses/by/4.0/). Resized and converted to WebP. Original: https://commons.wikimedia.org/wiki/File:UC_Davis_Tech_Foundry,_June_2025_(54611390613).jpg
.jpg)
FreeCAD Review
-
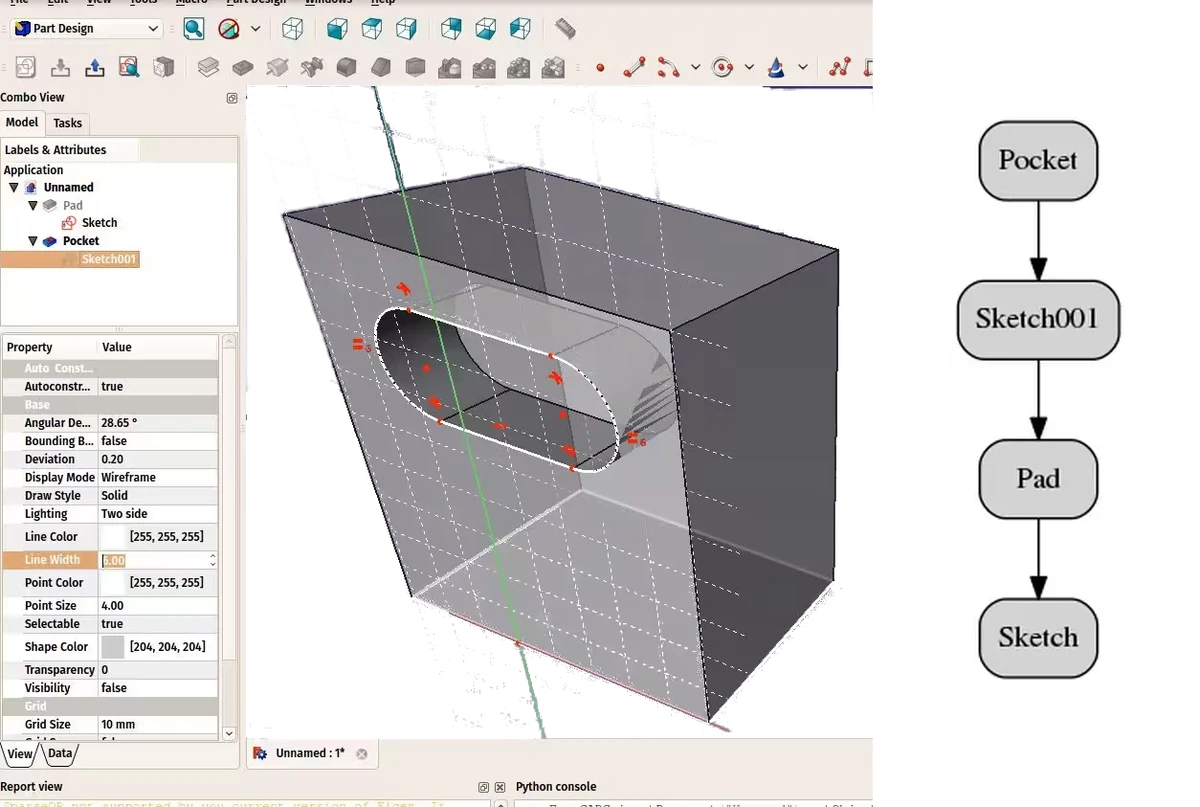
FreeCAD’s Part Design example shows how sketches, a Pad and a Pocket form a model. View photo
FreeCAD screenshot provided by the FreeCAD Team. Official software and download information: FreeCAD.
-
FreeCAD’s sketch example shows dimensions and geometric constraints controlling a curved outline. View photo
FreeCAD screenshot provided by the FreeCAD Team. Official software and download information: FreeCAD.
-
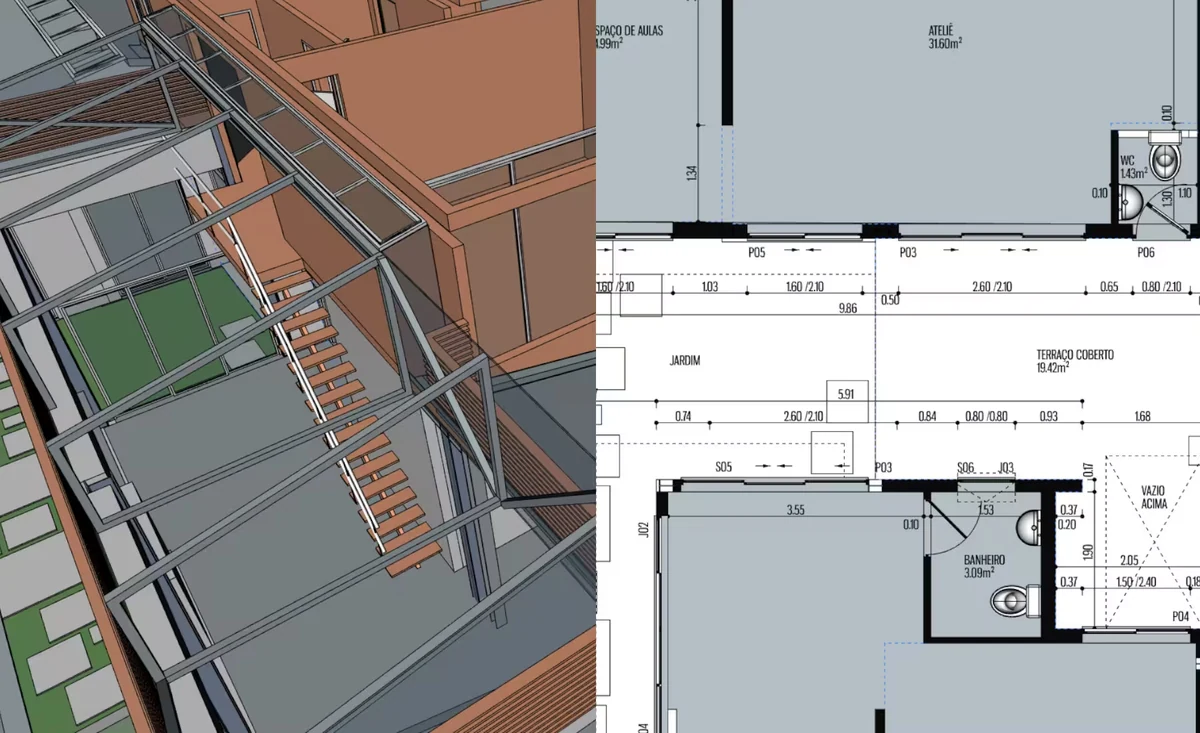
FreeCAD’s architectural example pairs a building model with a dimensioned plan. View photo
FreeCAD screenshot provided by the FreeCAD Team. Model by regis. Official software and download information: FreeCAD.
-
Transparent parts reveal the internal arrangement in this FreeCAD mechanical-model example. View photo
FreeCAD screenshot provided by the FreeCAD Team. Model by bejant. Official software and download information: FreeCAD.

Hatchbox ABS
-
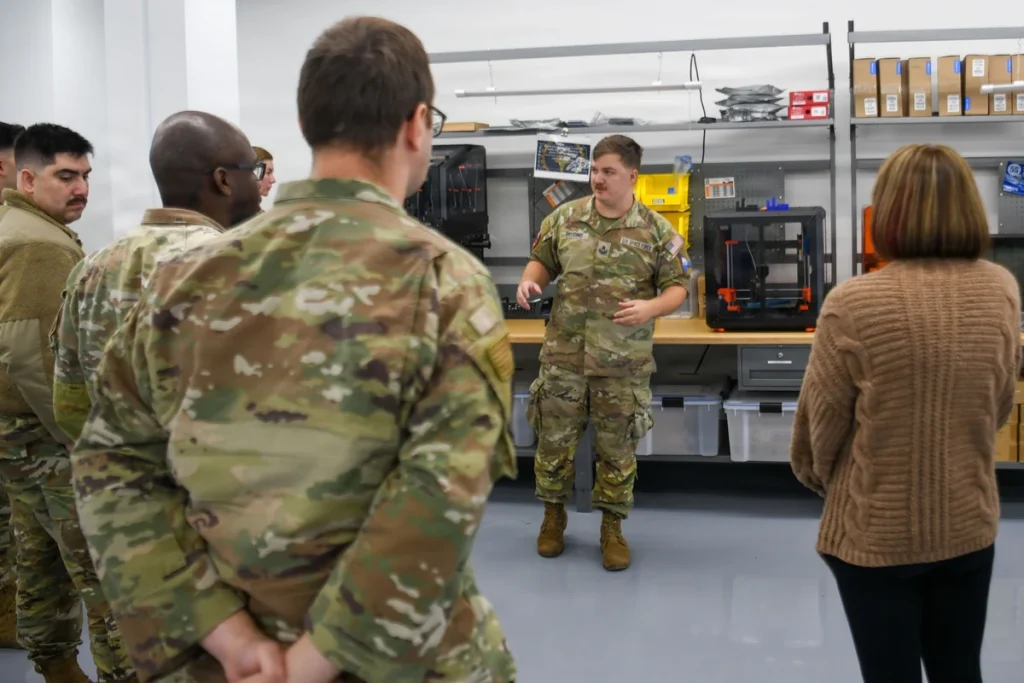
A 3D printing workshop at Vandenberg’s Crucible Innovation Lab, with enclosed printers on the workbench. This is a general setup example; the filament is unidentified. View photo
The appearance of U.S. Department of War (DoW) visual information does not imply or constitute DoW endorsement.
-
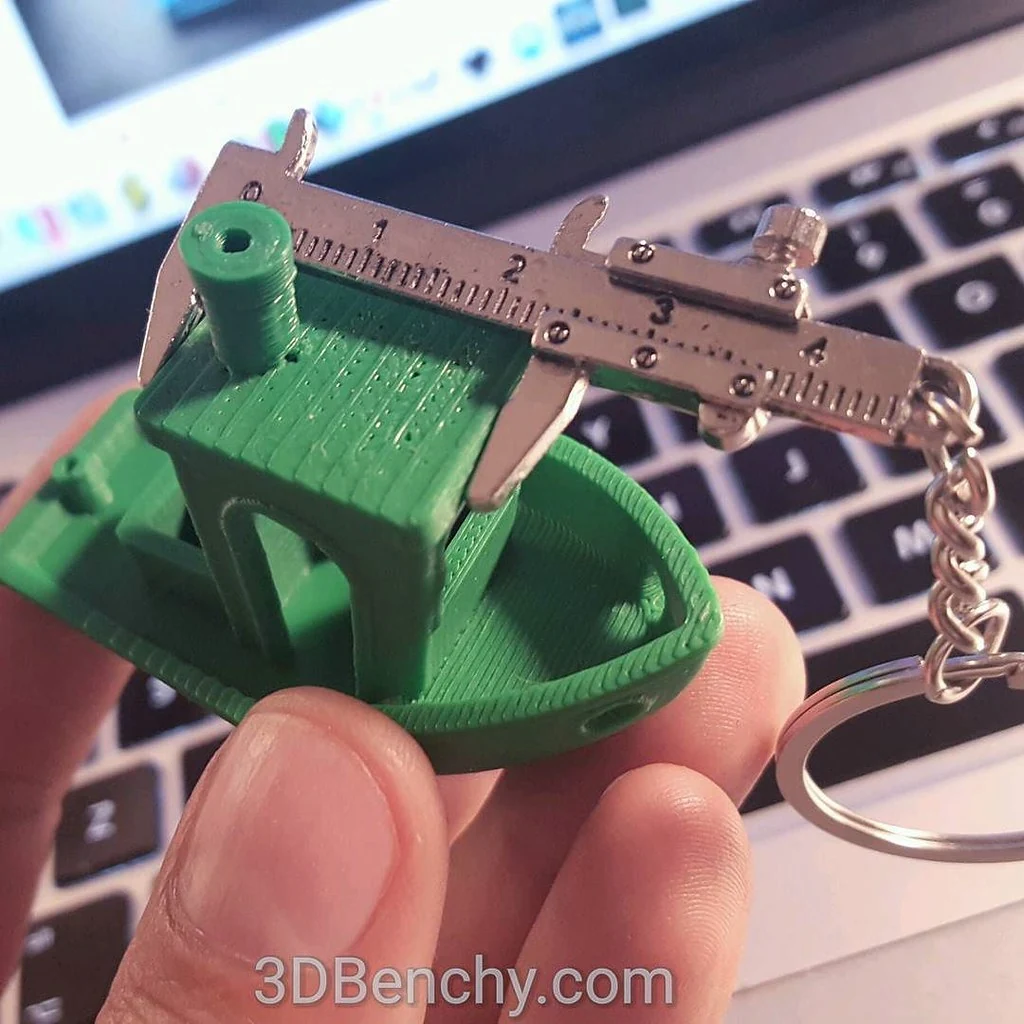
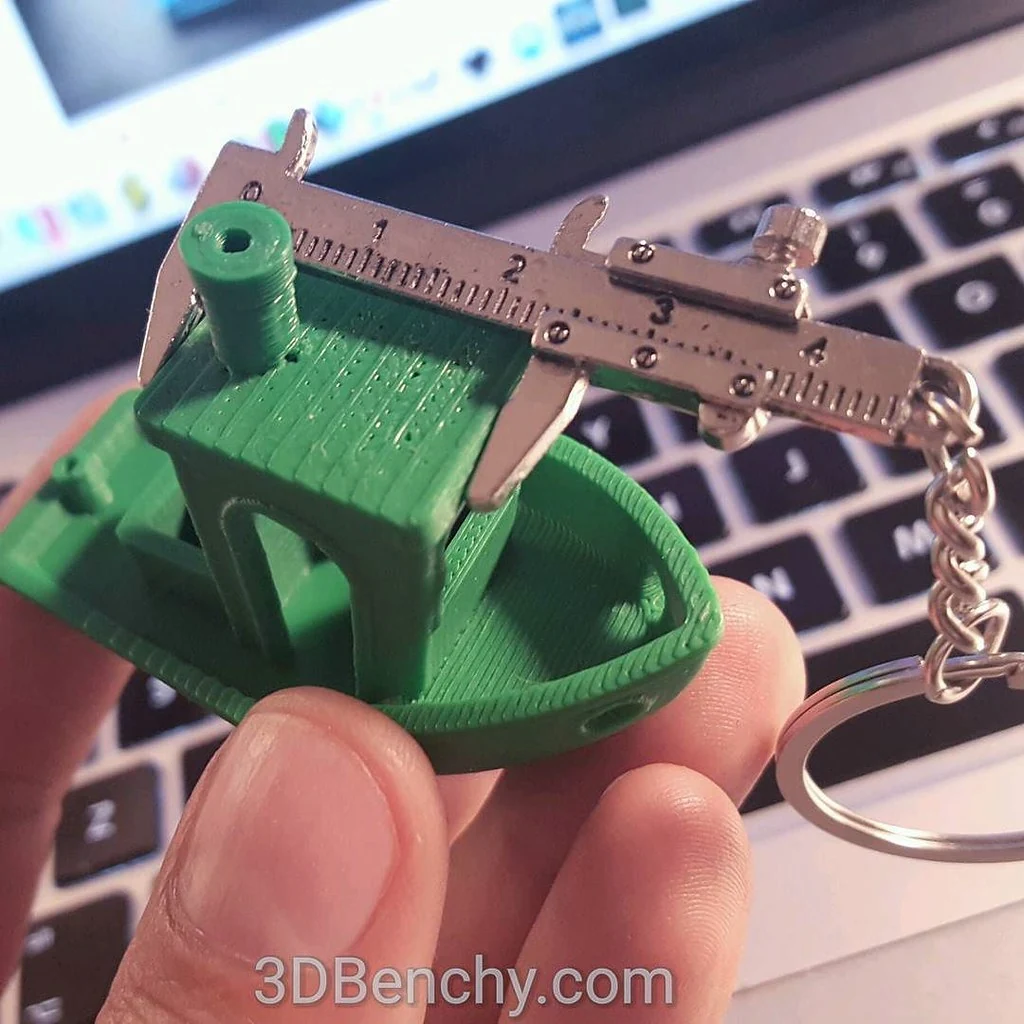
A green 3DBenchy held against a miniature caliper keyring. The filament is unidentified; this photograph illustrates a dimensional check, not a Hatchbox test result. View photo
“3DBenchy measured with tiny caliper” by 3DBenchy (https://www.flickr.com/photos/3dbenchy/29018214041/), CC BY 2.0 (https://creativecommons.org/licenses/by/2.0/). Converted to WebP.
-
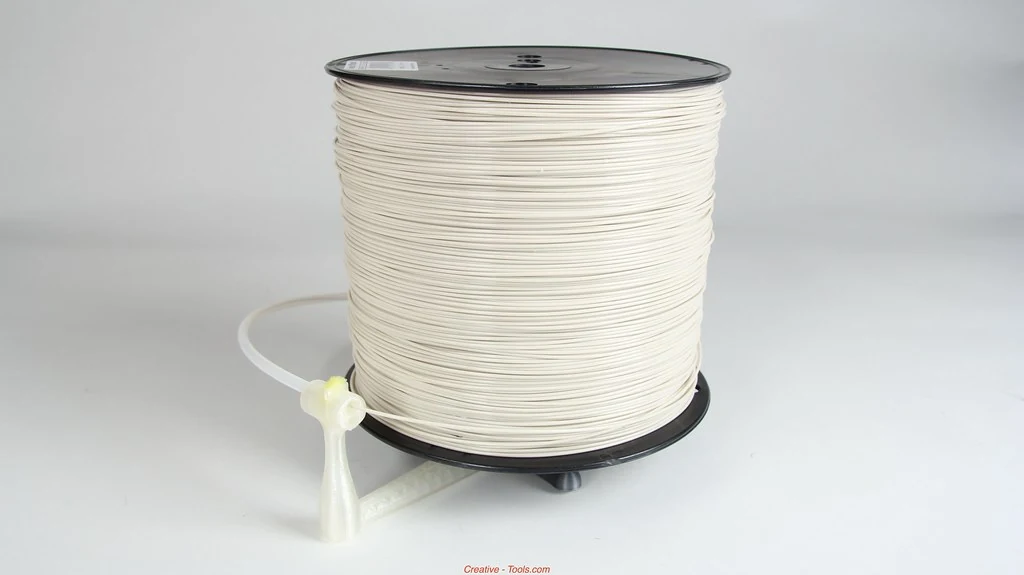
An unidentified white filament spool on a 3D-printed holder with a guide tube—a general example of filament feeding hardware. View photo
“Universal stand-alone filament spool holder (Fully 3D-printable) v11” by Creative Tools (https://www.flickr.com/photos/33907867@N02/15404715150/), CC BY 2.0 (https://creativecommons.org/licenses/by/2.0/). Converted to WebP.
Hatchbox PLA
-
A PLA Benchy printed on an Ultimaker 2, illustrating the small boat model discussed here. The filament brand is unspecified; this is not the Hatchbox test print. View photo
3DBenchy — Ultimaker 2 PLA example · CC BY 2.0 · Resized and WebP-compressed.
-
A filament reel mounted on a MakerBot Replicator spool holder. This general setup illustrates why reel fit matters; the filament brand and grade are unspecified. View photo
Creative Tools — Split filament spool holder for MakerBot Replicator 3D printer · CC BY 2.0 · Resized and WebP-compressed.
HeyGears Reflex RS
-
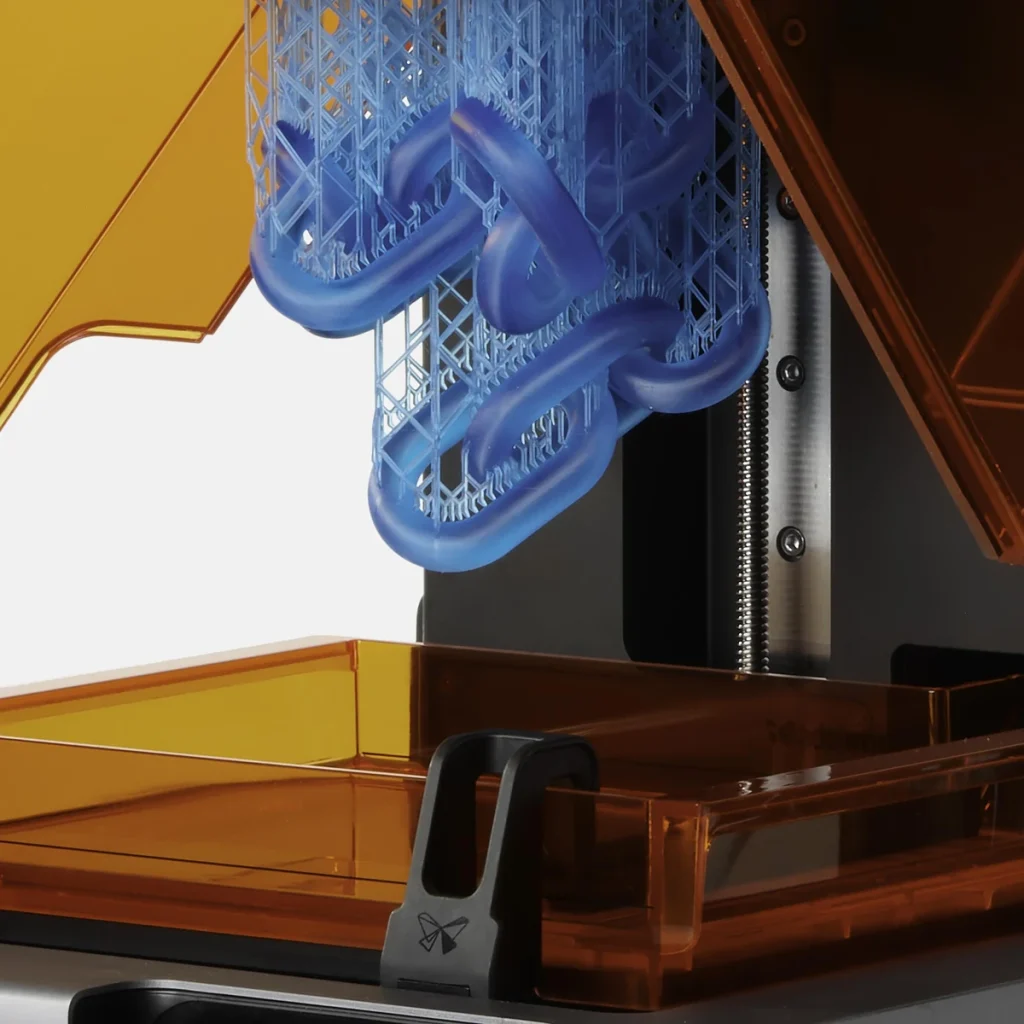
A Formlabs manufacturer example: a Tough Resin chain on a Form 2, still surrounded by supports. It illustrates the structures that must be removed after resin printing. View photo
“A Functional Chain Printed on a Formlabs Form 2 SLA 3D Printer” by Formlabs Inc. (https://formlabs.com/3d-printers/), CC BY 2.0 (https://creativecommons.org/licenses/by/2.0/). Original: https://www.flickr.com/photos/161389331@N04/46700555612. Resized and converted to WebP.
-
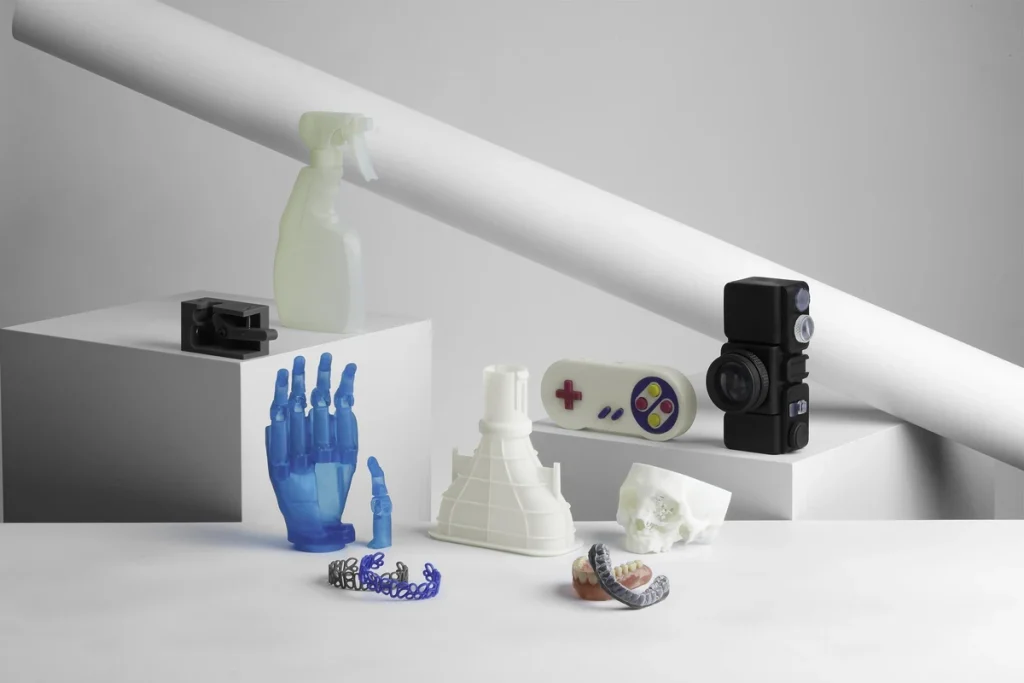
Formlabs’ Form 2 manufacturer samples illustrate the range of objects made with different resins. These are general material examples, not RS prints or evidence of RS compatibility. View photo
“Variety of Parts Printed on a Formlabs Form 2 SLA 3D Printer” by Formlabs Inc. (https://formlabs.com/3d-printers/), CC BY 2.0 (https://creativecommons.org/licenses/by/2.0/). Original: https://www.flickr.com/photos/161389331@N04/46600584901. Resized and converted to WebP.
-
A skull model curing in a Form Cure beside Form Wash and Form 2 equipment. This is a general resin post-processing example; follow the curing process specified for your own material. View photo
“Medical Model Curing in a Form Cure after being made on a Formlabs Form 2 SLA 3D Printer” by Formlabs Inc. (https://formlabs.com/industries/healthcare/), CC BY 2.0 (https://creativecommons.org/licenses/by/2.0/). Original: https://www.flickr.com/photos/161389331@N04/46980798601. Resized and converted to WebP.
-
A Form 2 on a workbench with resin cartridges, printed pieces and finishing tools—a general example of the space and supplies around resin printing. View photo
“Maker Space Post-Finishing an Additive Manufacturing Part Made with a Formlabs Form 2 SLA 3D Printer” by Formlabs Inc. (https://formlabs.com/3d-printers/), CC BY 2.0 (https://creativecommons.org/licenses/by/2.0/). Original: https://www.flickr.com/photos/161389331@N04/47479323321. Resized and converted to WebP.
-
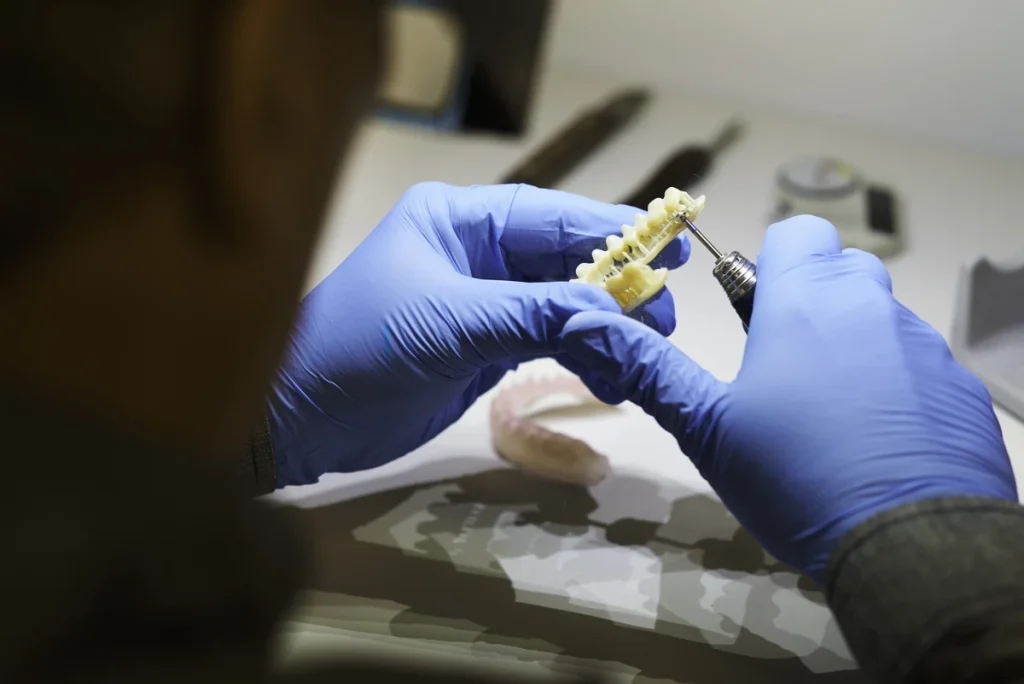
A technician removes supports from a Formlabs dental print with a rotary tool. This general finishing example shows the hands-on work that can remain after resin printing. View photo
“Dental Technician Finishes 3D Printed Teeth from a Formlabs Form 2 SLA 3D Printer” by Formlabs Inc. (https://formlabs.com/industries/dentistry/), CC BY 2.0 (https://creativecommons.org/licenses/by/2.0/). Original: https://www.flickr.com/photos/161389331@N04/32699014098. Resized and converted to WebP.
HeyGears Reflex RS Turbo
-
A resin-printed 3DBenchy with supports still attached, shown as a general preparation example; it was not printed on the RS Turbo. View photo
3DBenchy printed on a resin printer — Creative Tools, https://www.flickr.com/photos/creative_tools/17345089792/ — CC BY 2.0, https://creativecommons.org/licenses/by/2.0/. Resized and converted to WebP.
-
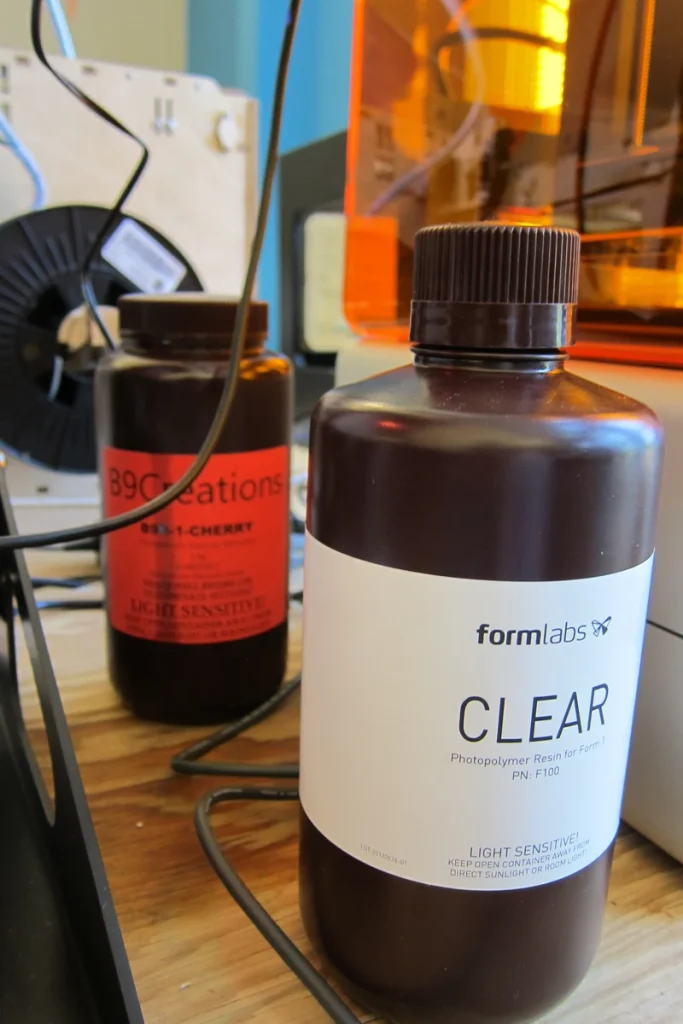
Formlabs Clear and B9Creations resin bottles on a workbench. This is a label-checking example, not an RS Turbo compatibility recommendation. View photo
MAKE 3D Printer Shootout Weekend - Day 2 — John Abella, https://www.flickr.com/photos/jabella/9431245749/ — CC BY 2.0, https://creativecommons.org/licenses/by/2.0/. Resized and converted to WebP.
-
An empty Formlabs Form 2 tank being handled by its rim—a general tank-handling example. The RS Turbo’s optional heated tank is a different component. View photo
Formlabs_Form2_Bild09_5184x2912 — Creative Tools, https://www.flickr.com/photos/creative_tools/24416246841/ — CC BY 2.0, https://creativecommons.org/licenses/by/2.0/. Resized and converted to WebP.
-
A Formlabs finishing kit with rinse containers and hand tools illustrates the extra equipment needed around resin printing; these are not the Turbo Combo’s contents. View photo
Formlabs_Form2_Bild07_5184x2912 — Creative Tools, https://www.flickr.com/photos/creative_tools/24498628135/ — CC BY 2.0, https://creativecommons.org/licenses/by/2.0/. Resized and converted to WebP.
.jpg)
Inland PLA+
-
Printed trays and models beside filament spools—a general example of small printed objects, with no Inland material identified. View photo
Vitor.Ger, via Wikimedia Commons (https://commons.wikimedia.org/wiki/File:3DPrinted_Objects.jpg), CC BY-SA 4.0 (https://creativecommons.org/licenses/by-sa/4.0/). Resized and converted to WebP.
-
Cardboard, plastic and reusable spool constructions, shown as a general handling example; these are not identified as Inland spools. View photo
Suit, via Wikimedia Commons (https://commons.wikimedia.org/wiki/File:Filament_cardboard_plastic_refill_1.jpg), CC BY-SA 4.0 (https://creativecommons.org/licenses/by-sa/4.0/). Resized and converted to WebP.
MatterHackers PRO ABS
-
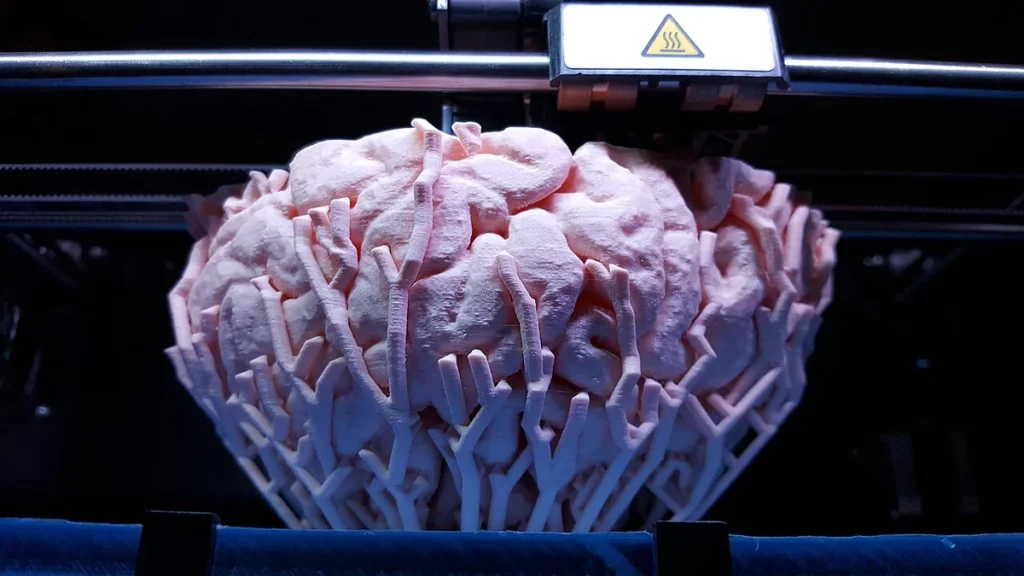
General support example: a brain model with branching printed supports still attached; the filament is not identified. View photo
“3D printing brain with support” by Nevit — https://commons.wikimedia.org/wiki/File:3D_printing_brain_with_support.jpg — CC BY-SA 3.0: https://creativecommons.org/licenses/by-sa/3.0/. Resized and converted to WebP.
MH Build Series TPU
-
A standalone filament-spool holder assembly, shown without a spool. This is a general handling example; its material is not identified as MH Build TPU. View photo
“Universal stand-alone filament spool holder (narrow center cone) v02” by Creative Tools (https://www.flickr.com/photos/creative_tools/16239096556/), CC BY 2.0 (https://creativecommons.org/licenses/by/2.0/). Converted to WebP.
-
A printed Benchy being checked with a miniature caliper. This general inspection example does not show MH Build TPU or either print discussed in the review. View photo
“3DBenchy measured with tiny caliper” by 3DBenchy (https://www.flickr.com/photos/3dbenchy/29018214041/), CC BY 2.0 (https://creativecommons.org/licenses/by/2.0/). Converted to WebP.
NinjaFlex
-
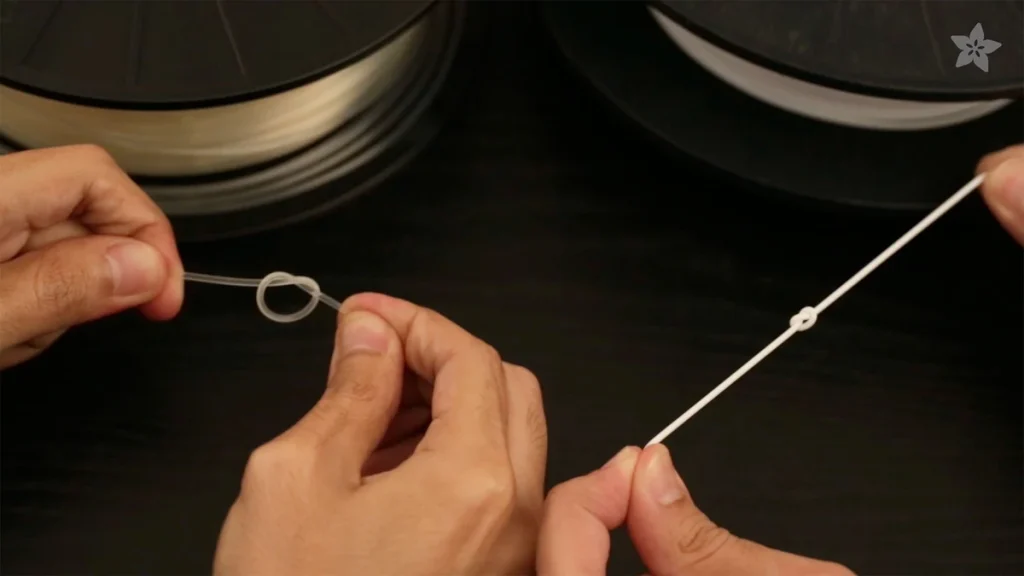
Knotted filament in an Adafruit NinjaFlex demonstration shows the material being handled before printing. View photo
“3d_printing_tie-knot.jpg” by Ruiz Brothers / Adafruit. CC BY-SA 3.0: https://creativecommons.org/licenses/by-sa/3.0/ . Original: https://learn.adafruit.com/assets/13948 . Resized and converted to WebP.
-
An Adafruit NinjaFlex example printing on blue painter’s tape; prepare your own plate according to its maker’s instructions. View photo
“3d_printing_flex-bluetape.jpg” by Ruiz Brothers / Adafruit. CC BY-SA 3.0: https://creativecommons.org/licenses/by-sa/3.0/ . Original: https://learn.adafruit.com/assets/13967 . Resized and converted to WebP.
-
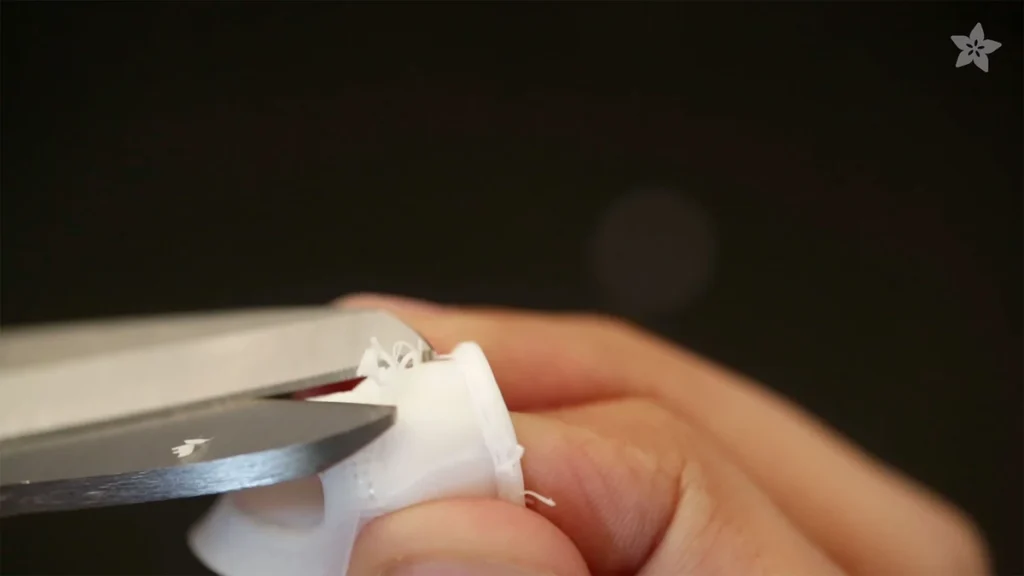
Trimming stray strands from an Adafruit NinjaFlex example. View photo
“3d_printing_access-removal.jpg” by Ruiz Brothers / Adafruit. CC BY-SA 3.0: https://creativecommons.org/licenses/by-sa/3.0/ . Original: https://learn.adafruit.com/assets/13949 . Resized and converted to WebP.
Overture ABS
-
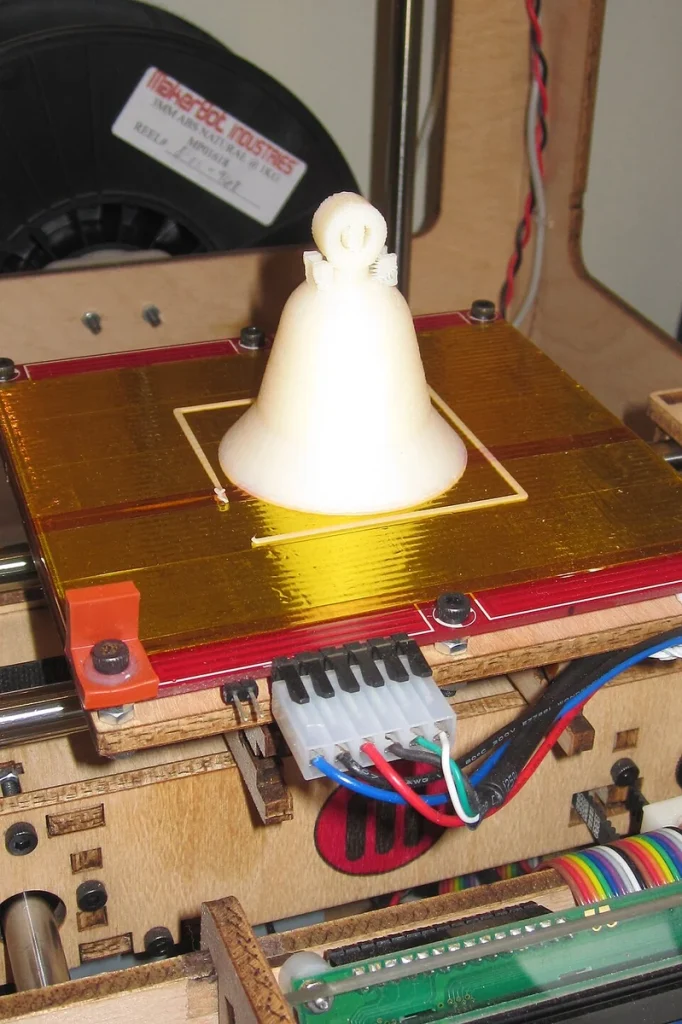
General ABS example: a bell on the taped build plate of a MakerBot Thing-O-Matic. View photo
ABS Printed Bell on Makerbot ThingOMatic by Indigojin, CC BY-SA 3.0. Resized and converted to WebP.
-
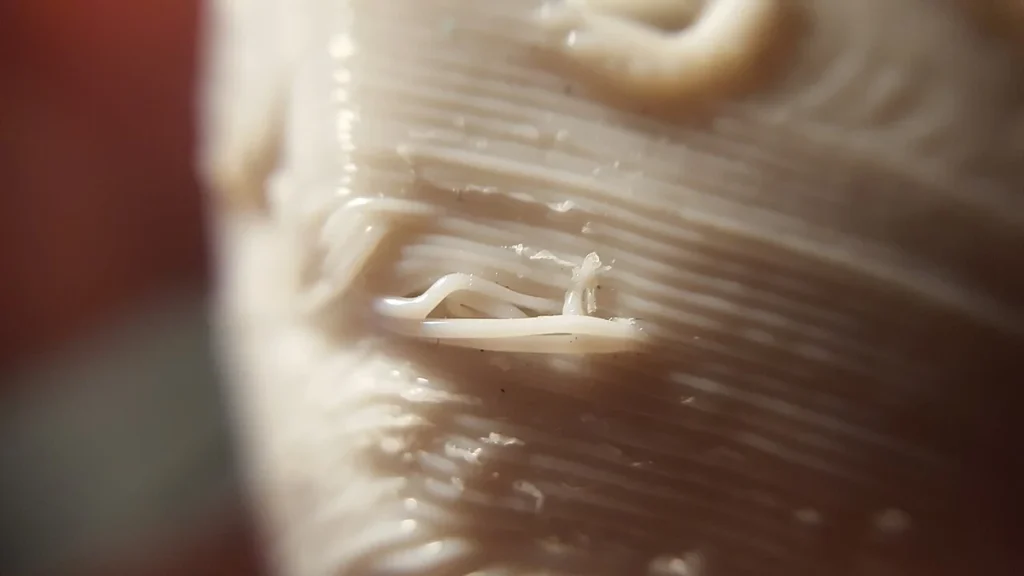
A close-up of a 3DBenchy print shows loose strands and uneven layers; the filament grade is unspecified. View photo
3DBenchy.com macro close-up v1 by 3DBenchy, CC BY 2.0. Resized and converted to WebP.

.jpg)
Overture High Speed TPU
-
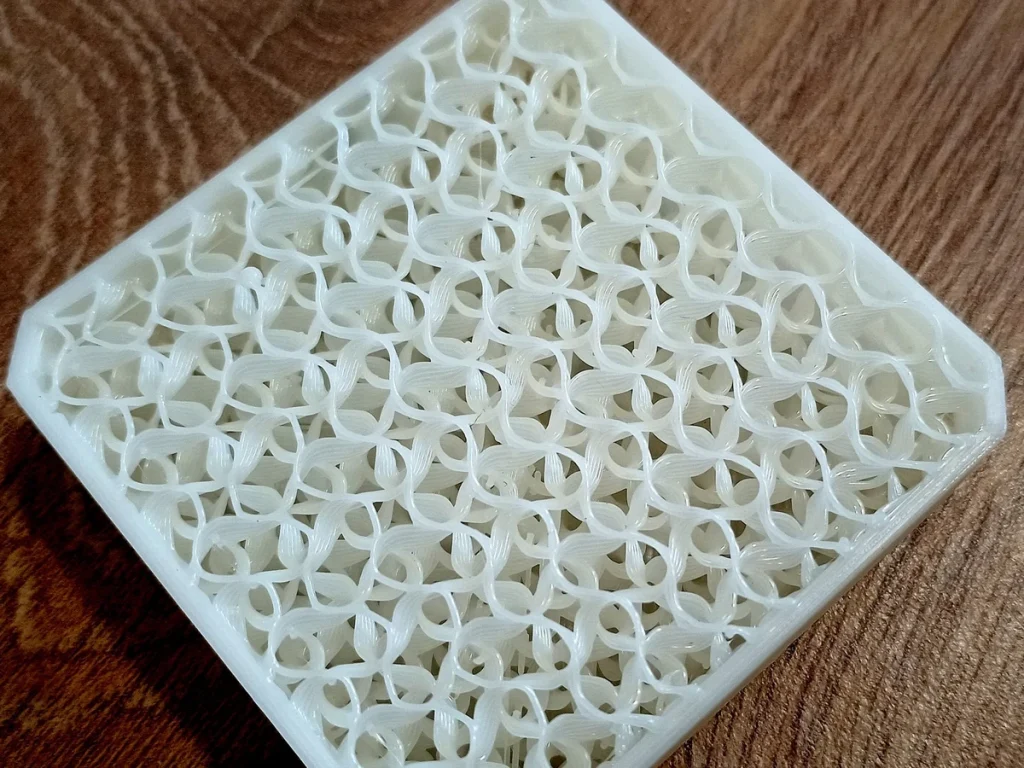
Exposed gyroid infill in a generic 3D print shows the internal structure discussed here; the material is unspecified. View photo
Gyroid — A7N8X, CC BY-SA 4.0 (https://creativecommons.org/licenses/by-sa/4.0/), https://commons.wikimedia.org/wiki/File:Gyroid.jpg. Resized and converted to WebP.
-
A silica-gel desiccant sachet, shown as general dry-storage context. Store dried filament sealed with desiccant. View photo
Silica gel - bag — Cjp24, CC BY-SA 3.0 (https://creativecommons.org/licenses/by-sa/3.0/), https://commons.wikimedia.org/wiki/File:Silica_gel_-_bag.jpg. Reduced-size copy converted to WebP.


Overture PETG
-
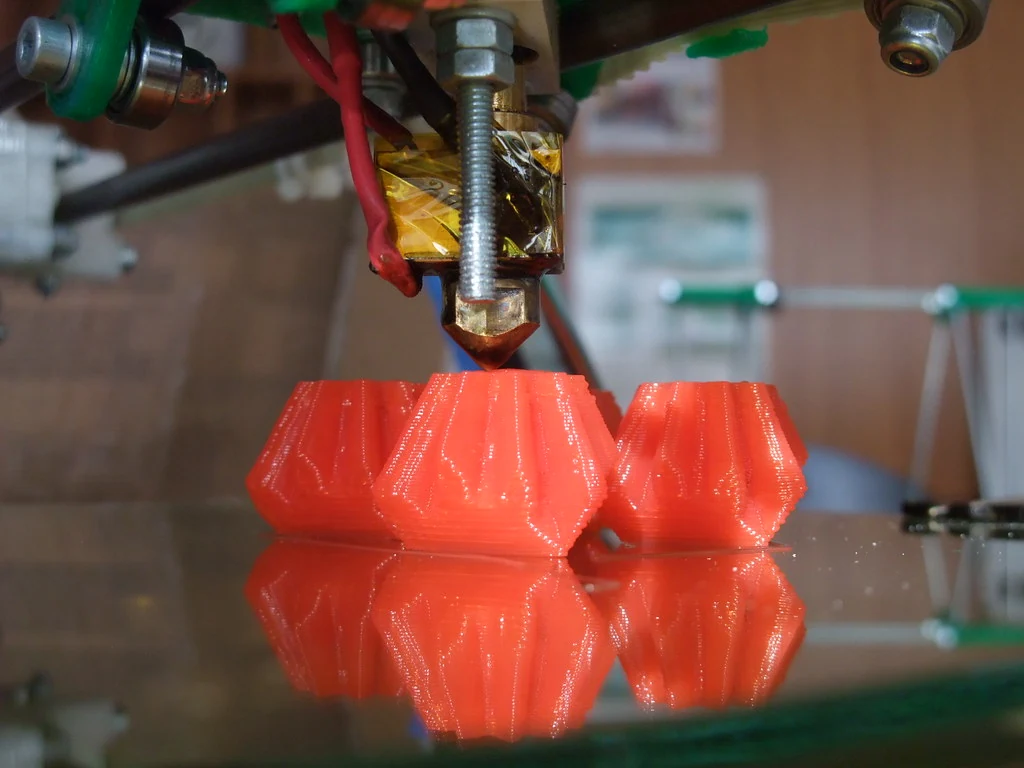
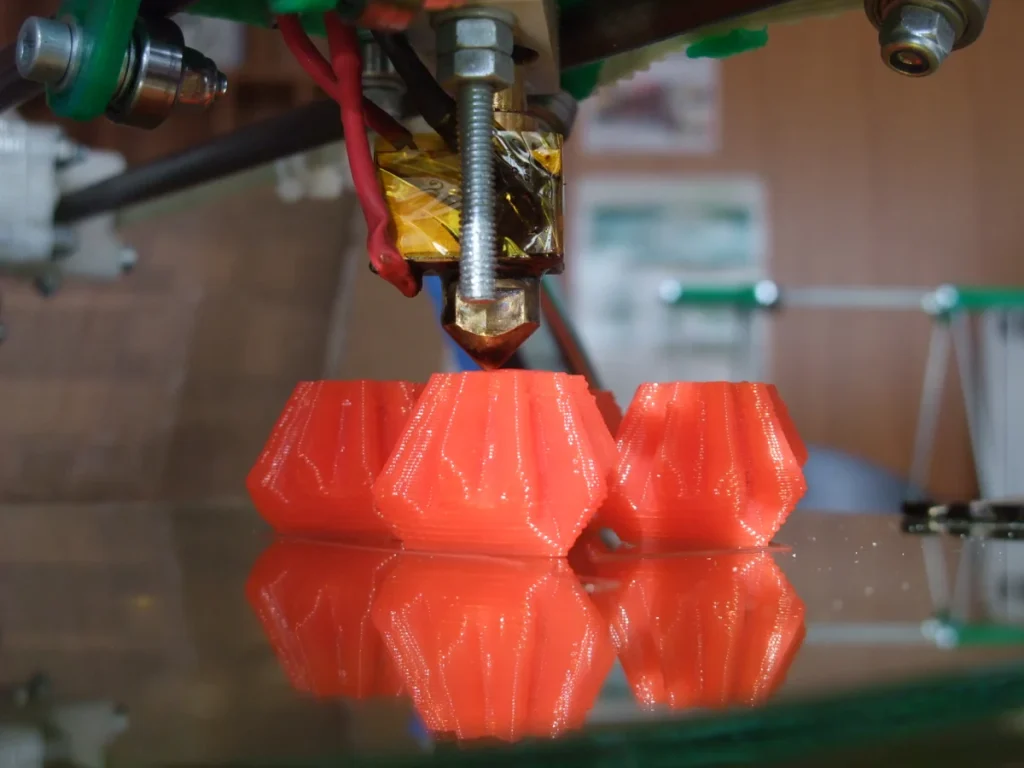
A RepRap printing red parts; the filament brand and grade are unspecified. View photo
RepRap printing closeup — Emmanuel Gilloz, CC BY 2.0 (https://creativecommons.org/licenses/by/2.0/). Converted to WebP. Original: https://www.flickr.com/photos/watsdesign/6106747475/
-
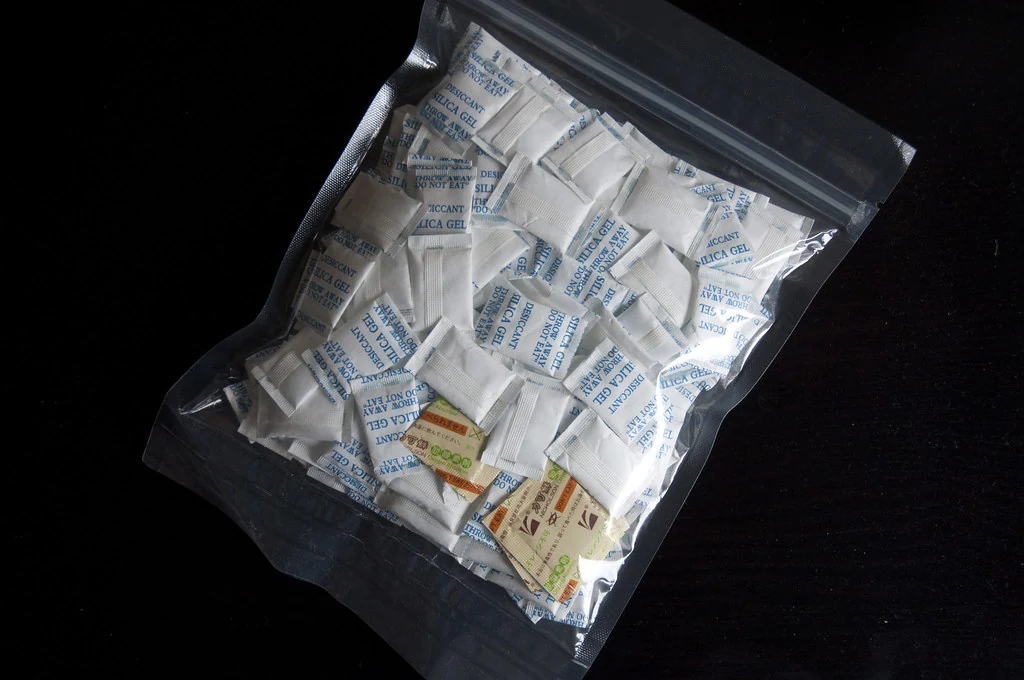
Silica-gel sachets in a resealable bag illustrate the desiccant used for dry storage. View photo
20100827_infraredTesting001 — Scott Brown (kodamapixel), CC BY-SA 2.0 (https://creativecommons.org/licenses/by-sa/2.0/). Converted to WebP. Original: https://www.flickr.com/photos/kodamapixel/4931744308
-
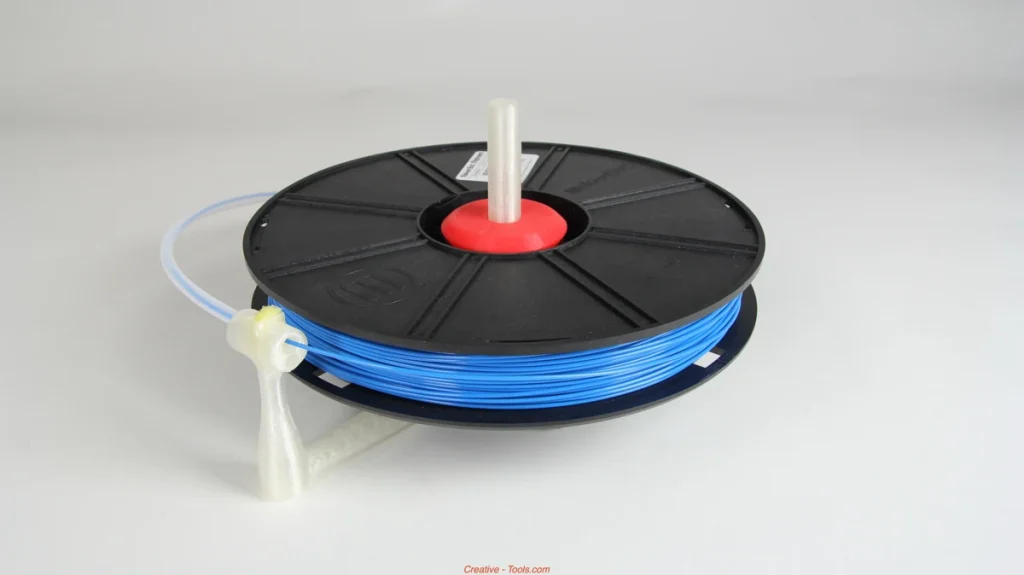
A blue-filament spool on a printed stand shows a separate spool-handling setup; the filament grade is unspecified. View photo
Universal stand-alone filament spool holder (Fully 3D-printable) — Creative Tools, CC BY 2.0 (https://creativecommons.org/licenses/by/2.0/). Resized and converted to WebP. Original: https://commons.wikimedia.org/wiki/File:Universal_stand-alone_filament_spool_holder_%28Fully_3D-printable%29_v07.jpg
Overture PLA
-
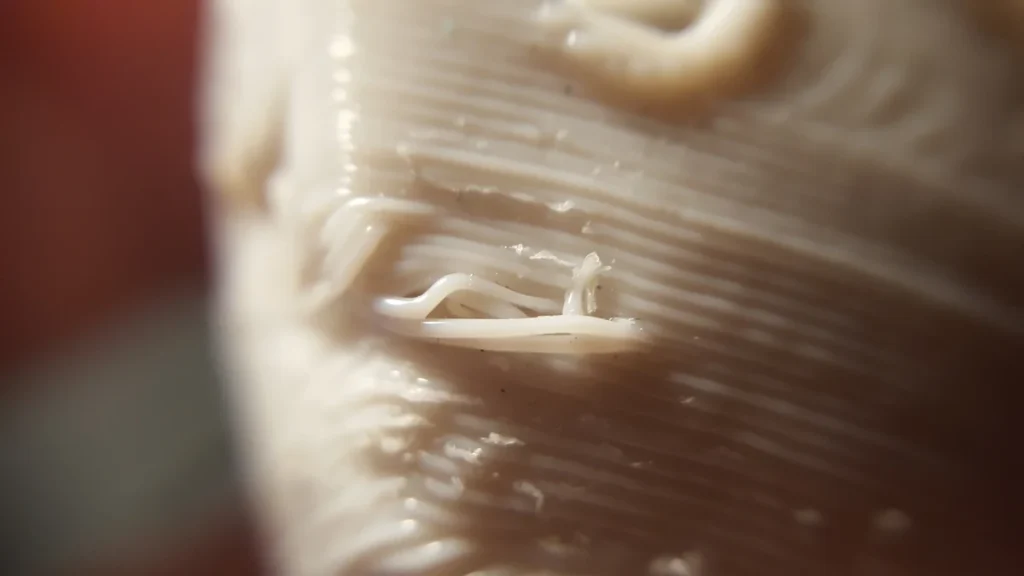
A 3DBenchy close-up shows layer ridges and loose strands. The filament brand and grade are unspecified. View photo
3DBenchy.com macro close-up v1 — #3DBenchy (https://www.flickr.com/photos/3dbenchy/30117959226/). CC BY 2.0 (https://creativecommons.org/licenses/by/2.0/). Resized and converted to WebP.
-
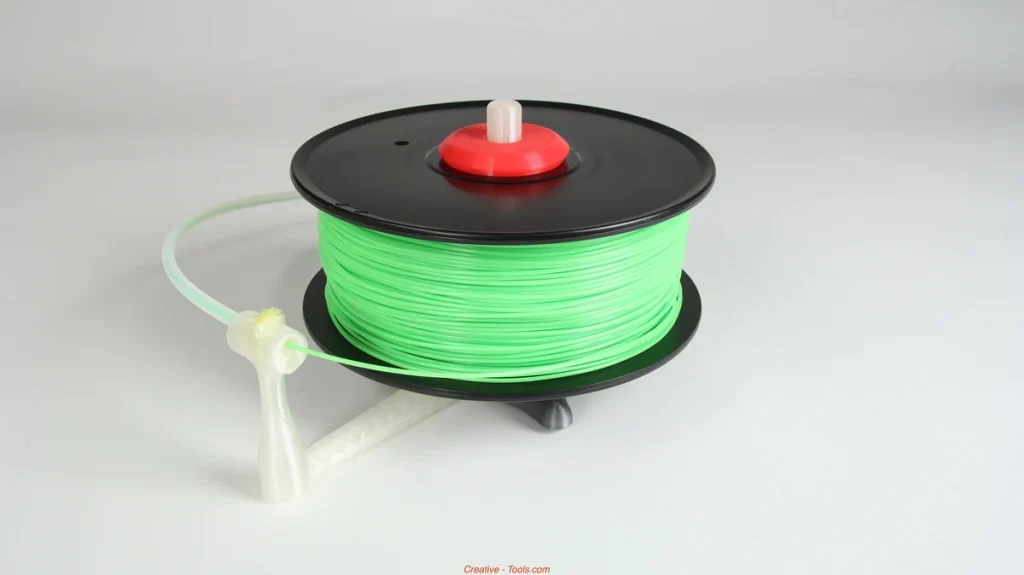
A green-filament spool mounted on a printed stand illustrates an external feeding arrangement. The spool is not identified as Overture. View photo
Universal stand-alone filament spool holder (Fully 3D-printable) v01 — Creative Tools (https://www.flickr.com/photos/creative_tools/15403706029/). CC BY 2.0 (https://creativecommons.org/licenses/by/2.0/). Resized and converted to WebP.
Overture TPU
-
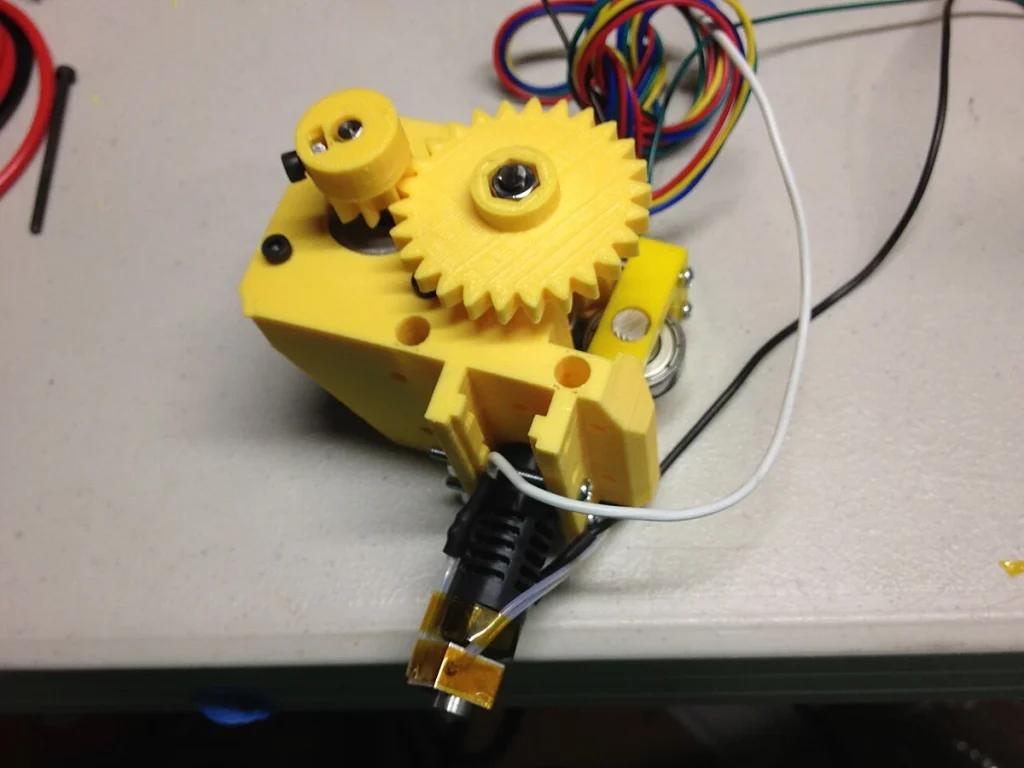
A Prusa i3 extruder assembly on a workbench, showing the geared feeder and hotend. This is a general hardware example. View photo
John Abella, “Prusa i3 Printer - Assembled extruder” (https://www.flickr.com/photos/jabella/8965234122/), CC BY 2.0 (https://creativecommons.org/licenses/by/2.0/). Resized and converted to WebP.

Phrozen Sonic Mini 8K S
-
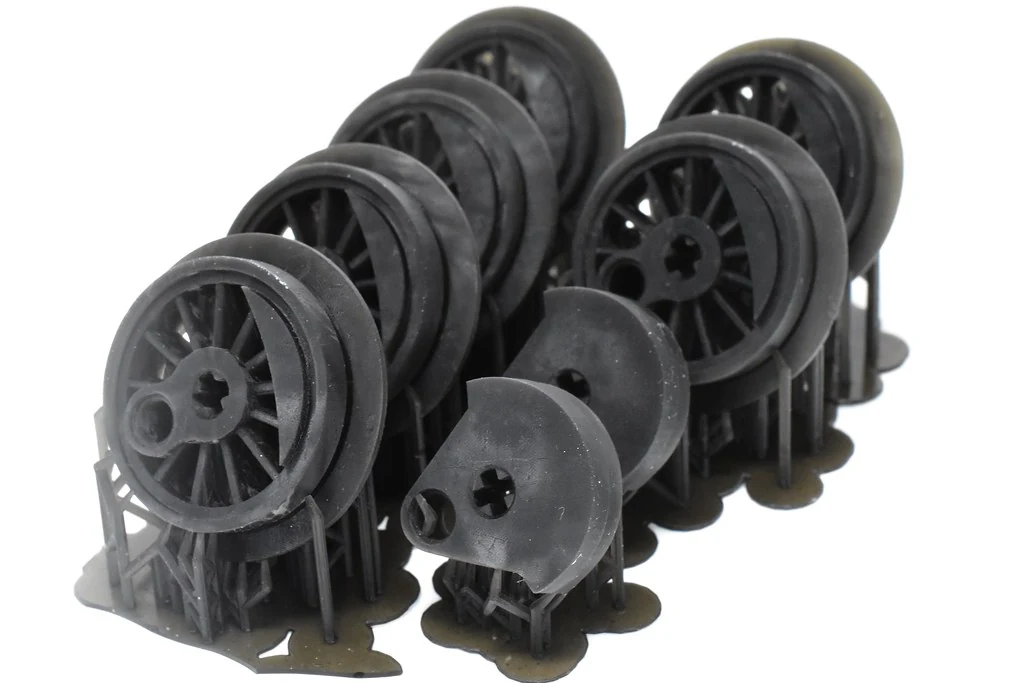
Model locomotive wheels printed on an Anycubic Photon Mono SE, still attached to their supports and rafts. View photo
Räder für die Bundesbahn-V60 — Thomas Reincke, CC BY-SA 2.0. Converted to WebP.
-
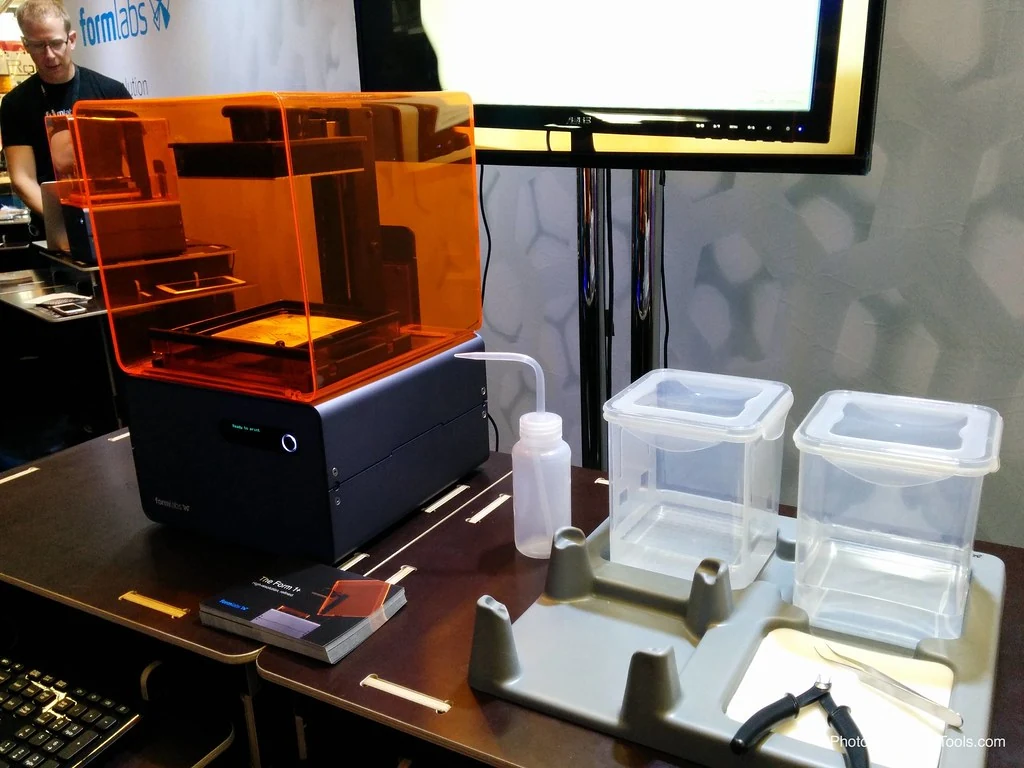
A Formlabs Form 1 demonstration station with finishing containers, a tray and hand tools beside the printer. View photo
3D Printshow 2014 London - Formlabs Form 1 SLA 3D printer booth v02 — Creative Tools, CC BY 2.0. Converted to WebP.
-
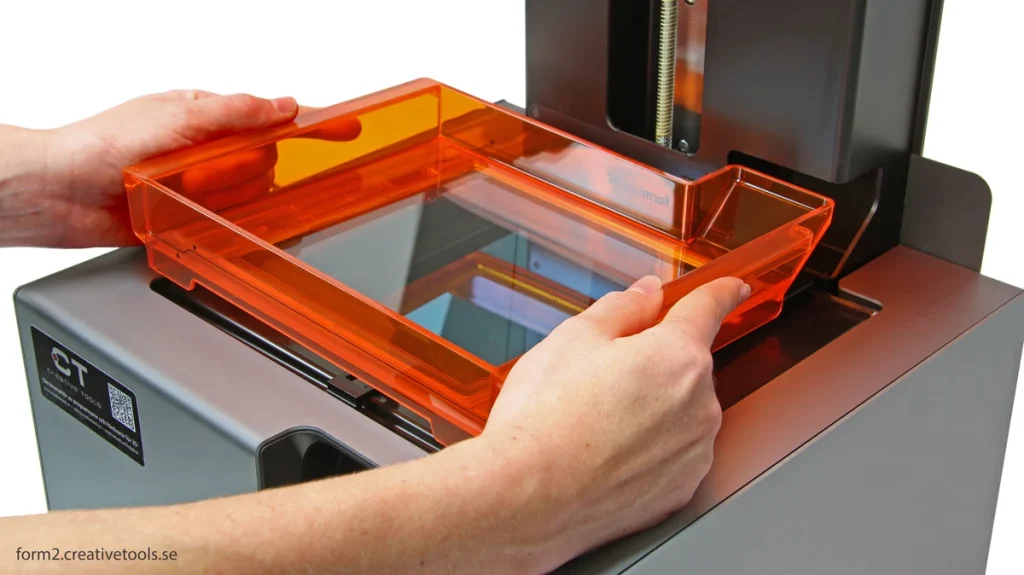
An empty Formlabs Form 2 resin tank being handled above the printer platform. View photo
Formlabs_Form2_Bild09_5184x2912 — Creative Tools, CC BY 2.0. Resized and converted to WebP.

Phrozen Standard Aqua
-
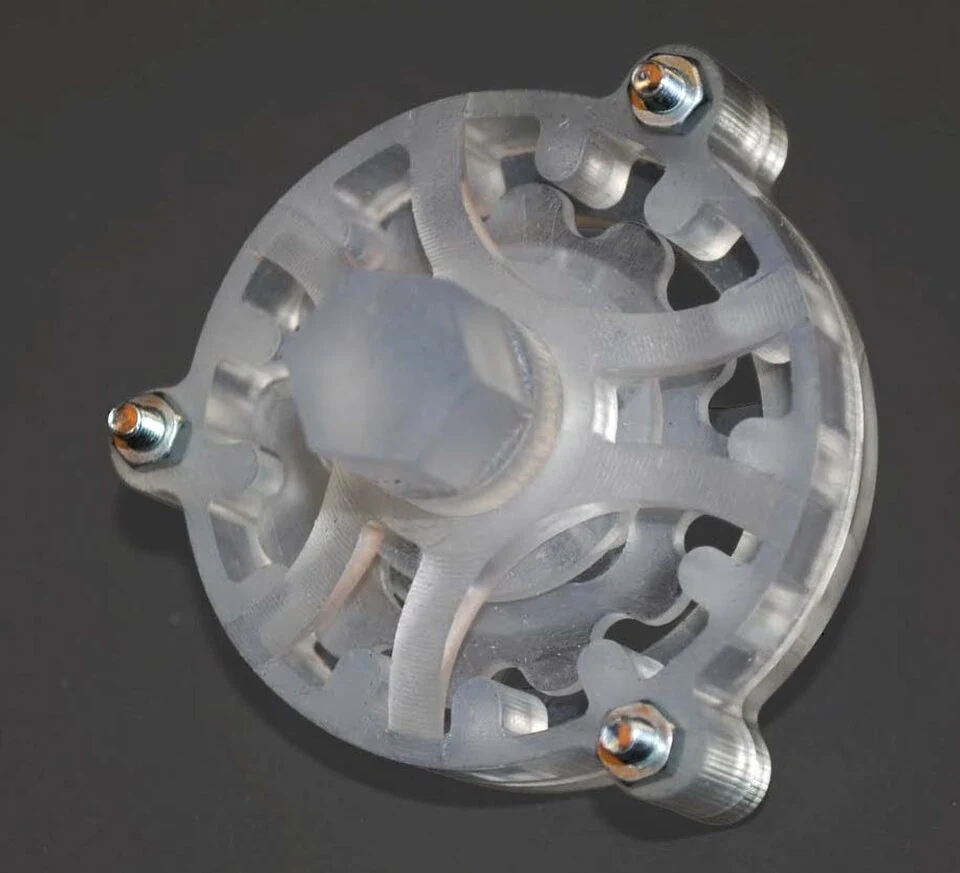
Stereolithography parts assembled into a cycloidal drive; the resin grade is unspecified. View photo
Stereolithography cycloidal drive — Clemenspool, CC BY-SA 3.0 (https://creativecommons.org/licenses/by-sa/3.0/), via https://commons.wikimedia.org/wiki/File:Stereolithography_cycloidal_drive.JPG. WebP conversion; image content unchanged.
-
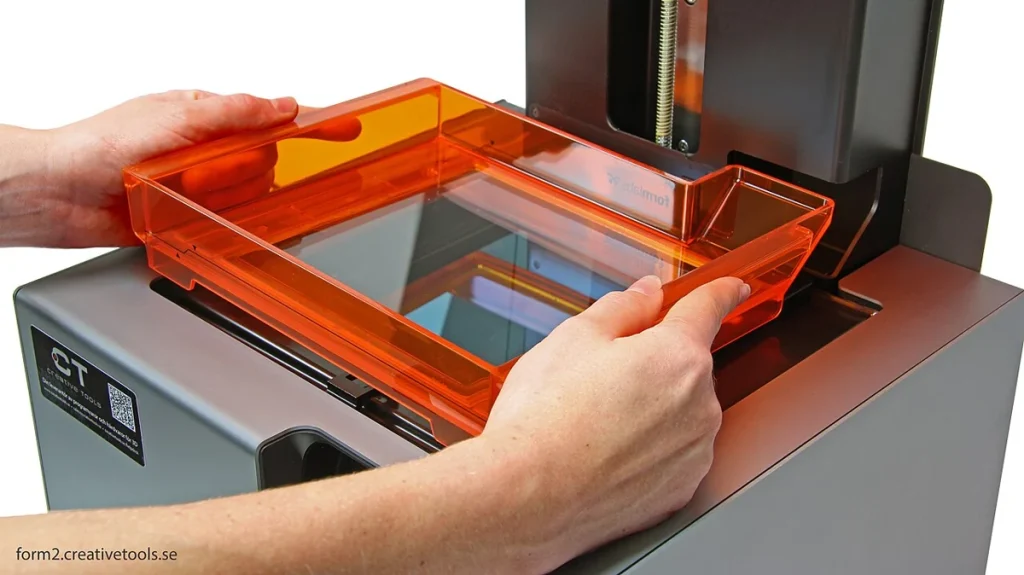
An empty Formlabs Form 2 tank being positioned in the printer, shown as general vat-handling context. View photo
Formlabs_Form2_Bild09_5184x2912 — Creative Tools, CC BY 2.0 (https://creativecommons.org/licenses/by/2.0/), via https://www.flickr.com/photos/creative_tools/24416246841/. Resized and converted to WebP.

Polymaker ABS
-
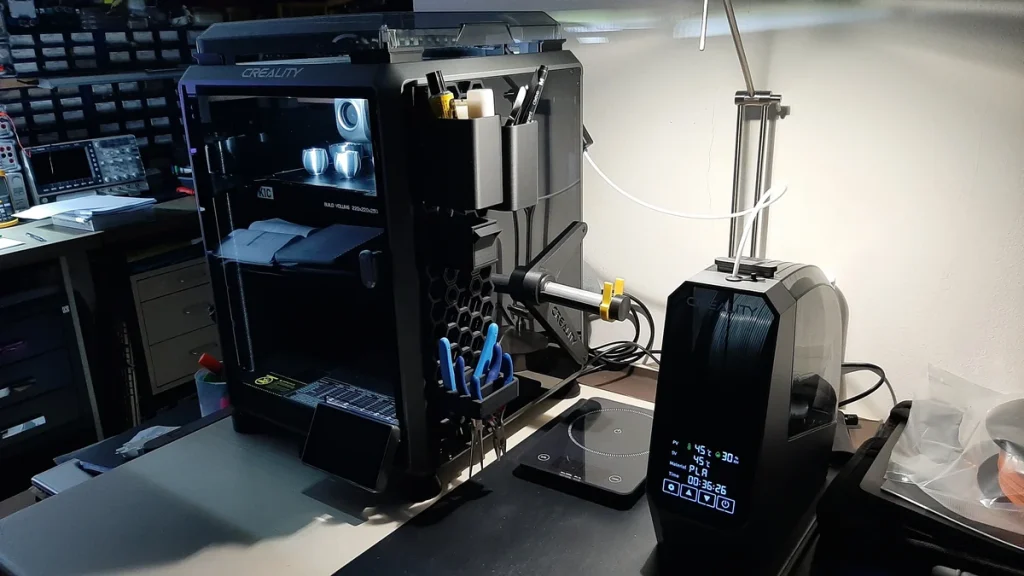
A filament dry box beside a Creality K1C. Its display shows a PLA setting; this is a handling example, not PolyLite ABS drying guidance. View photo
“Creality dry-box” by Mortymore, CC BY 2.0 (https://creativecommons.org/licenses/by/2.0/). Original: https://www.flickr.com/photos/42537987@N07/54117116523/. Resized and converted to WebP.
-
A printed filament spool-holder assembly and mounting pieces. The material is unspecified; this is an example of functional printed hardware. View photo
“Universal stand-alone filament spool holder (complete)” by Creative Tools, CC BY 2.0 (https://creativecommons.org/licenses/by/2.0/). Original: https://www.flickr.com/photos/33907867@N02/16077681960/. Resized and converted to WebP.
Polymaker ASA
-
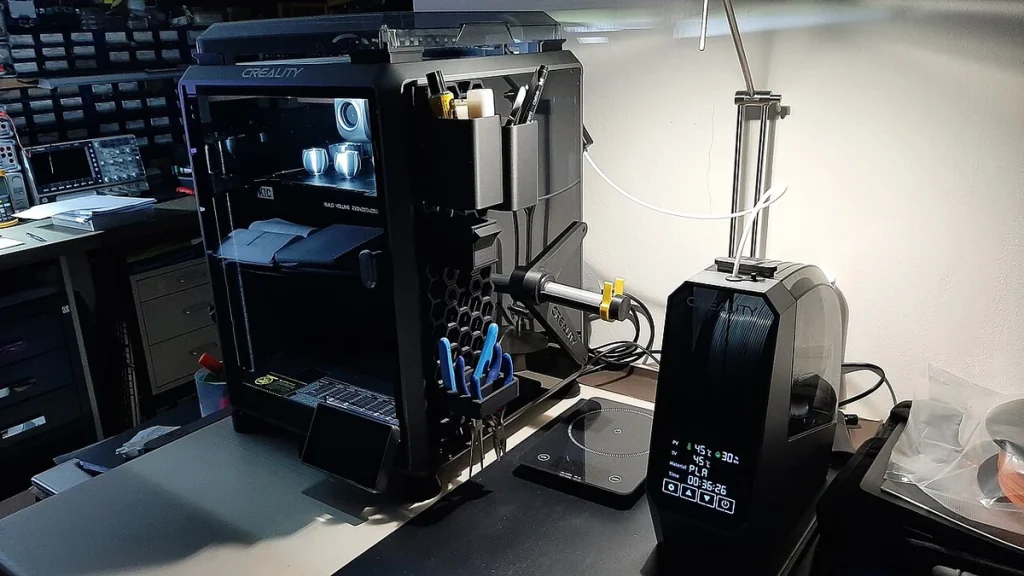
A filament dry box beside a Creality K1C. Its display shows a PLA setting; this is a handling example, not a Polymaker ASA drying demonstration. View photo
Mortymore, “Creality dry-box.jpg”, https://commons.wikimedia.org/wiki/File:Creality_dry-box.jpg — CC BY 2.0 (https://creativecommons.org/licenses/by/2.0/); resized and converted to WebP.
-
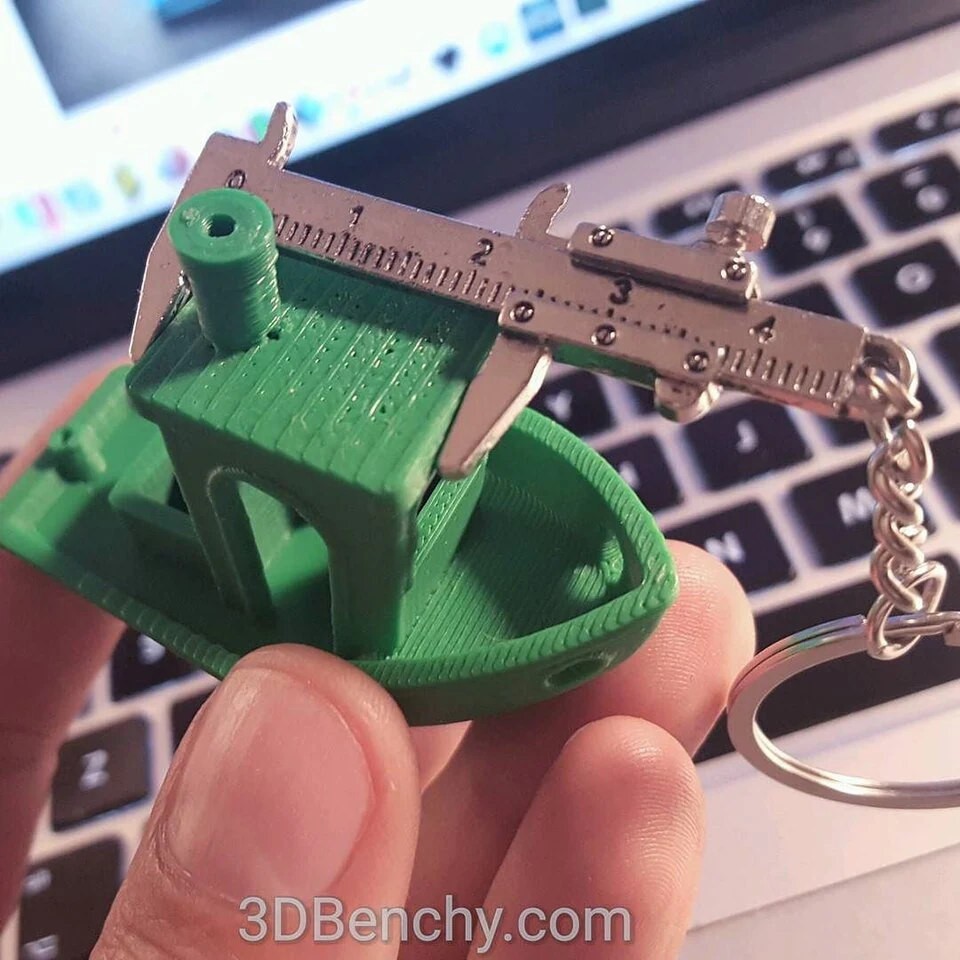
A green Benchy held with a miniature caliper keyring. The filament is unidentified; this is a general inspection scene, not the ASA trial discussed above. View photo
3DBenchy, “3DBenchy measured with tiny caliper.jpg”, https://commons.wikimedia.org/wiki/File:3DBenchy_measured_with_tiny_caliper.jpg — CC BY 2.0 (https://creativecommons.org/licenses/by/2.0/); converted to WebP.
-
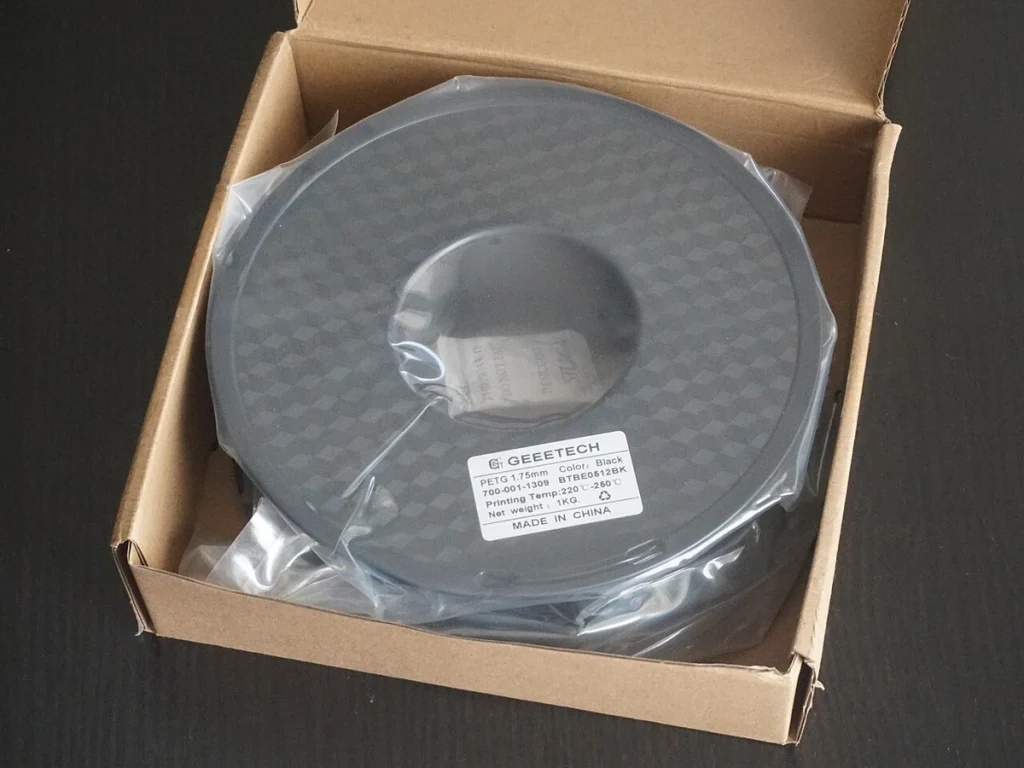
A sealed Geeetech PETG spool with desiccant illustrates the easier-printing material option discussed here. View photo
Suit, “1 kg petg filament in packaging.jpg”, https://commons.wikimedia.org/wiki/File:1_kg_petg_filament_in_packaging.jpg — CC BY-SA 4.0 (https://creativecommons.org/licenses/by-sa/4.0/); resized and converted to WebP.

Polymaker Fiberon ASA-CF08
-
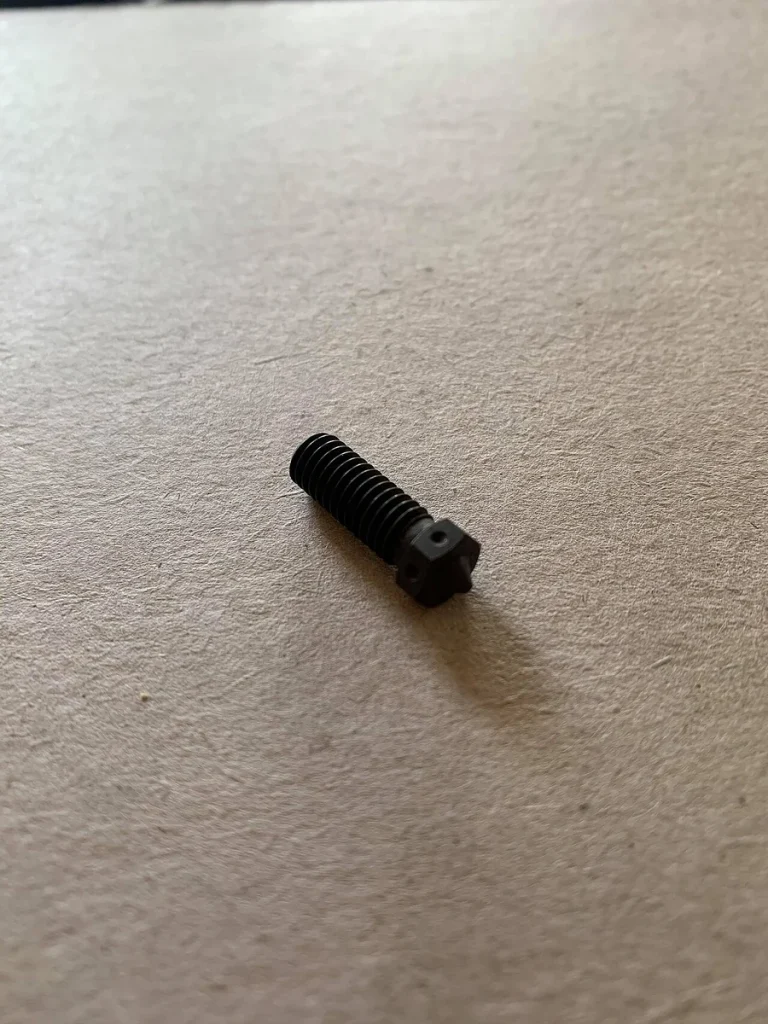
A 0.4 mm hardened-steel nozzle, shown as a general example of wear-resistant printing hardware. View photo
MUNGOUNDANG, “Hardened Steel 3D Printing Nozzle,” Wikimedia Commons (https://commons.wikimedia.org/wiki/File:Hardened_Steel_3D_Printing_Nozzle.jpg), CC BY-SA 4.0 (https://creativecommons.org/licenses/by-sa/4.0/). Resized and converted to WebP.
-
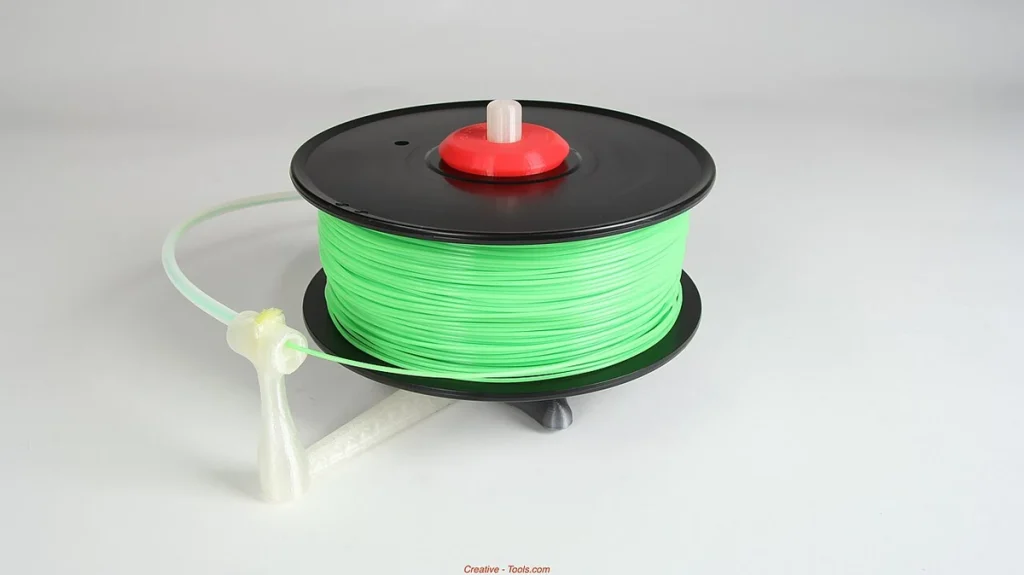
An external spool holder with a guide tube and green filament of unspecified grade; this is a general feeding example. View photo
Creative Tools, “Universal stand-alone filament spool holder (Fully 3D-printable) v01” (https://www.flickr.com/photos/33907867@N02/15403706029/), CC BY 2.0 (https://creativecommons.org/licenses/by/2.0/). Resized and converted to WebP.
-
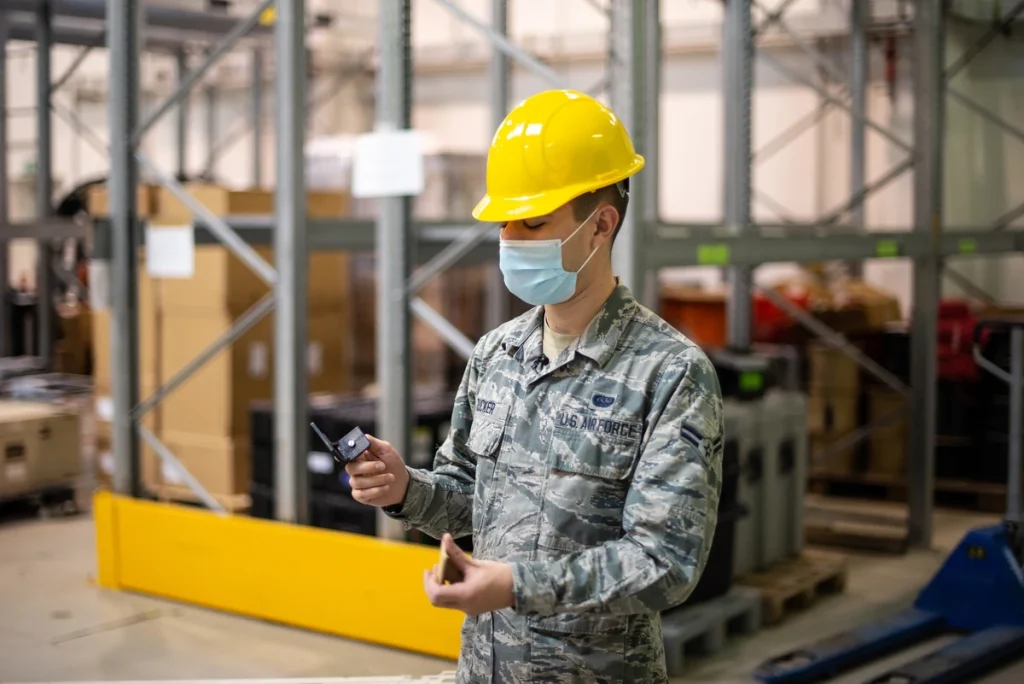
A technician compares an original antenna mounting bracket with a 3D-printed replacement at Ramstein Air Base in 2020. This is a separate project, not an ASA-CF08 test. View photo
The appearance of U.S. Department of War (DoW) visual information does not imply or constitute DoW endorsement.
Polymaker PolyFlex TPU95
-
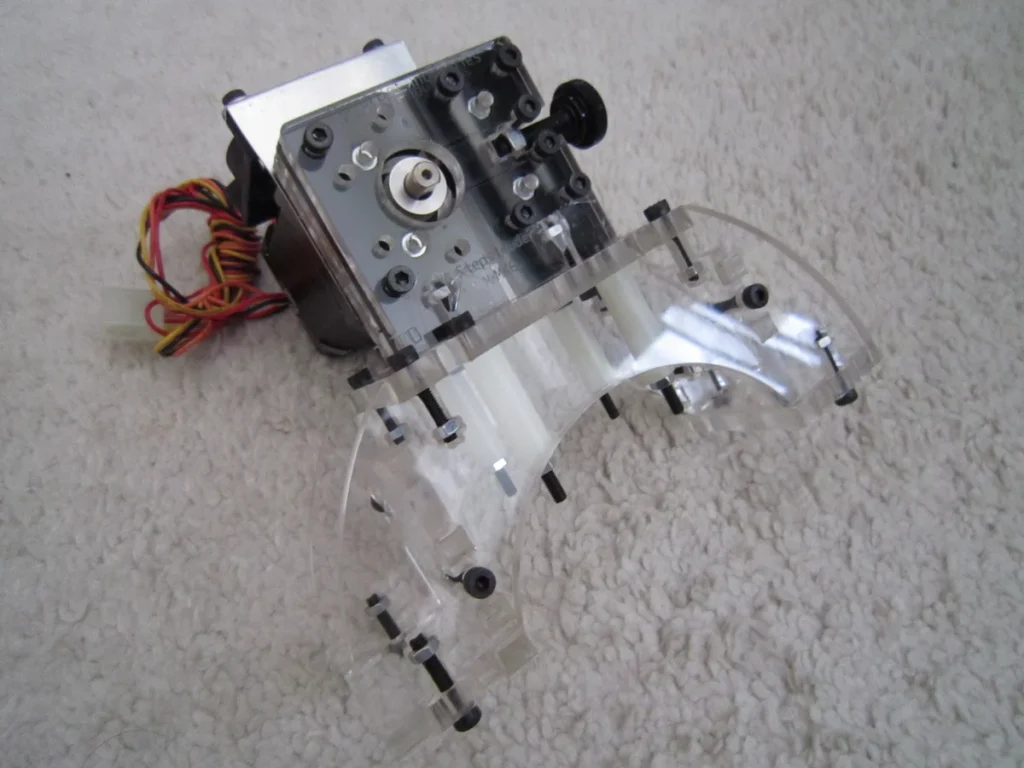
A filament drive and stepper motor during assembly. This generic mechanism illustrates the feeding hardware; it is not a TPU95 compatibility test. View photo
“Extruder Build, Part One” — syvwlch. CC BY 2.0: https://creativecommons.org/licenses/by/2.0/ . Original: https://www.flickr.com/photos/27164521@N00/5787452776/ . Resized and converted to WebP.
-
Removing supports from a 3D-printed aircraft frame at Fort Hood. The material is not identified. View photo
The appearance of U.S. Department of War (DoW) visual information does not imply or constitute DoW endorsement.
-
An external spool on a printed holder with a guide arm. The green filament is unidentified; this is a general handling example. View photo
“Universal stand-alone filament spool holder (Fully 3D-printable)” — Creative Tools. CC BY 2.0: https://creativecommons.org/licenses/by/2.0/ . Original: https://www.flickr.com/photos/33907867@N02/15403706029/ . Resized and converted to WebP.
.jpg)
Polymaker PolyLite PETG
-
A black PLA calibration boat printed on an Ultimaker 2, shown close up for surface inspection. This is a general print-detail example, not a PolyLite PETG test. View photo
“#3DBenchy_Ultimaker2_cura_layer_0,2mm_v3” — 3DBenchy / Creative Tools. CC BY 2.0 (https://creativecommons.org/licenses/by/2.0/). Original: https://www.flickr.com/photos/3dbenchy/17034996319. Resized and converted to WebP.
-
A silica-gel desiccant packet, the type of moisture absorber used with sealed storage for dried filament. View photo
“Silica gel - bag.jpg” — Cjp24. CC BY-SA 3.0 (https://creativecommons.org/licenses/by-sa/3.0/). Original: https://commons.wikimedia.org/wiki/File:Silica_gel_-_bag.jpg. Converted to WebP.
.jpg)

Polymaker PolyLite PLA
-
Plastic emerging from a 3D printer nozzle. This close-up shows the extrusion process; the filament grade is unspecified. View photo
“3D printer nozzle extruding plastic” — David Elliott, https://www.flickr.com/photos/127994275@N08/15425519178, CC BY 2.0 (https://creativecommons.org/licenses/by/2.0/). Resized and converted to WebP.
-
Visible layers on a PLA Benchy printed on an Ultimaker 2 at 0.2mm layer height. The PLA brand is unspecified; this is a general layer-structure example. View photo
“3DBenchy — Ultimaker 2 — PLA — LayerHeight 0,2 mm” — 3DBenchy, https://www.flickr.com/photos/132390309@N03/17214930532, CC BY 2.0 (https://creativecommons.org/licenses/by/2.0/). Resized and converted to WebP.
Protopasta Black Recycled PLA
-
A RepRap print head working over orange parts—a general printing example, with filament brand and grade unspecified. View photo
RepRap printing closeup — Emmanuel Gilloz (https://www.flickr.com/photos/watsdesign/6106747475/), CC BY 2.0 (https://creativecommons.org/licenses/by/2.0/). Resized and compressed to WebP.
-
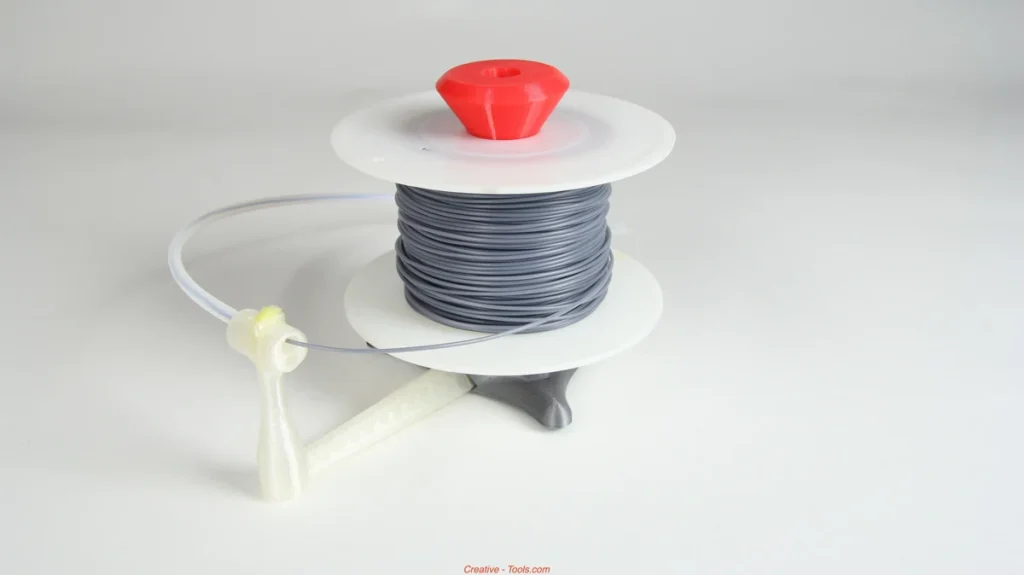
A gray filament spool on a printed external holder; this illustrates feeding hardware, with filament brand and grade unspecified. View photo
Universal stand-alone filament spool holder (Fully 3D-printable) v03 — Creative Tools (https://www.flickr.com/photos/33907867@N02/15587658111/), CC BY 2.0 (https://creativecommons.org/licenses/by/2.0/). Resized and compressed to WebP.

_v03.jpg)
Prusa Core One+
-
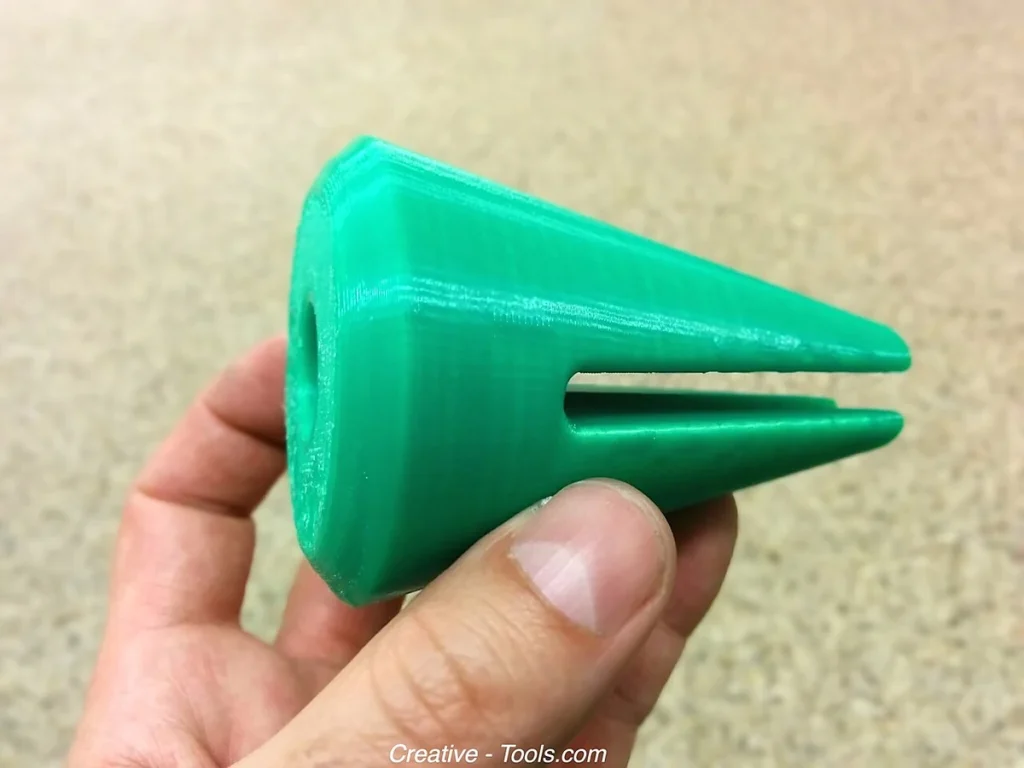
General filament-handling example: a printed center cone for a standalone spool holder. View photo
Creative Tools, CC BY 2.0. Resized and converted to WebP.
-
A silica-gel desiccant sachet, shown as general storage context. View photo
Cjp24, CC BY-SA 3.0. Converted to WebP.
_v03_(16265014705).jpg)

Prusa MINI+
-
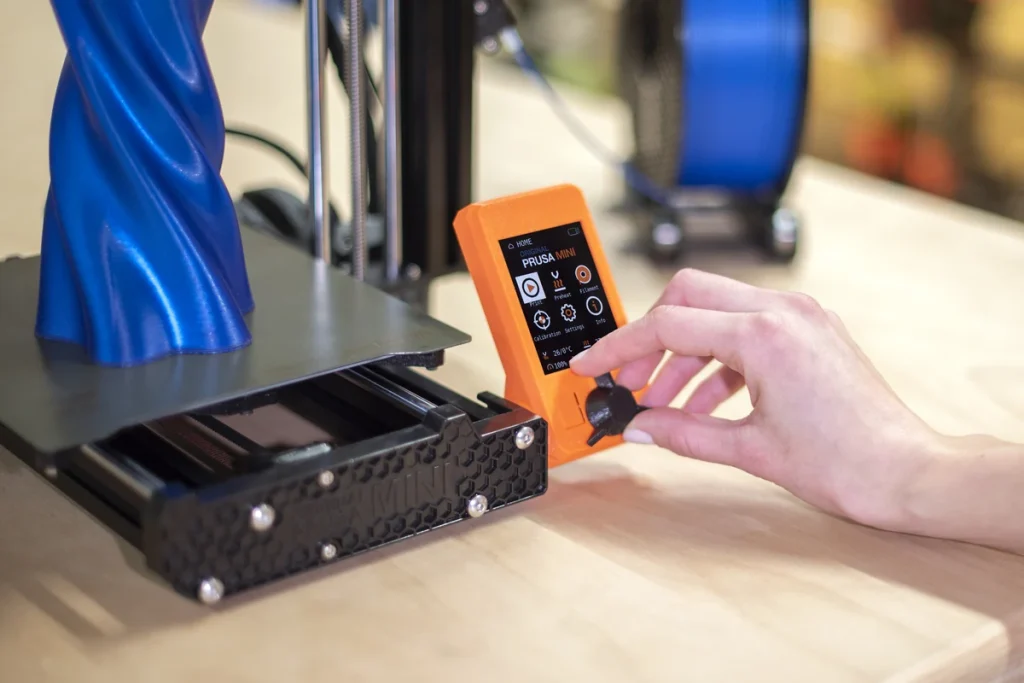
Using the control knob on an original Prusa MINI; the screen here shows its home menu. View photo
(c) Prusa Research - prusa3d.com
-
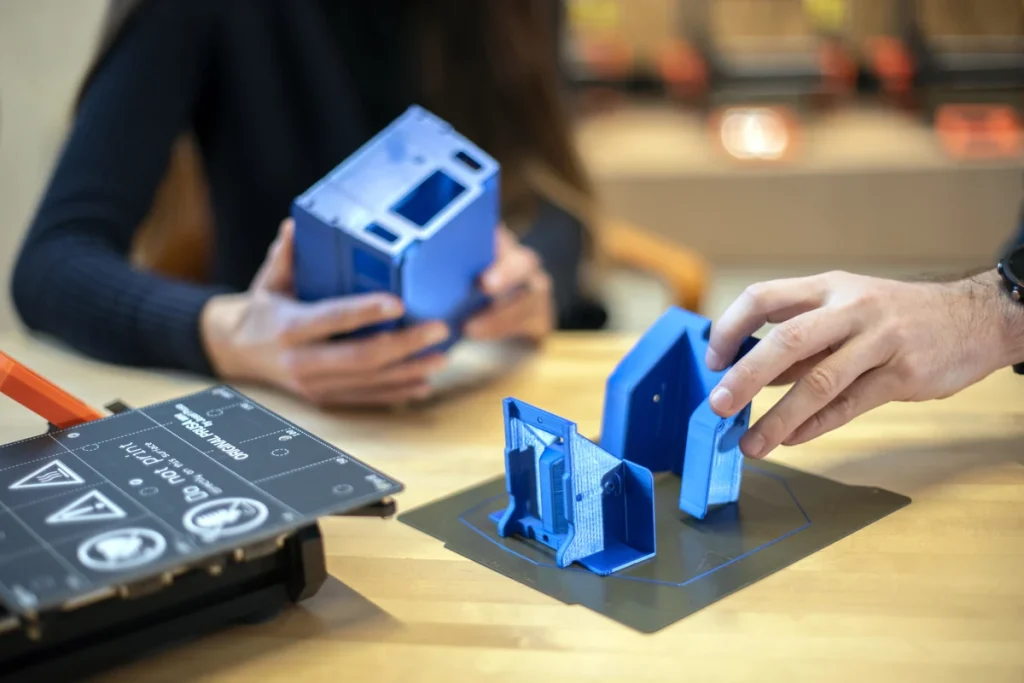
Prusa’s original MINI demonstration parts being handled on a workbench. View photo
(c) Prusa Research - prusa3d.com
-
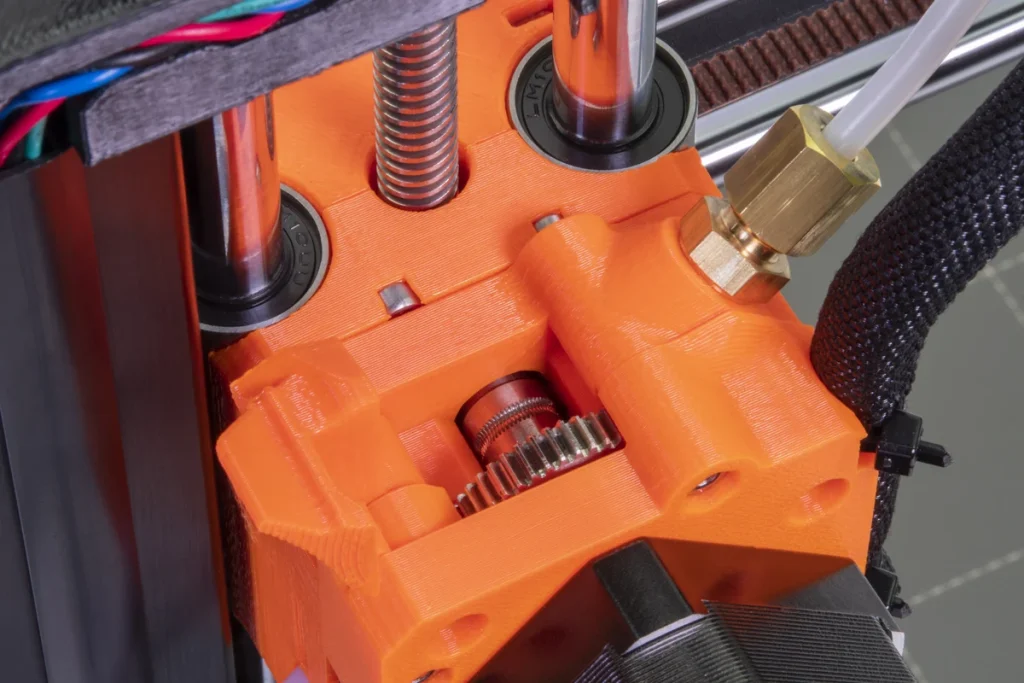
The filament feeder and guide-tube connection on an original Prusa MINI. View photo
(c) Prusa Research - prusa3d.com
Prusa XL+
-
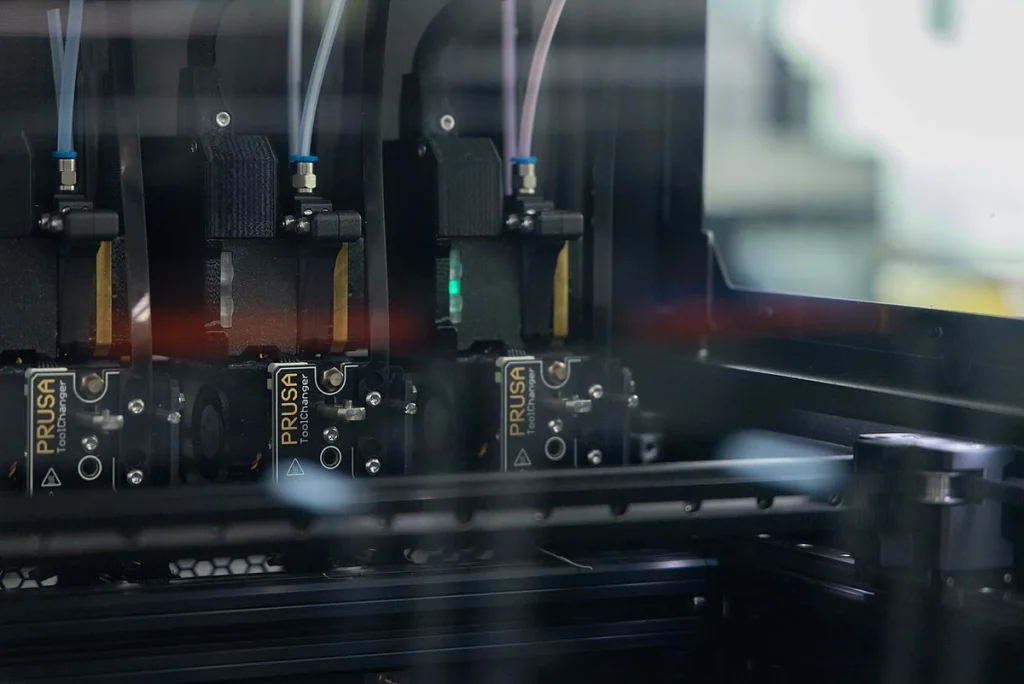
Separate heads and filament paths on an earlier Original Prusa XL. View photo
BMES Make-A-Thon 2025 — Mario Rodriguez / UC Davis College of Engineering. https://commons.wikimedia.org/wiki/File:BMES_Make-A-Thon_2025_(54279521211).jpg · CC BY 2.0: https://creativecommons.org/licenses/by/2.0/ · Resized and converted to WebP.
-
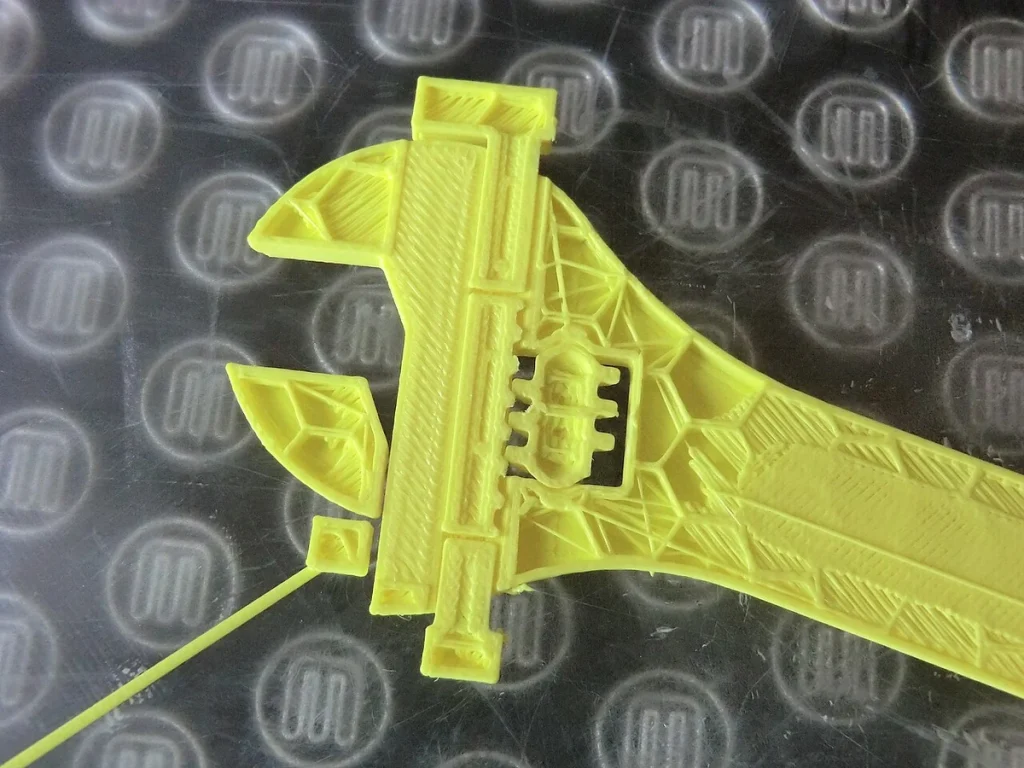
General print-in-place example: a plastic wrench stopped mid-print to expose its adjustment mechanism and internal structure. View photo
Fully assembled 3D printable wrench — Creative Tools. https://commons.wikimedia.org/wiki/File:Fully_assembled_3D_printable_wrench.jpg · CC BY 2.0: https://creativecommons.org/licenses/by/2.0/ · Resized and converted to WebP.
-
An earlier Original Prusa XL printing a flat yellow part, with its infill visible. View photo
Medical Device Development M.Eng. Program Class, Winter 2026 — Matt Marcure / UC Davis College of Engineering. https://commons.wikimedia.org/wiki/File:Medical_Device_Development_M.Eng._Program_Class,_Winter_2026_(55105885387).jpg · CC BY 4.0: https://creativecommons.org/licenses/by/4.0/ · Resized and converted to WebP.
.jpg)
.jpg)
Prusament ASA
-
An enclosed filament printer beside a 3D-printing workshop instructor at Vandenberg. The filament being used is not identified. View photo
The appearance of U.S. Department of War (DoW) visual information does not imply or constitute DoW endorsement.
-
A technician removes foundation material from a printed mold at RAF Mildenhall. This is general post-processing context; the material is not identified as ASA. View photo
The appearance of U.S. Department of War (DoW) visual information does not imply or constitute DoW endorsement.
-
A yellow filament reel mounted on a printed holder, shown as general spool-handling context. This is not a Prusament spool. View photo
“Universal stand-alone filament spool holder (narrow center cone) v01” by Creative Tools — CC BY 2.0 (https://creativecommons.org/licenses/by/2.0/). Resized and converted to WebP.
Prusament PC Blend
-
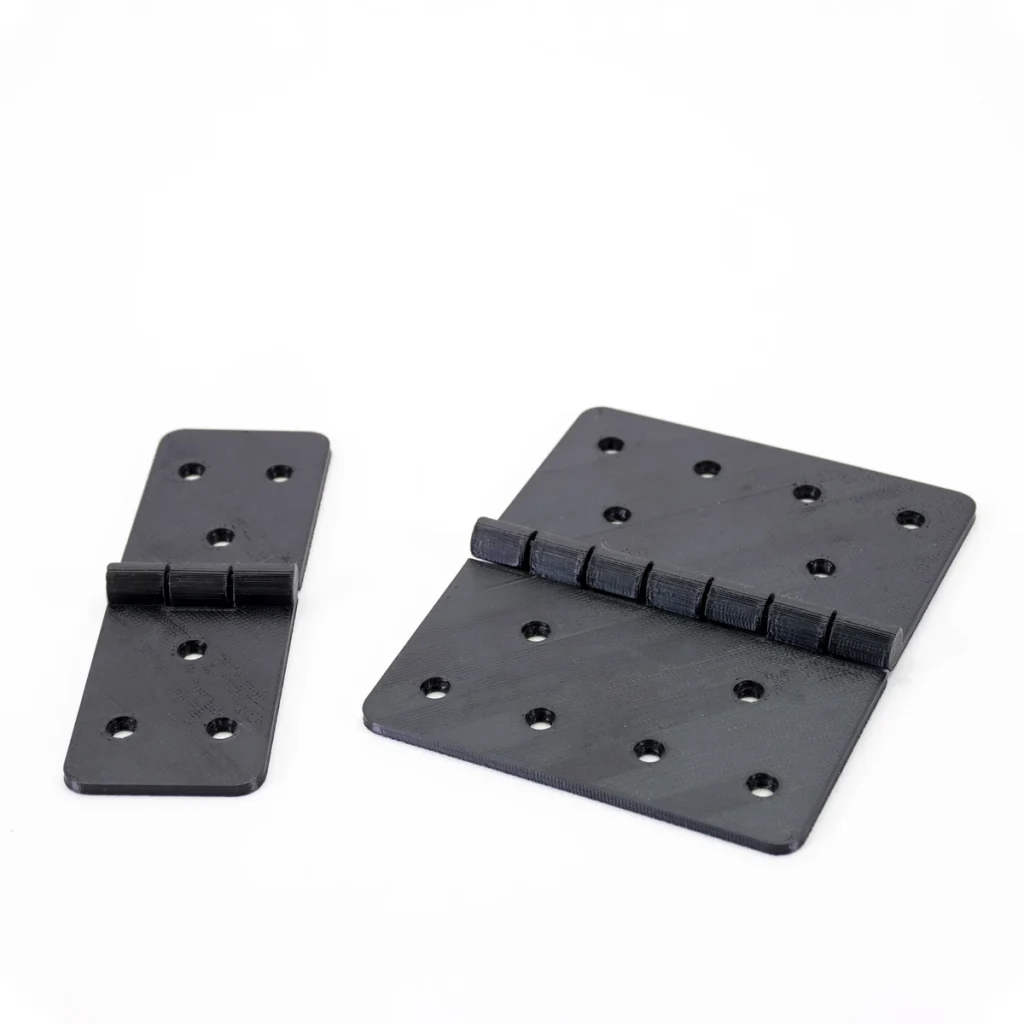
Manufacturer examples of hinges printed in standard PC Blend. View photo
(c) Prusa Polymers - prusament.com
-
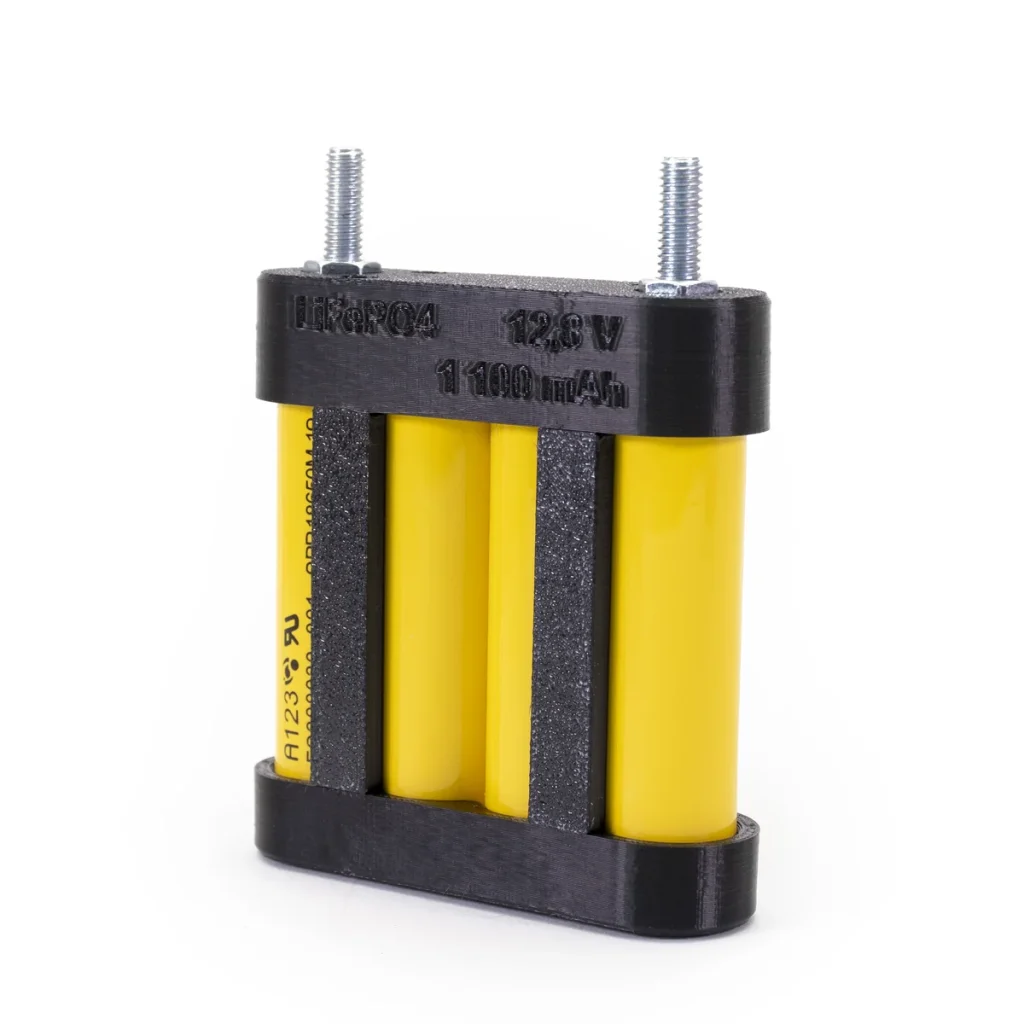
A manufacturer example of a battery holder printed in standard PC Blend; it does not establish a continuous-use heat rating. View photo
(c) Prusa Polymers - prusament.com
-
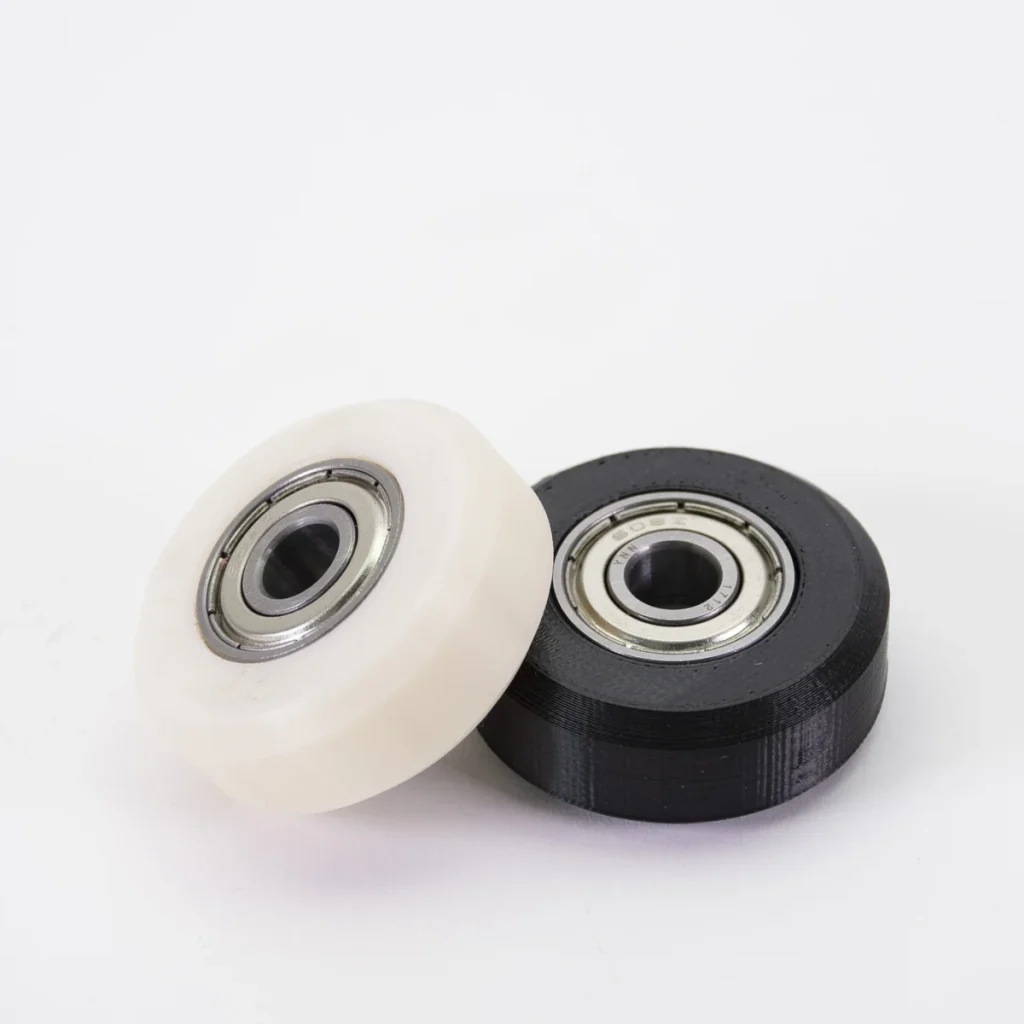
Manufacturer examples of standard PC Blend wheels fitted with metal bearings. View photo
(c) Prusa Polymers - prusament.com
Prusament PETG
-
Filament passing through Prusament production equipment; the material grade in this photograph is unspecified. View photo
(c) Prusa Polymers - prusament.com
-
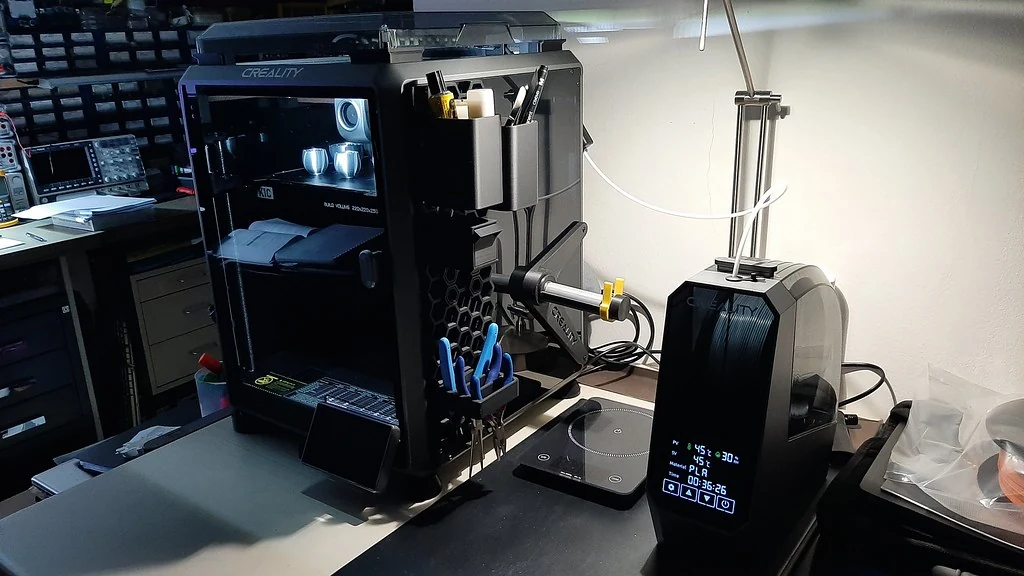
A filament dry box beside a Creality K1C. The display shows a PLA setting; this is a general handling example, not Prusament PETG drying guidance. View photo
“Creality dry-box” by Mortymore — https://www.flickr.com/photos/42537987@N07/54117116523/ — CC BY 2.0: https://creativecommons.org/licenses/by/2.0/ . Converted to WebP.
-
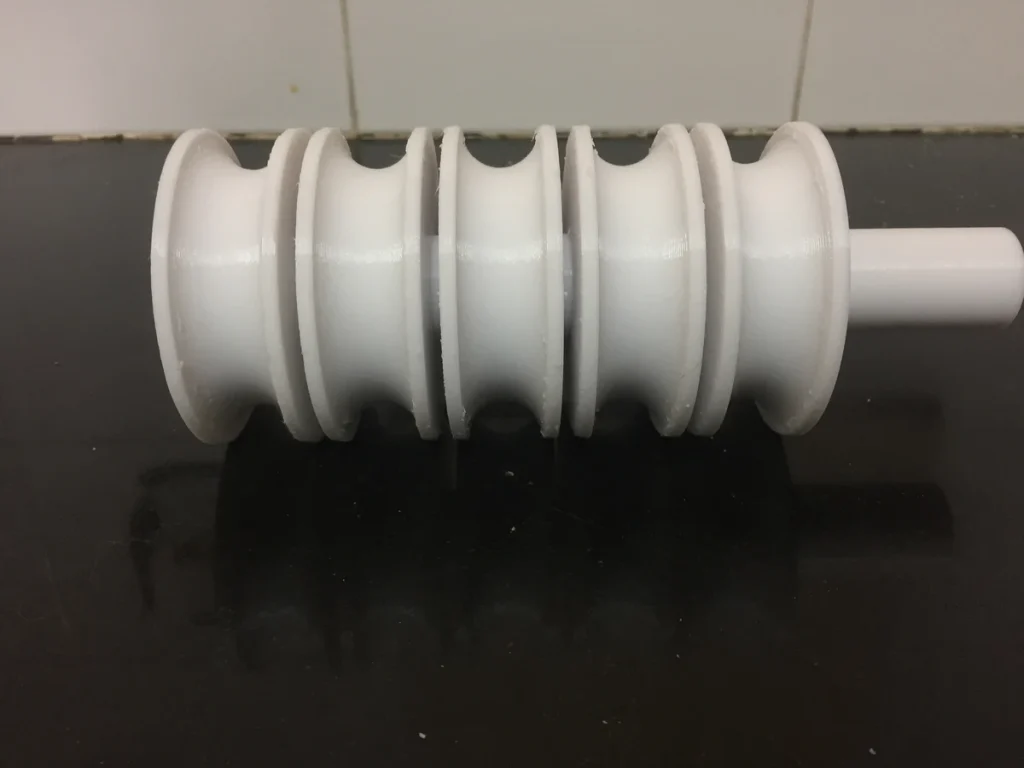
A PETG pulley-shaft prototype on a work surface, illustrating a functional-part design. Its filament brand is unspecified; this is not a Prusament test sample. View photo
“First PETG 3D FLM Printed Pulley Shaft Design” by newman72@sbcglobal.net — https://www.flickr.com/photos/23866680@N06/49014483321/ — CC BY 2.0: https://creativecommons.org/licenses/by/2.0/ . Resized and converted to WebP.
Prusament PETG Clear
-
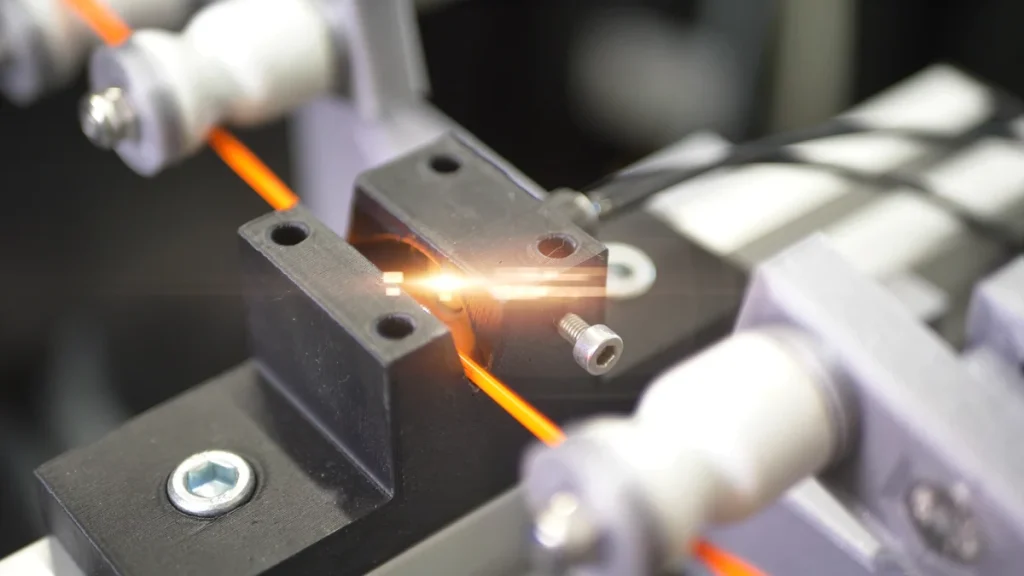
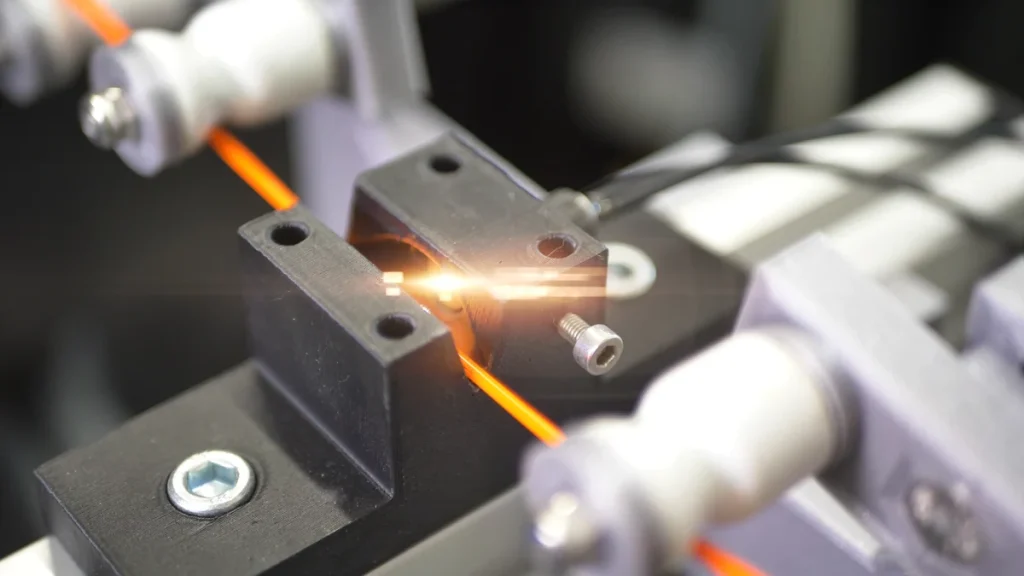
Orange filament passes through Prusament production equipment; this is general manufacturing context. View photo
(c) Prusa Polymers - prusament.com
Prusament PLA
-
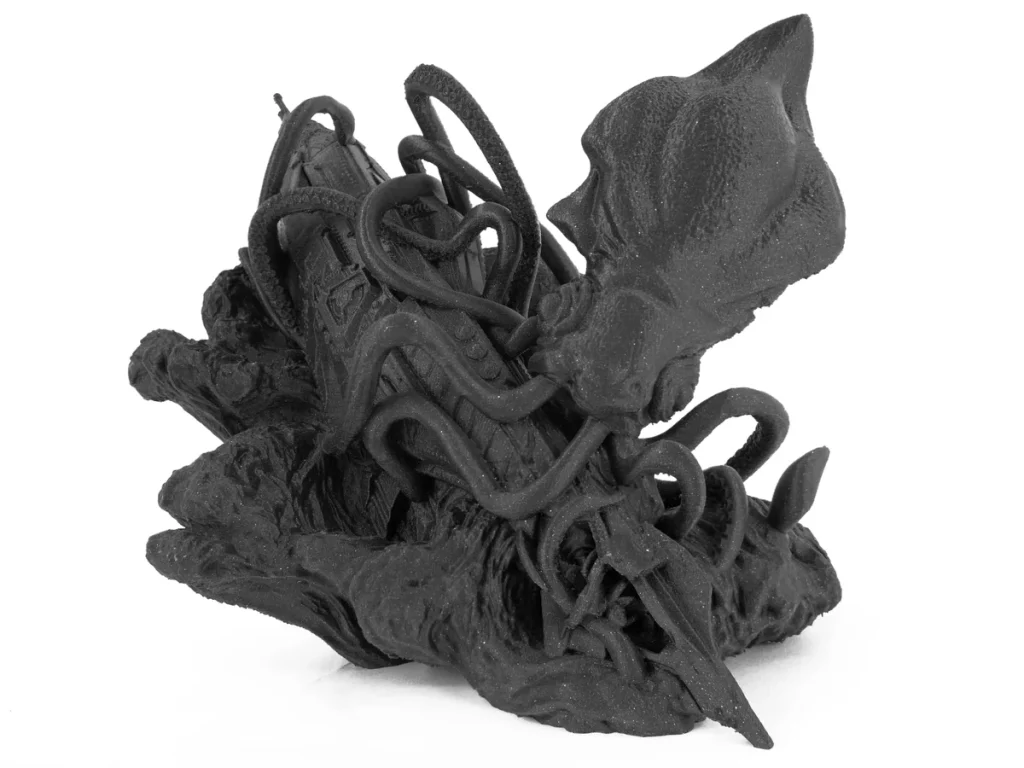
Prusa’s PLA display example shows a kraken wrapped around a ship; it is a manufacturer example, not a print from the independent reviews discussed above. View photo
(c) Prusa Polymers - prusament.com
-
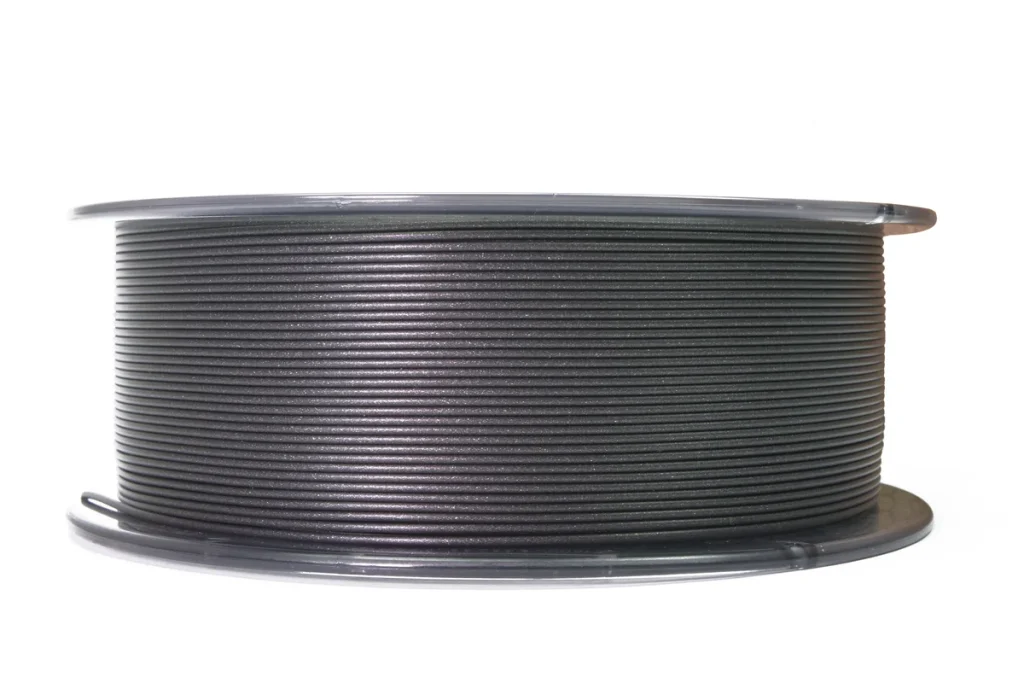
A side view of wound filament in Prusa’s press archive. Check your own spool design before choosing a refill; this photograph does not show the redesigned NFC spool or its refill fitting. View photo
(c) Prusa Polymers - prusament.com
Prusament TPU 95A
-
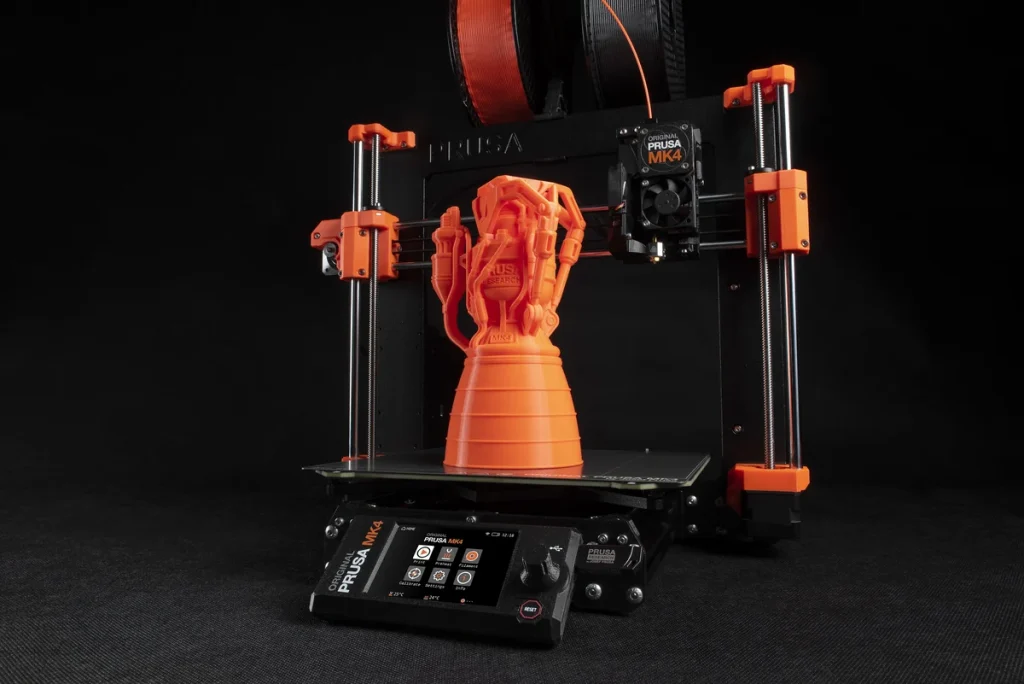
An Original Prusa MK4 with its spool mounted above the print head. The orange filament and model are not identified as TPU 95A. View photo
Prusa MK4 — Majkluss / Wikimedia Commons (https://commons.wikimedia.org/wiki/File:Prusa_MK4.jpg), CC BY-SA 4.0 (https://creativecommons.org/licenses/by-sa/4.0/). Resized and converted to WebP.
-
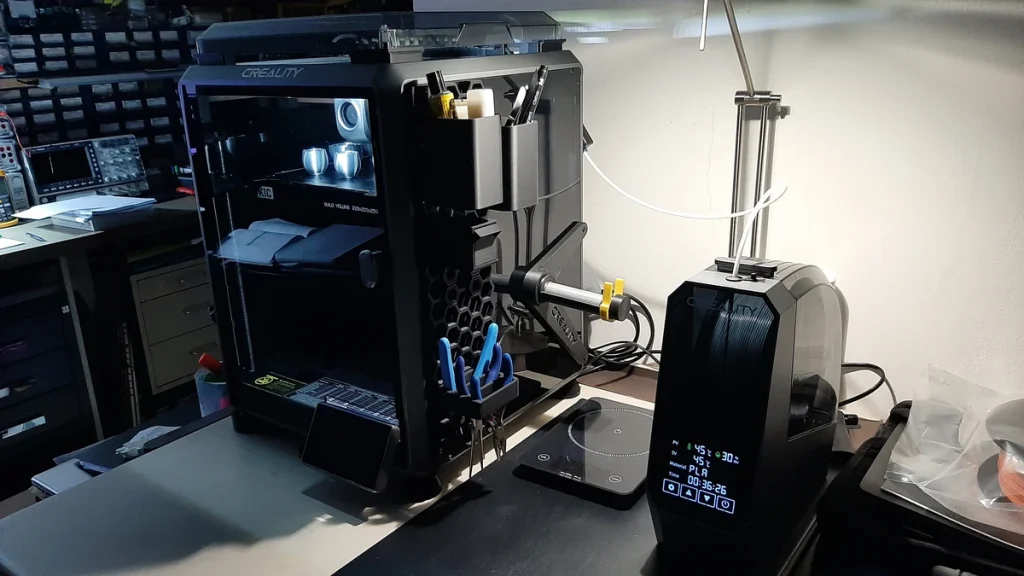
A filament drybox beside a Creality K1C. Its display shows a PLA setting; this is a storage and feeding example, not the drying setting for Prusament TPU 95A. View photo
Creality dry-box — Mortymore (https://www.flickr.com/photos/42537987@N07/54117116523/), CC BY 2.0 (https://creativecommons.org/licenses/by/2.0/). Resized and converted to WebP.
-
Orange filament passing through equipment in Prusa’s production-photo archive. This general manufacturing scene does not identify the filament as TPU 95A or show a measurement result. View photo
(c) Prusa Polymers - prusament.com

QIDI MAX4
-
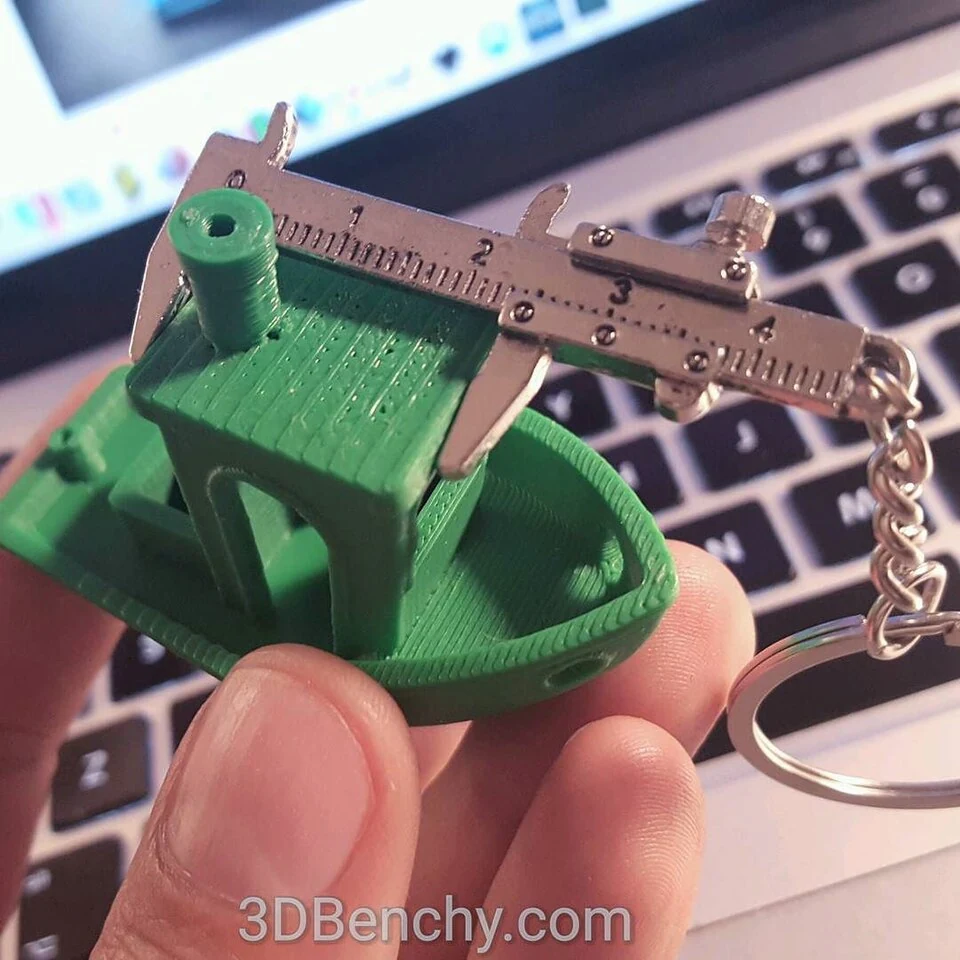
A green 3DBenchy held against a keyring caliper: a general example of checking a printed part’s dimensions, made independently of this Max4 review. View photo
3DBenchy measured with tiny caliper — 3DBenchy. https://commons.wikimedia.org/wiki/File:3DBenchy_measured_with_tiny_caliper.jpg · CC BY 2.0: https://creativecommons.org/licenses/by/2.0/ · Resized and converted to WebP.
-
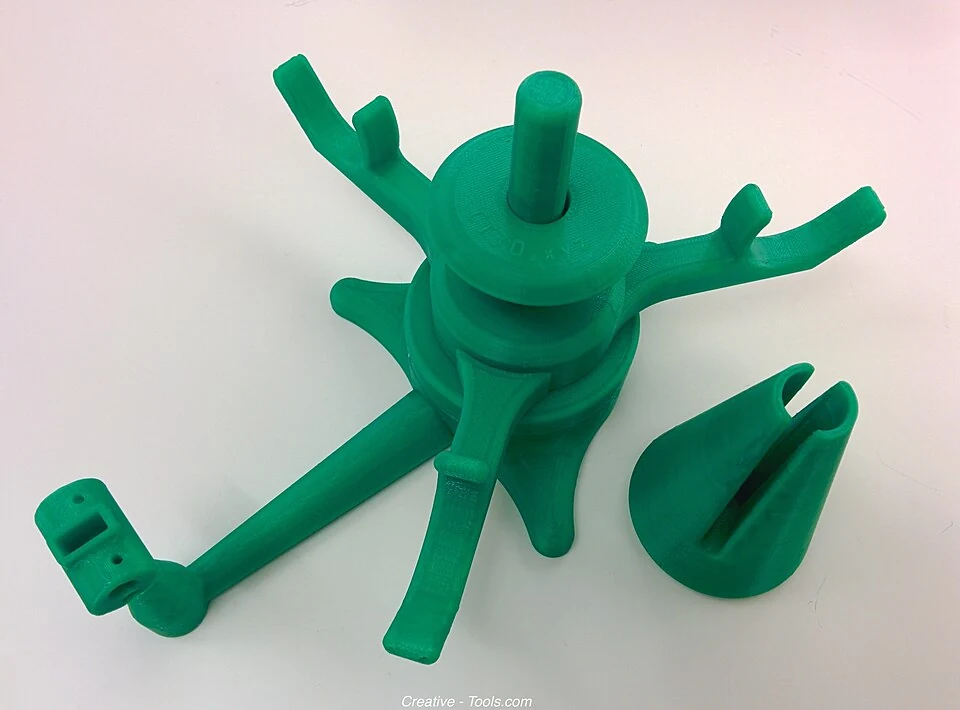
A printed external spool holder and separate cone, shown as general filament-handling context; this is not the Max4’s supplied holder. View photo
Universal stand-alone filament spool holder (complete) — Creative Tools. https://www.flickr.com/photos/33907867@N02/16077681960 · CC BY 2.0: https://creativecommons.org/licenses/by/2.0/ · Resized and converted to WebP.
QIDI Plus5
-
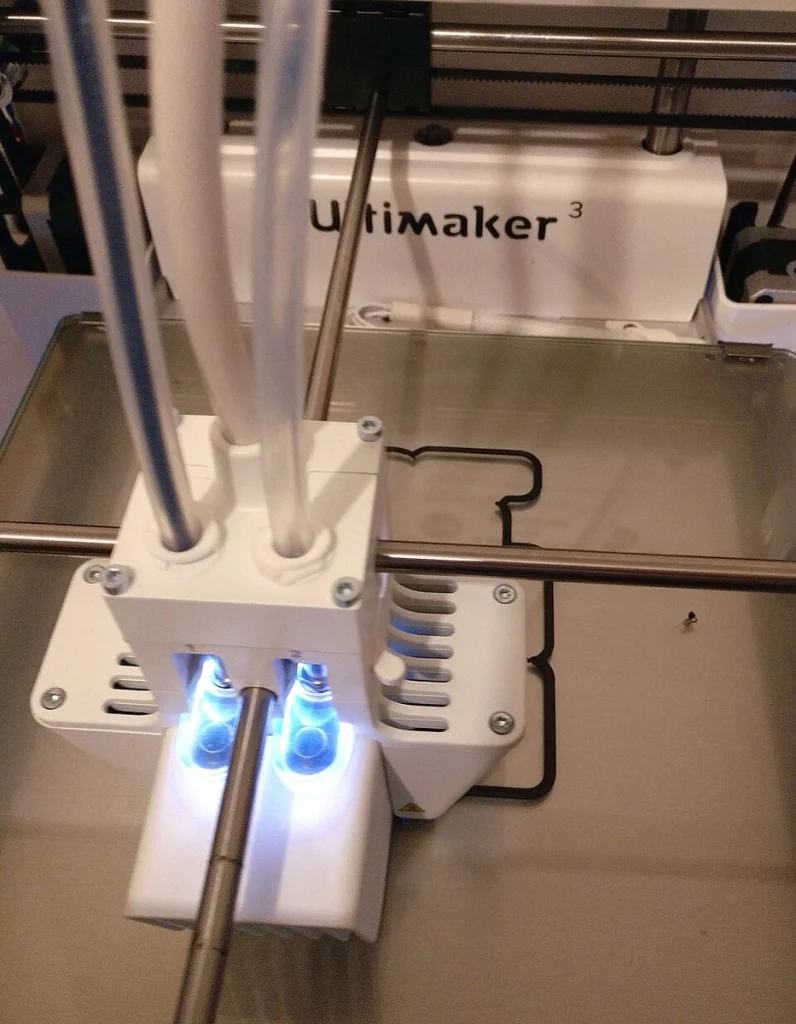
First-layer printing on an Ultimaker 3, illustrating the start of an FDM print; this is a general process example. View photo
MakerTobey, CC BY-SA 4.0 (https://creativecommons.org/licenses/by-sa/4.0/); https://commons.wikimedia.org/wiki/File:3D_printing_in_progress.jpg. Resized and converted to WebP.
-
A PETG spool in sealed packaging with desiccant, illustrating filament moisture protection. View photo
Suit, CC BY-SA 4.0 (https://creativecommons.org/licenses/by-sa/4.0/); https://commons.wikimedia.org/wiki/File:1_kg_petg_filament_in_packaging.jpg. Resized and converted to WebP.
-
Plastic extruding from a 3D printer nozzle; a general close-up of the extrusion process. View photo
David Elliott, CC BY 2.0 (https://creativecommons.org/licenses/by/2.0/); https://commons.wikimedia.org/wiki/File:3D_printer_nozzle_extruding_plastic_(15425525988).jpg. Resized and converted to WebP.
-
Cardboard, plastic and reusable spools illustrate the packaging differences to check when choosing filament for a spool-feeding system. View photo
Suit, CC BY-SA 4.0 (https://creativecommons.org/licenses/by-sa/4.0/); https://commons.wikimedia.org/wiki/File:Filament_cardboard_plastic_refill_1.jpg. Resized and converted to WebP.

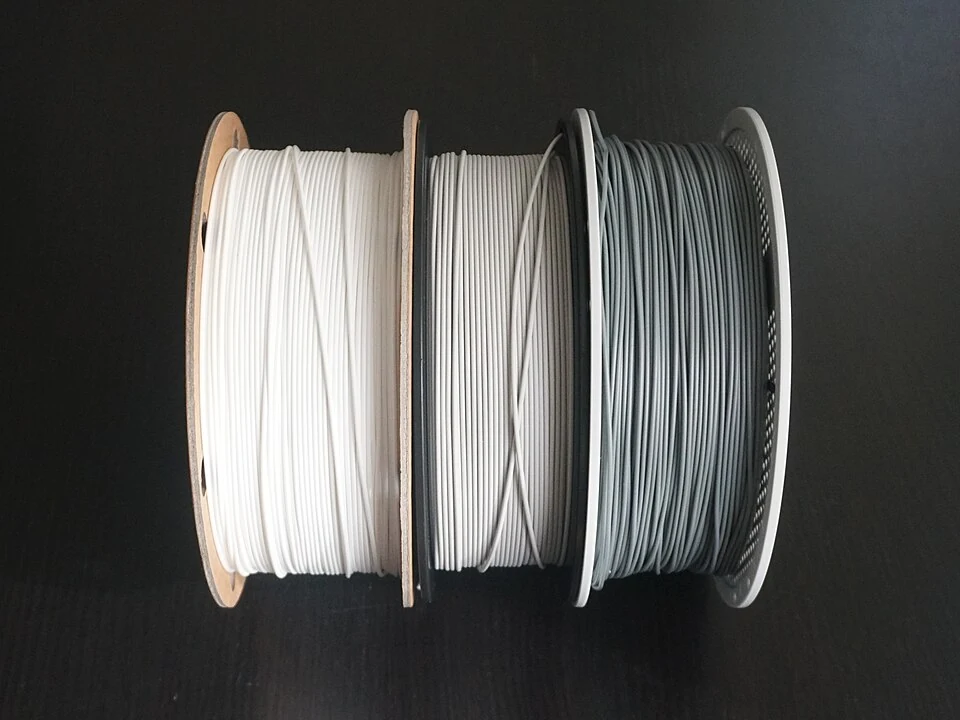
.jpg)
QIDI Q2
-
Inspecting the surface of a small green 3DBenchy print, shown here as a general print-inspection example. View photo
Creative Tools, “3D-printed 3DBenchy by Creative Tools” (https://www.flickr.com/photos/creative_tools/16469733404/). CC BY 2.0 (https://creativecommons.org/licenses/by/2.0/). Resized and compressed to WebP.
-
A separate filament dry box beside a Creality K1C on a workbench. View photo
Mortymore, “Creality dry-box” (https://www.flickr.com/photos/42537987@N07/54117116523/). CC BY 2.0 (https://creativecommons.org/licenses/by/2.0/). Resized and compressed to WebP.
-
Gray filament on a freestanding printed spool holder, with a guide tube leading away from the reel. View photo
Creative Tools, “Universal stand-alone filament spool holder (Fully 3D-printable) v03” (https://www.flickr.com/photos/33907867@N02/15587658111/). CC BY 2.0 (https://creativecommons.org/licenses/by/2.0/). Resized and compressed to WebP.
-
Plastic extruding from a nozzle in a general FDM process close-up. View photo
David Elliott, “3D printer nozzle extruding plastic” (https://www.flickr.com/photos/127994275@N08/15425525988/). CC BY 2.0 (https://creativecommons.org/licenses/by/2.0/). Resized and compressed to WebP.
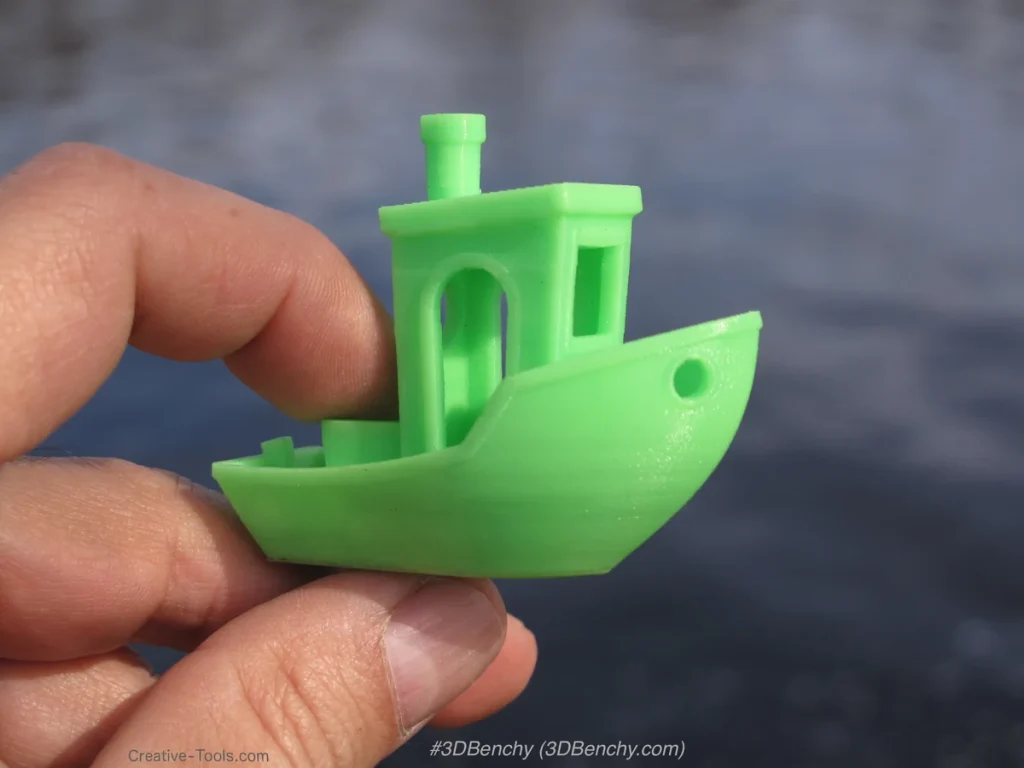
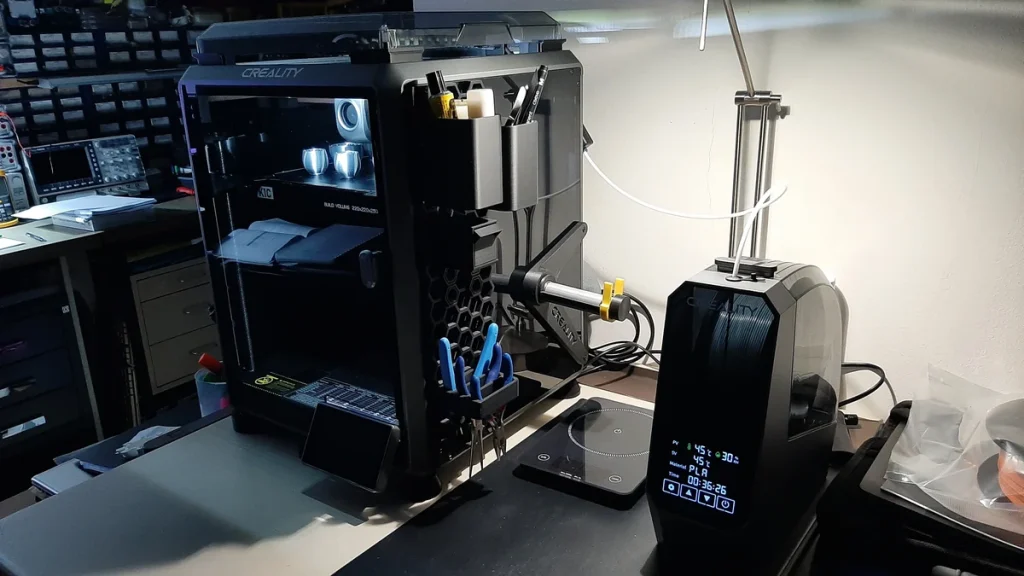
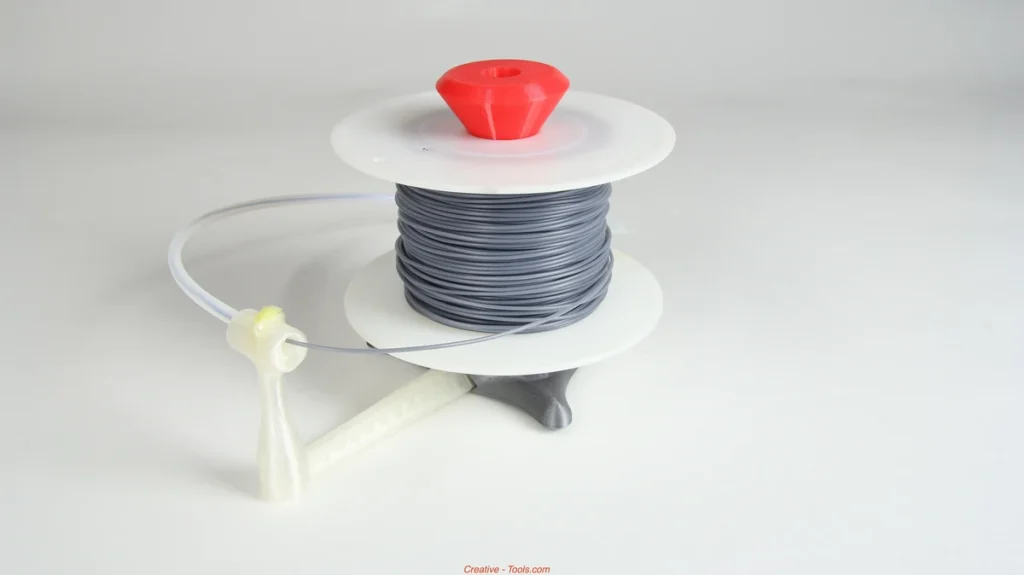
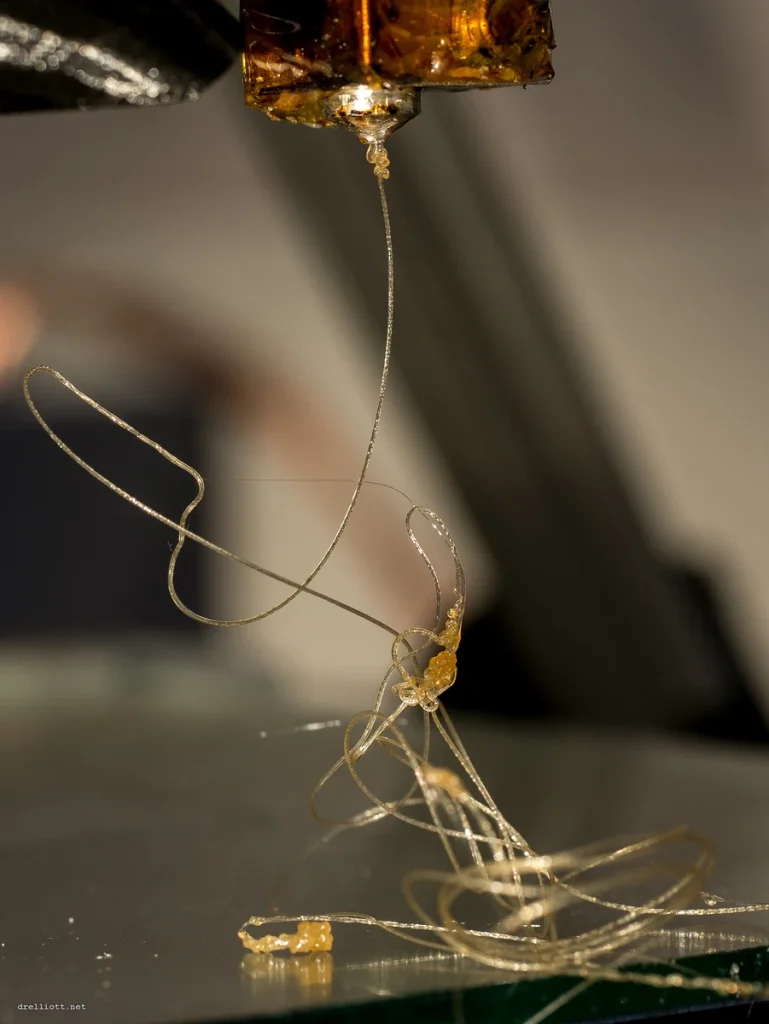
Qidi Q2C
-
A first layer being laid on a tape-covered bed on another filament printer; this is general process context, not a Q2C print. View photo
3D Printer - the first layer — Luke Jones, CC BY 2.0 (https://creativecommons.org/licenses/by/2.0/). https://commons.wikimedia.org/wiki/File:3D_Printer_-_the_first_layer(16661915478).jpg Resized and converted to WebP.
-
A standalone printed spool holder with filament routed through a guide; this is a general feeding example, not the Q2C holder or a TPU compatibility demonstration. View photo
3D Printing Filament — Creative Tools, CC BY 2.0 (https://creativecommons.org/licenses/by/2.0/). https://commons.wikimedia.org/wiki/File:3D_Printing_Filament.jpg Resized and converted to WebP.
-
Filament storage at Brandeis Maker Lab, showing spools in several colors; the rack is not a QIDI Box or a drying system. View photo
3D printing filament — westonhighschool library, CC BY-SA 2.0 (https://creativecommons.org/licenses/by-sa/2.0/). https://commons.wikimedia.org/wiki/File:3D_printing_filament.jpg Resized and converted to WebP.
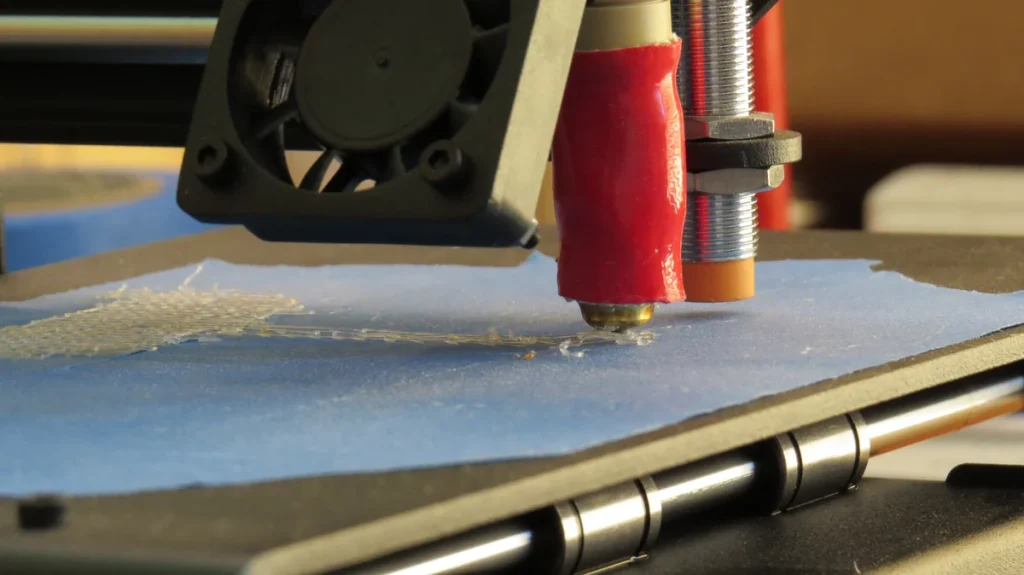
.jpg)
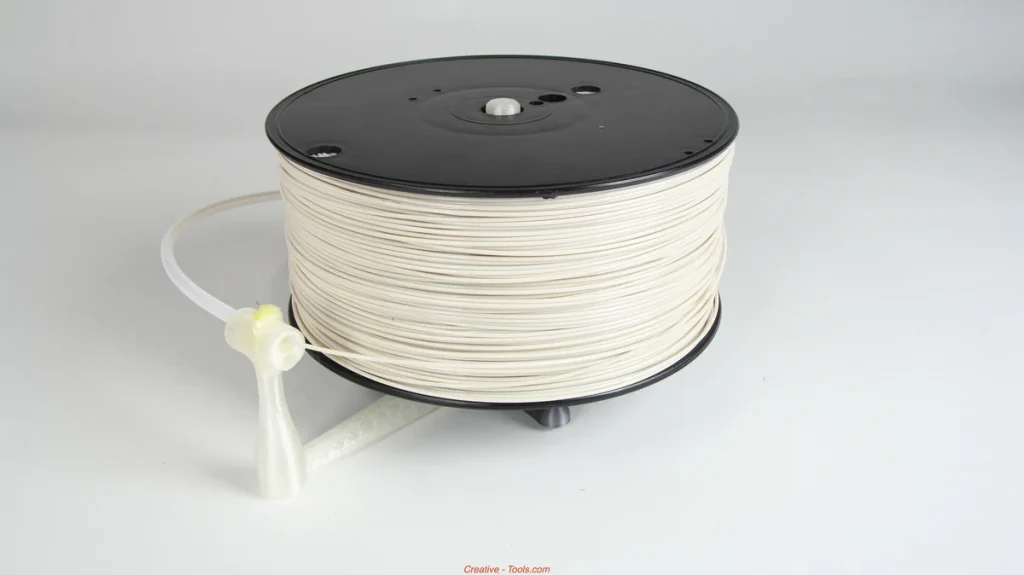
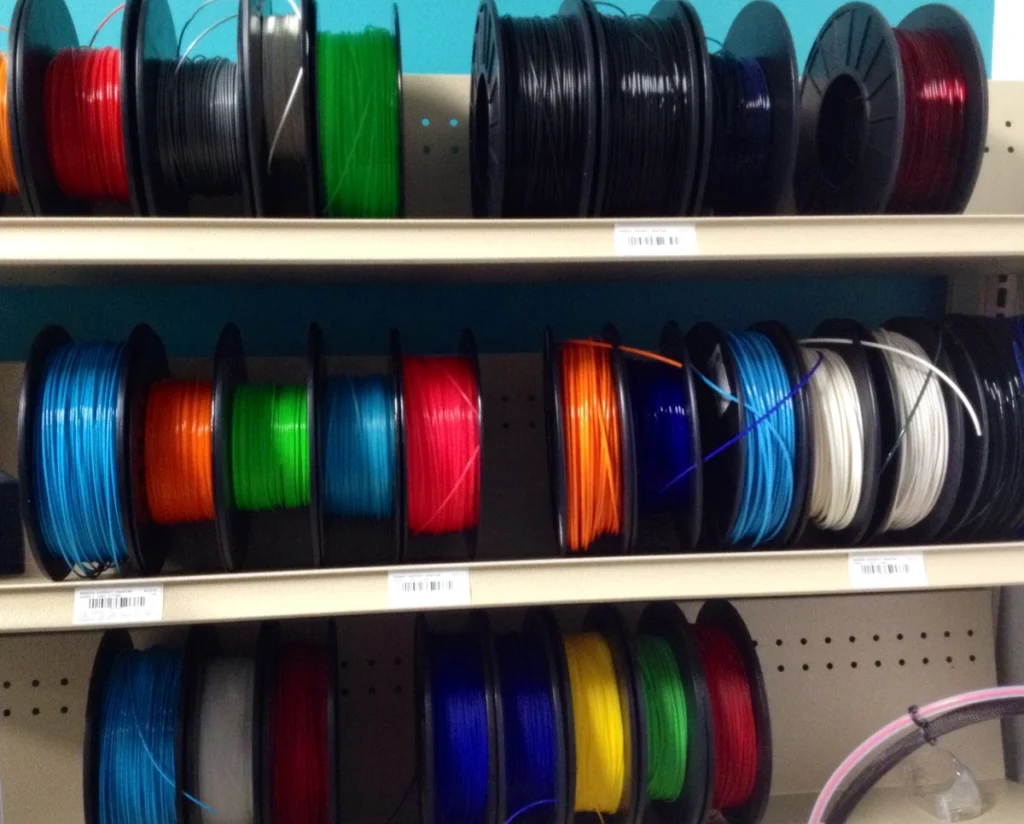
Raise3D Pro3
-
A close-up of plastic emerging from a 3D printer nozzle; a general extrusion example. View photo
“3D printer nozzle extruding plastic” by David Elliott, CC BY 2.0 (https://creativecommons.org/licenses/by/2.0/). Source: https://commons.wikimedia.org/wiki/File:3D_printer_nozzle_extruding_plastic_(15425519178).jpg. Resized and converted to WebP.
-
Filament spools stored on open shelves at Brandeis Maker Lab. View photo
“3D printing filament” by westonhighschool library, CC BY-SA 2.0 (https://creativecommons.org/licenses/by-sa/2.0/). Source: https://commons.wikimedia.org/wiki/File:3D_printing_filament.jpg. Resized and converted to WebP.
-
Prusa printers, labeled filament containers and tools in the shared workspace at Hackerspace Wrocław. View photo
“3D printer farm at Hackerspace Wrocław” by Majabojarska, CC BY 4.0 (https://creativecommons.org/licenses/by/4.0/). Source: https://commons.wikimedia.org/wiki/File:3D_printer_farm_at_Hackerspace_Wroc%C5%82aw.jpg. Resized and converted to WebP.
-
A digital caliper measures a curved component in this general measurement example. View photo
“Caliper hook” by Djxvillain, CC BY-SA 3.0 (https://creativecommons.org/licenses/by-sa/3.0/). Source: https://commons.wikimedia.org/wiki/File:Caliper_hook.jpg. Resized and converted to WebP.
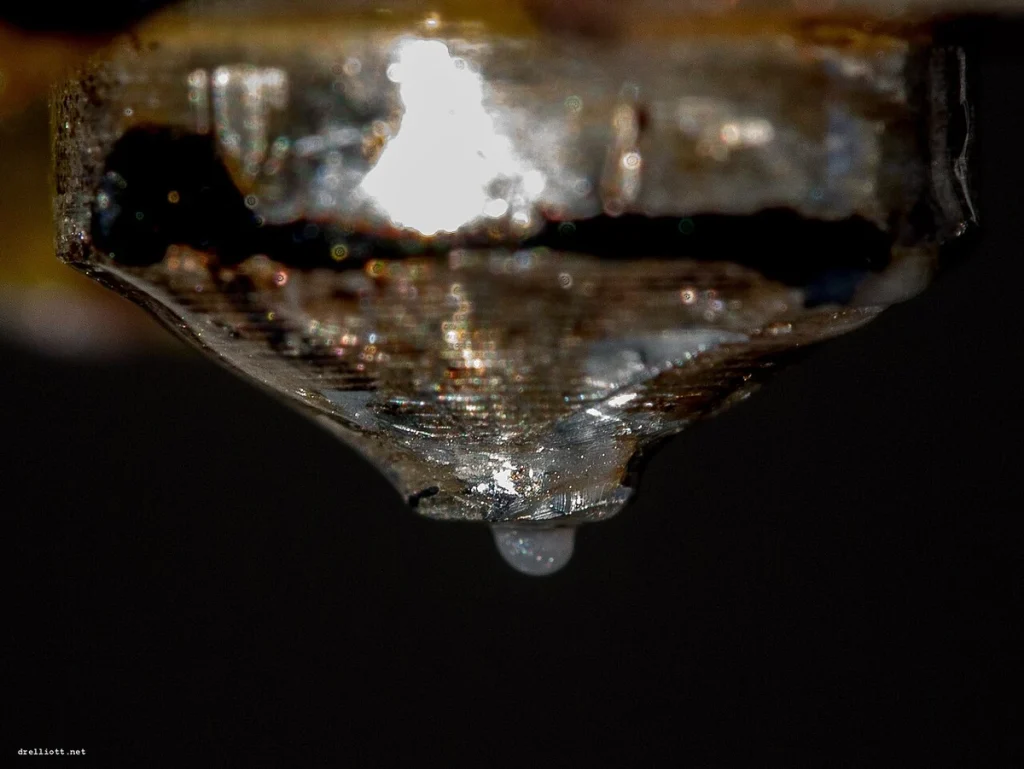
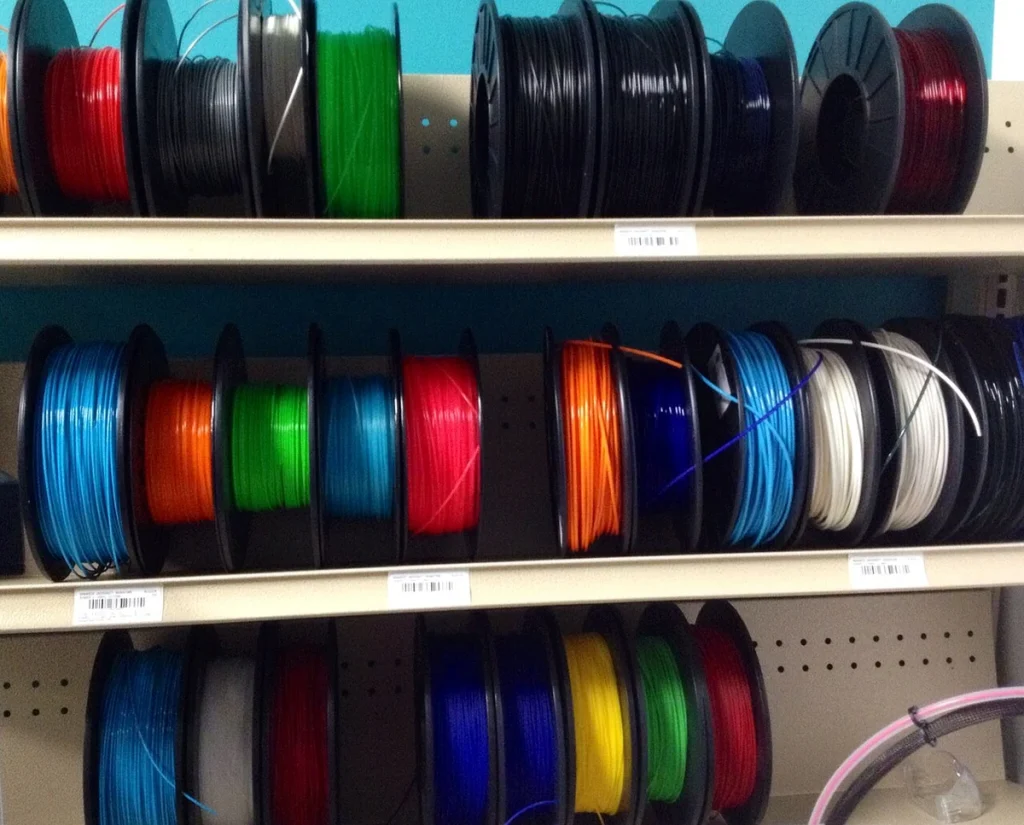
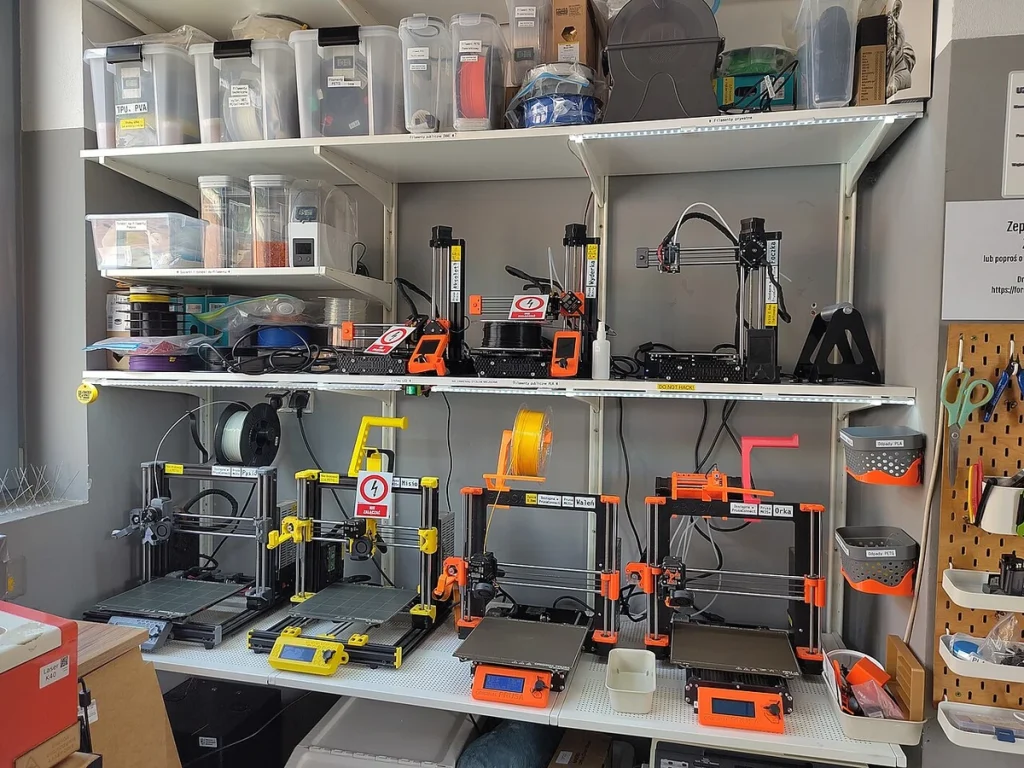

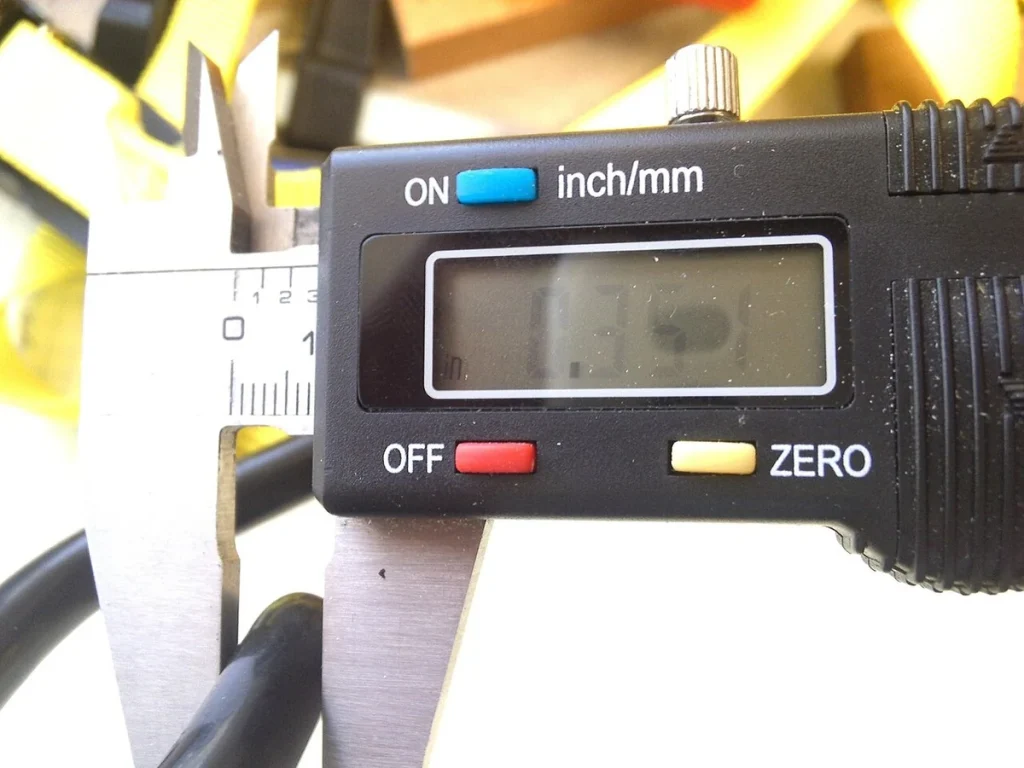

RatRig V-Core 4
-
General FDM example: a cube on a raft, not a V-Core 4 first-layer test. View photo
Testcube met raft op een verwarmd bed..jpg — PeterNdeVries; CC BY-SA 4.0 (https://creativecommons.org/licenses/by-sa/4.0); https://commons.wikimedia.org/wiki/File:Testcube_met_raft_op_een_verwarmd_bed..jpg. Resized and converted to WebP.
-
General extrusion detail: plastic at a nozzle tip, not the V-Core 4’s Rapido hotend. View photo
3D printer nozzle extruding plastic (15425519178).jpg — David Elliott; CC BY 2.0 (https://creativecommons.org/licenses/by/2.0); https://commons.wikimedia.org/wiki/File:3D_printer_nozzle_extruding_plastic_(15425519178).jpg. Resized and converted to WebP.
-
General filament-handling example: a spool on a printed stand with a guide tube. View photo
Universal stand-alone filament spool holder (Fully 3D-printable) v04.jpg — Creative Tools; CC BY 2.0 (https://creativecommons.org/licenses/by/2.0); https://commons.wikimedia.org/wiki/File:Universal_stand-alone_filament_spool_holder_(Fully_3D-printable)_v04.jpg. Resized and converted to WebP.
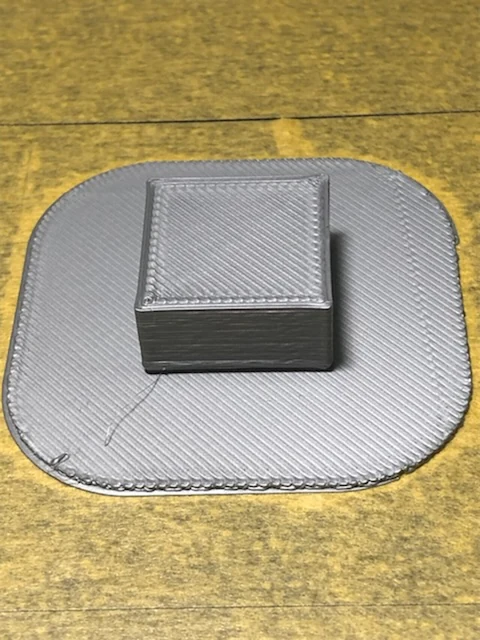

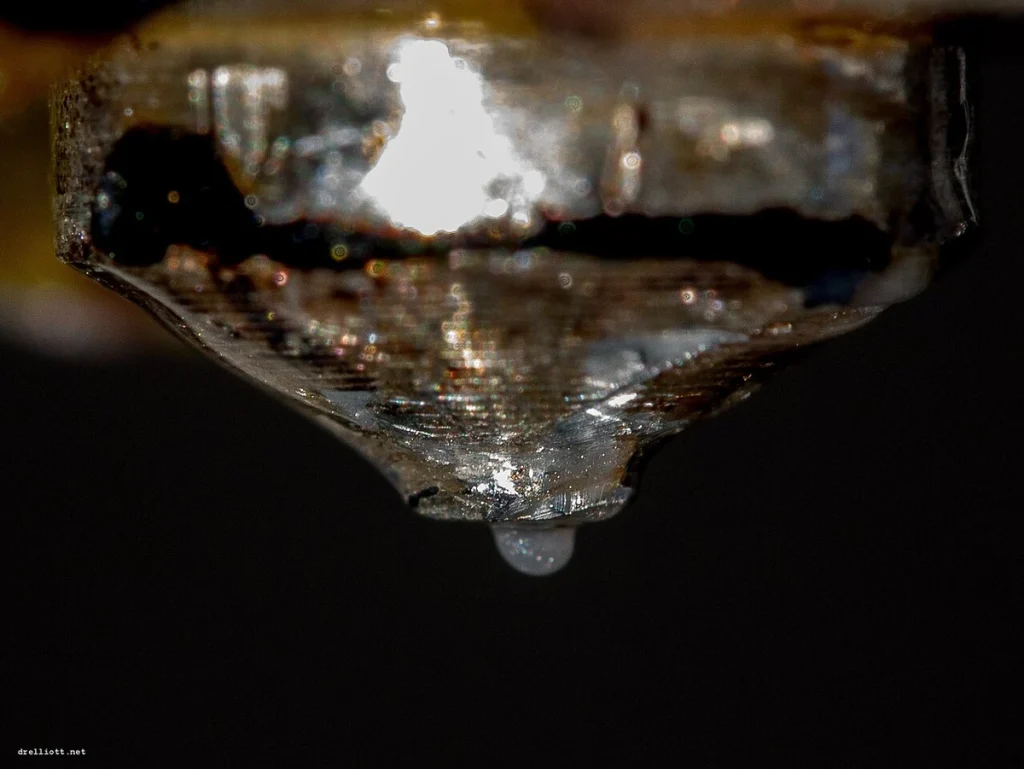
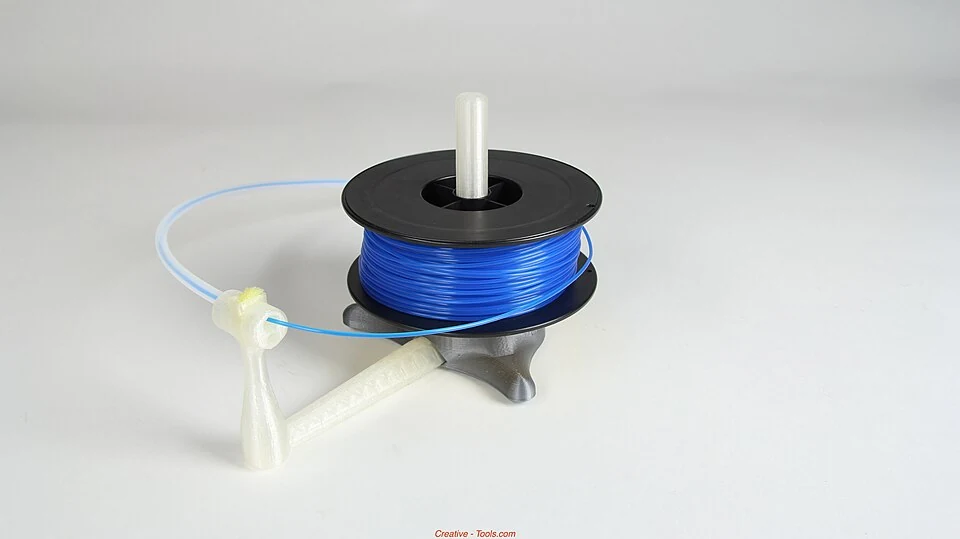
Siraya Tech Fast
-
A painted miniature made with Anycubic ECO transparent green resin illustrates the painting workflow. This is not a Fast Grey sample. View photo
“IMG_0086_cropped” by Merlin Hartley (scarabmonkey), CC BY-SA 2.0. Resized and converted to WebP; same license.
-
Formlabs’ photograph shows printed razor handles above a Form 2 vat. The resin grade is unspecified; this is general resin-printing context. View photo
“Additive Manufacturing Resin Tray Formlabs” by Formlabs Inc. (original), CC BY 2.0. Resized and converted to WebP.
-
A Formlabs demonstration workbench with printed parts and finishing tools shows the space involved in resin model-making. This is not a Fast Grey test setup. View photo
“Maker Space Post-Finishing an Additive Manufacturing Part Made with a Formlabs Form 2 SLA 3D Printer” by Formlabs Inc. (original), CC BY 2.0. Resized and converted to WebP.
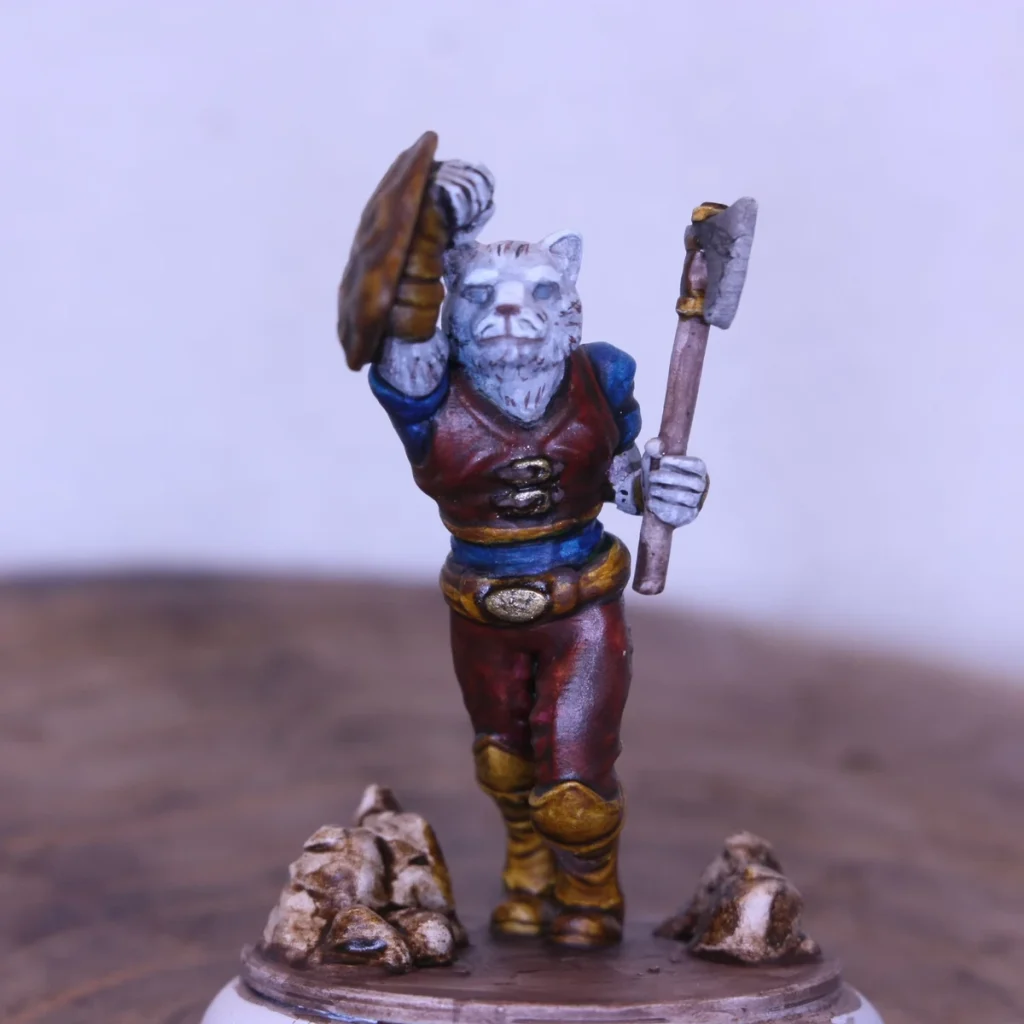
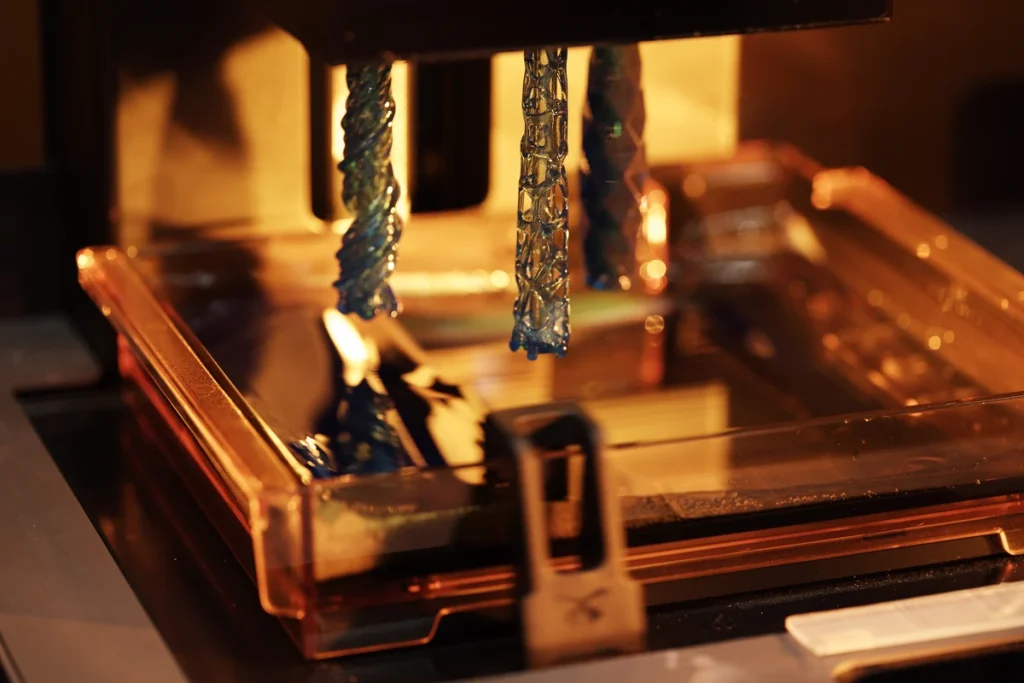
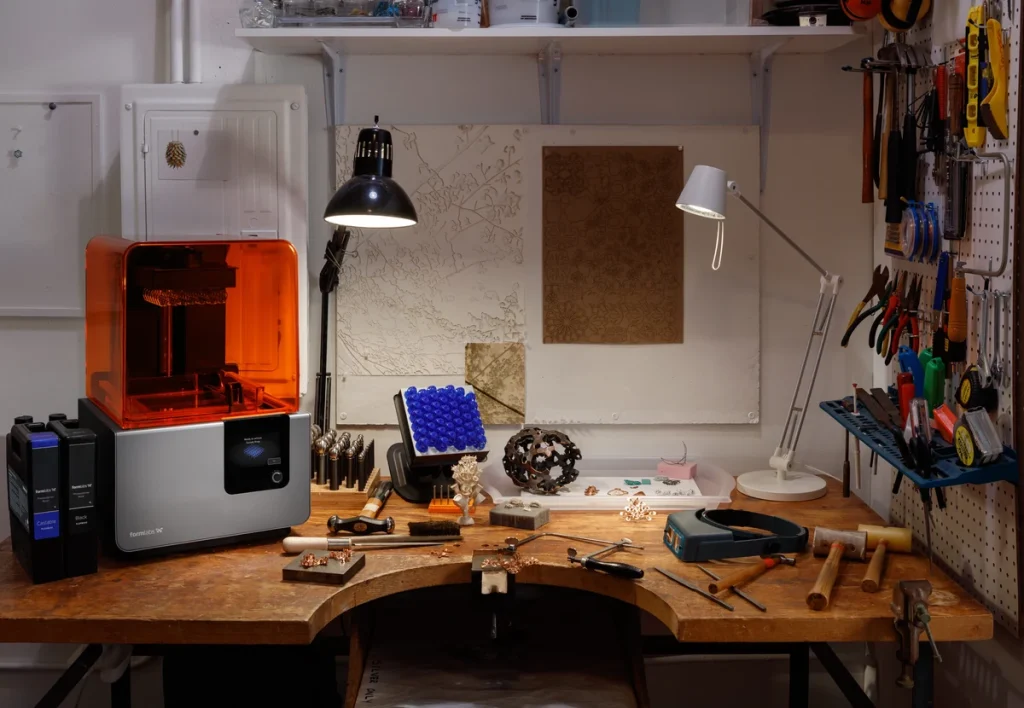
Sovol SV06 ACE
-
A yellow filament spool fitted with a separate printed holder, shown as a general filament-setup example. View photo
Universal stand-alone filament spool holder (narrow center cone) v01 by Creative Tools, CC BY 2.0. Resized and converted to WebP.
-
An orange Benchy printed on a BEETHEFIRST printer, shown as a general example of the small boat model. View photo
#3DBenchy 3D-printed at low resolution on a BEETHEFIRST 3D printer by 3DBenchy, CC BY 2.0. Resized and converted to WebP.
-
A MakerBot Thing-O-Matic hot end assembled on a work surface. Replacement parts for the SV06 ACE need their own compatibility check. View photo
Extruder Build, Part Two (Hot End) by syvwlch, CC BY 2.0. Resized and converted to WebP.
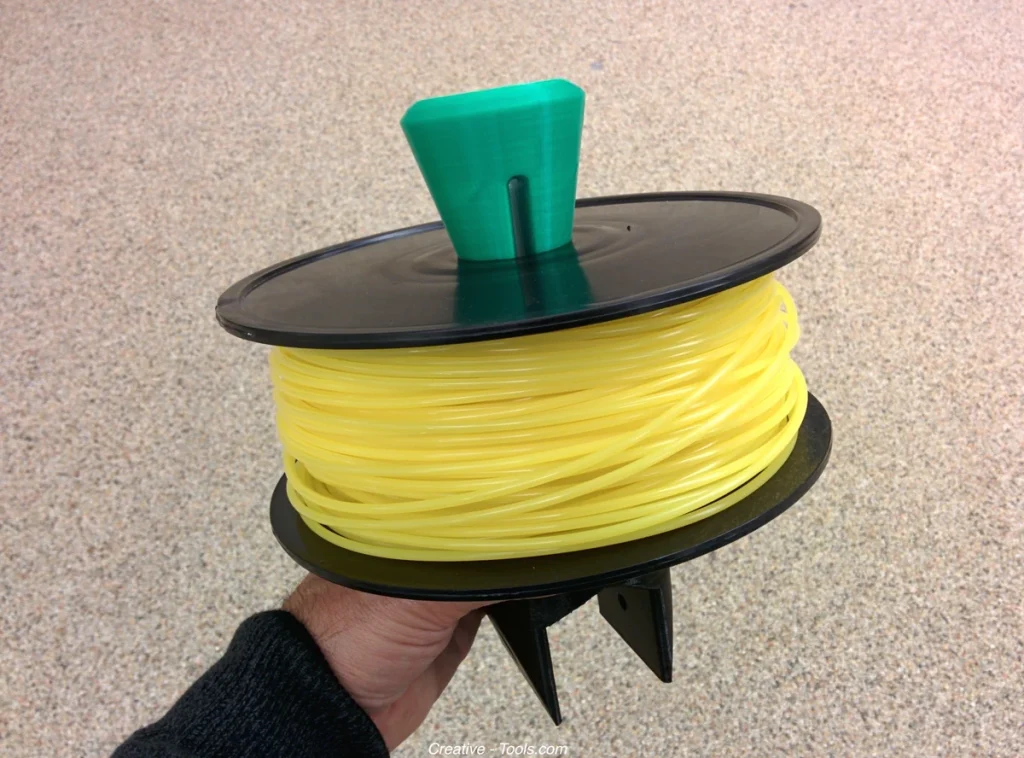
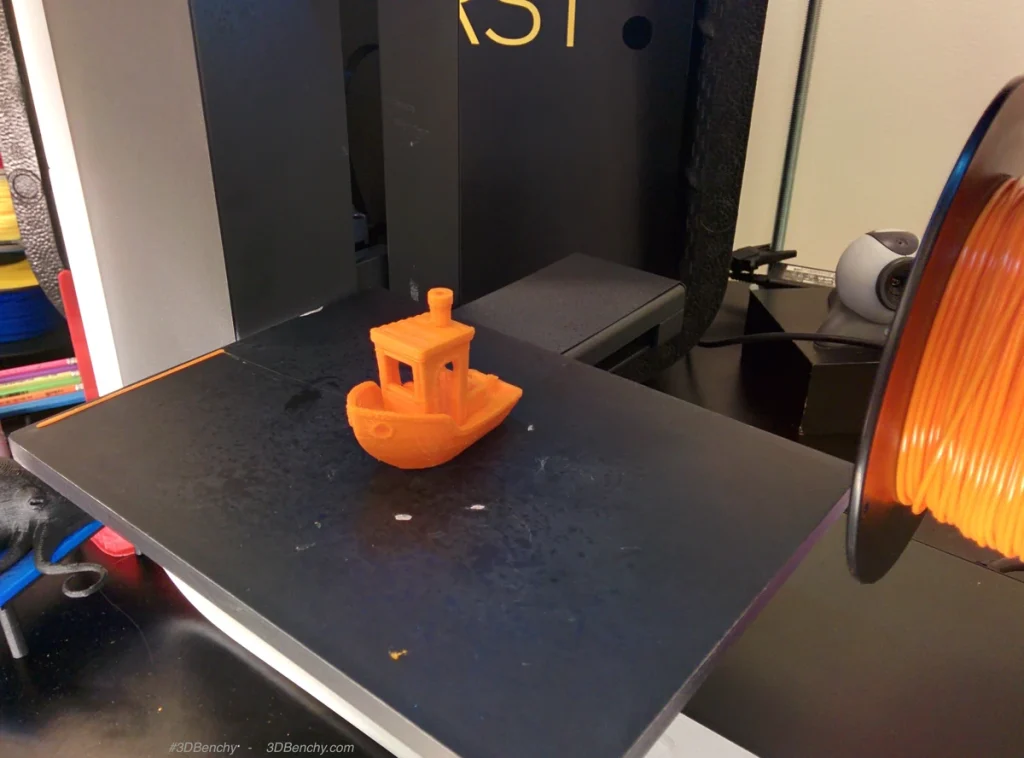

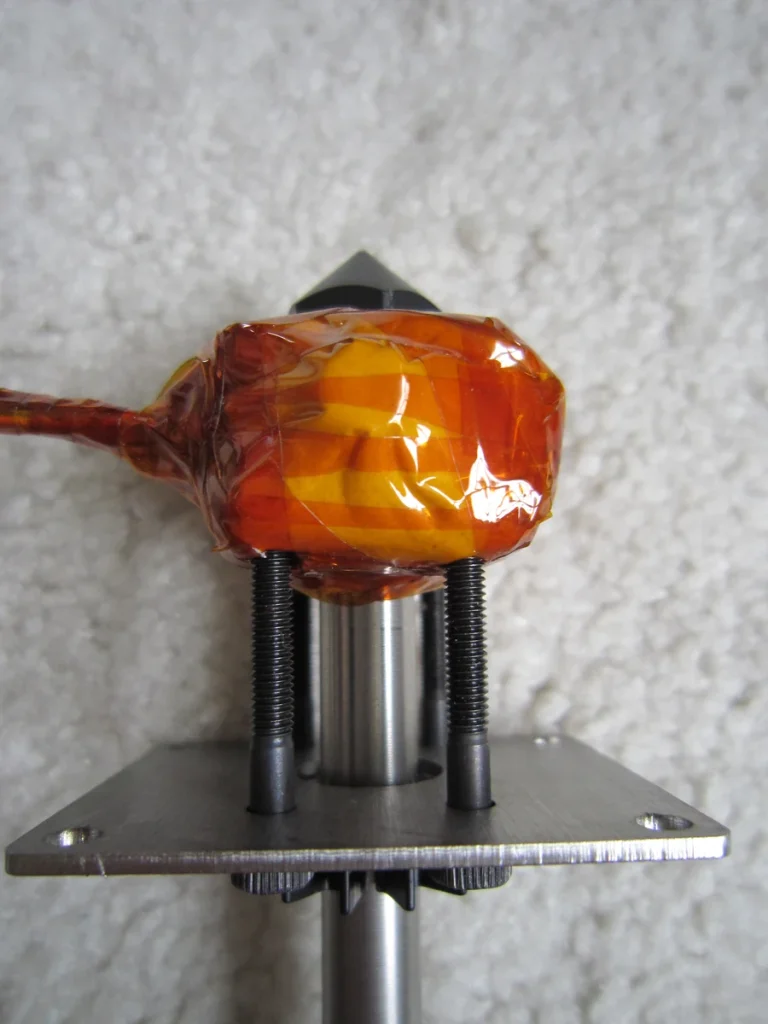

Sovol SV08
-
A nozzle releasing plastic, shown as general printing context; this is not an SV08 nozzle. View photo
“3D printer nozzle extruding plastic” by David Elliott (https://www.flickr.com/photos/127994275@N08/15425519178/), CC BY 2.0 (https://creativecommons.org/licenses/by/2.0/). Resized and converted to WebP.
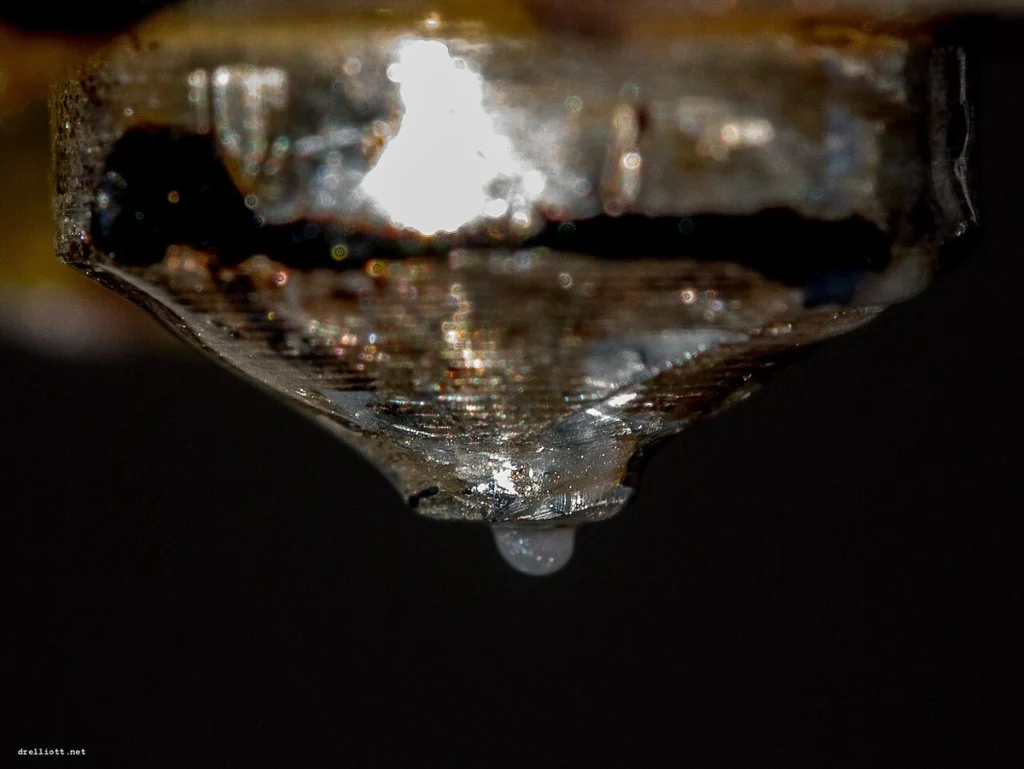
Sovol SV08 Max
-
A filament-drive replacement from a separate MK6 extruder project, with visible layer lines and fitted bolts. View photo
Filament Drive Replacement by syvwlch (https://www.flickr.com/photos/27164521@N00/5864293399/), CC BY 2.0 (https://creativecommons.org/licenses/by/2.0/). Resized and converted to WebP.
-
A homemade filament cleaner using two foam paint-brush pieces and a zip tie on a separate printer. View photo
Filament Cleaner by syvwlch (https://www.flickr.com/photos/27164521@N00/5849012263/), CC BY 2.0 (https://creativecommons.org/licenses/by/2.0/). Resized and converted to WebP.
-
Colored filament spools with matching printed display models at CES 2015. View photo
3D Printing Materials by Maurizio Pesce (https://www.flickr.com/photos/pestoverde/16863368275/), CC BY 2.0 (https://creativecommons.org/licenses/by/2.0/). Resized and converted to WebP.
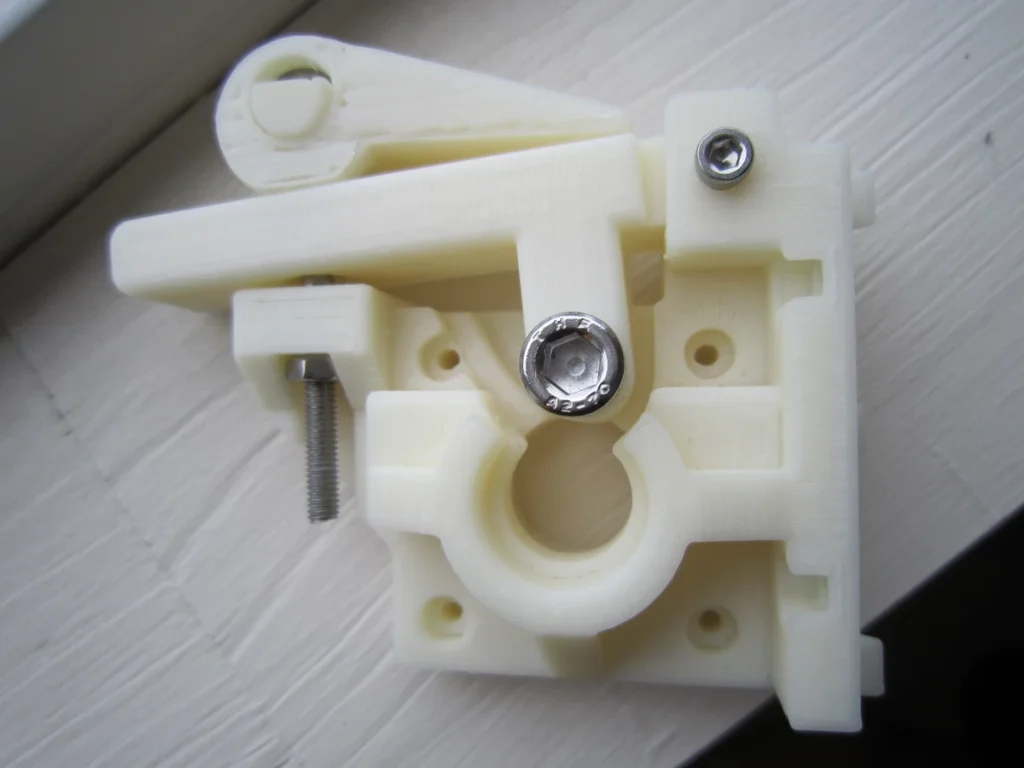
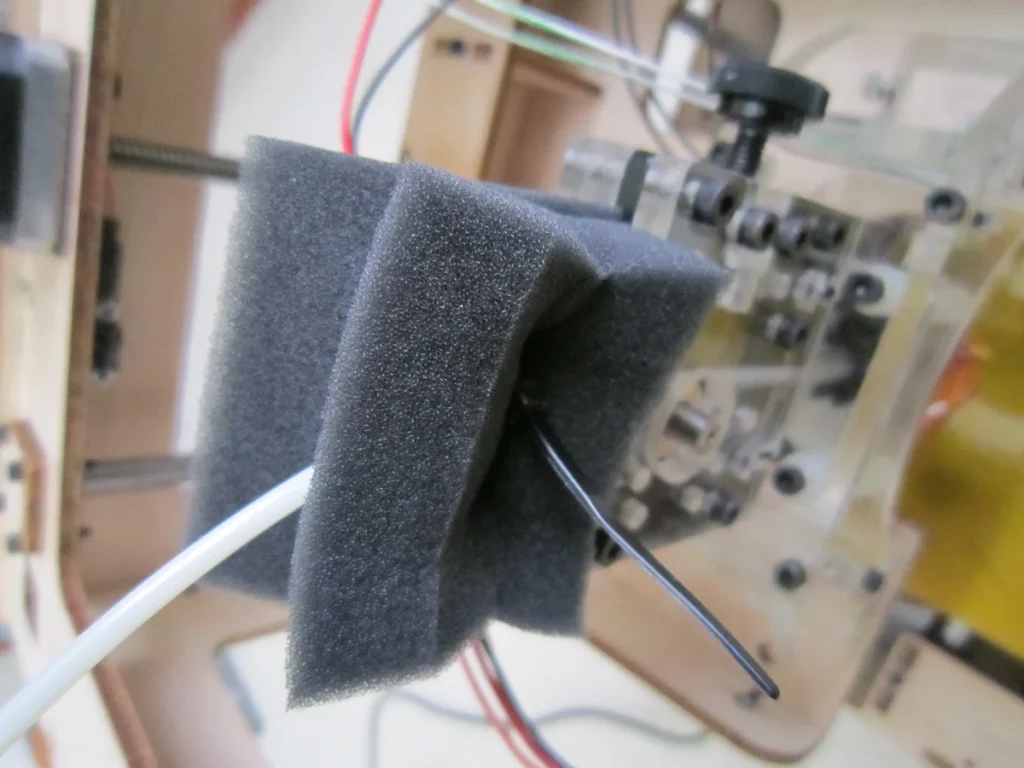
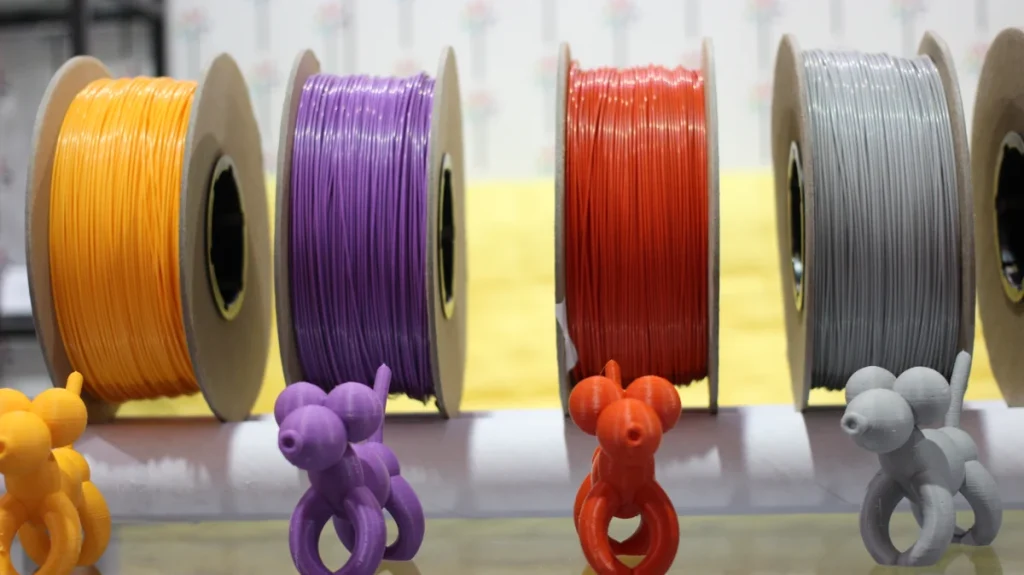
SUNLU PETG
-
A Creality K1C and filament dry box on a workbench. The display is set to PLA; this is a handling example, not a SUNLU PETG drying setup. View photo
-
A 3D-printed filament spool holder illustrates a practical workshop part. Its material is unspecified; it is not a SUNLU PETG test print. View photo
Creative Tools, CC BY 2.0. Resized and converted to WebP.
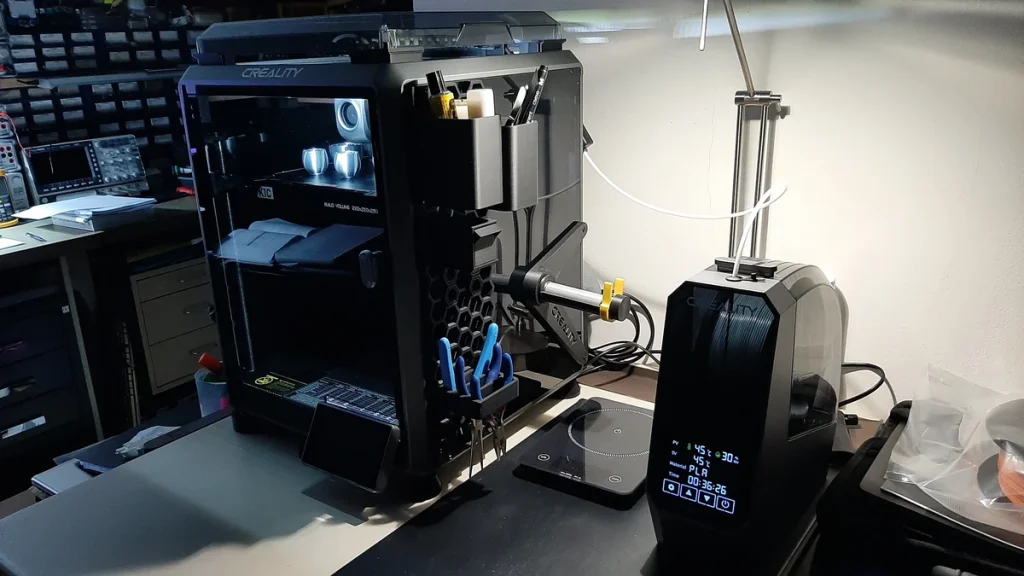
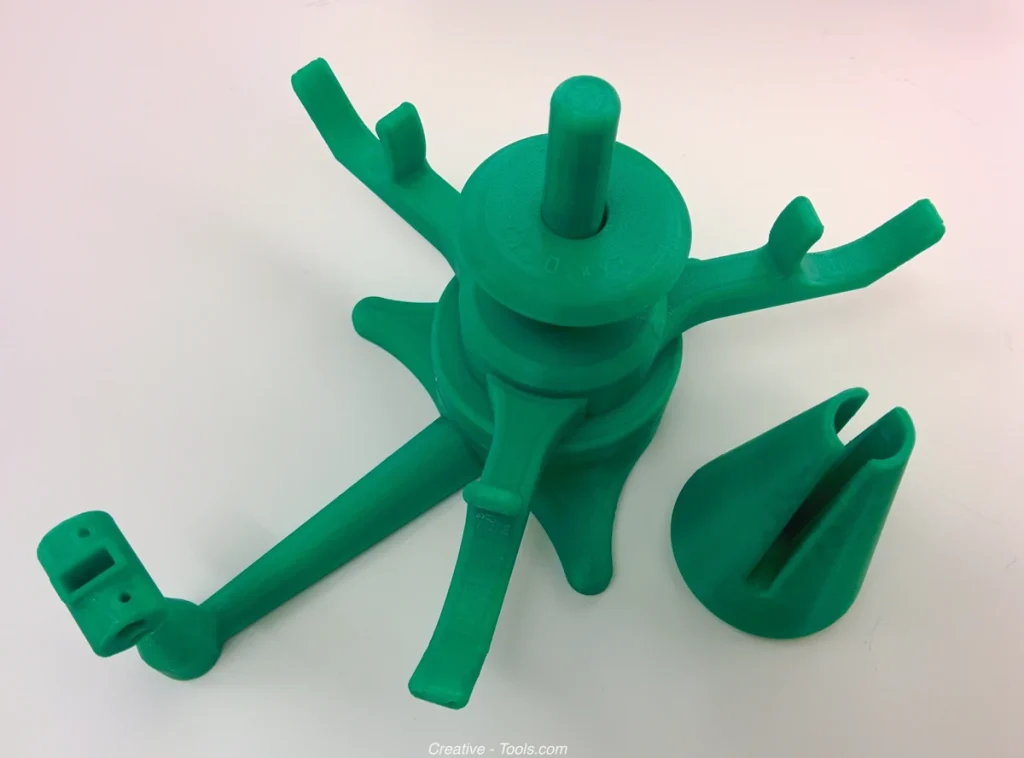
SUNLU PLA
-
Cardboard and plastic spool formats side by side. These general filament examples are not identified as SUNLU PLA. View photo
Suit / Wikimedia Commons, CC BY-SA 4.0 (https://creativecommons.org/licenses/by-sa/4.0/). Original: https://commons.wikimedia.org/wiki/File:Filament_cardboard_plastic_refill_1.jpg . Resized and converted to WebP.
-
A tabletop collection of printed trays, models and filament. The materials are unspecified; these are not SUNLU PLA test prints. View photo
Vitor.Ger / Wikimedia Commons, CC BY-SA 4.0 (https://creativecommons.org/licenses/by-sa/4.0/). Original: https://commons.wikimedia.org/wiki/File:3DPrinted_Objects.jpg . Resized and converted to WebP.
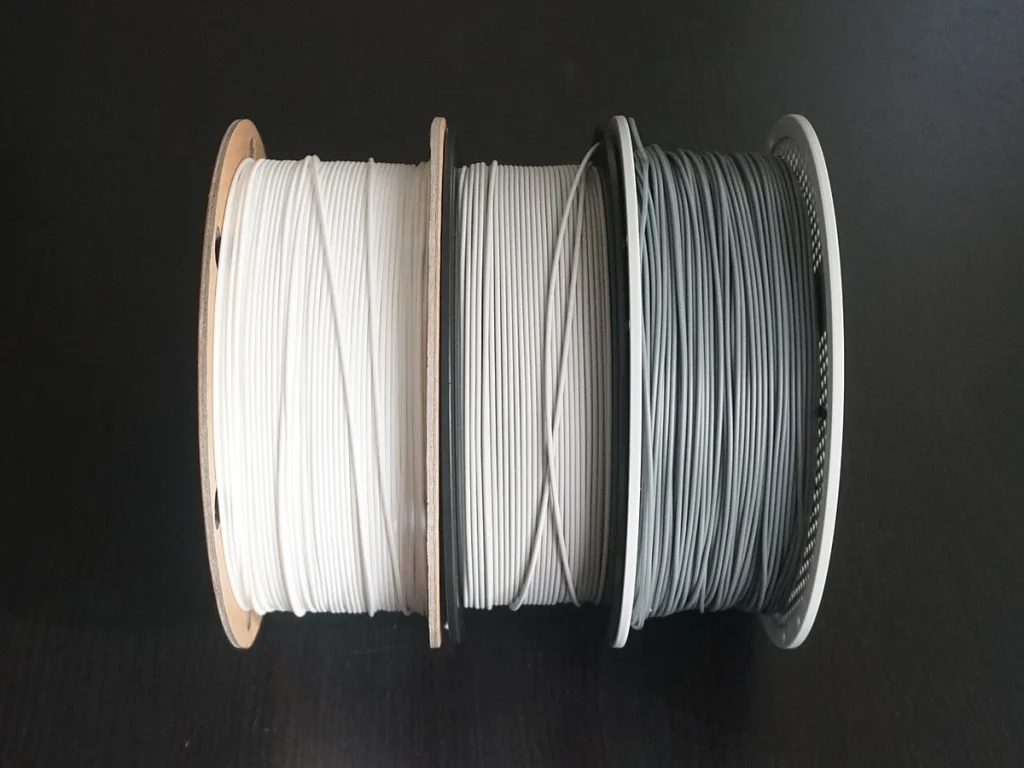
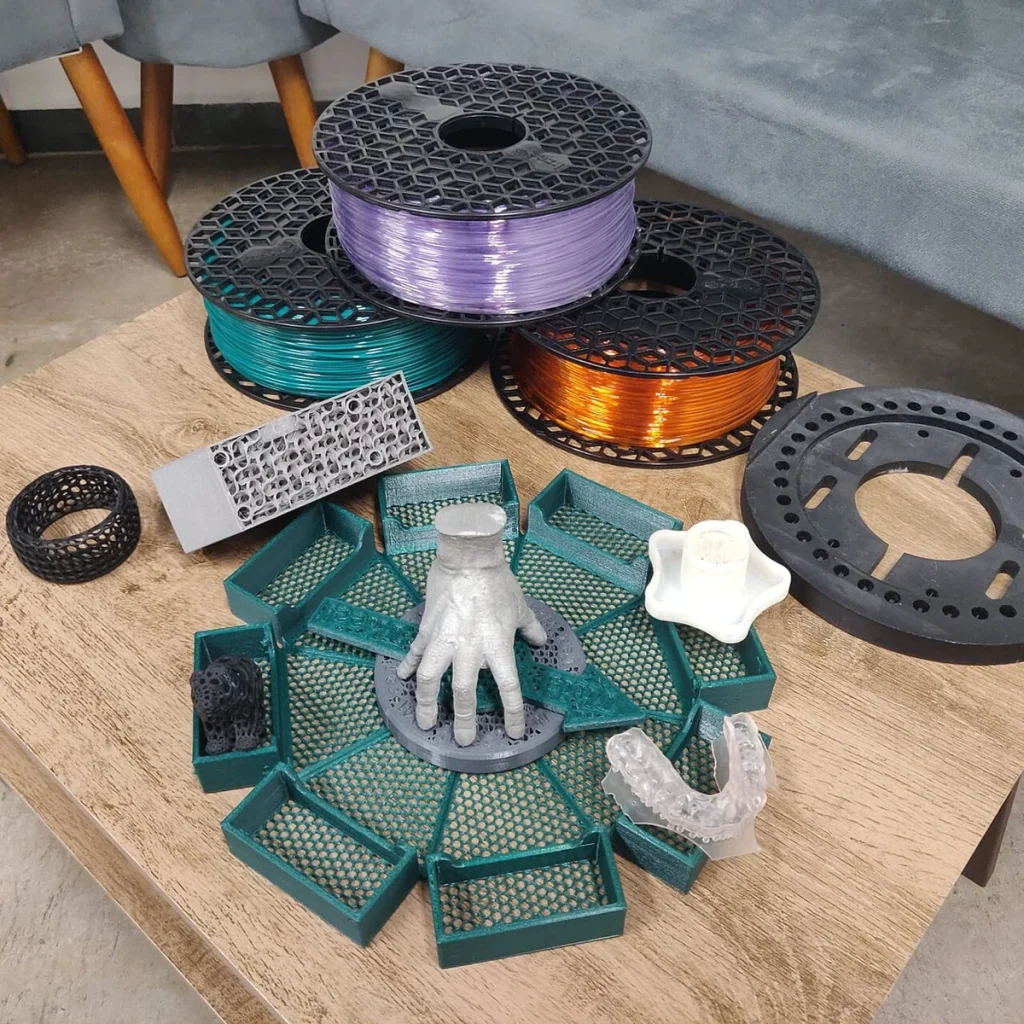
SUNLU PLA Meta
-
A close-up of a 3DBenchy print shows layer lines and loose strands. The filament is unspecified; this is a general print-detail example. View photo
“3DBenchy.com macro close-up v1” by 3DBenchy (https://www.flickr.com/photos/132390309@N03/30117959226), CC BY 2.0 (https://creativecommons.org/licenses/by/2.0/). Resized and converted to WebP.
-
A filament printer builds a small white model at FinnGraf 2013. This is a general printing scene with an unspecified material. View photo
“3D printer head during print” by Tiia Monto (https://commons.wikimedia.org/wiki/File:3D_printer_head_during_print.jpg), CC BY-SA 3.0 (https://creativecommons.org/licenses/by-sa/3.0/). Resized and converted to WebP.
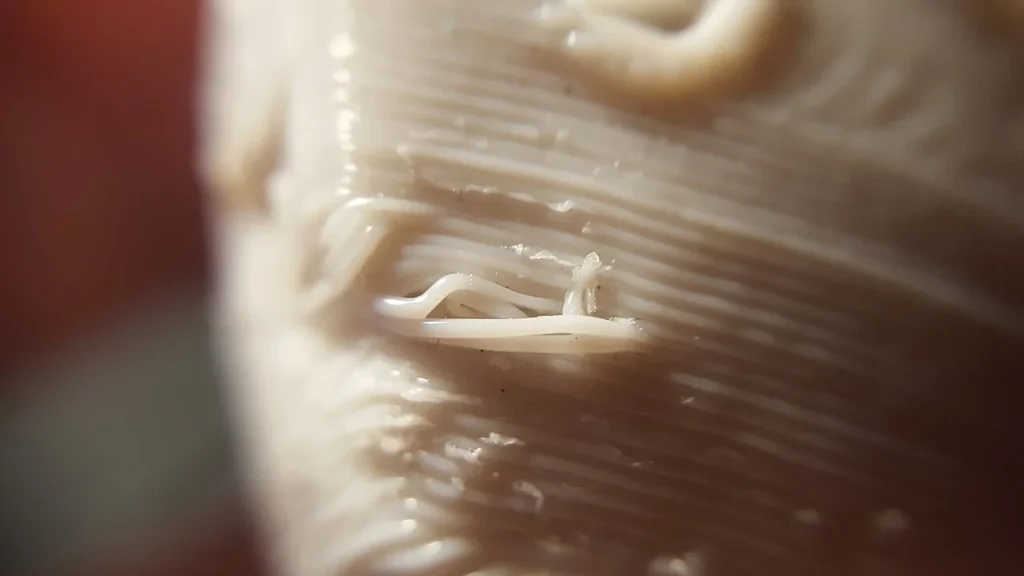
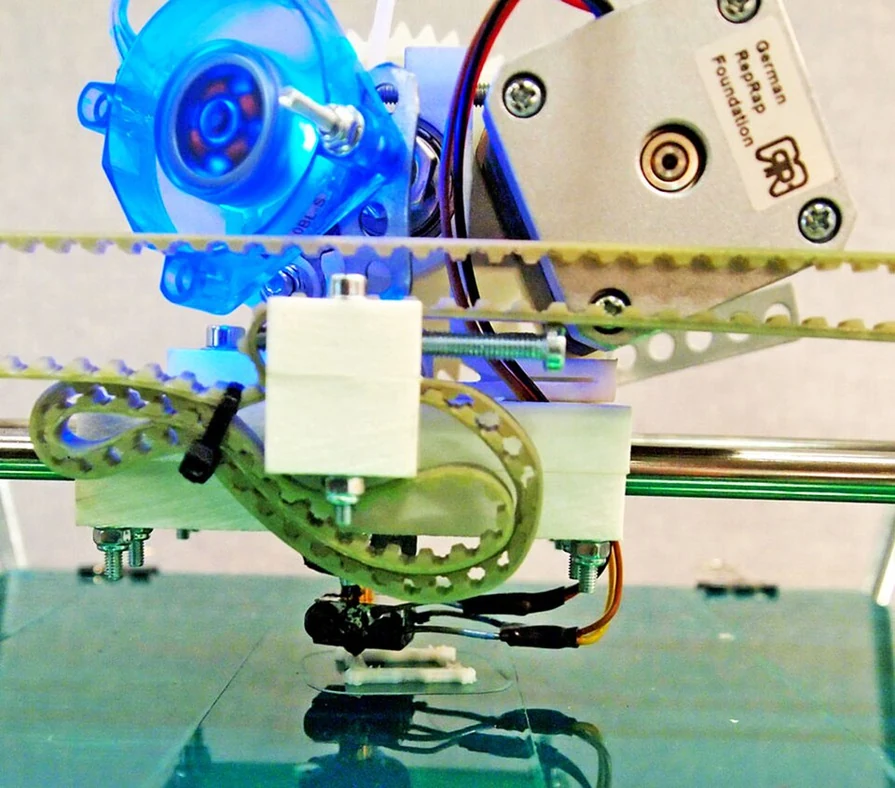

Tinkercad Review
-
Tinkercad combines familiar shapes to build 3D models. View photo
Autodesk screen shots reprinted courtesy of Autodesk, Inc. Autodesk, Tinkercad and Fusion are registered trademarks or trademarks of Autodesk, Inc., and/or its subsidiaries and/or affiliates in the USA and other countries.
-
Typed dimensions control the size of individual shapes before you combine them. View photo
Autodesk screen shots reprinted courtesy of Autodesk, Inc. Autodesk, Tinkercad and Fusion are registered trademarks or trademarks of Autodesk, Inc., and/or its subsidiaries and/or affiliates in the USA and other countries.
-
Touch controls let you select and adjust shapes on the iPad workplane. View photo
Photograph courtesy of Autodesk / Tinkercad. Autodesk screen shots reprinted courtesy of Autodesk, Inc. Autodesk, Tinkercad and Fusion are registered trademarks or trademarks of Autodesk, Inc., and/or its subsidiaries and/or affiliates in the USA and other countries.
-
Export the model as STL, then inspect it in your slicer before printing. View photo
Autodesk screen shots reprinted courtesy of Autodesk, Inc. Autodesk, Tinkercad and Fusion are registered trademarks or trademarks of Autodesk, Inc., and/or its subsidiaries and/or affiliates in the USA and other countries.
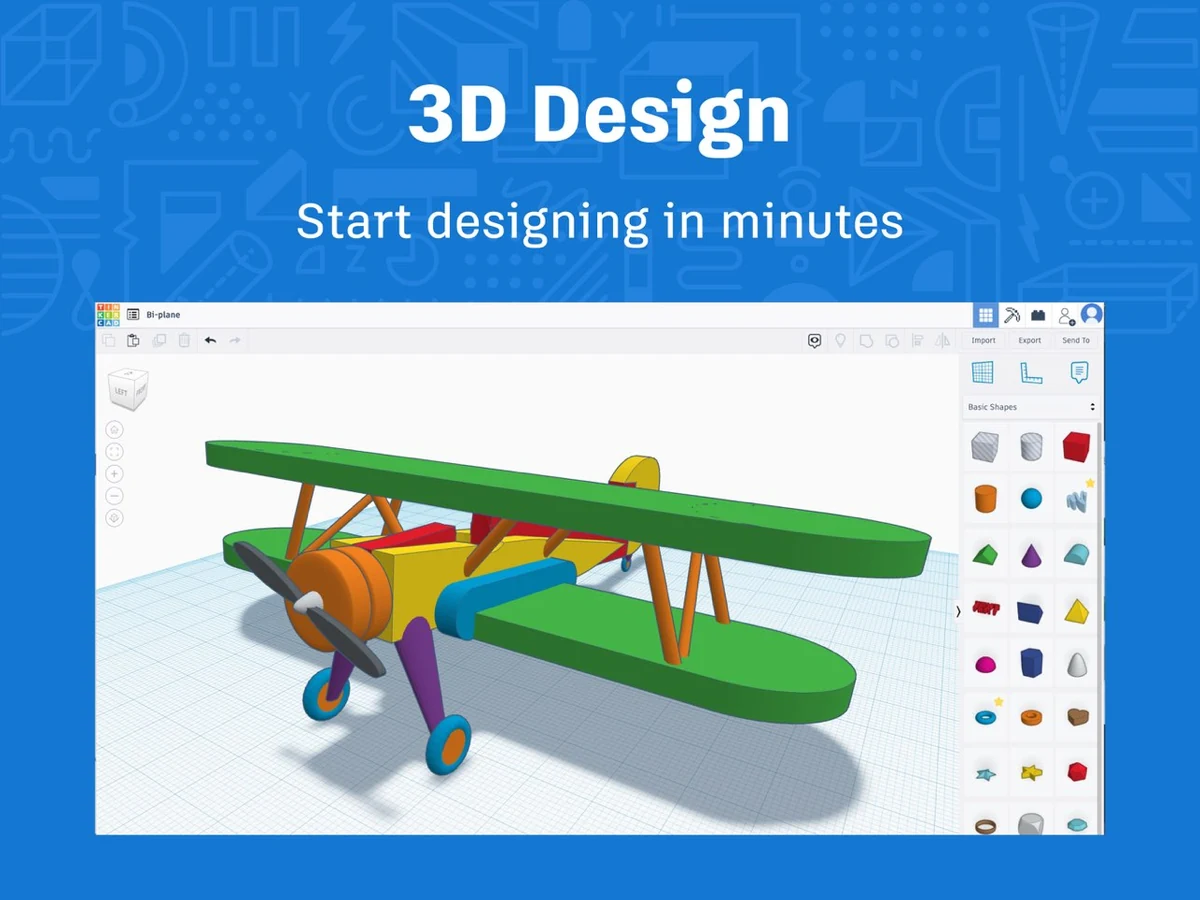
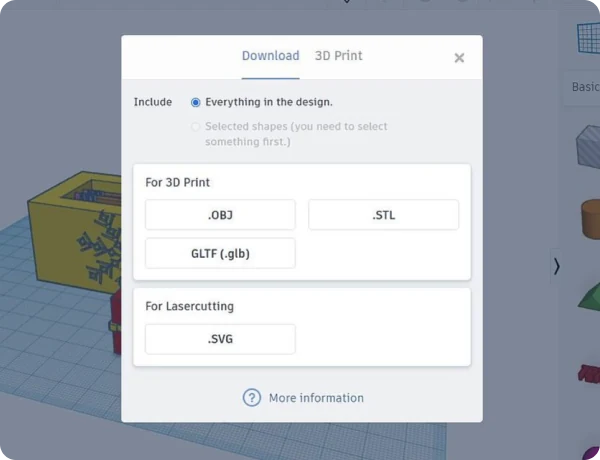
UltiMaker S7
-
A brain model with branching supports still attached, shown on another filament printer as a general example of an unfinished print. View photo
“3D printing brain with support” by Nevit Dilmen / Wikimedia Commons (https://commons.wikimedia.org/wiki/File:3D_printing_brain_with_support.jpg), CC BY-SA 3.0 (https://creativecommons.org/licenses/by-sa/3.0/). Resized and converted to WebP.
-
White filament on a standalone printed spool holder; the pictured holder is a general filament-handling example, separate from the S7’s spool holder and Material Station. View photo
“Universal stand-alone filament spool holder (Fully 3D-printable) v10” by Creative Tools (https://www.flickr.com/photos/creative_tools/14970173353), CC BY 2.0 (https://creativecommons.org/licenses/by/2.0/). Resized and converted to WebP.
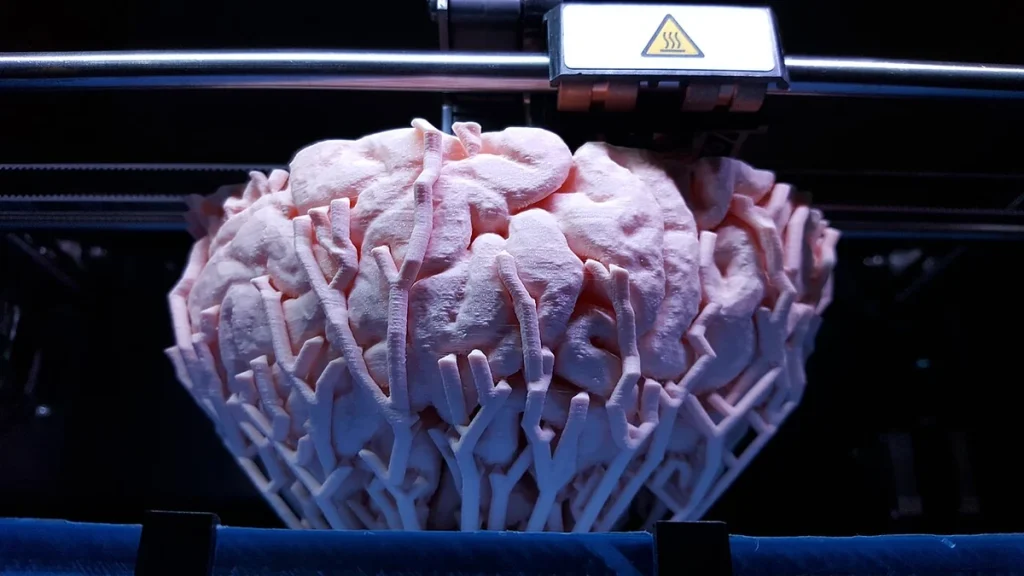
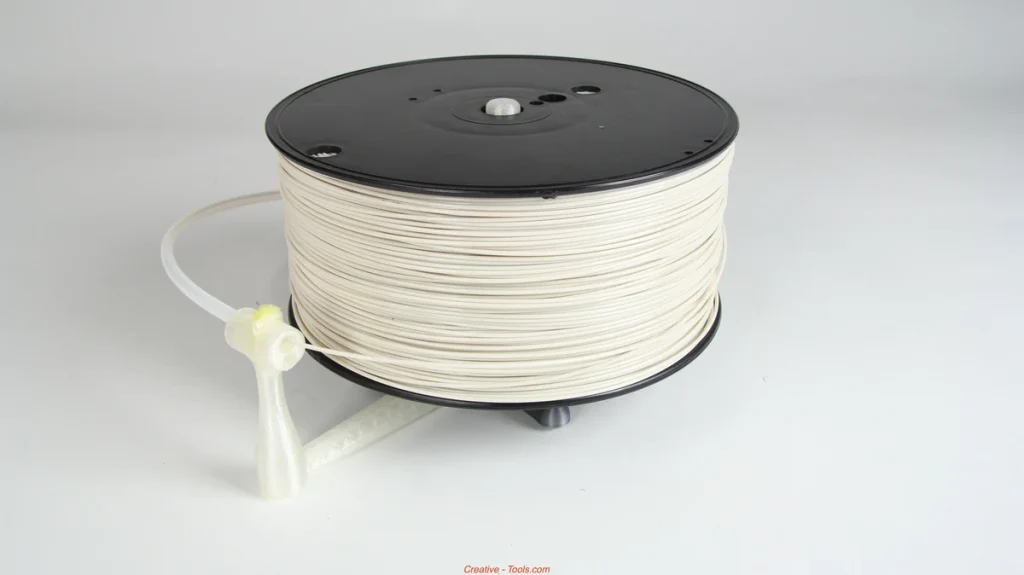
UltiMaker S8
-
A rocket fin assembly on a MakerBot Replicator 2, with support structures still in its holes. This is a general support-removal example, not an S8 print. View photo
3D-printed rocket fin can.jpg — Steve Jurvetson. CC BY 2.0: https://creativecommons.org/licenses/by/2.0. Original: https://commons.wikimedia.org/wiki/File:3D-printed_rocket_fin_can.jpg. Resized and converted to WebP.
-
A separate 3D-printed spool stand feeds blue filament through a guide. This is a general filament-handling example, not the S8’s spool holder or Material Station. View photo
Universal stand-alone filament spool holder (Fully 3D-printable) v04.jpg — Creative Tools. CC BY 2.0: https://creativecommons.org/licenses/by/2.0. Original: https://commons.wikimedia.org/wiki/File:Universal_stand-alone_filament_spool_holder_(Fully_3D-printable)_v04.jpg. Resized and converted to WebP.
-
Filament supplies on open shelves at Brandeis Maker Lab. This photograph shows supply storage, not a humidity-controlled cabinet. View photo
3D printing filament.jpg — westonhighschool library. CC BY-SA 2.0: https://creativecommons.org/licenses/by-sa/2.0. Original: https://commons.wikimedia.org/wiki/File:3D_printing_filament.jpg. Resized and converted to WebP.
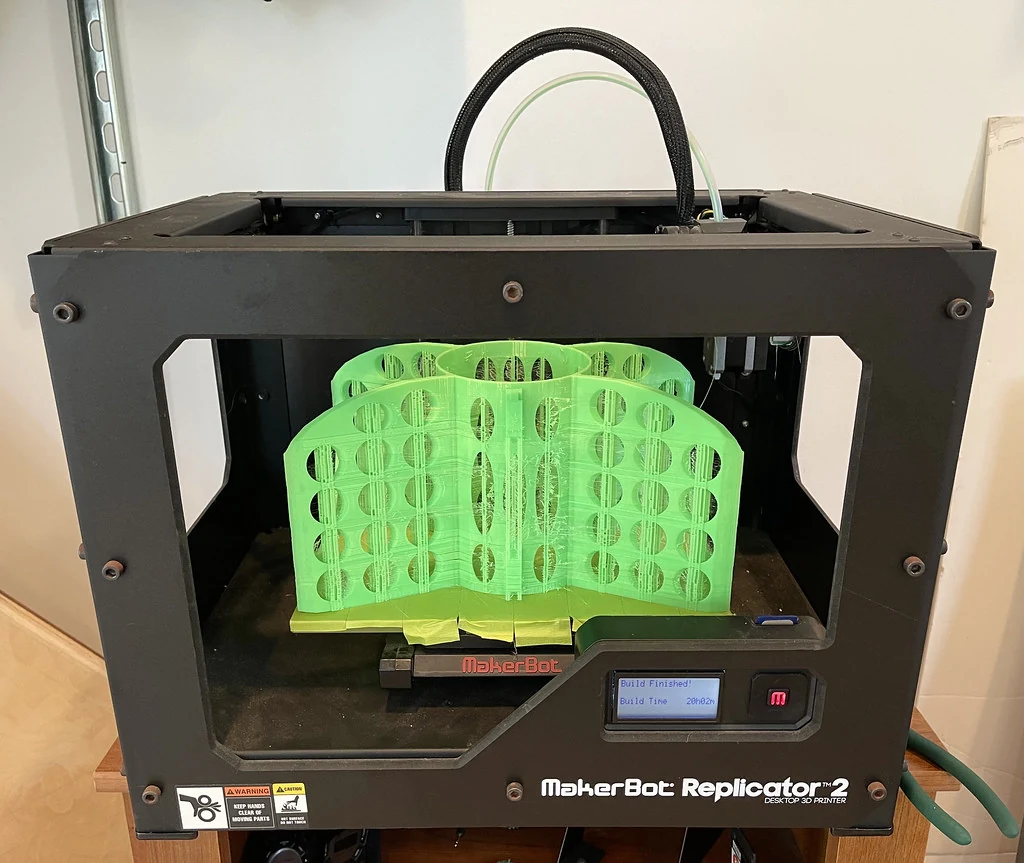

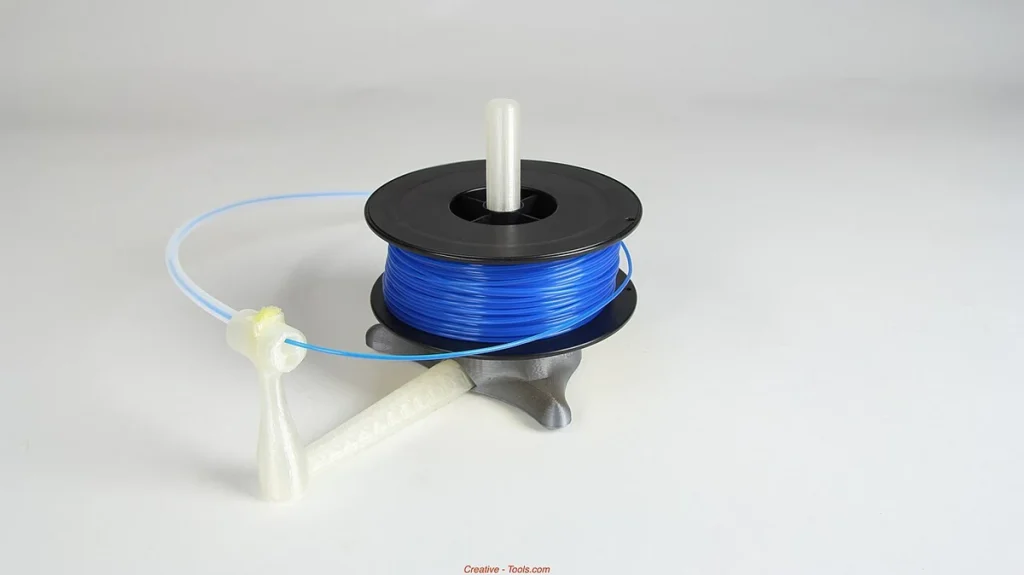
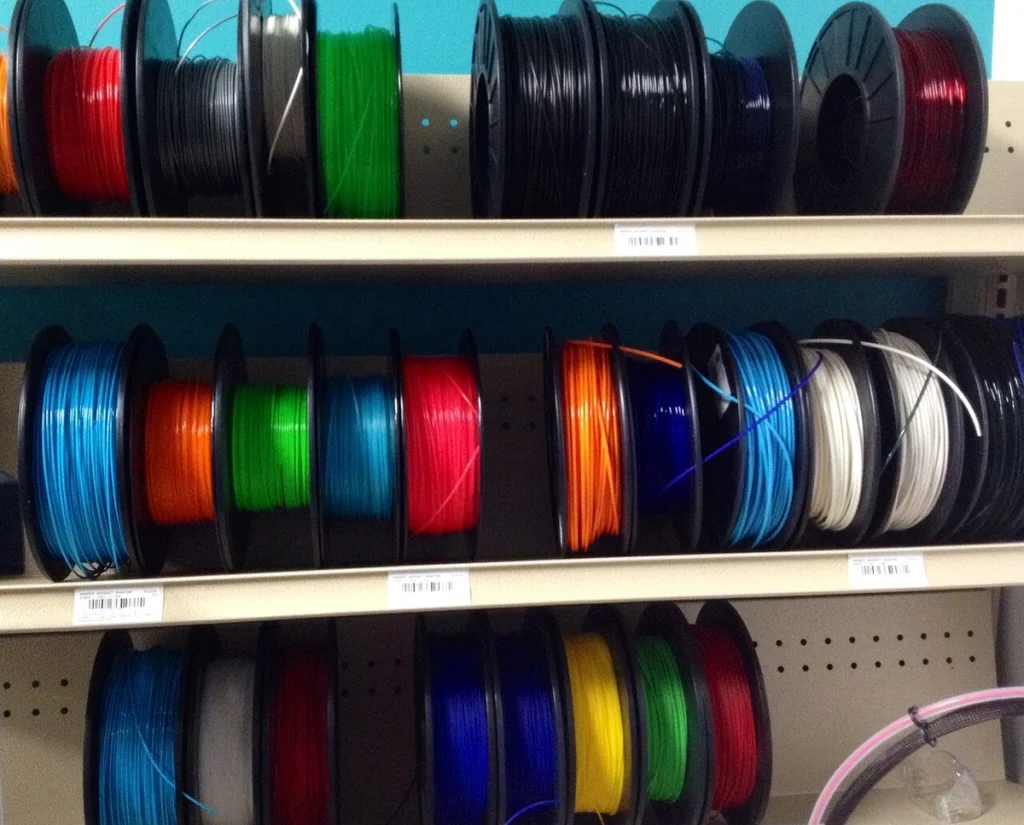
UniFormation GK3
-
General resin-printing example: a 3DBenchy with supports still attached. View photo
3DBenchy printed on a resin printer.jpg — Creative Tools, CC BY 2.0 (https://creativecommons.org/licenses/by/2.0/). https://commons.wikimedia.org/wiki/File:3DBenchy_printed_on_a_resin_printer.jpg. Resized and converted to WebP.
-
General cleanup context: resin figures and supports remain attached to a build plate above a container. View photo
Résultat d’une impression 3D avant nettoyage.jpg — Lyokoï, CC BY-SA 4.0 (https://creativecommons.org/licenses/by-sa/4.0/). https://commons.wikimedia.org/wiki/File:R%C3%A9sultat_d%E2%80%99une_impression_3D_avant_nettoyage.jpg. Resized and converted to WebP.
-
Blue nitrile gloves; choose protection suitable for the specific resin and cleaning solvent. View photo
Protective nitrile gloves.jpg — Praewnaaaaaam, CC BY-SA 4.0 (https://creativecommons.org/licenses/by-sa/4.0/). https://commons.wikimedia.org/wiki/File:Protective_nitrile_gloves.jpg. Resized and converted to WebP.
-
General post-processing example: resin miniatures and separate parts in a UV curing station. View photo
Polymérisation UV de figurines.jpg — Lyokoï, CC BY-SA 4.0 (https://creativecommons.org/licenses/by-sa/4.0/). https://commons.wikimedia.org/wiki/File:Polym%C3%A9risation_UV_de_figurines.jpg. Resized and converted to WebP.
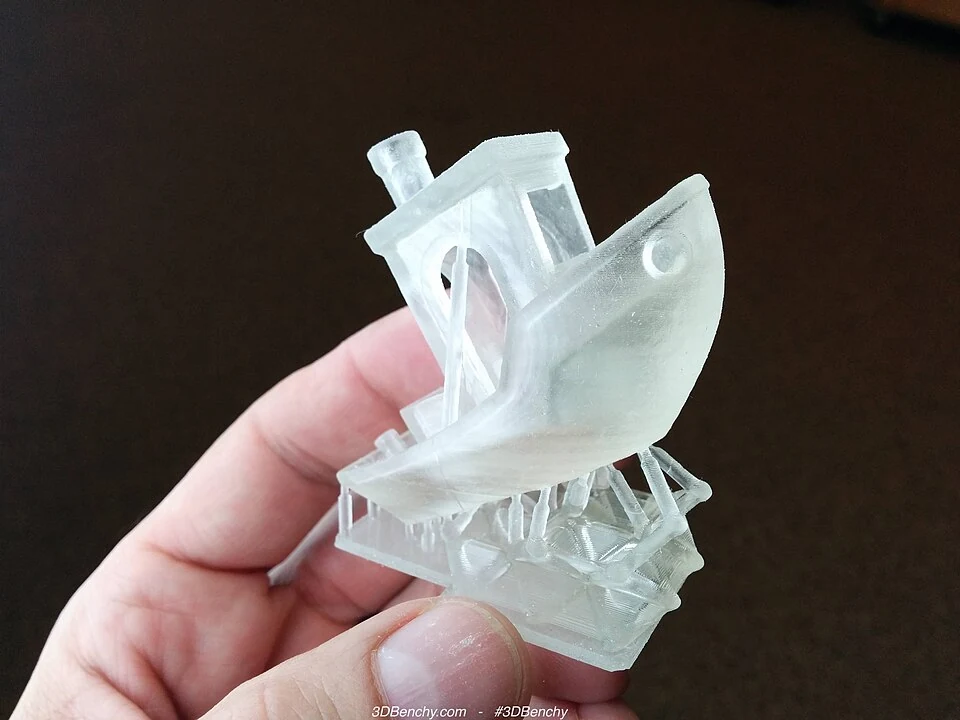
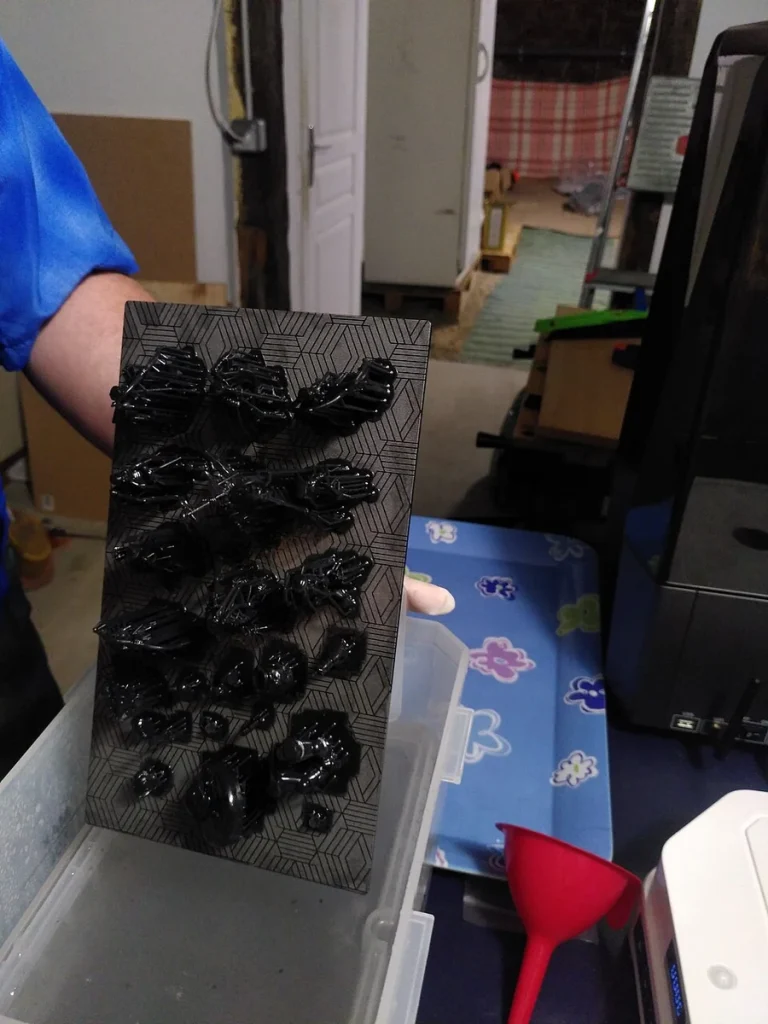

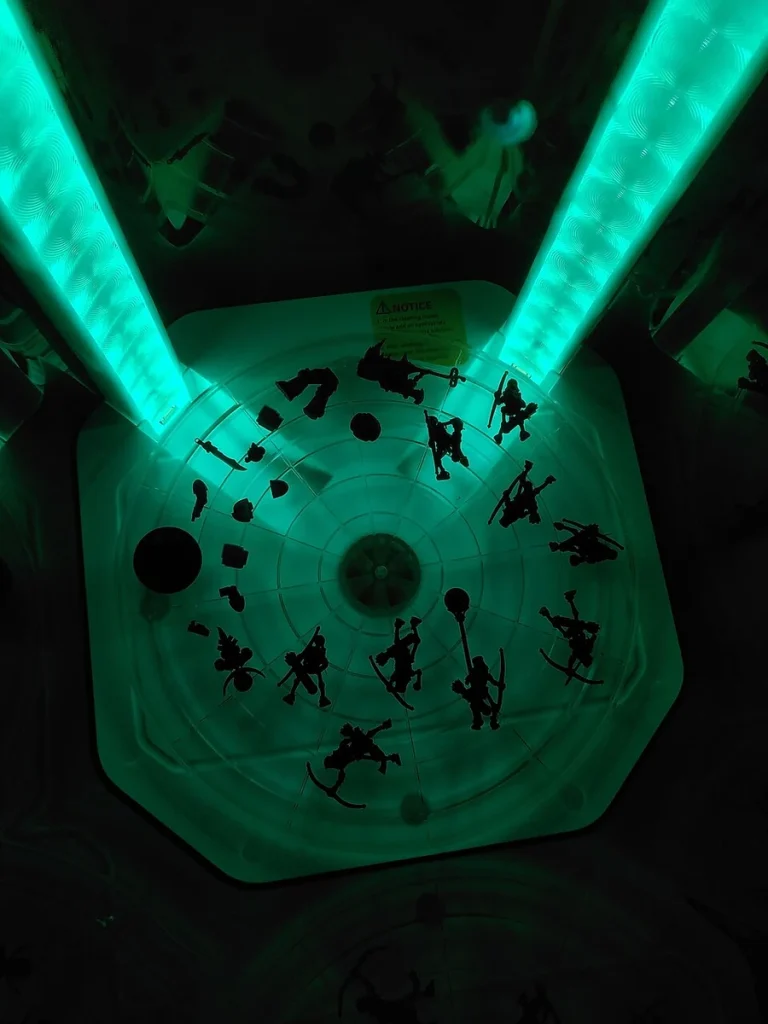
UniFormation GK3 Ultra
-
A Formlabs finishing kit with rinse containers and support-removal tools illustrates the cleanup equipment used in resin printing. View photo
Formlabs_Form2_Bild07_5184x2912 by Creative Tools, CC BY 2.0. Resized and converted to WebP.
-
Cartridge handling on a Formlabs Form 2—a general resin-feeding example with a different cartridge design from the GK3 Ultra. View photo
Formlabs_Form2_Bild04_5184x2912 by Creative Tools, CC BY 2.0. Resized and converted to WebP.
-
An empty Formlabs Form 2 build platform being handled inside the printer; allow nearby workspace for removable resin-printing components. View photo
Formlabs_Form2_Bild06_5184x2912 by Creative Tools, CC BY 2.0. Resized and converted to WebP.
-
Handling an empty Formlabs Form 2 resin tank illustrates the need for clear workspace when removing a vat. View photo
Formlabs_Form2_Bild09_5184x2912 by Creative Tools, CC BY 2.0. Resized and converted to WebP.
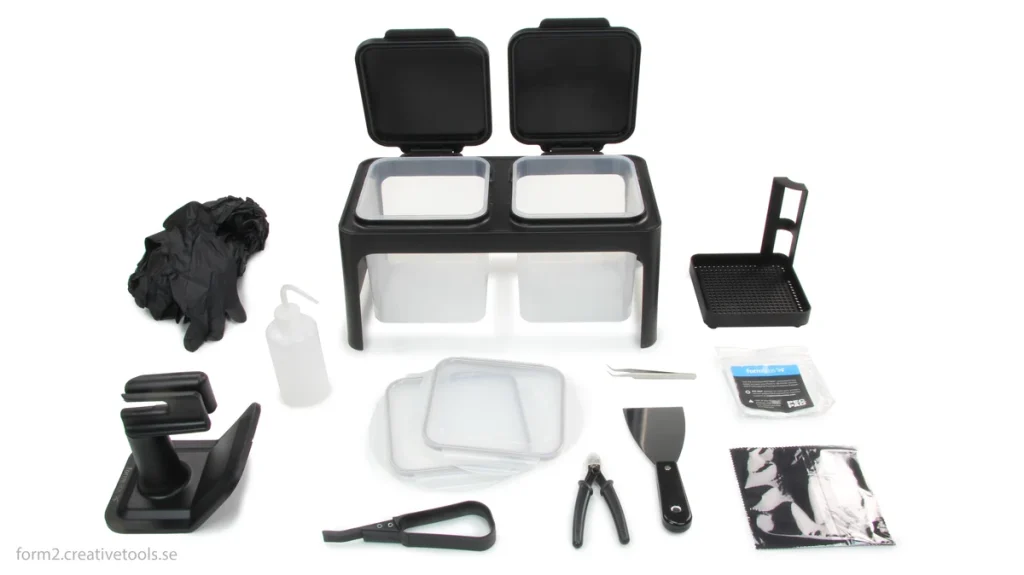
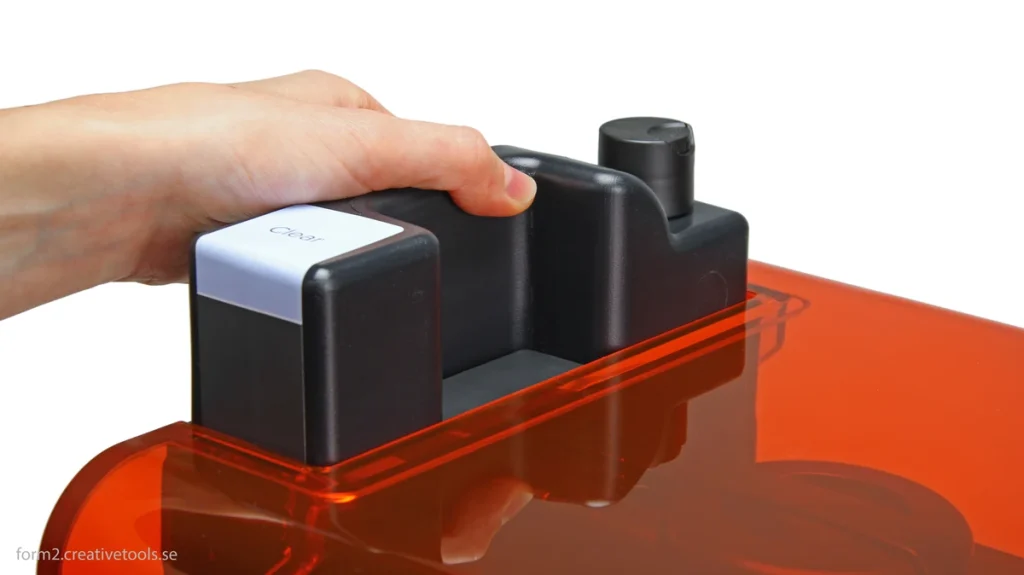
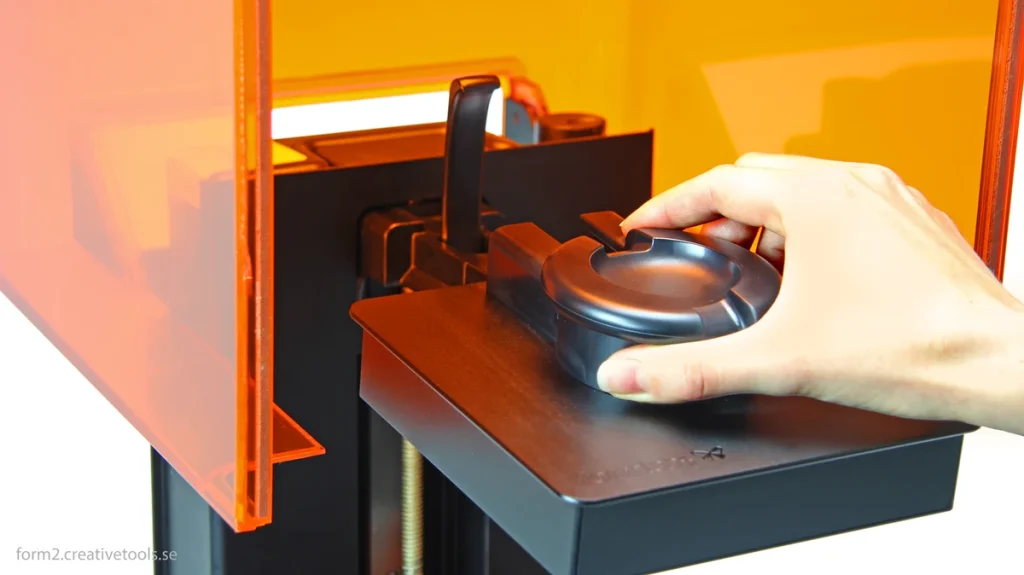
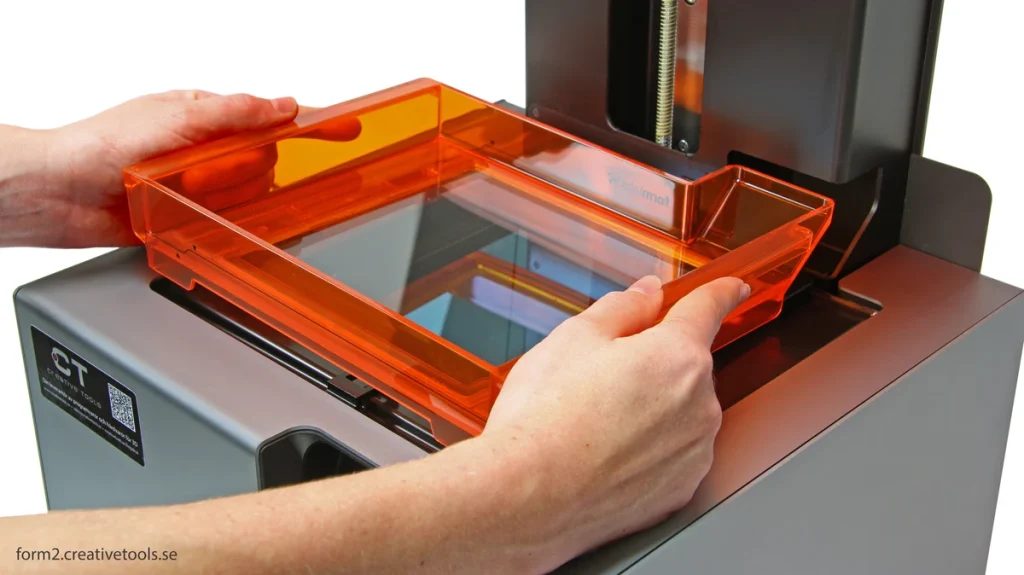
Voron 2.4
-
Electronics positioned before the main wiring stage in LDO’s Voron 2.4 Rev. D guide. View photo
LDO Motors / MotorDynamicsLab. GPL-3.0: https://github.com/MotorDynamicsLab/LDOVoron2/blob/8270e8cf6c7ba29a7fd11d143c287bd3af576934/LICENSE . Original image: https://raw.githubusercontent.com/MotorDynamicsLab/LDOVoron2/8270e8cf6c7ba29a7fd11d143c287bd3af576934/Images/WiringGuide/RevD/S0General_Placement.jpg . Resized and converted to WebP September 7, 2026; no warranty.
-
A rail-adjustment fixture in an earlier Afterburner-equipped community Voron build. View photo
badnoob / Voron Design contributors. GPL-3.0: https://github.com/VoronDesign/Voron-Documentation/blob/36b876b81e5d092b3e6f1243809468396a1b5e14/LICENSE . Original image: https://raw.githubusercontent.com/VoronDesign/Voron-Documentation/36b876b81e5d092b3e6f1243809468396a1b5e14/community/troubleshooting/badnoob/images/rail_misalignment_adjustment1.jpg . Resized and converted to WebP September 7, 2026; no warranty.
-
A printed Nevermore filter mount fitted to the lower frame in LDO’s Voron 2.4 assembly guide. View photo
LDO Motors / MotorDynamicsLab. GPL-3.0: https://github.com/MotorDynamicsLab/LDOVoron2/blob/8270e8cf6c7ba29a7fd11d143c287bd3af576934/LICENSE . Original image: https://raw.githubusercontent.com/MotorDynamicsLab/LDOVoron2/8270e8cf6c7ba29a7fd11d143c287bd3af576934/Images/WiringGuide/nevermore_base_placement.jpg . Resized and converted to WebP September 7, 2026; no warranty.
-
LED wiring beside a Z belt in LDO’s Voron 2.4 build. View photo
LDO Motors / MotorDynamicsLab. GPL-3.0: https://github.com/MotorDynamicsLab/LDOVoron2/blob/8270e8cf6c7ba29a7fd11d143c287bd3af576934/LICENSE . Original image: https://raw.githubusercontent.com/MotorDynamicsLab/LDOVoron2/8270e8cf6c7ba29a7fd11d143c287bd3af576934/Images/WiringGuide/led_final.jpg . Resized and converted to WebP September 7, 2026; no warranty.
-
A Raspberry Pi host prepared in LDO’s Rev. C guide; check whether your kit includes its host computer. View photo
LDO Motors / MotorDynamicsLab. GPL-3.0: https://github.com/MotorDynamicsLab/LDOVoron2/blob/8270e8cf6c7ba29a7fd11d143c287bd3af576934/LICENSE . Original image: https://raw.githubusercontent.com/MotorDynamicsLab/LDOVoron2/8270e8cf6c7ba29a7fd11d143c287bd3af576934/Images/WiringGuide/RevC/RaspberryPi4_Prep.jpg . Resized and converted to WebP September 7, 2026; no warranty.
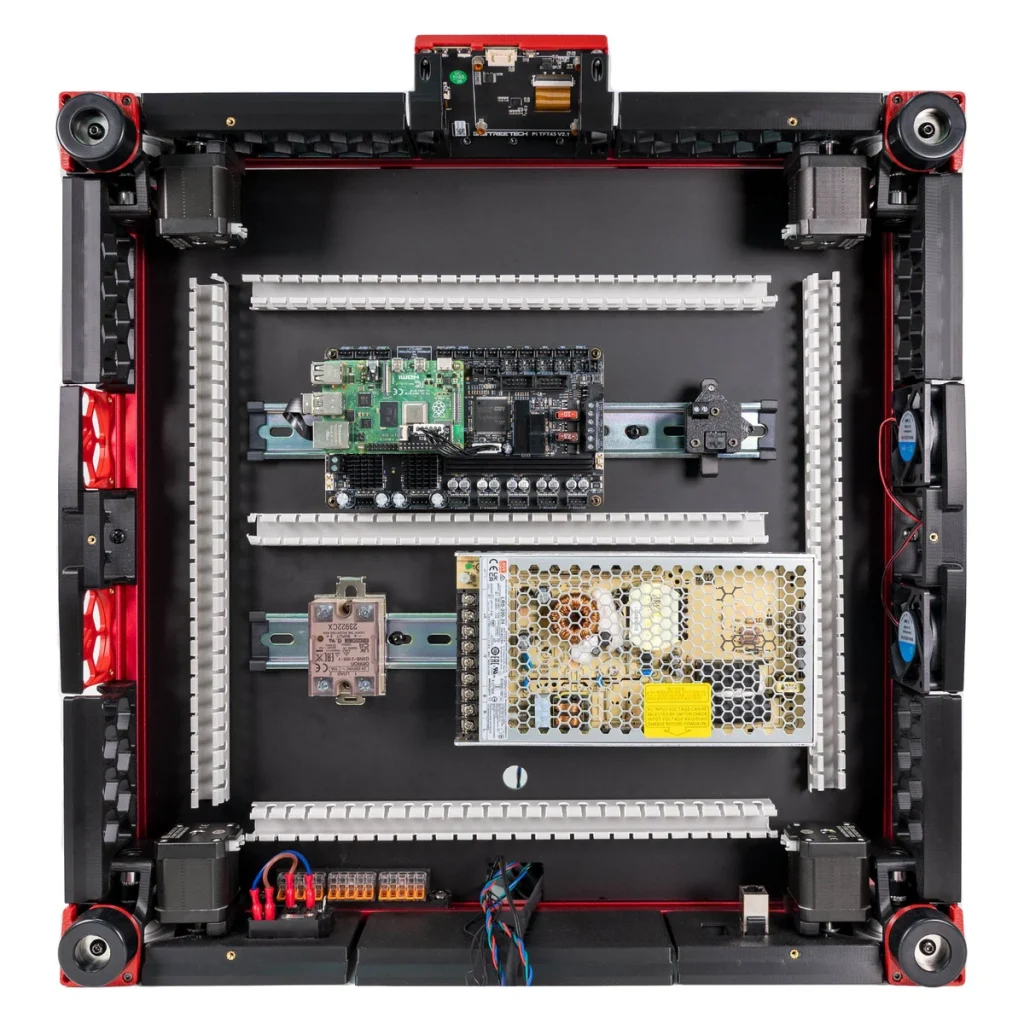
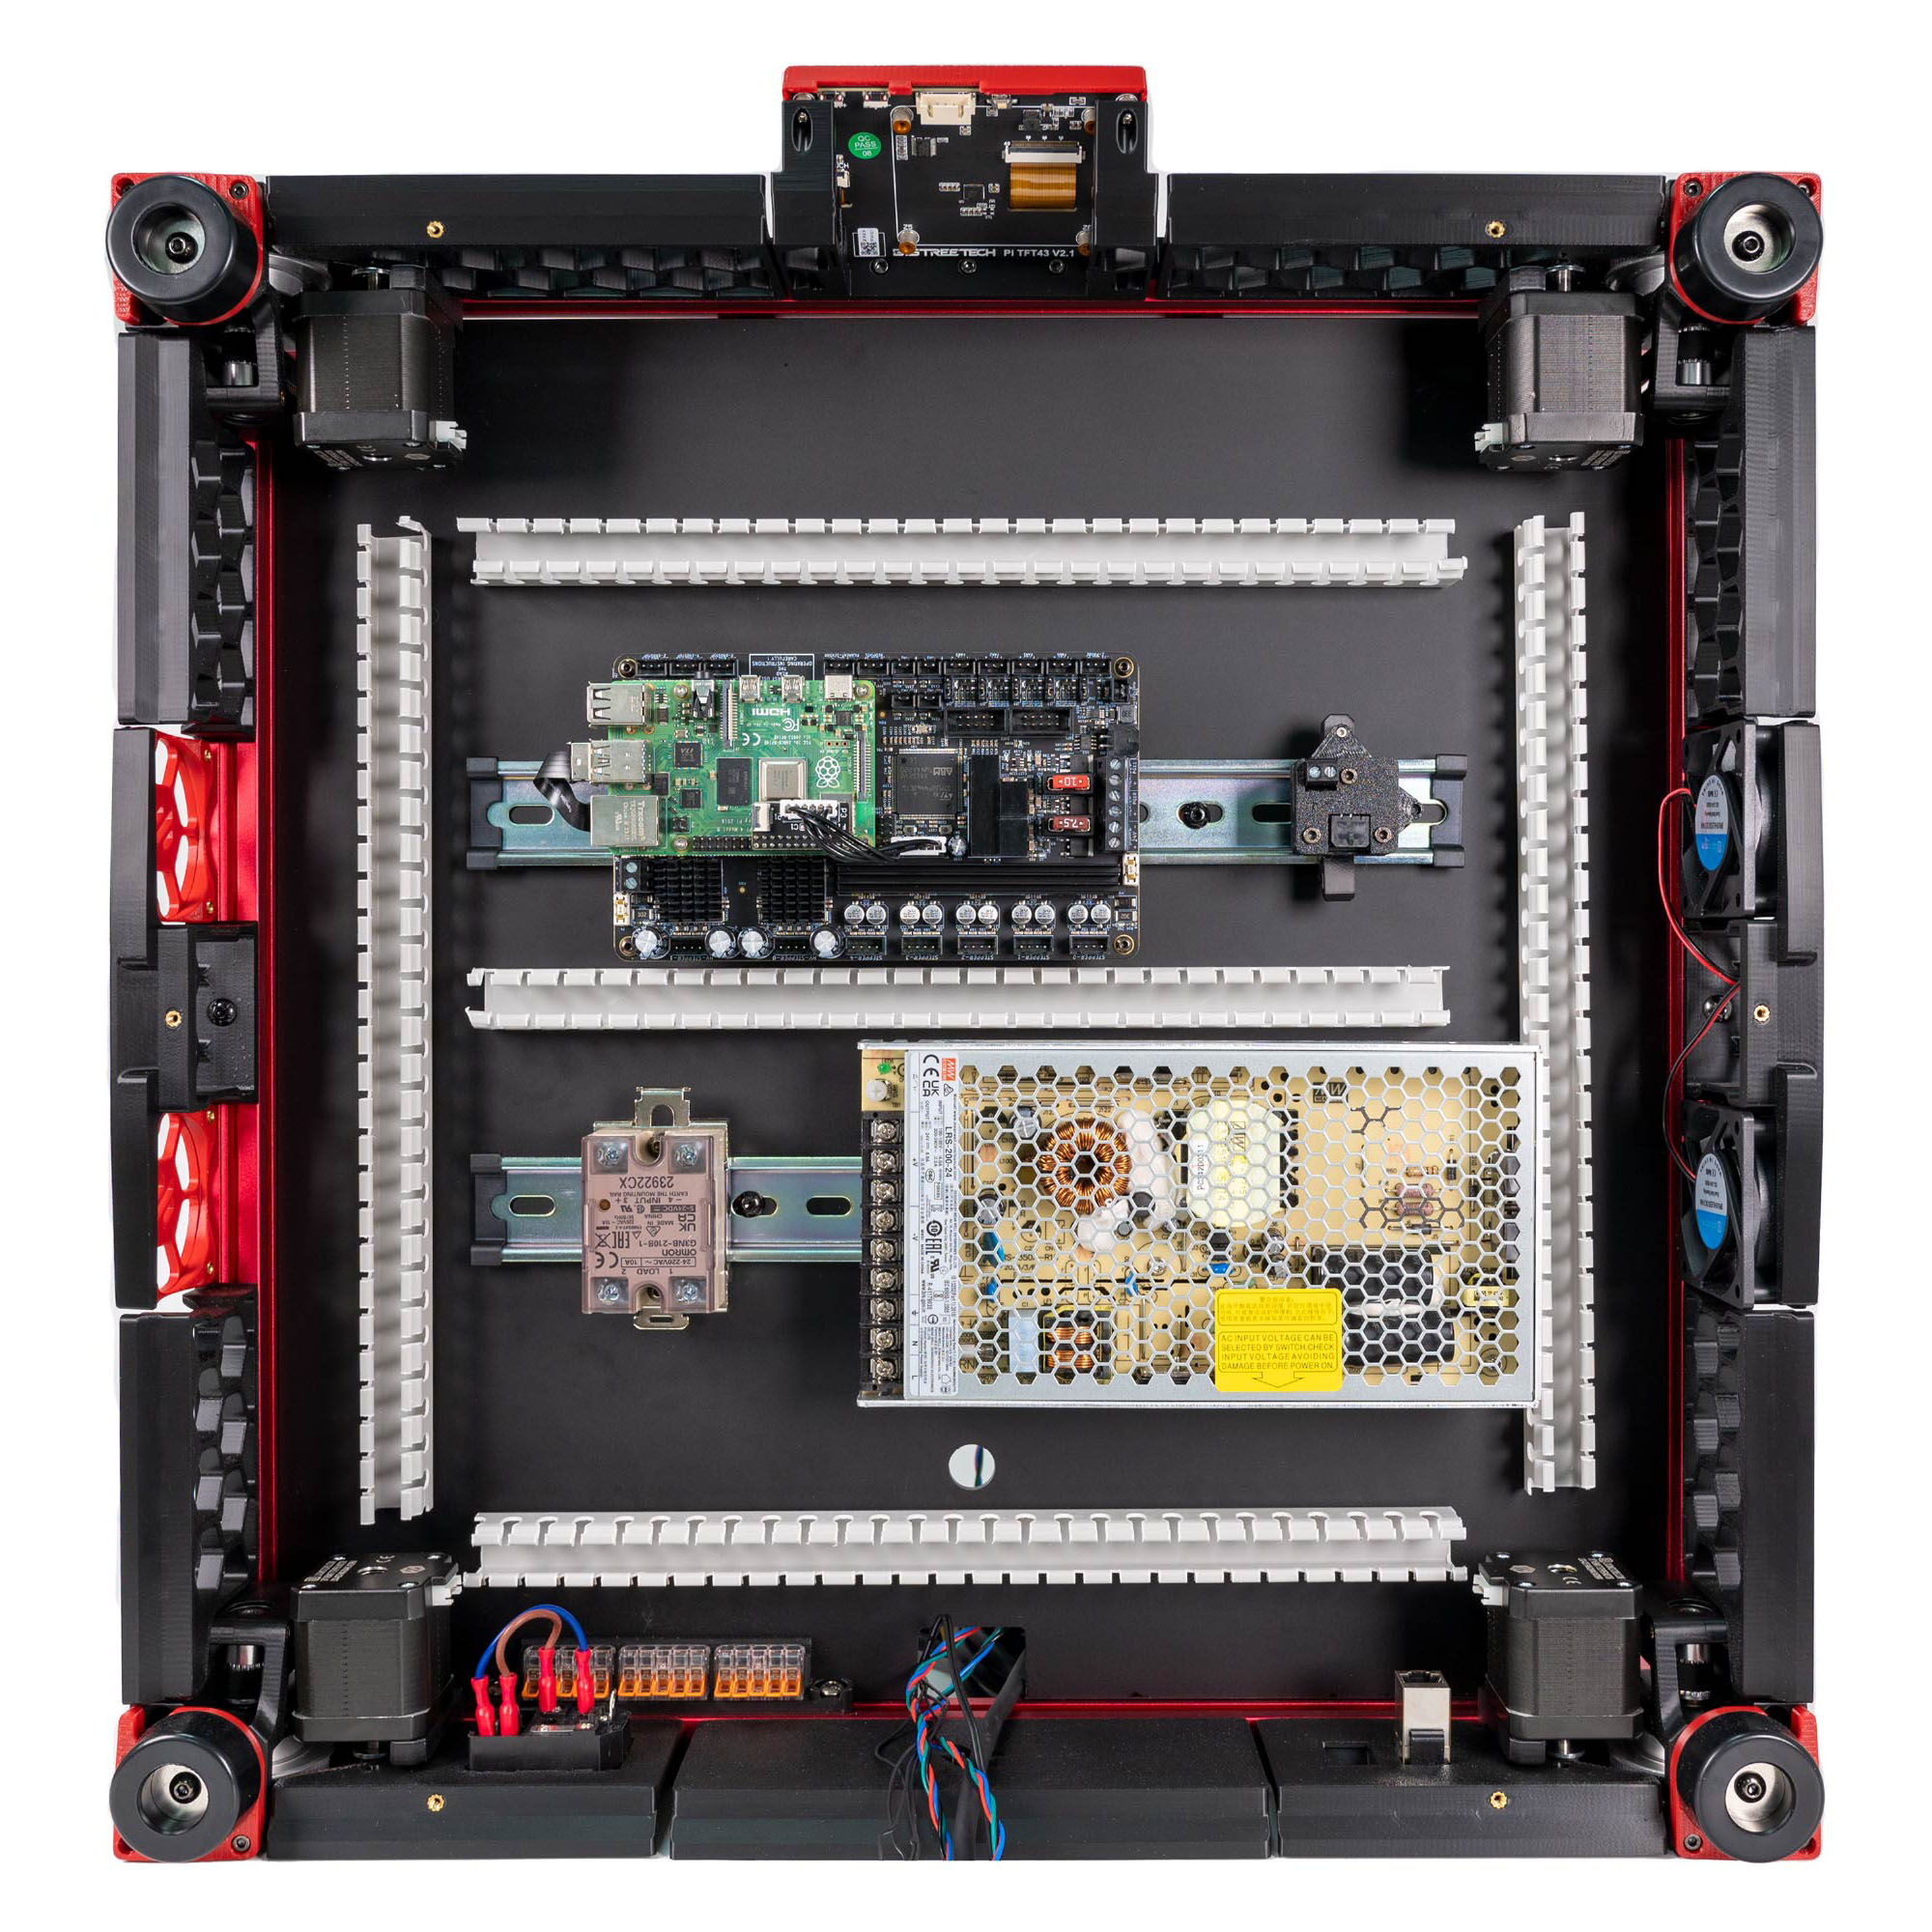





VoxelPLA PLA+ HS
-
A PLA 3DBenchy printed on an Ultimaker 2 at 0.2 mm layers, shown as a general surface-detail example—not a PLA+ HS test. View photo
“#3DBenchy - Ultimaker 2 - PLA - LayerHeight 0,2 mm” by 3DBenchy (https://www.flickr.com/photos/3dbenchy/17214930532/), CC BY 2.0 (https://creativecommons.org/licenses/by/2.0/). Resized and converted to WebP.
-
A generic filament spool on a standalone printed holder, illustrating external spool handling; the filament is not identified as VOXEL PLA+ HS. View photo
“Universal stand-alone filament spool holder (Fully 3D-printable) v10” by Creative Tools (https://www.flickr.com/photos/creative_tools/14970173353/), CC BY 2.0 (https://creativecommons.org/licenses/by/2.0/). Resized and converted to WebP.